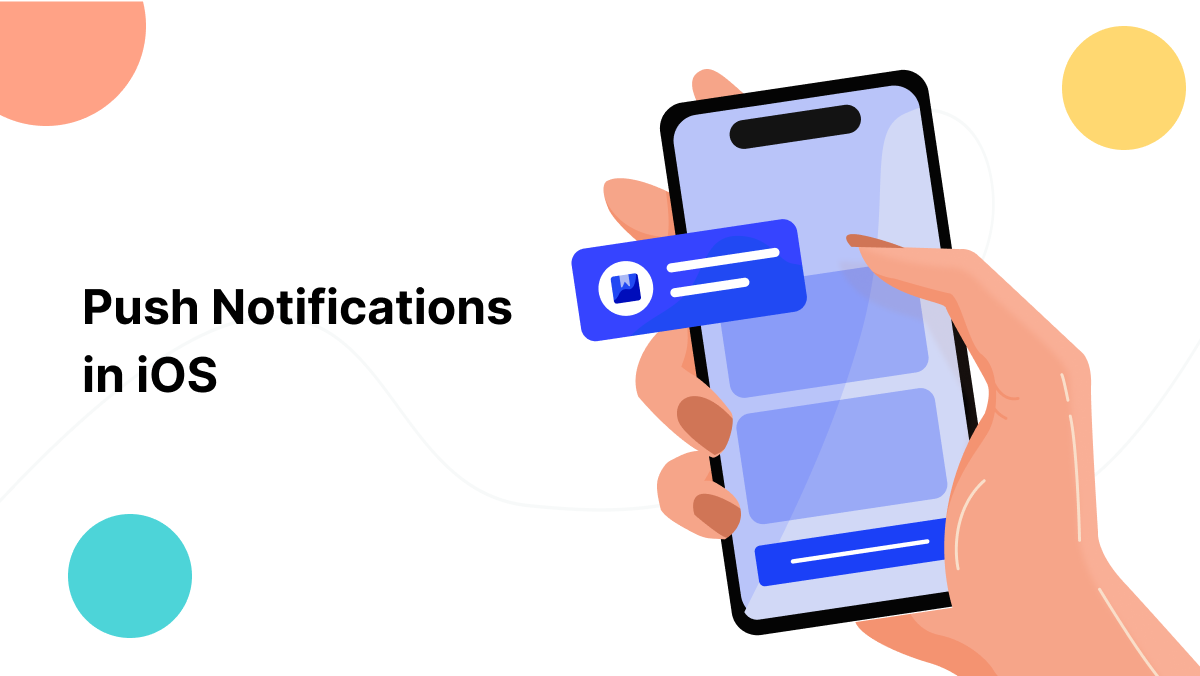
Push notifications in iOS allow developers to reach users and perform small tasks even when users aren’t actively using an application.
iOS device users must explicitly give permission to the application publishers, allowing them to send them any push notifications related to their applications.
In this article we explore the world of Push Notifications in iOS, so let’s dive in.
Remote Push Notifications
Generally, there are two types of notifications in iOS which are Local Notifications and Remote Notifications.
Pushing remote notifications to the users when the publisher of the application requires a server, unlike the Local notifications.
Here are some of the requirements to send the remote Push Notifications.
- A server, which can be called a provider server.
- Apple Push Notification Service (APNs)
- The user’s device
- The Publisher’s app running on the user’s device
In order to send a remote push notification, generate a request that contains the notification data and a unique identifier for the user’s device.
Then forward the request to APNs, which handles the delivery of the notification to the user’s device. Upon receipt of the notification, the operating system on the user’s device handles any user interactions and delivers the notification to your app.
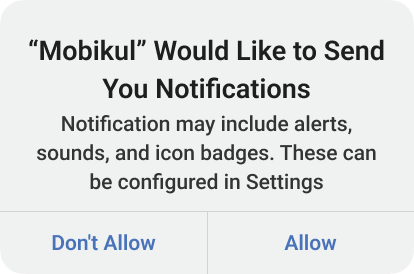
Note: Before sending any remote push notifications it is mandatory to ask the user for his consent if he wants to receive the notifications or not. If permitted by the user, the remote server can display the notification alert on the user’s device.
Permission to use notifications
A user might consider notification-based interactions disruptive, you must obtain permission to use them.
You can ask the user for his consent to send the notifications explicitly as below:
|
1 2 3 4 5 6 7 8 9 |
let authOptions: UNAuthorizationOptions = [.alert, .badge, .sound] UNUserNotificationCenter.current().delegate = self UIApplication.shared.registerForRemoteNotifications() UNUserNotificationCenter.current().requestAuthorization(options: authOptions) { granted, error in if let error = error { // Handle the error. } } |
The above code will prompt a dialog box to the user asking his permission to send the notifications through that application. It’s up to the user to Allow or not, subsequent authorization requests don’t prompt the person and the response is recorded.
You must use the above code inside the didFinishLaunchingWithOptions method of the AppDelegate class. You need to import UserNotifications at the top of the AppDelegate.swift file.
Requirements to integrate Push Notifications
Here are some of the requirements to integrate the Push Notification in iOS.
- A real iOS device.
- Membership of Apple Developer Program.
- A way to send notifications to your device.
APNS Configuration
Now you have to set up the configuration that is required to enable the remote APNs.
Please go through the below steps to configure the APNs.
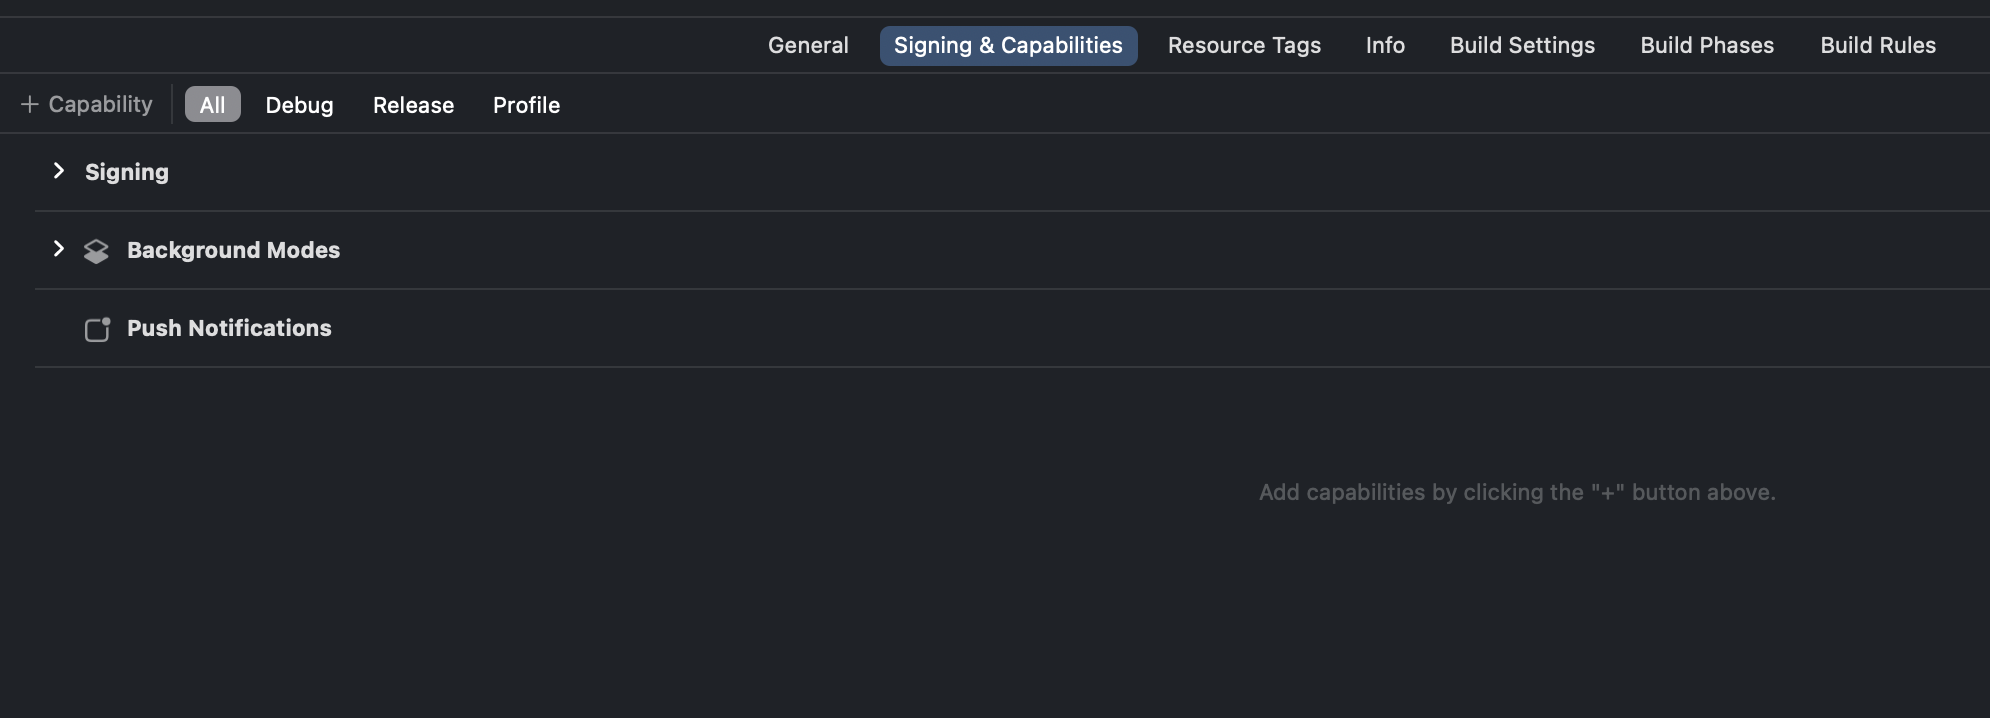
Step 1. Firstly, you need to add the Push Notification capability to your application by navigating to the “Signing & Capabilities” section of your target. After that, click on the “+ Capability” search for the Push Notification capability and add it to the project.
Step 2. Now you need APNs certificate from your Apple Developer Account. Navigate to Certificates, IDs & Profiles -> Identifiers where you should see all your app identifiers, select the one you are creating the notifications for. Scroll down and mark the Push Notification as checked and click on Configure. Add the Development and Production SSL Certificates.
Check the steps to generate the SSL certificates here.
Step 3. There are other delegate methods that you need to add to your AppDelegate class.
|
1 2 3 4 5 6 7 8 9 10 11 12 13 14 |
func application(_ application: UIApplication, didRegisterForRemoteNotificationsWithDeviceToken deviceToken: Data) { let tokenParts = deviceToken.map { data -> String in return String(format: "%02.2hhx", data) } let token = tokenParts.joined() print("Device Token: \(token)") } func application(_ application: UIApplication, didFailToRegisterForRemoteNotificationsWithError error: Error) { print("Failed to register for remote notifications with error: \(error)") } |
didRegisterForRemoteNotificationsWithDeviceToken indicates that the application is successfully registered with APNS and provides the deviceToken.
didFailToRegisterForRemoteNotificationsWithError shows that the application was unsuccessful in registering with APNs.
Step 4. Now we are left with firing the Push Notification using a server or Provider. We will accomplish this with the help of the well-known tool Firebase.
Here is how you can set up Firebase on your project.
Upload your APNs Auth Key to the Firebase
Generate the APNs Auth Key by navigating to your Apple Developer Account -> Certificates, IDs & Profiles -> Keys -> Click on + button -> Select Apple Push Notifications service (APNs) & provide a name to it -> Register -> Download. Save the file with .p8 extension.
Create a Firebase project and add the Bundle ID.
Do not forget to download and add the GoogleService-Info.plist file to your Xcode project.
- Inside your project in the Firebase console, select the gear icon, select Project Settings, and then select the Cloud Messaging tab.
- In the APNs authentication key under iOS app configuration, click the Upload button.
- Browse to the location where you saved your key, select it, and click Open. Add the key ID for the key (available on the Apple Developer Program) and click Upload.
Sending Push Notifications via Firebase
Step 1. Add the Firebase to your project via Swift Package Manager or Cocoapods.
Step 2. Import the Firebase library to your AppDelegate class.
Step 3. Add the below code inside the didFinishLaunchingWithOptions before return.
|
1 2 |
FirebaseApp.configure() Messaging.messaging().delegate = self |
Step 4. Add the below piece of code inside the didRegisterForRemoteNotificationsWithDeviceToken function.
|
1 |
Messaging.messaging().apnsToken = deviceToken as Data |
Step 5. Now you have to add the below messaging delegates to your AppDelegate class.
|
1 2 3 4 5 6 7 8 9 10 11 12 13 14 15 16 17 18 |
func messaging(_ messaging: Messaging, didReceiveRegistrationToken fcmToken: String?) { print("Firebase registration token: \(fcmToken)") connectToFcm() } func messaging(_ messaging: Messaging, didRefreshRegistrationToken fcmToken: String) { print("Firebase registration token: \(fcmToken)") connectToFcm() } func connectToFcm() { Messaging.messaging().token { (result, error) in if let error = error { print("Error fetching remote instance ID: \(error)") } else if let result = result { Messaging.messaging().isAutoInitEnabled = true } } } |
Here you have got the Firebase registration token which you can use to send the push notification to that particular token.
Step 6. To send the notification from the Firebase console you need to navigate to your project created on Firebase -> Engage -> Messaging -> Compose Notification.
You can now send the push notifications either to the registration token you received or you can push the notifications to all the users who have installed your application.
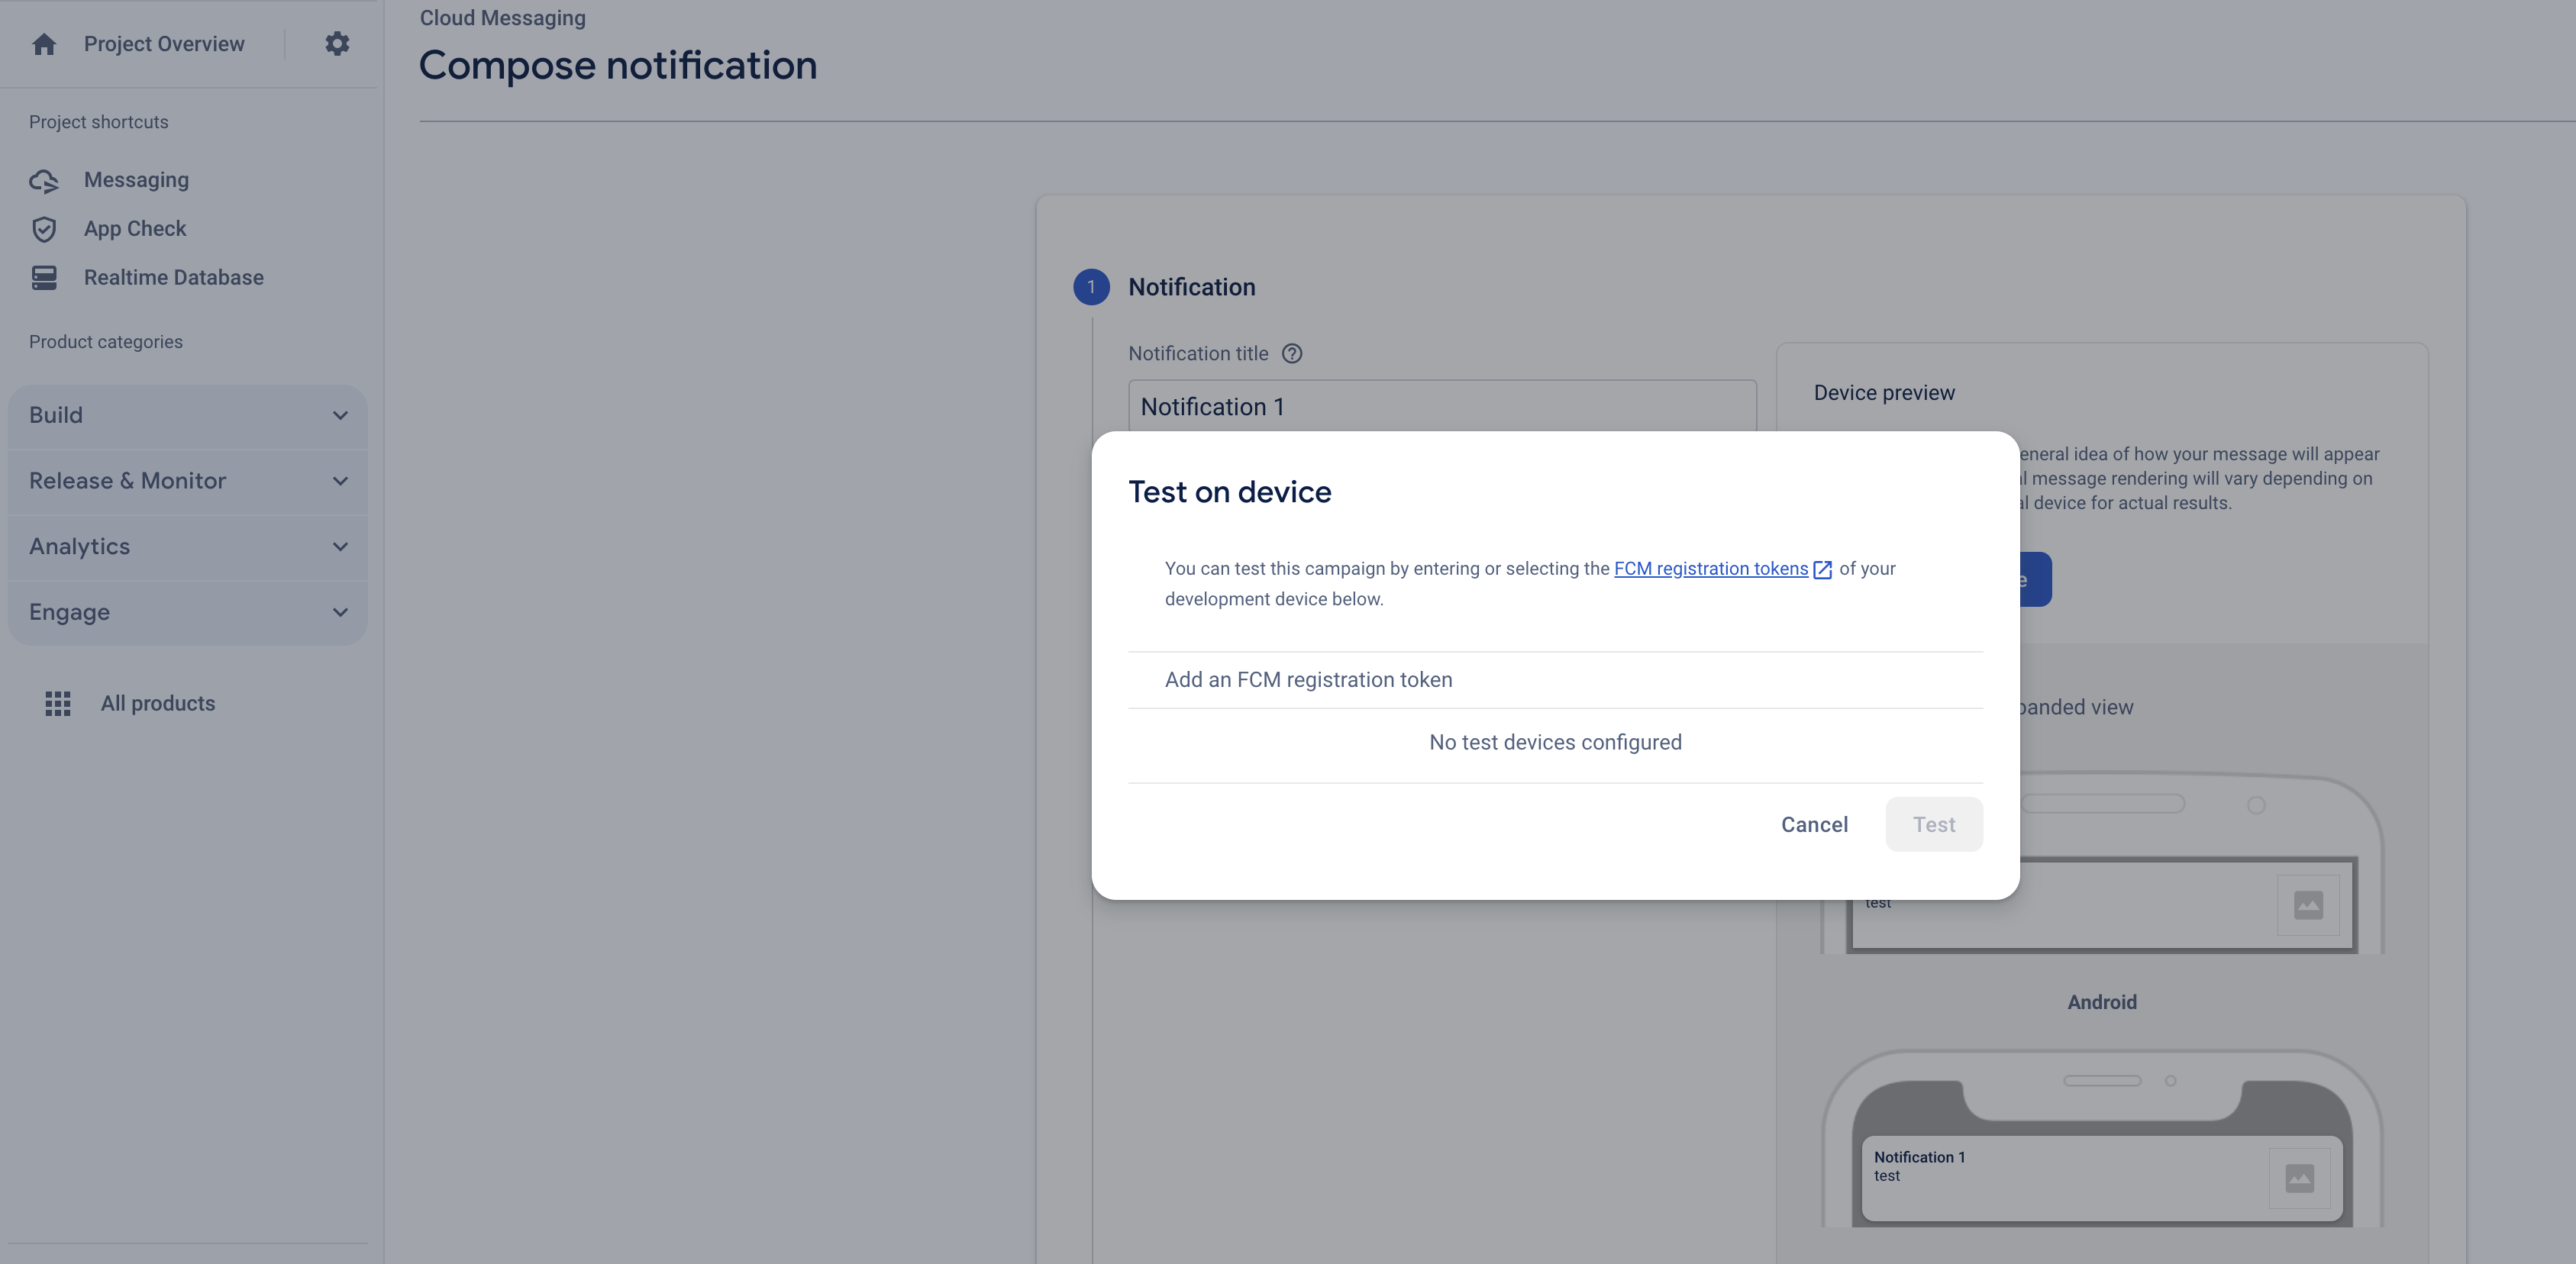
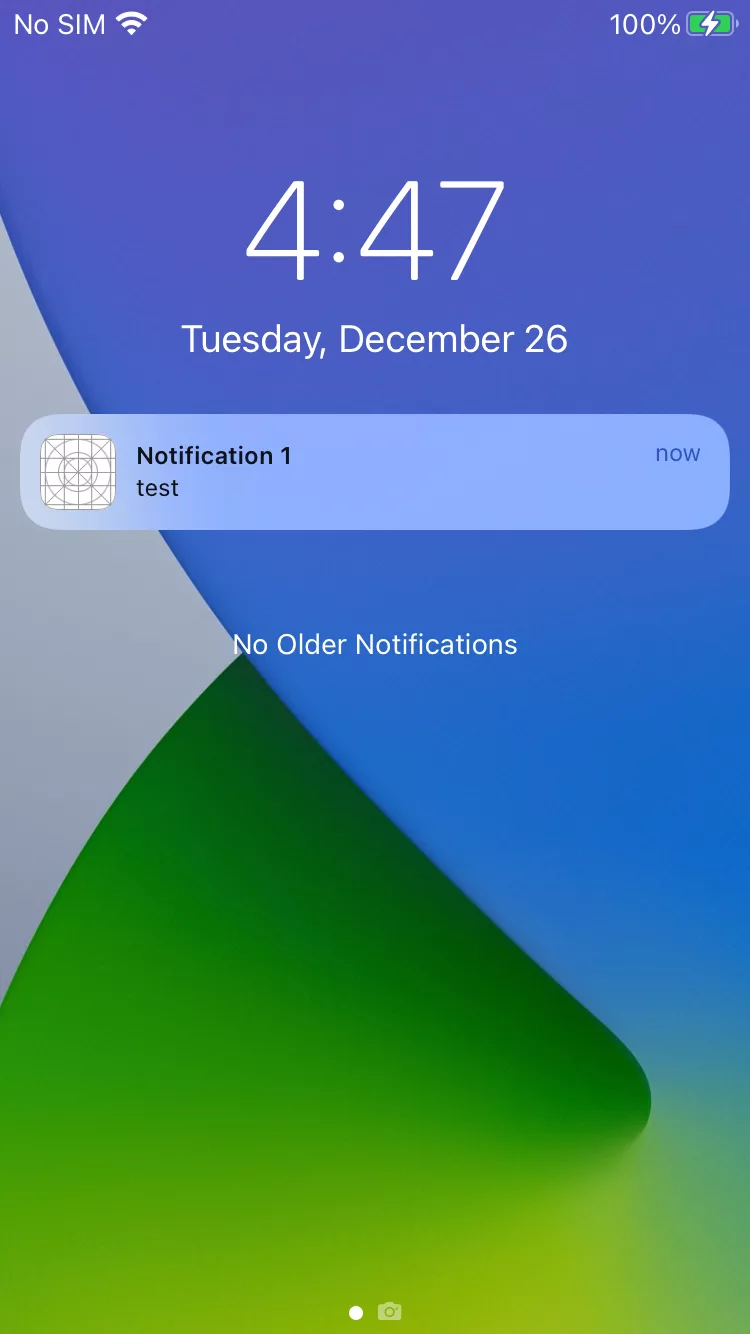
After pushing the notification from the Firebase console, you will see a notification alert on the device you sent the notification for.
Here is the result of all the steps followed above.
Conclusion
Push Notifications are a great way to interact with users, displaying the exciting offers from your application to the user.
Sometimes the users might find Push Notifications distracting and they can remove the permissions granted by them, so the application would not be able to send the push notifications to them anymore.
We can also send a rich push notification containing media to the users. Please check it here.
If you find this article intresting, then please do check our other blogs here.

Be the first to comment.