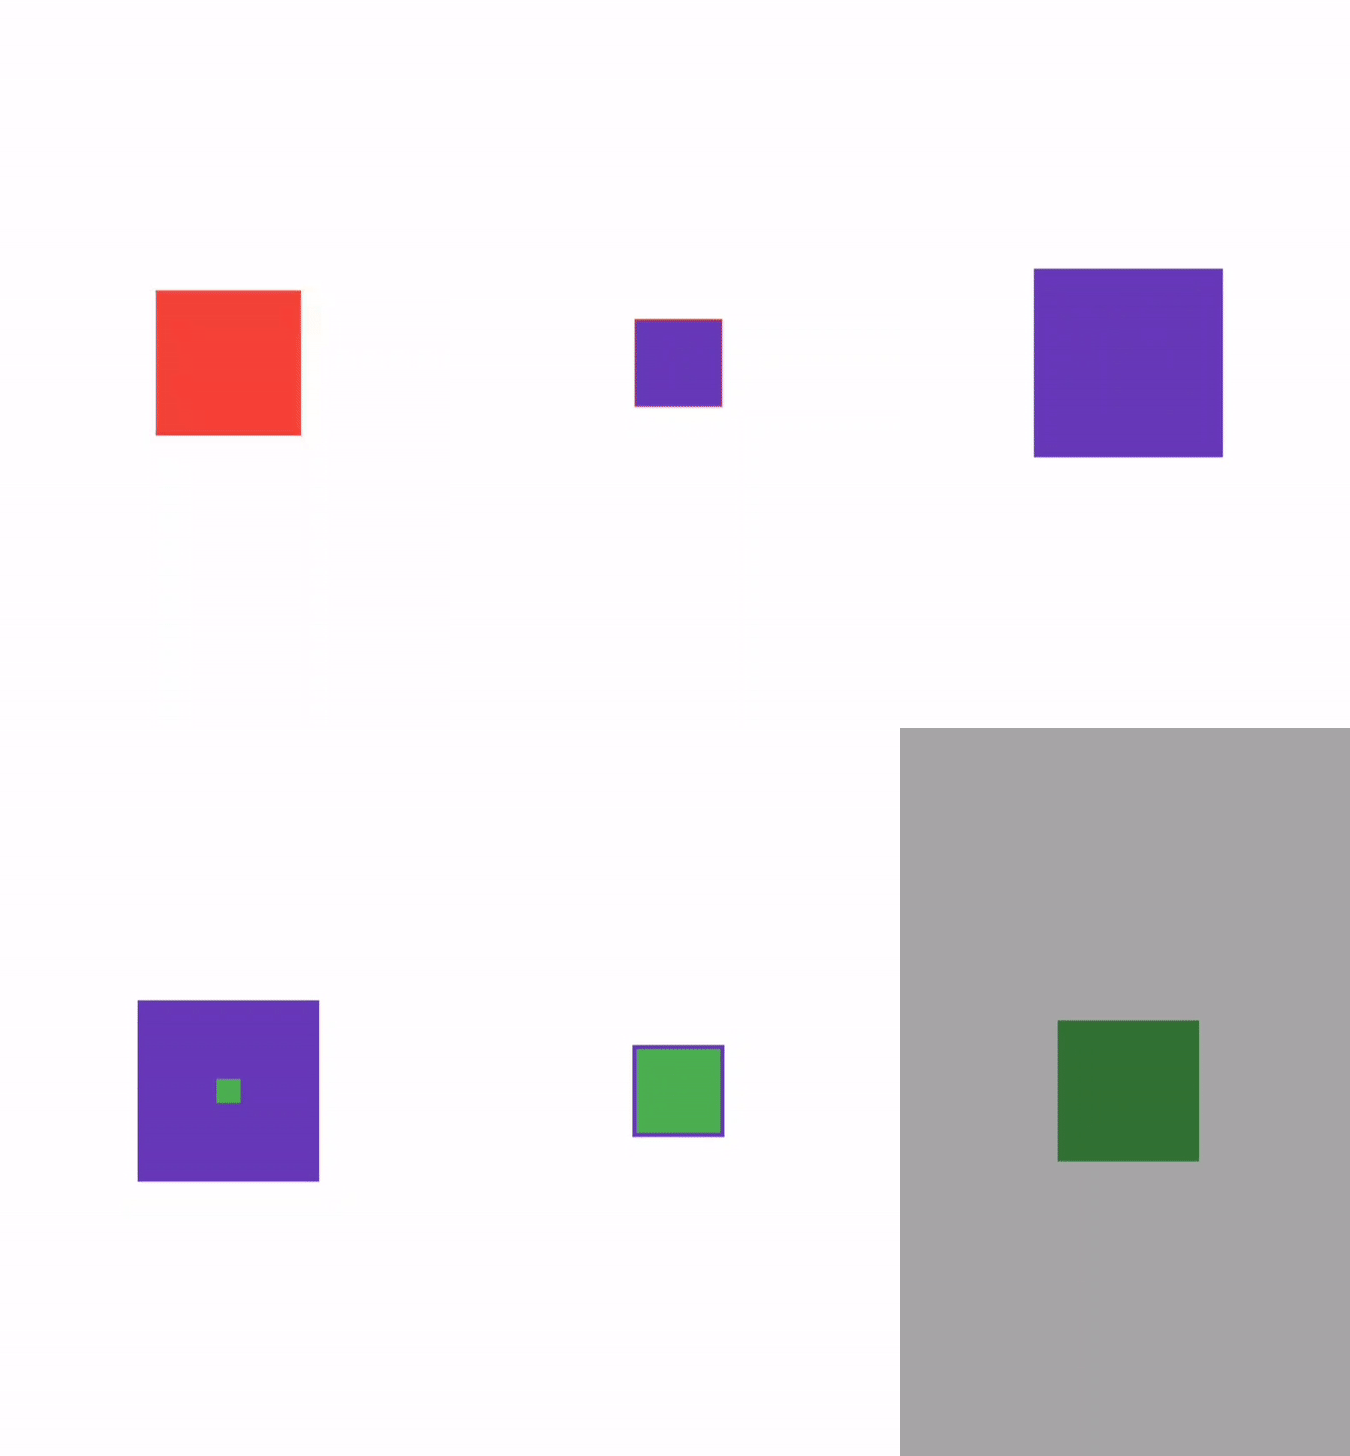
In this blog, we are going to learn about how to create an animated switcher in a flutter. So let’s get started.
An identifier for the supported material design animated switcher. It represents a value that can change over the lifetime of an animation.
Use with AnimatedSwitcher class to show specific animated switcher.
It is a widget that can be used for creating animation when switching between two widgets. The widget to be animated needs to be set as child an argument.
Read more about the Flutter app development company.
To implement the Animated Switcher do follow the below steps mentioned below.
1.) Create a Scaffold.
2.) Create suitable variables.
3.) Do create a layout that consists of a widget wrapped as the child of AnimatedSwitcher.
1.) Create a Scaffold. :
Inside Scaffold widgets, it Implements the basic material design visual layout structure.
This class provides APIs for showing drawers and bottom sheets. We can add the background color inside the scaffold widget.
It also supports special Material Design components, such as Drawers, AppBars, and SnackBars.
|
1 2 3 4 5 6 |
class DemoAnimatedSwitcher extends StatefulWidget { DemoAnimatedSwitcher({Key? key}) : super(key: key); @override _DemoAnimatedSwitcherState createState() => _DemoAnimatedSwitcherState(); } |
2.) Create suitable variables.
Now, create an variables for animation boolean. The AnimatedCrossFade, which only fades between two children, but also interpolates their sizes, and is reversible..
|
1 |
bool switchChild = true; |
3.) Do create a layout that consists of a widget wrapped as the child of AnimatedSwitcher.
After creating the suitable variable, If the “new” child is the same widget type and key as the “old” child, but with different parameters, then AnimatedSwitcher will not do a transition between them.
The animation swicher that by default does a cross-fade between a new widget and the widget previously set on the AnimatedSwitcher as a child.
It always generates new values whenever the application is ready for a new frame and there are two transitions: transitioning the new child in and transitioning the previous child out.
The full code is mentioned below.
|
1 2 3 4 5 6 7 8 9 10 11 12 13 14 15 16 17 18 19 20 21 22 23 24 25 26 27 28 29 30 31 32 33 34 35 36 37 38 39 40 41 42 43 44 45 46 47 48 49 50 51 52 53 54 55 56 57 58 59 60 61 62 63 64 65 66 67 68 |
import 'dart:math'; import 'package:flutter/material.dart'; void main() => runApp(const DemoAnimatedSwitcher()); class DemoAnimatedSwitcher extends StatefulWidget { DemoAnimatedSwitcher({Key? key}) : super(key: key); @override _DemoAnimatedSwitcherState createState() => _DemoAnimatedSwitcherState(); } class _DemoAnimatedSwitcherState extends State<DemoAnimatedSwitcher> { bool switchChild = true; @override Widget build(BuildContext context) { List colors = [ Colors.red, Colors.green, Colors.yellow, Colors.pink, Colors.blue, Colors.amber, Colors.deepPurple ]; Random random = new Random(); return Scaffold( body: Column( mainAxisAlignment: MainAxisAlignment.spaceAround, crossAxisAlignment: CrossAxisAlignment.stretch, children: <Widget>[ Expanded( child: AnimatedSwitcher( duration: const Duration(seconds: 3), transitionBuilder: (Widget child, Animation<double> animation) { return ScaleTransition(child: child, scale: animation); }, child: switchChild ? Container( key: UniqueKey(), height: 90.0, width: 90.0, color: colors[random.nextInt(colors.length)], ) : Container( key: UniqueKey(), height: 140.0, width: 140.0, color: colors[random.nextInt(colors.length)], ), ), ), ElevatedButton( onPressed: () { setState(() { switchChild = !switchChild; }); }, child: Text('Click'), ), ], ), ); } } |

We can now run the app on how to create an animated switcher in a flutter.
Finally, we have implemented the flow of creating an animated switcher in a flutter.
Hope this blog helps you to create an animated switcher in a flutter.
So, I hope it will help you out in understanding and getting a brief idea about it.
You can also check these Links.
Another mentioned URL.
For more understanding please can go through this Link:
That’s all, You can enjoy your Animation Switcher implementation in a flutter.

Be the first to comment.