MOLPay Payment Gateway For Swift
In this Blog , we are going to learn about how to implement the MOLPay Payment Gateway in your iOS Application. In addition I am explain the method and workflow of the payment Gateway in Swift.
Payment Gateways are use in all the Application in which there is requirement of the Transaction. With the Passage of time now companies are using digital transaction and with their requirement we need to implement the available payment gateway in the Application. In this Blog, we will learn about MOLPay Payment Gateway
Let’s start with the Integration of the payment gateway in your iOS Application. Please follow the steps below for integration.
Step -1
Go to the Link https://docs.adyen.com/payment-methods/molpay and create your account in the MOLPay Platform.
Step – 2
After Creating your Account , login in into your account and generate the test credentials for the Payment gateway.
Step – 3
Now Follow the Below Procedure for the integration of the Payment Gateway in your iOS Application.
Please follow the installation Procedure Below :
Step -A
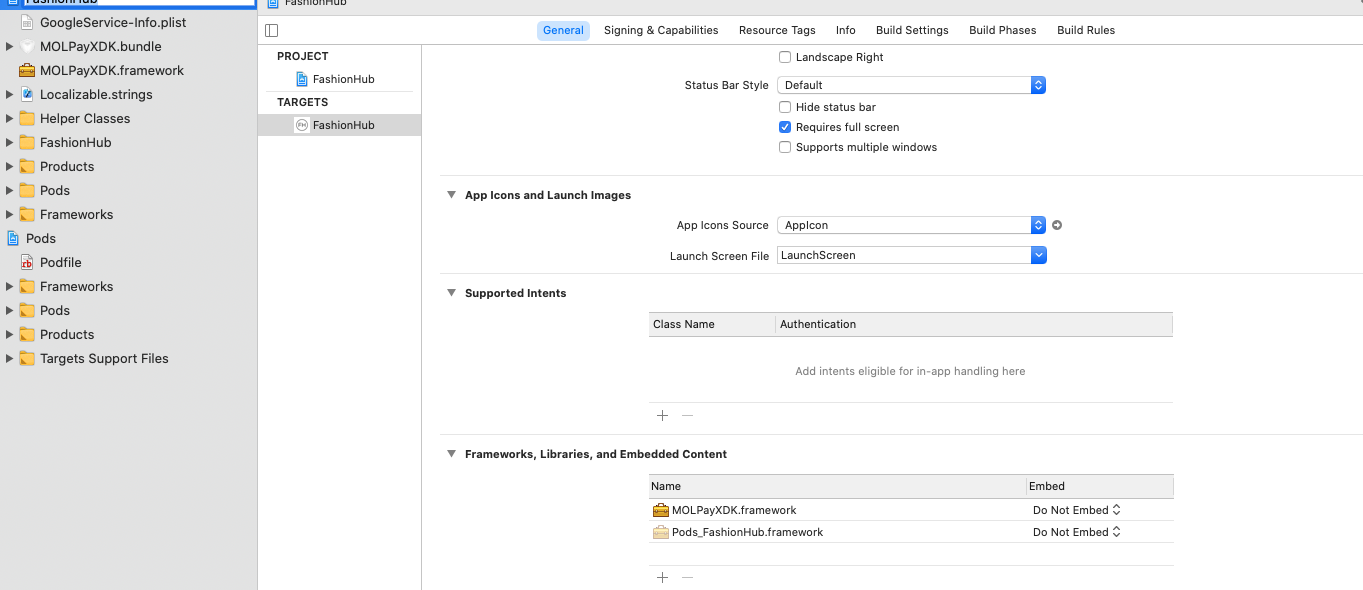
Please create a Pod file and write the required pod “pod ‘MOLPayXDK'” for the MOLPay payment Gateway.
Step – B
Now import the MOLPay Sdk framework into your iOS Application project.
Step – C
Now go to the ViewController where you want to integrate the payment Gateway in your iOS Application i.e on Checkout View Controller in your iOS Application.
Step – D
Create an instance of the MOLPayLib() in the view Controller Class
|
1 |
var mp = MOLPayLib() |
Step – E
Now we call the start molpay Method. Therefore, it will initialise the Payment Gateway SDK.
|
1 |
self.startmolpay() |
Step – F
In this method we are assign the delegate of the MOLPayLib to viewController and parsing the required field for the Payment gateway.
|
1 2 3 4 5 6 7 8 9 10 11 12 13 14 15 16 17 18 19 20 21 22 23 24 25 26 27 28 29 30 31 32 33 34 35 36 37 38 39 40 41 |
func startmolpay() { self.isPaymentInstructionPresent = false self.isCloseButtonClick = false let paymentRequestDict: [String:Any] = [ "mp_amount": amount, "mp_username": "api_fashionhub", "mp_password": "api_Fas#$%nio", "mp_merchant_ID": merchantID, "mp_app_name": "fashionhub", "mp_order_ID": orderID, "mp_currency": currency, "mp_country": country, "mp_verification_key": verificationKey, "mp_channel": channnel, "mp_bill_description": billDesc, "mp_bill_name": billName, "mp_bill_email": billEmail, "mp_bill_mobile": billMobile ] print("This is for payment Dict") print(paymentRequestDict) self.mp = MOLPayLib(delegate:self, andPaymentDetails: paymentRequestDict) self.mp.navigationItem.rightBarButtonItem = UIBarButtonItem( title: "Close", style: .plain, target: self, action: #selector(self.closemolpay) ) self.mp.navigationItem.hidesBackButton = true // Present method (Simple mode) let nc = UINavigationController() nc.viewControllers = [mp] self.present(nc, animated: false) { print("---presented") } } |
Step – G
For instance this is Deep Linking method provided in the demo App by the MOLPay payment Gateway Team. However, for more information on Deep Linking Press here.
|
1 2 3 4 5 6 7 8 9 10 11 12 13 14 15 16 17 18 19 20 |
@IBAction func deeplinkToVTApp(sender: UIBarButtonItem) { let application = UIApplication.shared let razerVTApp = "molpayvt://mp_url_scheme=molpayvt&mp_amount=1.10&mp_merchant_ID=SB_molpayxdk&mp_verification_key=&mp_order_ID=swift-ios&mp_channel=paynow&mp_bill_description=test payment&mp_bill_name=nick&[email protected]&mp_bill_mobile=0111111111" guard let razerVTURL = razerVTApp.addingPercentEncoding(withAllowedCharacters: .urlQueryAllowed) else {return} guard let appUrl = URL(string: razerVTURL) else {return } let websiteUrl = URL(string: "https://razer.com")! if application.canOpenURL(appUrl) { application.open(appUrl, options: [:], completionHandler: nil) } else { print("cannot open molpayvt") application.open(websiteUrl, options: [:], completionHandler: nil) } } |
Step – H
After that close button this method will trigger
|
1 2 3 4 5 6 |
@IBAction func closemolpay(sender: UIBarButtonItem) { // Closes MOLPay self.mp.closemolpay() isCloseButtonClick = true print("---Close: \(NSNumber.init(booleanLiteral: true))") } |
Step – I
In addition, use this extension with the method of transaction Result
|
1 2 3 4 5 6 7 8 9 10 11 12 13 14 15 16 17 18 19 20 21 22 23 |
extension CheckoutDataViewController: MOLPayLibDelegate { func transactionResult(_ result: [AnyHashable : Any]!) { if(result["status_code"] as? String == "11"){ // if data["status_code"].stringValue == "11" { // This is for failure self.dismiss(animated: true); }else if(result["status_code"] as? String == "00"){ // This is for success self.dismiss(animated: true); }else{ if(result["pInstruction"] as? NSNumber == 1){ }else{ } // This is for failure self.dismiss(animated: true); } } } |
Conclusion
In this Blog we have learned about MOLPay Payment Gateway. Please visit here for the demo Application for MOLPay Payment gateway in swift. Thanks for reading this Blog. You can also check my other Blog from here.

Be the first to comment.