Crashlytics in Flutter
Users expect to have a seamless experience every time they use any app but the crashes can shatter it.
For a seamless user experience, you may check our Flutter app development services by Mobikul.
In order to make the experience seamless, we will need to have a Crash-free app, but it is not easier to detect all the crashes while writing down the code for the application.
Some crashes occur at runtime which even does not occur in debug mode. To check such crashes, Firebase Crashlytics came into the picture.
Firebase Crashlytics is a tool that is used as a real-time crash reporter.
It helps to check the crashes in apps in order to increase the app quality.
It provides us the contextual information about the crashes and the resources which make the troubleshooting of crashes easier and faster.
Crashlytics automatically starts collecting crash reports as soon as you add the SDK.
We can also customize the crash report by adding logs, keys, etc.
Let’s create a Firebase project in order to integrate Crashlytics in-app.
Steps to Create A New Firebase Project
Step – 1 -> Go to ‘Firebase Console’ and select ‘Create a Project‘. Add the Project Name.

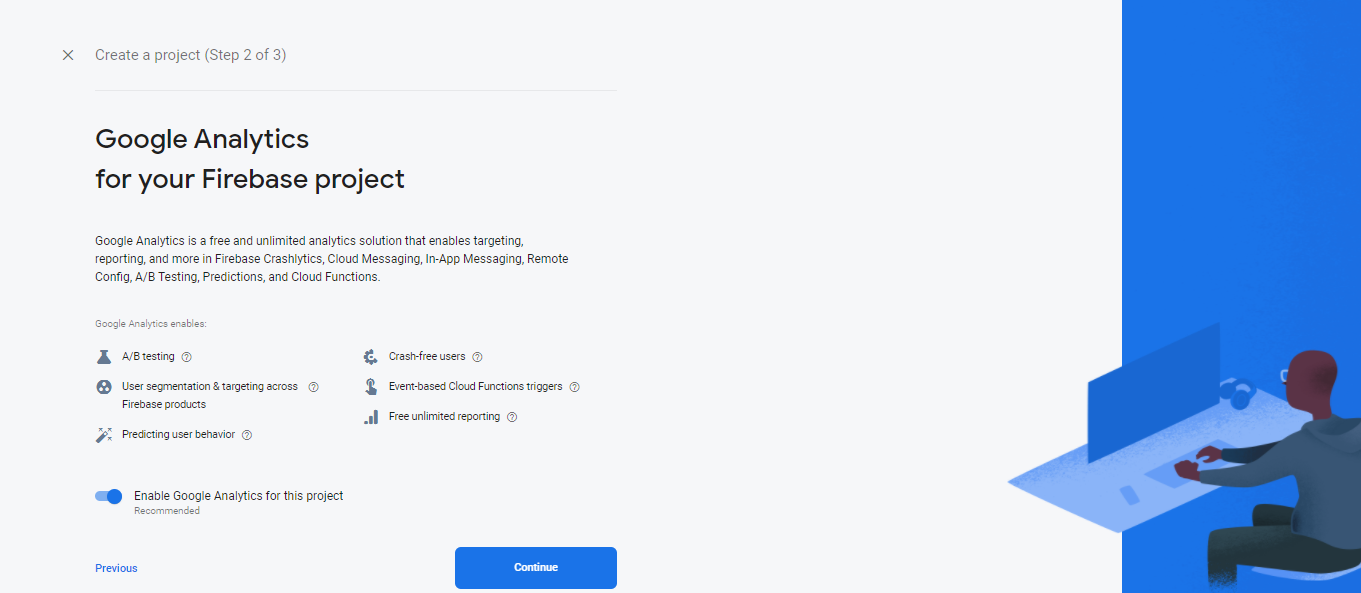
Step – 2 -> Click on ‘Continue’. It will display the tab that shows you want to Enable Google Analytics for your project or not.
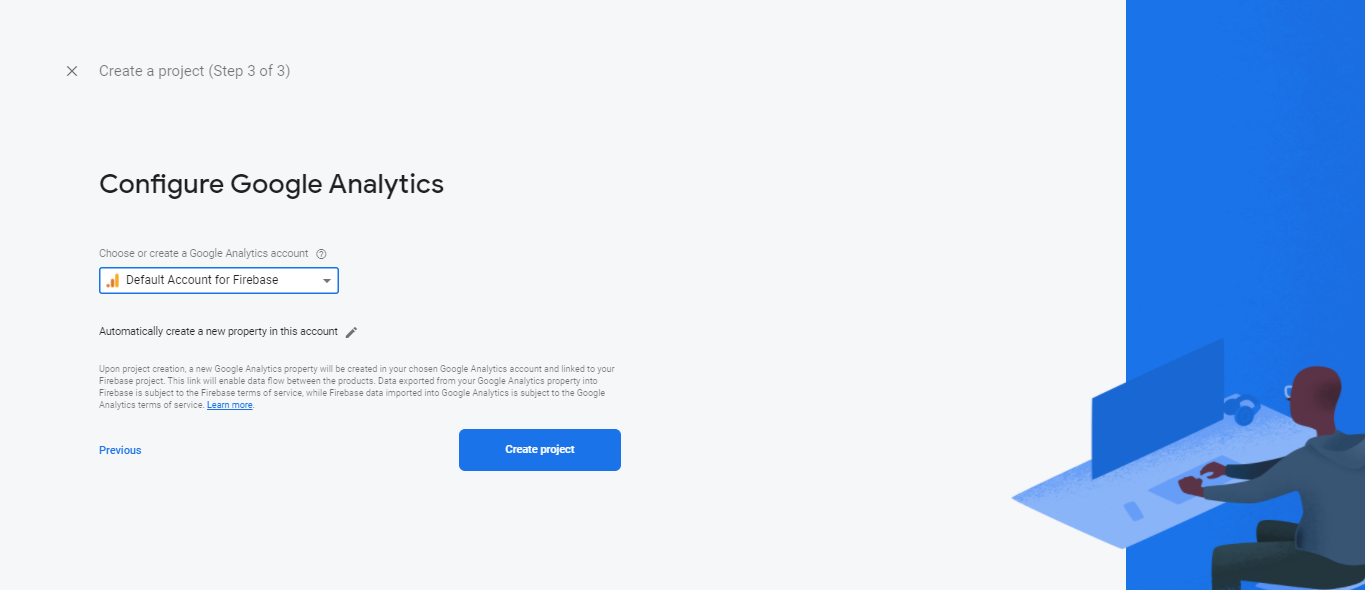
Step – 3 -> Press on ‘Continue’ again, it will display the tab for choosing a Google Analytics account if ‘Google Analytics’ is enabled.
Step – 4 -> Now, click on ‘Create Project’. It will take few minutes to set up and then the Project Dashboard will appear.

Steps for Integrating Crashlytics on Firebase Console
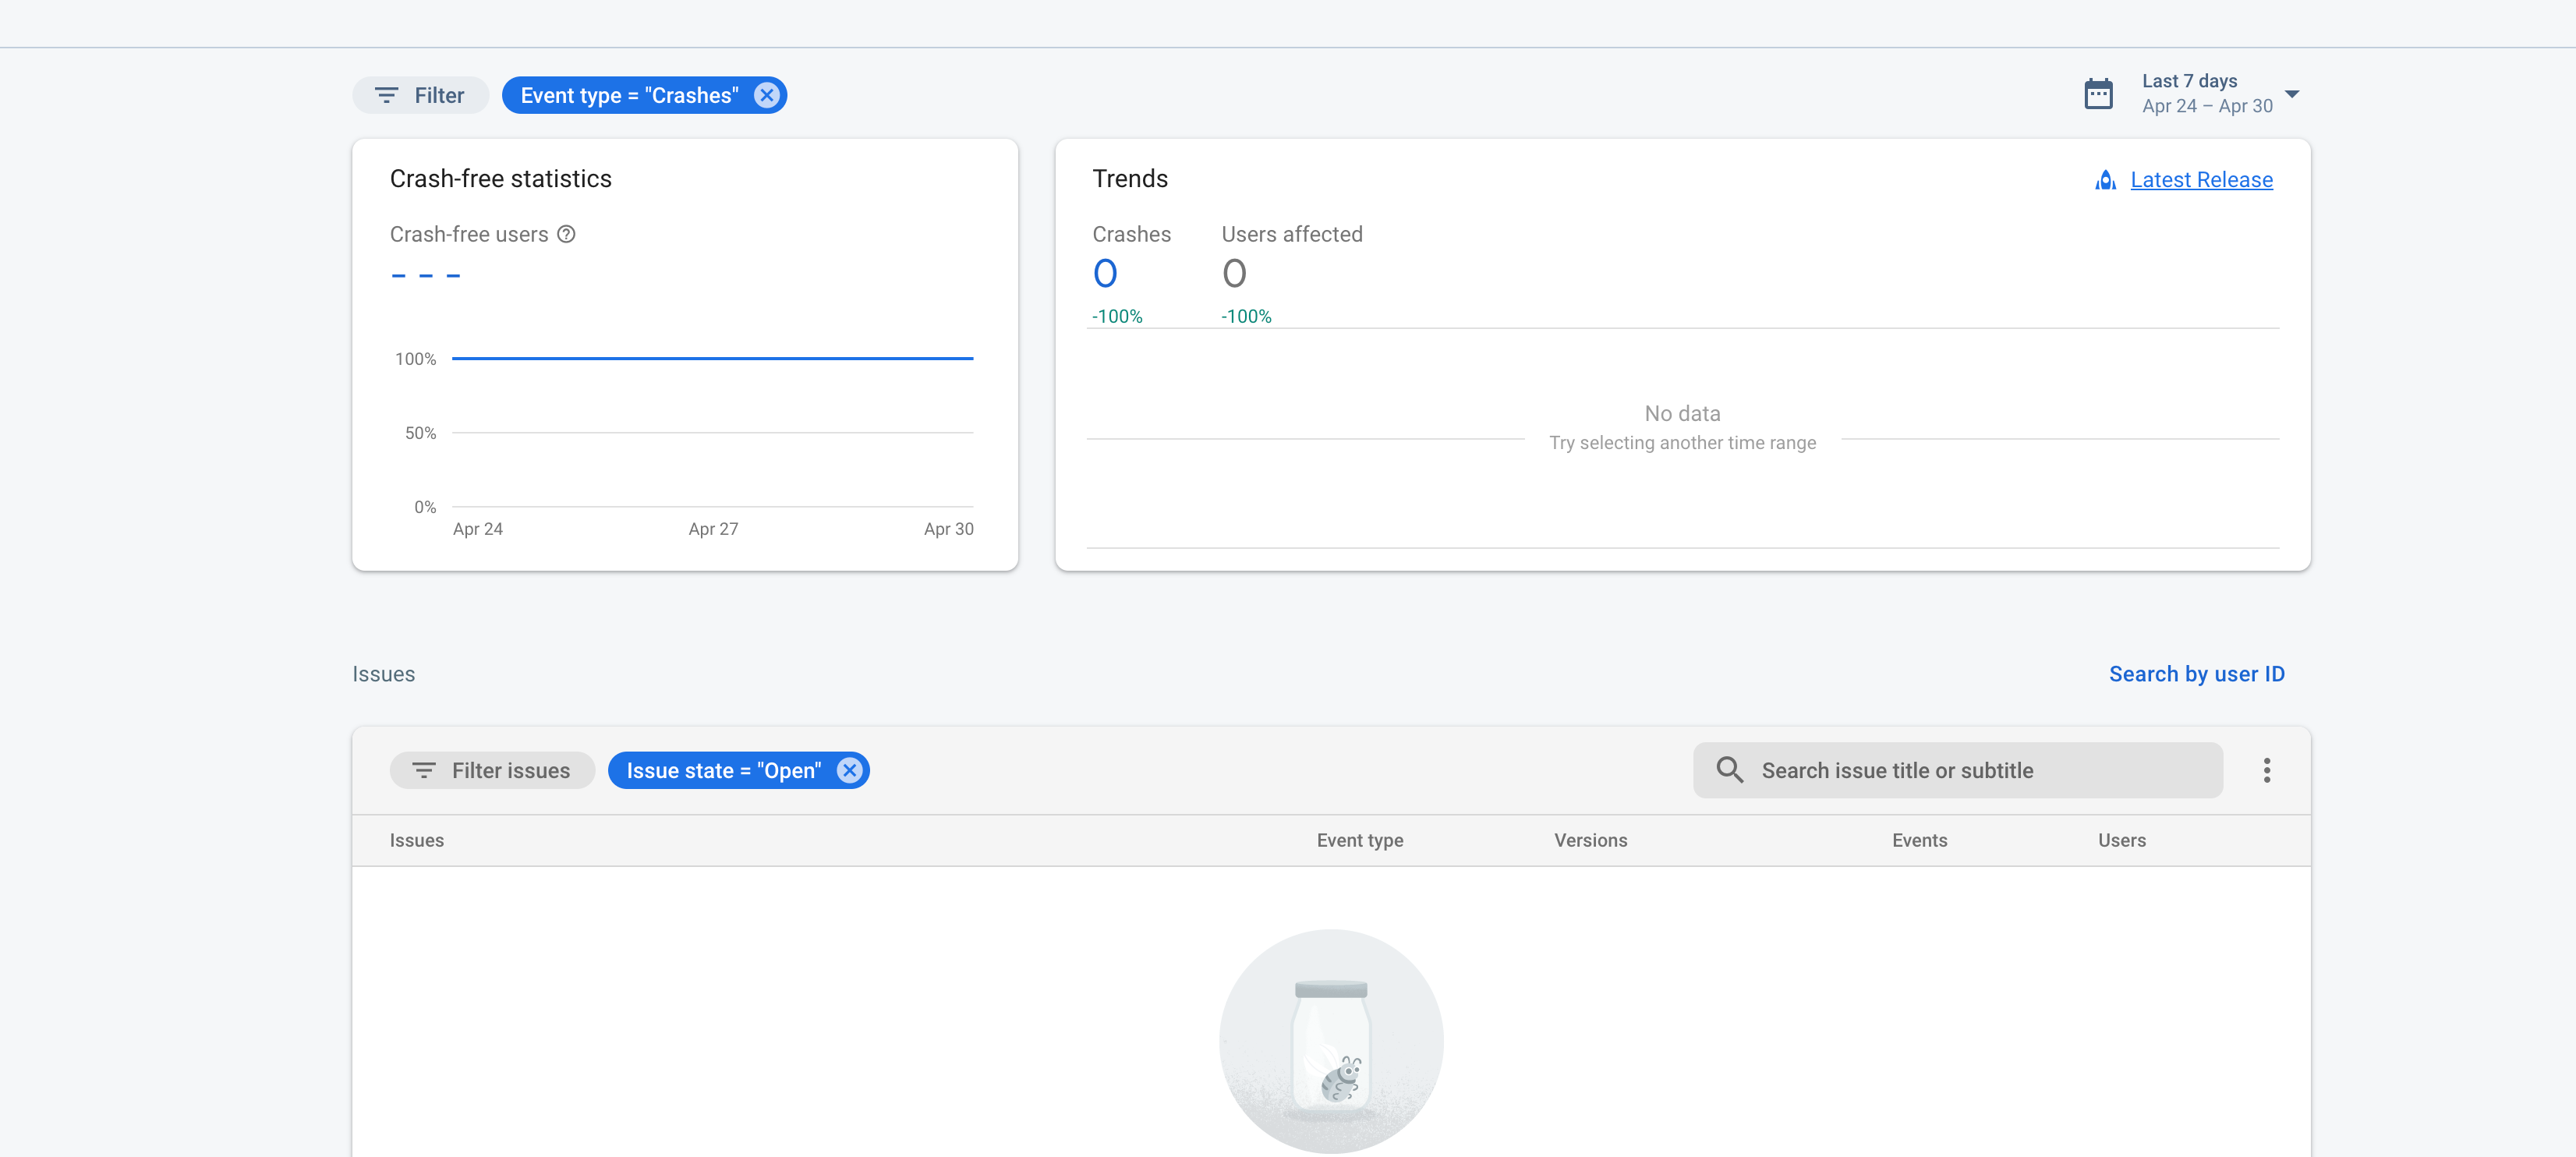
Step – 1 -> Go to the ‘Release & Monitor’ Section in the side panel and click on ‘Crashlytics’. You will see the Crashlytics Dashboard as shown.

Step – 2 -> After adding the applications, we will have to enable the Crashlytics from the ‘Enable Crashlytics’ button.

Step – 3 -> After enabling the Crashlytics it will take some time to set up and once the setup is completed, the Crashlytics dashboard will be displayed.
Now we are ready to start integration of Crashlytics in the application…
Integrating Crashlytics in Flutter App
Step – 1 -> Firstly, we will need to add the ‘firebase_crashlytics’ dependency in pubspec.yaml file.
You can check out the updated version of the dependency from pub.dev.
|
1 |
firebase_crashlytics: ^2.0.2 |
Step – 2 -> After adding the dependency, we will need to add the below command in android/app/build.gradle,
for adding the Firebase Crashlytics SDK in the app.
|
1 2 3 |
dependencies { implementation 'com.google.firebase:firebase-crashlytics:17.2.2' } |
Step – 3 -> Now we need to apply the plugin in the android/app/build.gradle file
|
1 |
apply plugin: 'com.google.firebase.crashlytics' |
Step – 4 -> We will also need to add the classpath in the android/build.gradle file.
|
1 |
classpath 'com.google.firebase:firebase-crashlytics-gradle:2.5.2' |
After that, Crashlytics will be enabled for the Android App
|
1 2 3 4 5 6 7 8 9 10 11 12 13 14 15 16 17 18 |
import 'package:firebase_core/firebase_core.dart'; import 'package:flutter/material.dart'; Future<void> main() async { WidgetsFlutterBinding.ensureInitialized(); await Firebase.initializeApp(); runApp(MyApp()); } class MyApp extends StatelessWidget { @override Widget build(BuildContext context) { return MaterialApp( debugShowCheckedModeBanner: false, home: MyHomePage(), ); } } |
After writing the Firebase.initialzeApp(), the app will start recording the crashes on Firebase Console.
In order to check whether the Firebase Crashlytics is active or not in the app, we can add a line of code in order to make the force crash in our app.
|
1 |
FirebaseCrashlytics.instance.crash(); |
It will make the app crash forcefully.
We can now go to the Crashlytics Dashboard to check whether this crash was reported or not.

Here, we can see that the Crash has been reported and the description for the same is provided below i.e., FlutterFirebaseCrashlyticsPlugin.java – line81

Conclusion
In this blog, we have read about Integrating Crashlytics into Flutter App.
I hope it will help you out in understanding and get a brief idea about it.
You may also check our blog on AdMob in Flutter – https://mobikul.com/admob-in-flutter/
Thank you for reading!!
References

Be the first to comment.