If you’re a Flutter developer, you’ve probably enjoyed the flexibility and speed of development that this open-source framework provides. It allows you to build natively compiled applications for mobile, web, and desktop from a single codebase. However, once your Flutter app is ready, the next step is getting it published on the Apple App Store for iOS users to download and enjoy. This guide will walk you through the process of publishing an iOS app developed with Flutter.
You can also read more about Flutter app development services from Mobikul.
Now, let’s check out this step-by-step guide to publishing an iOS app for Flutter devs.
Step1: Join the Apple Developer Program
You must be a member of the Apple Developer Program to submit your app to AppStore. So, if you aren’t a member, sign up here: https://developer.apple.com/programs/enroll/
You can enroll as an Individual and as an Organisation as per your requirement.
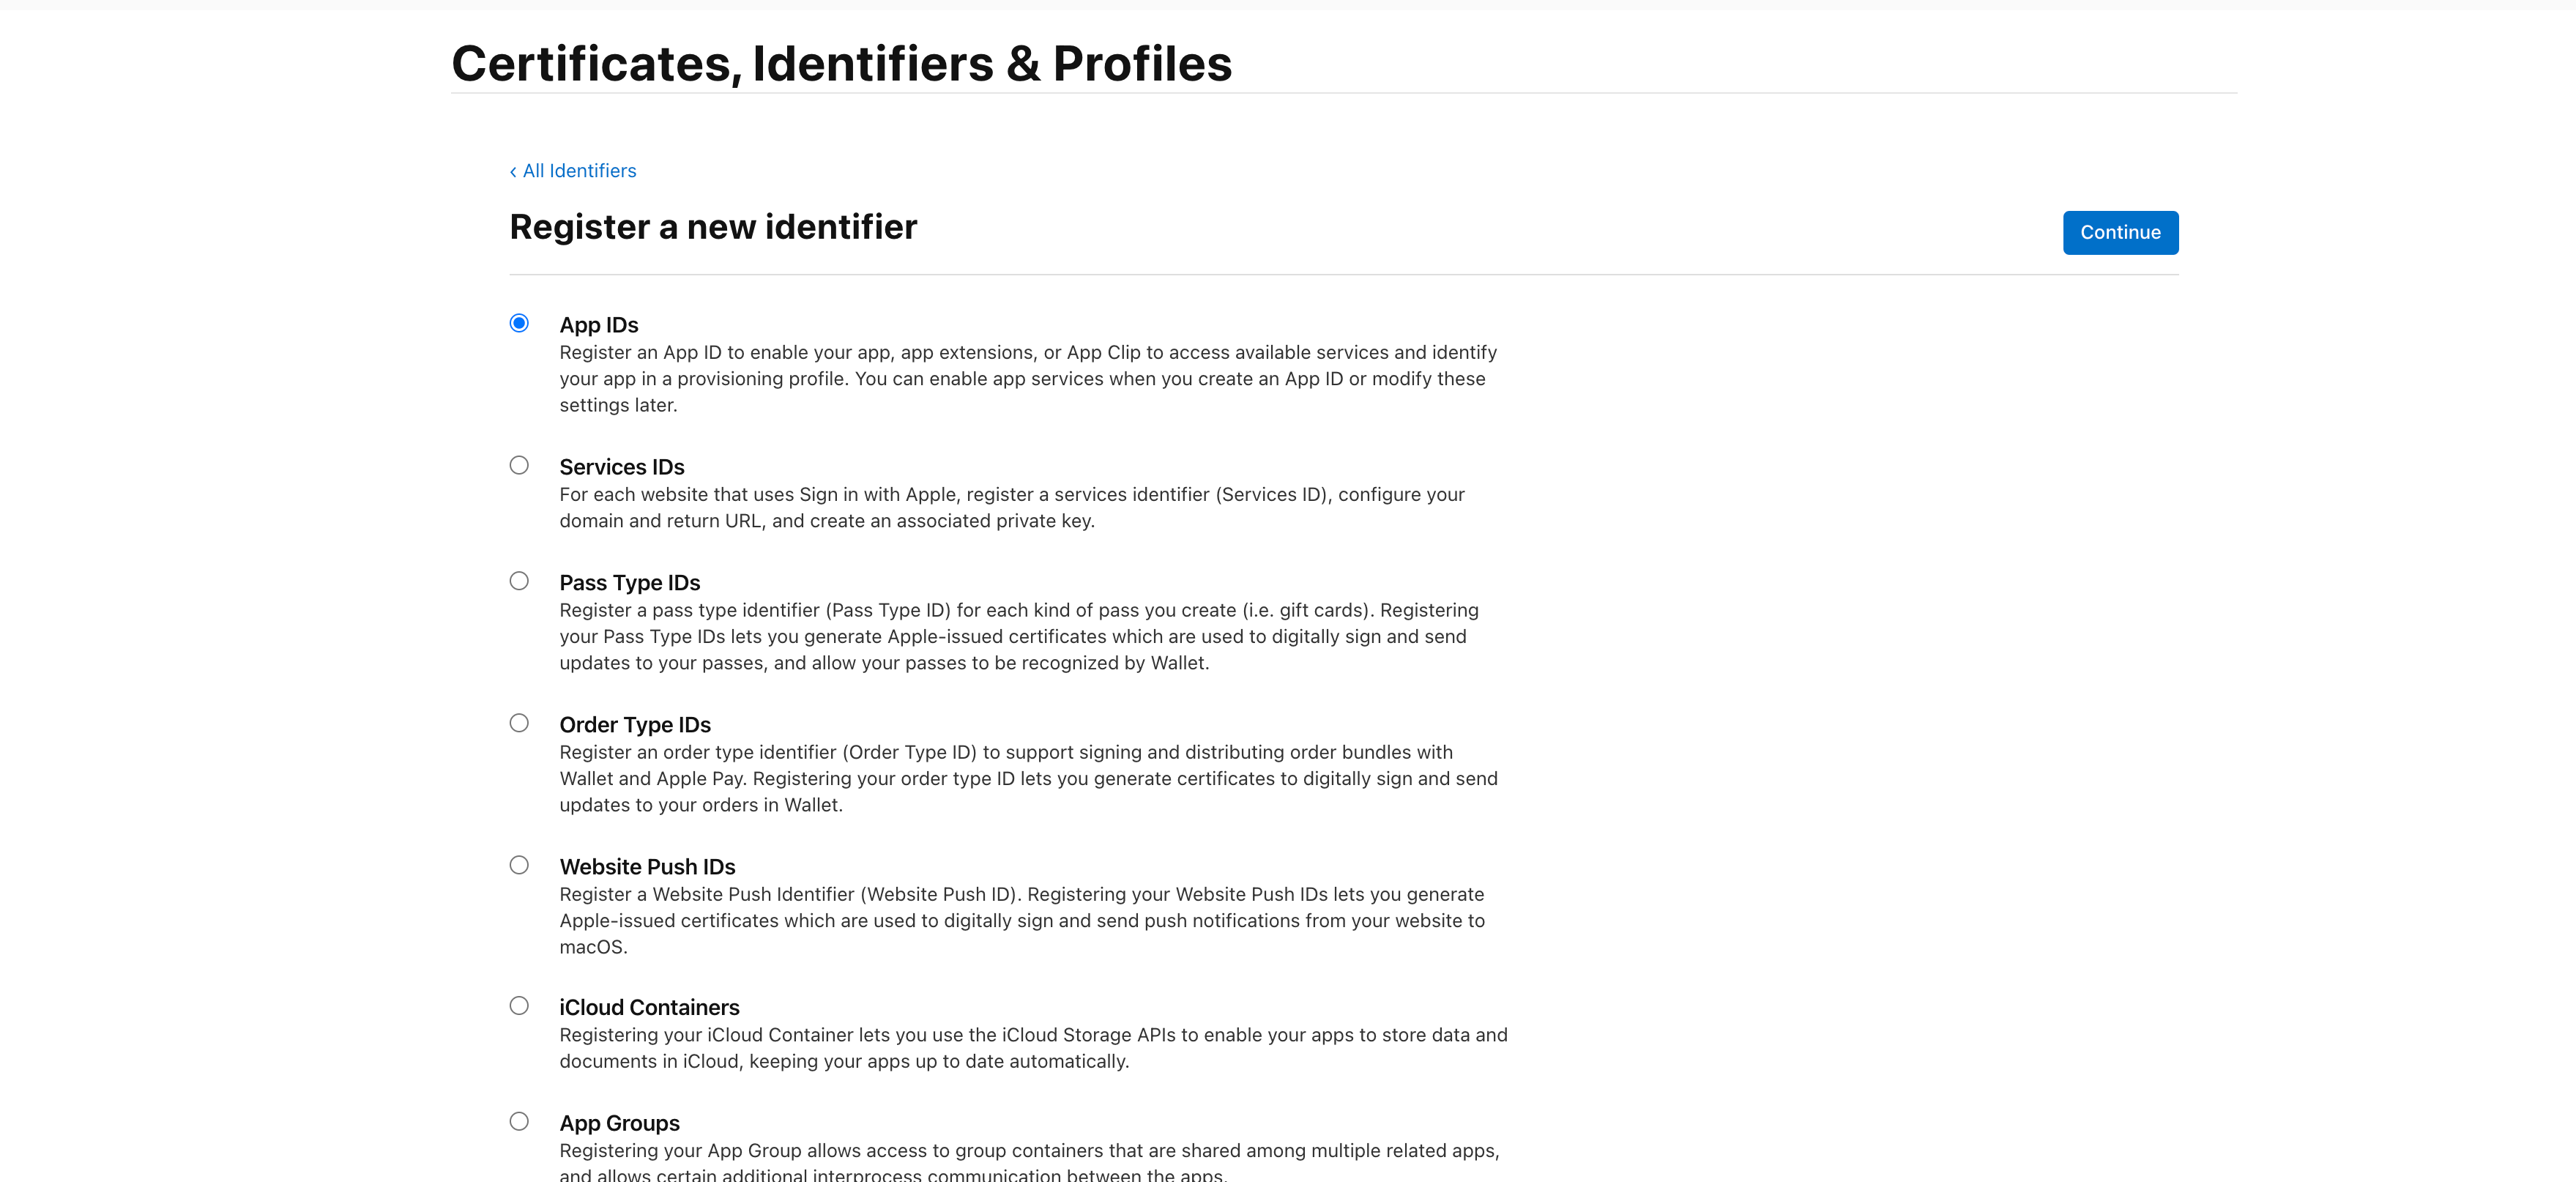
Step2: Create an App ID in the Apple Developer Console
- Log in to your Apple Developer account at developer.apple.com.
- Navigate to the “Certificates, Identifiers & Profiles” section.
- Click on “App IDs” and create a new App ID for your app. Follow the prompts and be sure to provide a unique and meaningful name for your app.
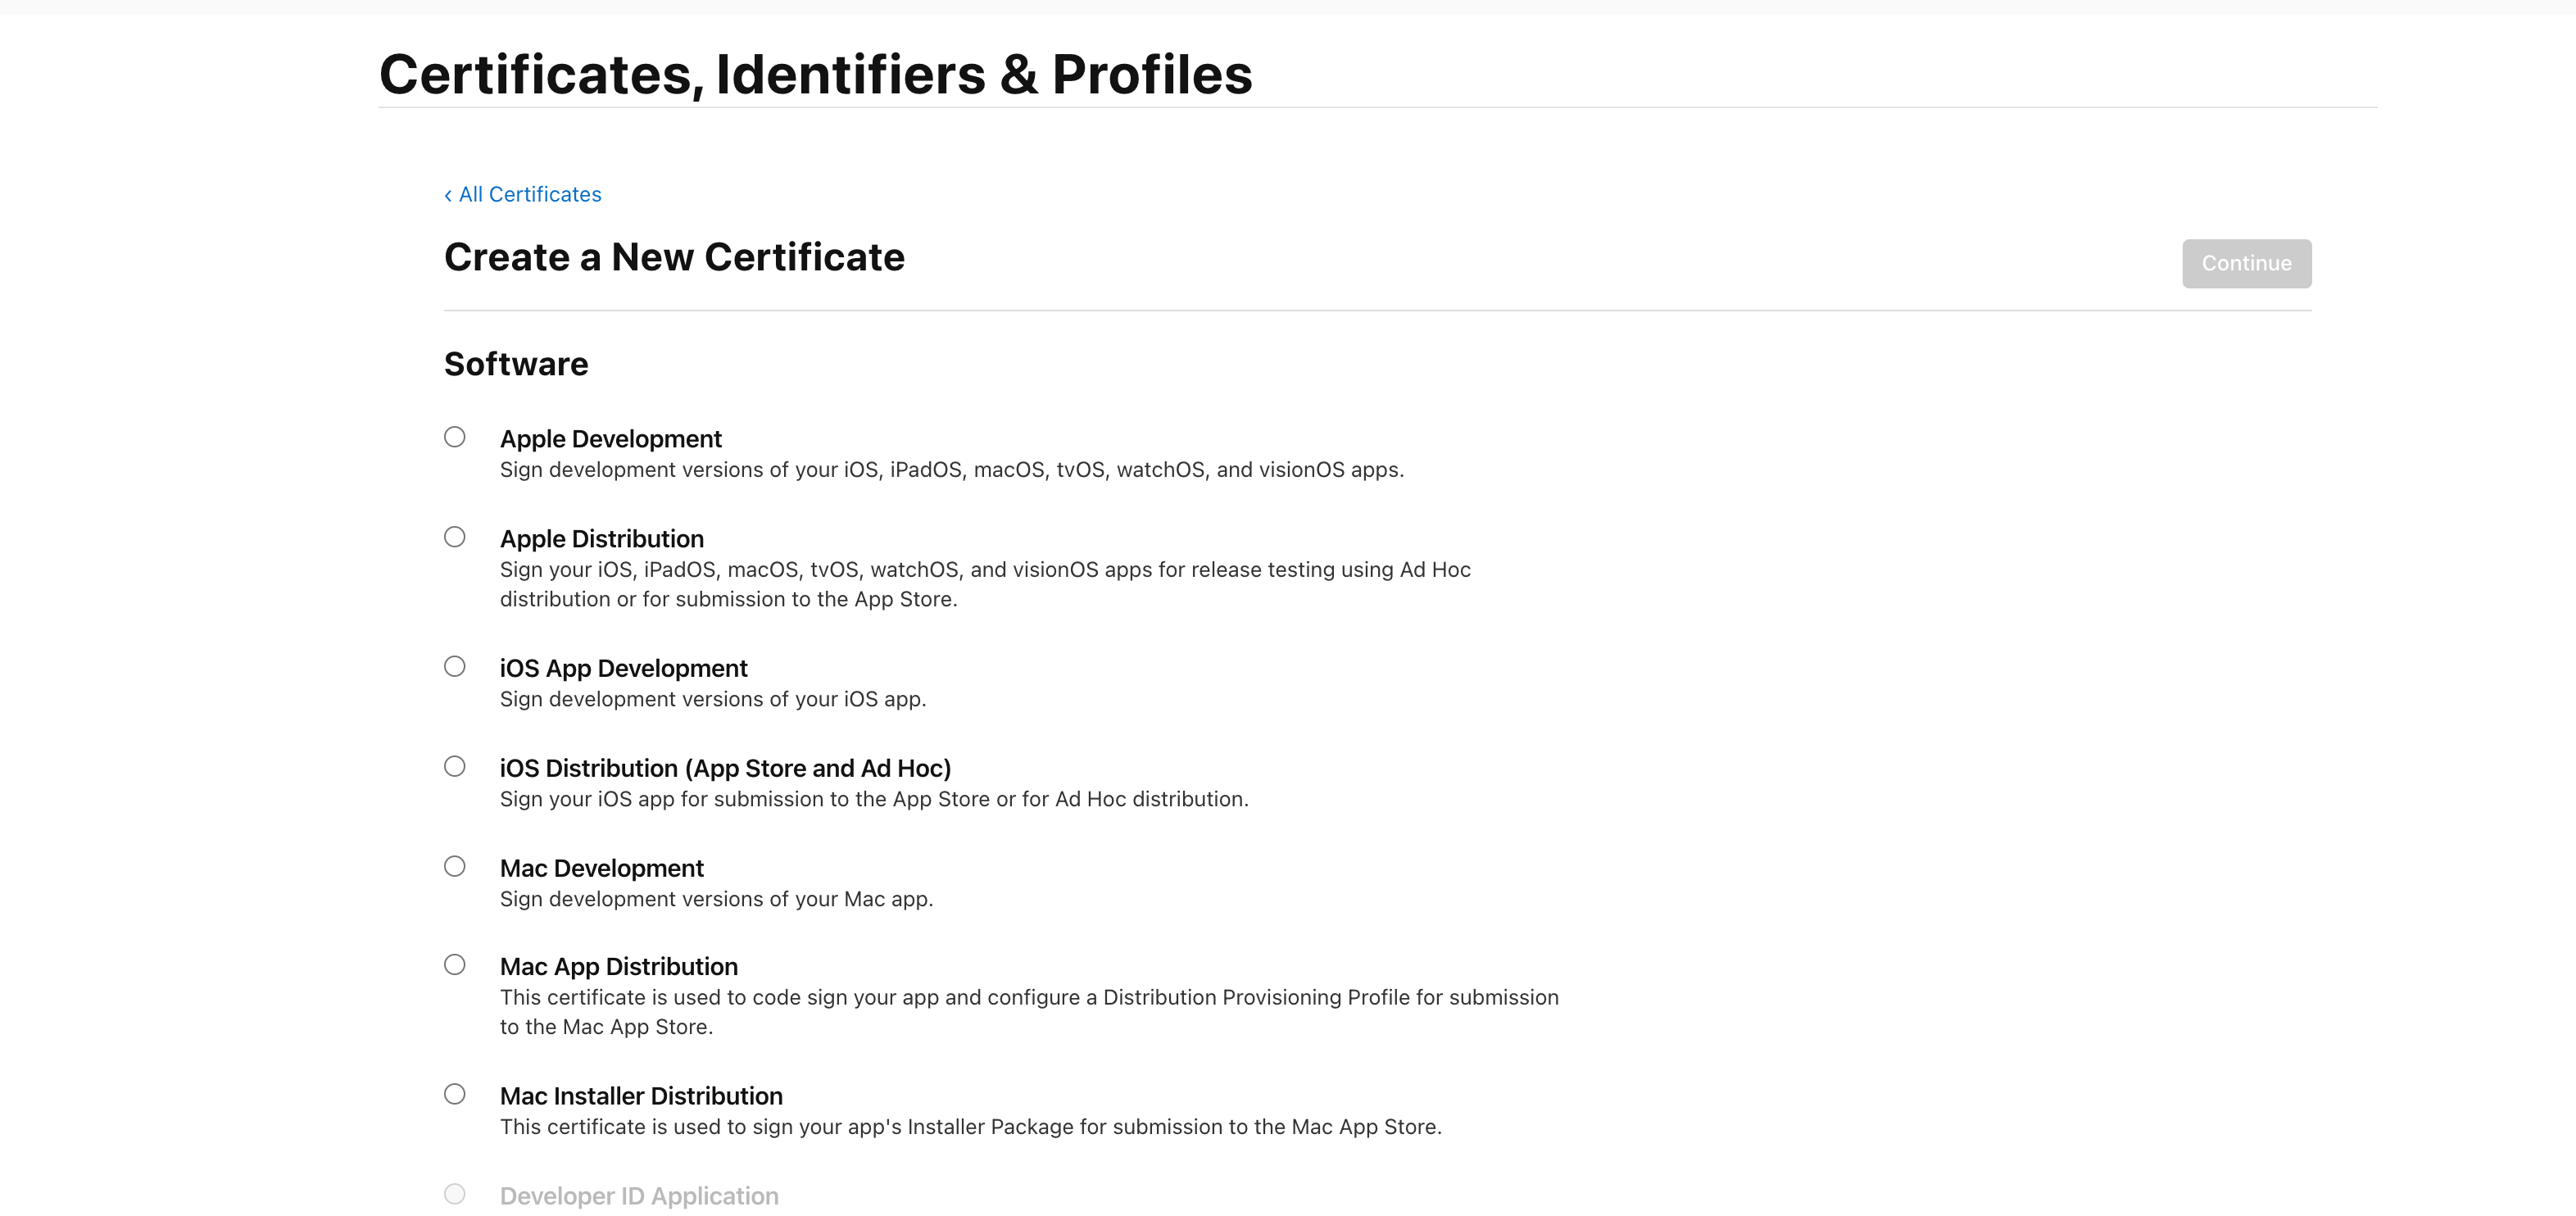
Step 3: Generate a Signing Certificate and Provisioning Profile.
- In the Apple Developer Console, go to the “Certificates” section and create a new certificate. This certificate will be used to sign your app.
- Create a provisioning profile that links your App ID and signing certificate. This profile is needed for distribution.
- You have to create different profiles and certificates for the development and distribution of the app and install these in your system.

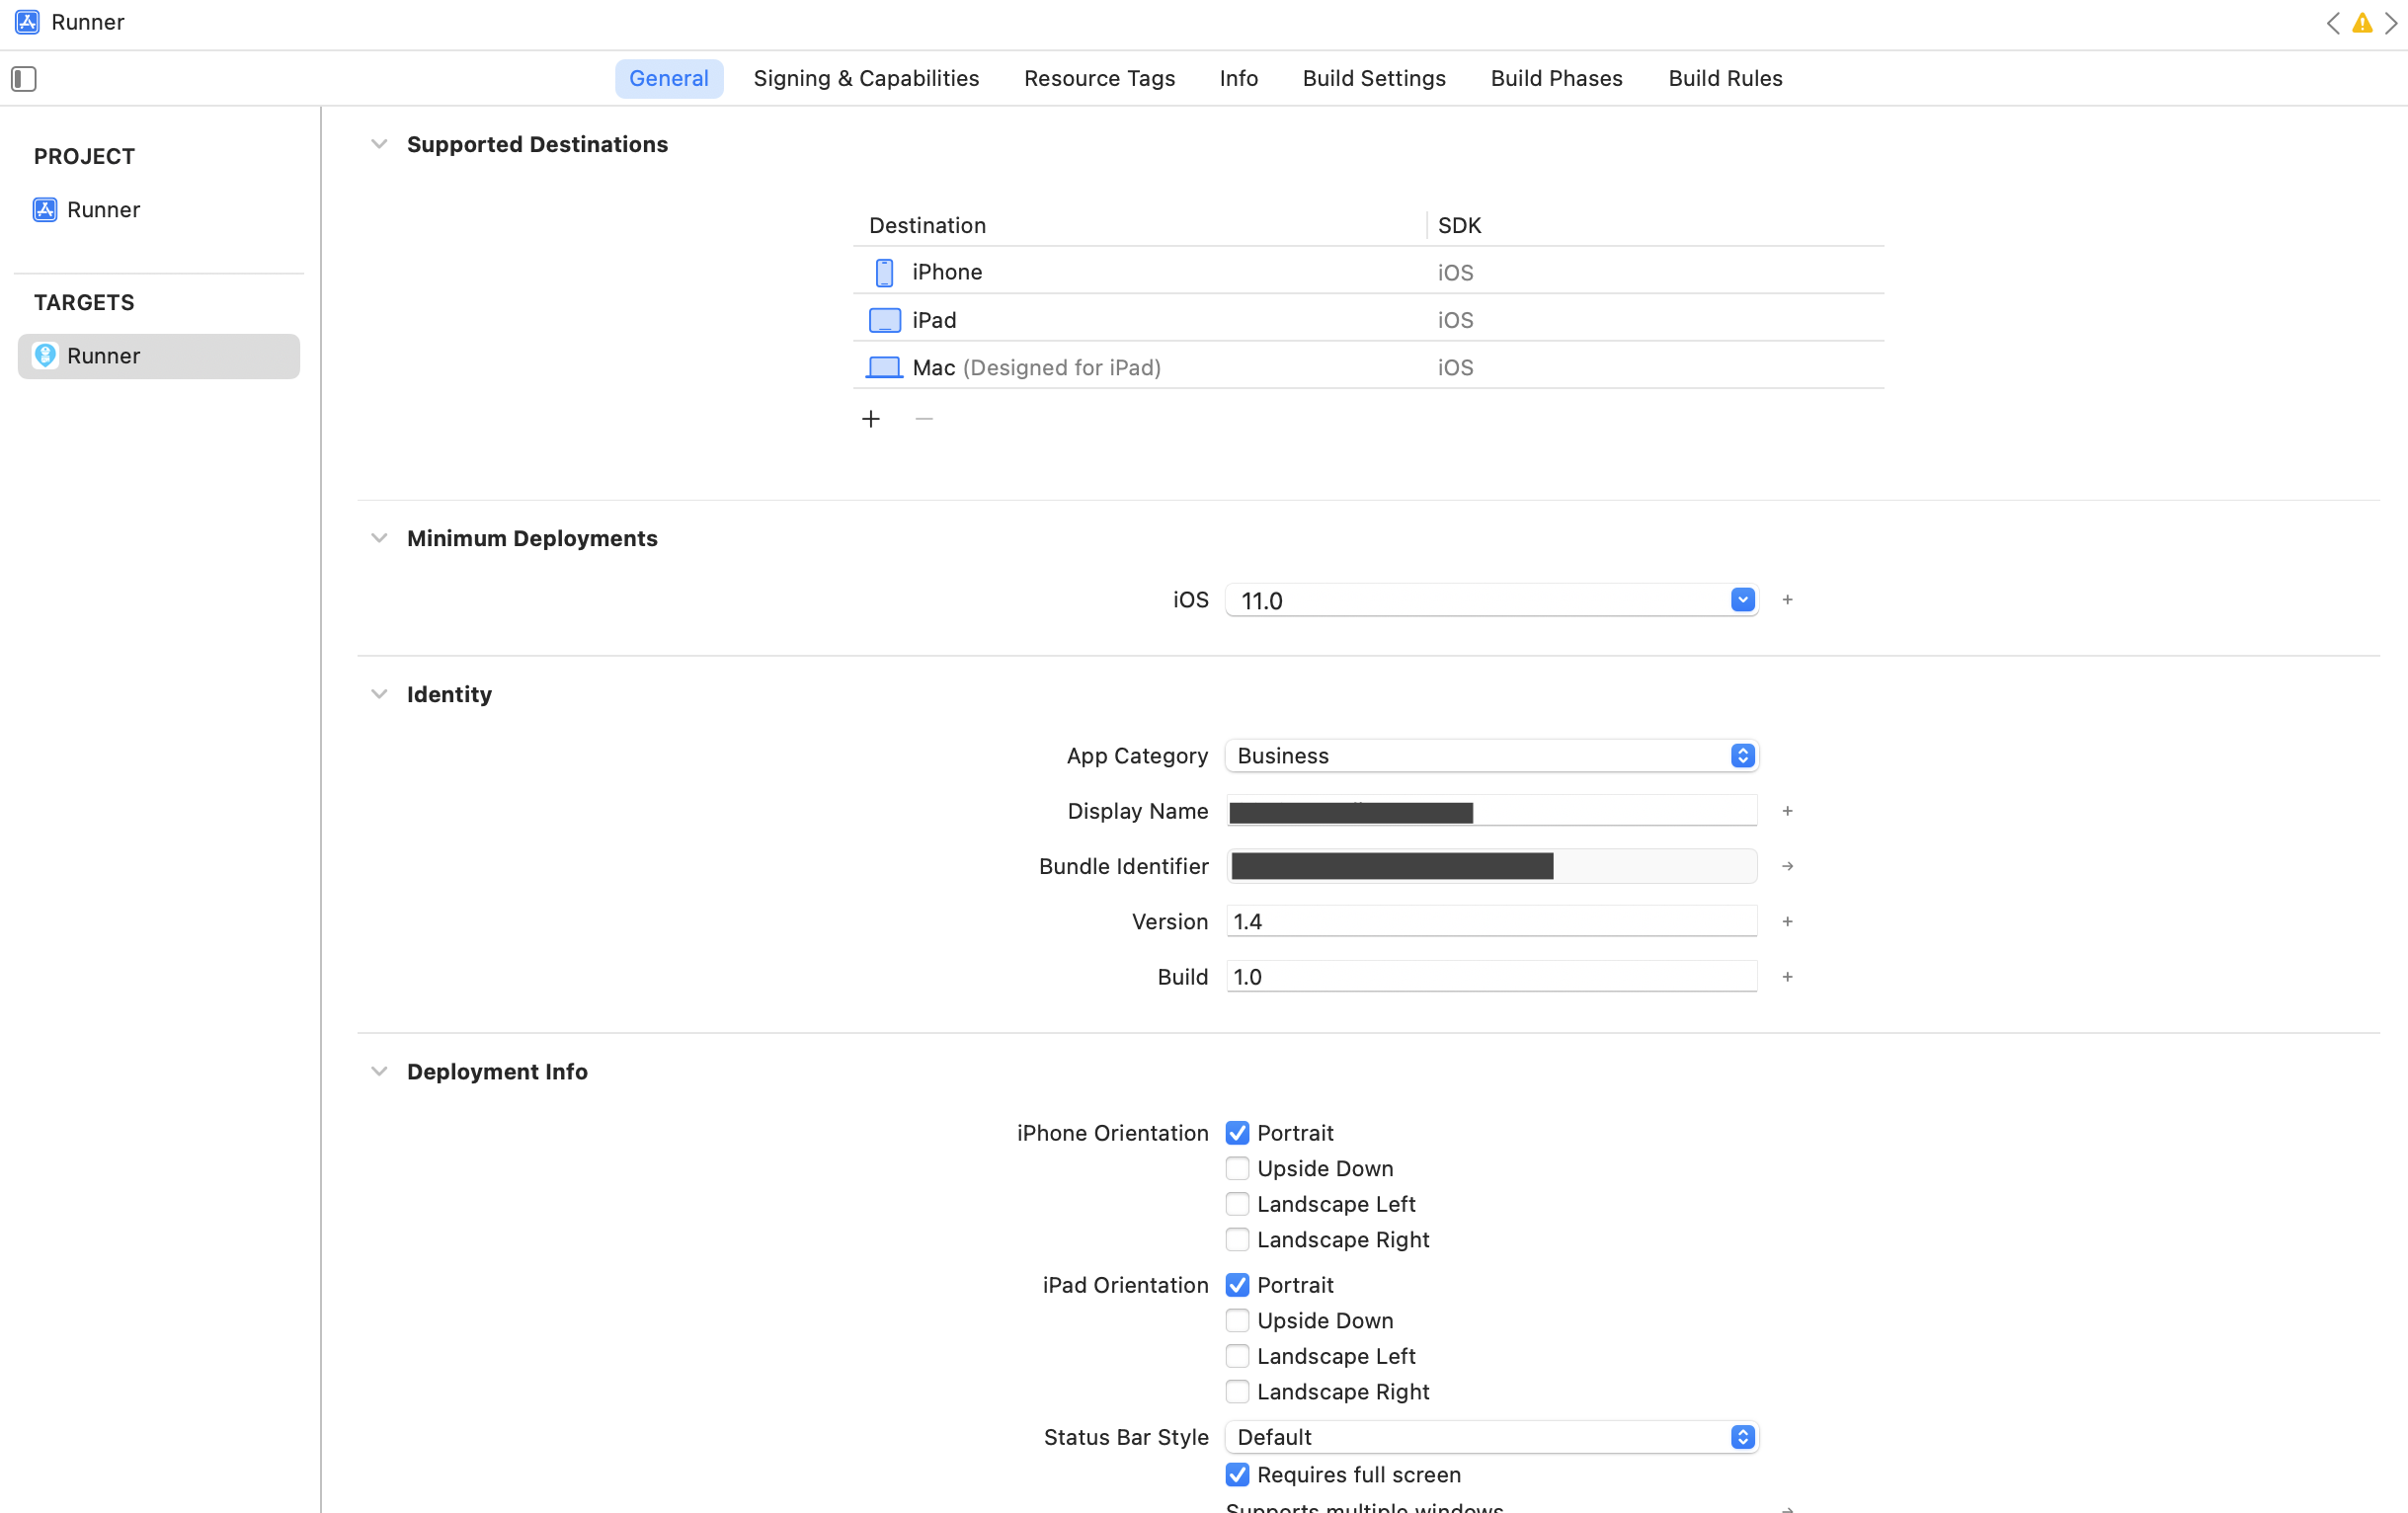
Step 4: Prepare the App for submission
- Open your flutter project in Xcode and add your unique App ID and signing certificates/ profiles in the “Signing and Capabilities” section in Runner.
- If you want to run your app on an iOS physical device, add development profiles and certificates for your bundle ID and register your device on the App Store in the Devices section.
- Also, check the app name and other app details in the “General” section.
- In Xcode, select your target device (simulator or physical device) and build your app. This process may take a few minutes.
- Once the build is successful, test your app to ensure it works correctly on the selected device.

Step 5: Create an App Store Connect record for your app
The App Store Connect is where members of the Apple Developer Program can upload apps, submit apps, and manage apps post-launch. It comes with everything from sales reports to analytics, test resources, and more.
You can log in to App Store Connect and add your new app by clicking on the “Add” button.

Step6: Archive Your App
- Once you have tested your app in development mode, select the target device as “Any iOS device”.
- In Xcode, select “Product” from the menu and choose “Archive.”
- Follow the prompts, and Xcode will create an archive of your app.
Step 7: Upload the App Using Xcode
- For uploading the app to the App Store, you have to log into your Apple developer account in Xcode.
- After archiving your app, you can submit it to the App Store from Xcode. Select “Distribute App” and follow the instructions to upload your app to App Store Connect.
Step 8: Submit the App for Review
- Manage your build in the “Test Flight” section of the AppStore.
- Add your app in Appstore Connect in the “Build” section.
- In the App Store Connect, you’ll provide all the necessary information about your app, including descriptions, screenshots, keywords, and pricing.
- You have to add screenshots of the below-mentioned devices/simulators:
iPhone 8 Plus: 1242 x 2208
iPhone 11 pro max: 1242 x 2688
iPad Pro (2nd gen): 2048 x 2732 pixels - Once you’ve filled out all the details and successfully uploaded your app, it will go through a review process by Apple.
- When your app is approved, you’ll receive an email, and it will be published on the App Store for users to download.
Conclusion:
While this guide covers the basic steps of publishing an iOS app, remember that the app publishing process can be quite detailed and may require additional configurations depending on your app’s complexity and requirements. Always refer to Apple’s official documentation for the most up-to-date information and guidelines.
Thanks for reading this article
If I got something wrong, let me know in the comments. I would love to improve.
Reference Link:
- https://developer.apple.com/app-store/review/guidelines
- https://www.instabug.com/blog/how-to-submit-app-to-app-store
Check out these interesting flutter topics:

Be the first to comment.