Use AutoComplete in Flutter class is a widget for helping the user to make a selection in material design. The user’s text input is received in a field built with the fieldViewBuilder parameter. The options to be displayed are determined using options builder and rendered with optionsViewBuilder
Read more about Flutter app development from Mobikul.
To implement the AutoComplete do follow the steps mentioned below.
1.) Create a Scaffold.
2.) Create the ArrayList as you desire.
3.) Use the Autocomplete widget.
1.) Create a Scaffold. :
Inside Scaffold widgets, it Implements the basic material design visual layout structure. First, initialize the main app as a stateless widget.
This class provides APIs for showing drawers and bottom sheets. We can add the background color inside the scaffold widget.
It also supports special Material Design components, such as Drawers, AppBars, and SnackBars.
|
1 2 3 4 5 6 7 8 9 10 11 12 13 14 15 16 17 18 19 20 |
void main() { runApp(const MyApp()); } class MyApp extends StatelessWidget { const MyApp({Key? key}) : super(key: key); // This widget is the root of your application. @override Widget build(BuildContext context) { return MaterialApp( debugShowCheckedModeBanner: false, title: 'Auto Complete Demo', theme: ThemeData( primarySwatch: Colors.blue, ), home: const AutoCompleteScreen(title: 'Auto Complete Demo), ); } } |
2.) Create the ArrayList as you desire.
Now, create ArrayList and set the Strings which you want to be visible as the AutoComplete Listing.
|
1 2 3 4 5 |
class AutoCompleteScreen extends StatelessWidget { List<String> options = <String>['Test 1', 'Data new', 'testing', 'Sunday', 'Monday', 'Tuesday', 'Wednesday', 'Thursday', 'Friday', 'Saturday']; } |
3.) Use the Autocomplete widget.
The Autocomplete class itself has a generic type T extends Object. That means the option item can be any type of object, not necessarily a string.
A widget for helping the user make a selection by entering some text and choosing from among a list of options.
The full code is mentioned below.
|
1 2 3 4 5 6 7 8 9 10 11 12 13 14 15 16 17 18 19 20 21 22 23 24 25 26 27 28 29 30 31 32 33 34 35 36 37 38 39 40 41 42 43 44 45 46 47 48 49 50 51 52 53 54 |
import 'package:flutter/material.dart'; void main() { runApp(const MyApp()); } class MyApp extends StatelessWidget { const MyApp({Key? key}) : super(key: key); // This widget is the root of your application. @override Widget build(BuildContext context) { return MaterialApp( debugShowCheckedModeBanner: false, title: 'Auto Complete Demo', theme: ThemeData( primarySwatch: Colors.blue, ), home: const AutoCompleteScreen(title: 'Auto Complete Demo), ); } } class AutoCompleteScreen extends StatelessWidget { List<String> options = <String>['Test 1', 'Data new', 'testing', 'Sunday', 'Monday', 'Tuesday', 'Wednesday', 'Thursday', 'Friday', 'Saturday']; @override Widget build(BuildContext context) { return Center( child: Padding( padding: const EdgeInsets.all(16.0), child: Autocomplete<String>( optionsBuilder: (TextEditingValue textEditingValue) { if (textEditingValue.text == '') { return const Iterable<String>.empty(); } return options.where((String option) { return option.contains(textEditingValue.text.toLowerCase()); }); }, onSelected: (String selection) { ScaffoldMessenger.of(context).showSnackBar( SnackBar( content: Text(selection), ), ); }, ), ), ); } } |
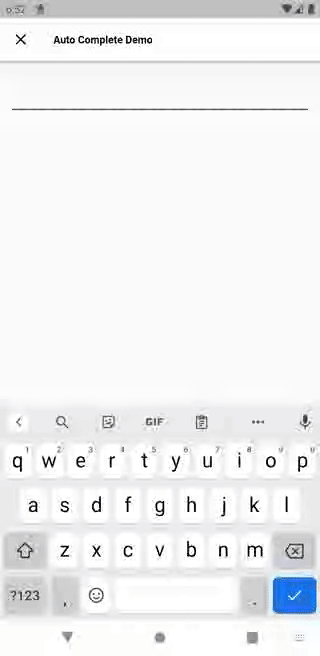
We can now run the app on how to create AutoComplete in a flutter.
Finally, we have implemented the flow of creating AutoComplete in a flutter.
Hope this blog helps you to create AutoComplete in a flutter.
So, I hope it will help you out in understanding and get a brief idea about it.
You can also check these links.
Another mentioned URL.
For more understanding please can go through this Link:
That’s all, You can enjoy your AutoComplete implementation in a flutter.
Thank you very much.

Be the first to comment.