Use Animated Padding in Flutter class is a widget for helping the user to make a selection in material design. The animated Padding version of Container is gradually changing its values over a period of time.
In Flutter, The AnimatedContainer automatically animates between the old and new values of properties when they change using the provided curve and duration.
You can find out more about the Flutter app development services page.
To implement the Animated Padding do follow the steps mentioned below.
1.) Create a Scaffold.
2.) Create the Padding variable and assigned it.
3.) Use the AnimatedPadding widget.
1.) Create a Scaffold. :
Inside Scaffold widgets, it Implements the basic material design visual layout structure. First, initialize the main app as a stateless widget.
This class provides APIs for showing drawers and bottom sheets. We can add the background color inside the scaffold widget.
It also supports special Material Design components, such as Drawers, AppBars, and SnackBars.
|
1 2 3 4 5 6 7 8 9 10 11 12 13 14 15 16 17 18 19 20 |
void main() { runApp(const MyApp()); } class MyApp extends StatelessWidget { const MyApp({Key? key}) : super(key: key); // This widget is the root of your application. @override Widget build(BuildContext context) { return MaterialApp( debugShowCheckedModeBanner: false, title: 'Animated Padding Demo', theme: ThemeData( primarySwatch: Colors.blue, ), home: _AnimatedPaddingScreen(), ); } } |
2.) Create the Padding variable and assigned it.
Now, For padding, we can create a widget variable that insets its child by a value. For more complex animations, we can create a subclass of AnimatedWidget such as the DecoratedBoxTransition, or use your own AnimationController.
|
1 |
double padding = 10.0; |
3.) Use the AnimatedPadding widget.
In AnimatedPadding automatically animate between the old and new values of properties when they change using the provided curve and duration.
The full code is mentioned below.
|
1 2 3 4 5 6 7 8 9 10 11 12 13 14 15 16 17 18 19 20 21 22 23 24 25 26 27 28 29 30 31 32 33 34 35 36 37 38 39 40 41 42 43 44 45 46 47 48 49 |
import 'package:flutter/material.dart'; void main() { runApp(const MyApp()); } class MyApp extends StatelessWidget { const MyApp({Key? key}) : super(key: key); @override Widget build(BuildContext context) { return MaterialApp( debugShowCheckedModeBanner: false, title: 'Stream Builder Demo', theme: ThemeData( primarySwatch: Colors.blue, ), home: _DemoStreamBuilderScreen(), ); } } class _DemoStreamBuilderScreen extends StatelessWidget { double padding = 10.0; @override Widget build(BuildContext context) { return Container( child: Center( child: AnimatedPadding( padding: EdgeInsets.all(padding), duration: Duration(seconds: 1), child: InkWell( child: Container( color: Theme.of(context).colorScheme.secondary, child: Center( child: Text("Touch me"), ), ), onTap: () { setState(() { padding = (padding == 10.0) ? 40.0 : 10.0; }); }, ), ), ), ); } } |
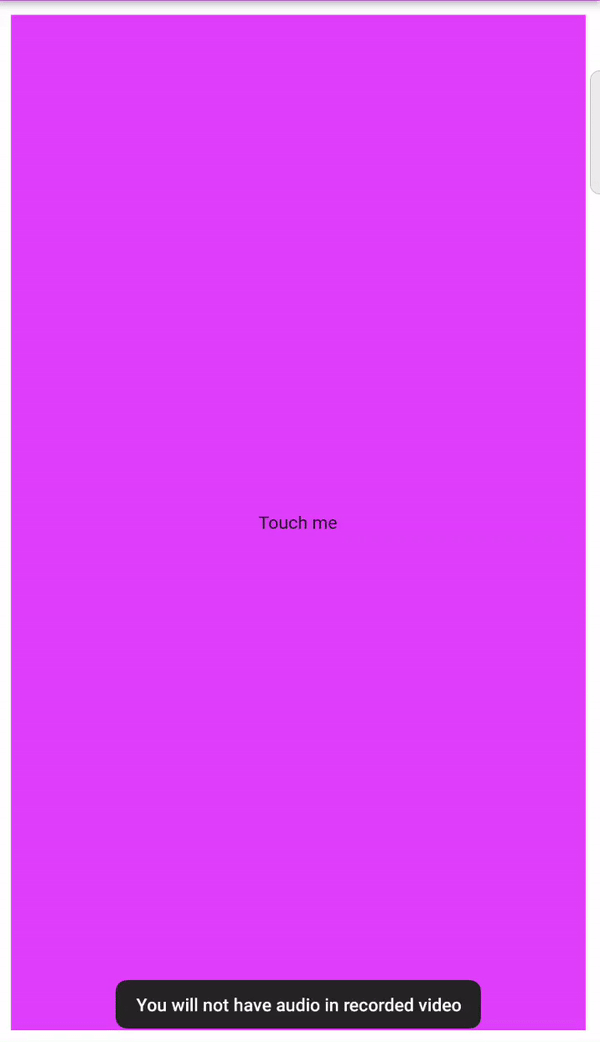
We can now run the app on how to create Animated Padding in a flutter.
Finally, we have implemented the flow of creating Animated Padding in a flutter.
Hope this blog helps you to create Animated Padding in a flutter.
So, I hope it will help you out in understanding and get a brief idea about it.
You can also check these links.
Another mentioned URL.
For more understanding please can go through this Link :
That’s all.
Thank you very much.

Be the first to comment.