XCode Simulator
The simulator allows you to prototype and test builds of your app during the development process. Simulators come as a part of the Xcode tool. It runs on Mac and simulating an iPhone, iPad, Apple TV, or Apple Watch environment. It enables you to simulate apple devices running on current or some legacy OS.
Real Device vs Simulator
There are a few differences between running an application on a device and on the simulator.
- Performace
- The computing power of the simulator and the devices are different. The simulator uses Mac computing resources.
- Also, the architecture upon which the app compile for the simulator and devices are different, for device Xcode uses x86 architecture and for devices, Xcode uses ARM architecture.
- Hardware
- There is a limitation for simulators while using the hardware feature for the application. A simulator can not simulate many sensors, some of them are a camera, Bluetooth, Face ID, and sensors like Proximity, Motion, Gyroscope, accelerometer, and so on.
- Gesture
- Testing some gestures like pinch, swipe is much easier with fingers in comparison to mouse.
- Frameworks
- There are few frameworks that are also not supported by simulators. Few of them are ARKit, HomeKit, MessageUI, etc
If you want all lists of differences then please refer to the official documentation by navigating to Help > Simulator Help in the simulator menu.
Access Simulator from Xcode
There are 2 ways to access Simulator through Xcode.
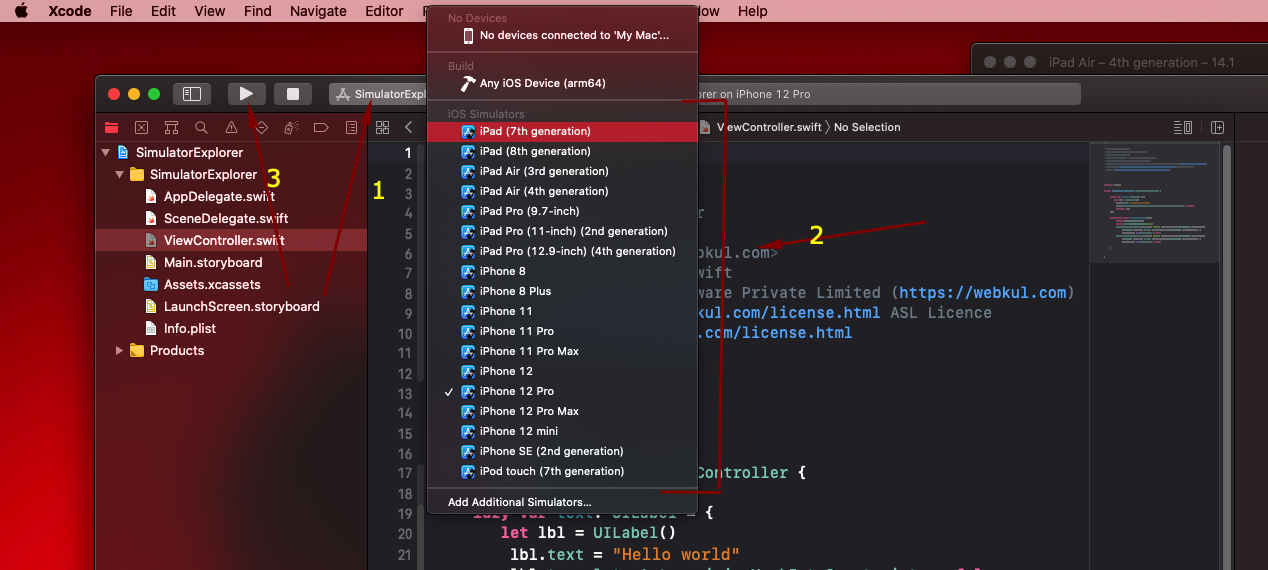
1. Running Your iOS App
To run an application via a simulator, choose an iOS Simulator from Xcode Schema pop-up menu and click on Run.
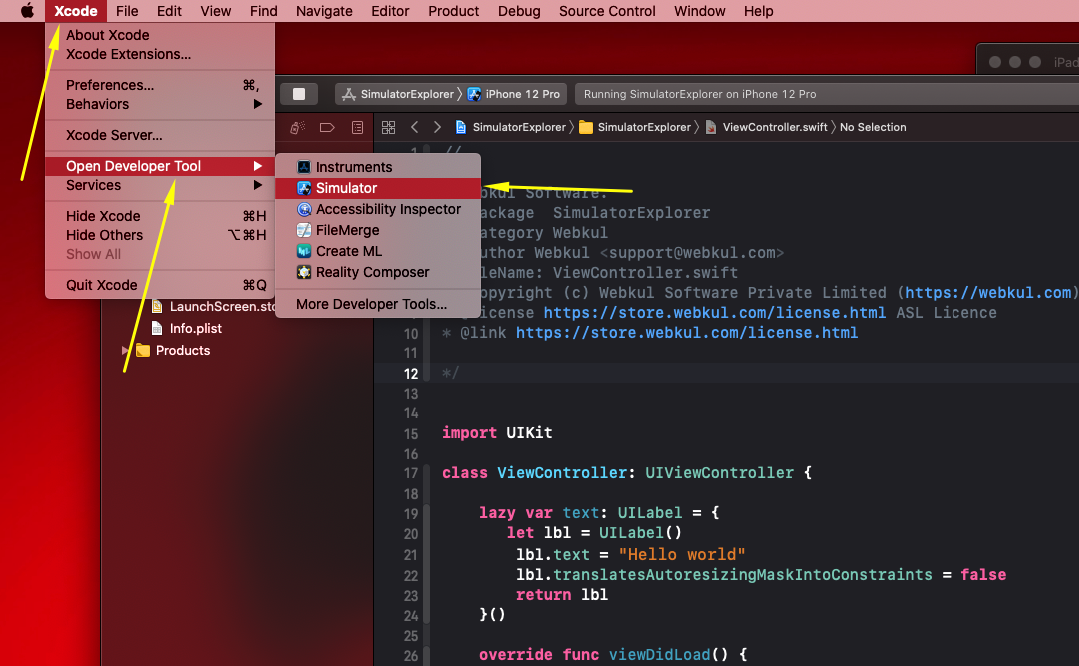
2. Launching Simulator Without Running an App
- Launch Xcode.
- Do one of the following
- Choose Xcode > Open Developer Tool > Simulator
- Control-click the Xcode icon in the Dock, and from the shortcut menu, choose Open Developer Tool > Simulator

Organizing Simulators Using Xcode
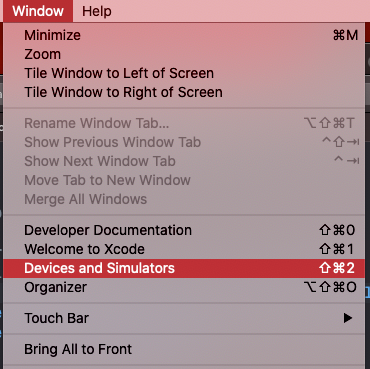
Xcode provides us a default list of simulators. To view all available simulators follow the below-mentioned steps:
- Open Xcode
- Select Window > Devices and Simulators menu.
- Select the Simulator Tab.
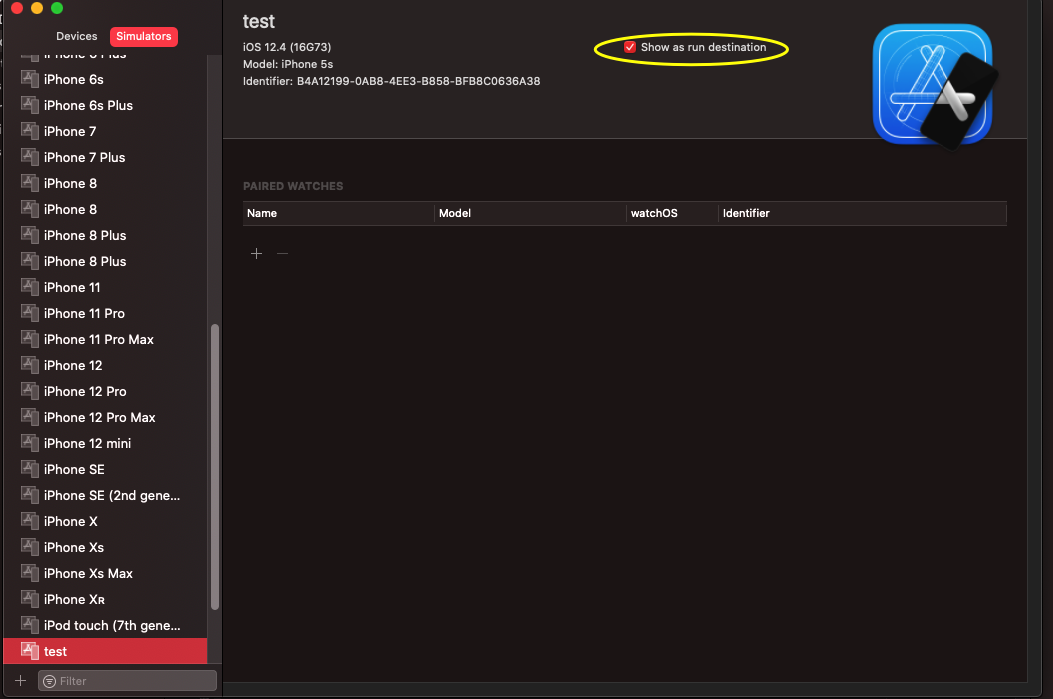
Now, you will see all the list of simulators that your Xcode includes. It also shows those simulators which you have downloaded earlier.
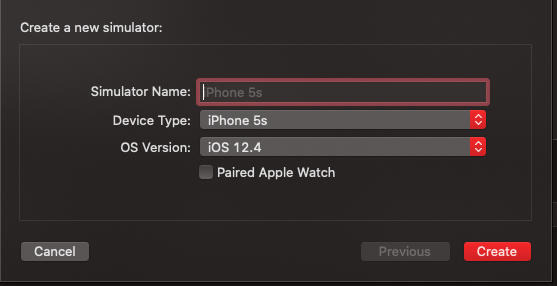
Creating a new simulator
If you want to create a new simulator then follow the below steps:
- Click on the + button at the bottom left
- Enter the simulator name
- Select the Device Type
- Select the OS version
- Click on create.
Uncheck the Show as runtime destination checkbox for the simulator which you have created. This will hide the simulator from the app scheme.
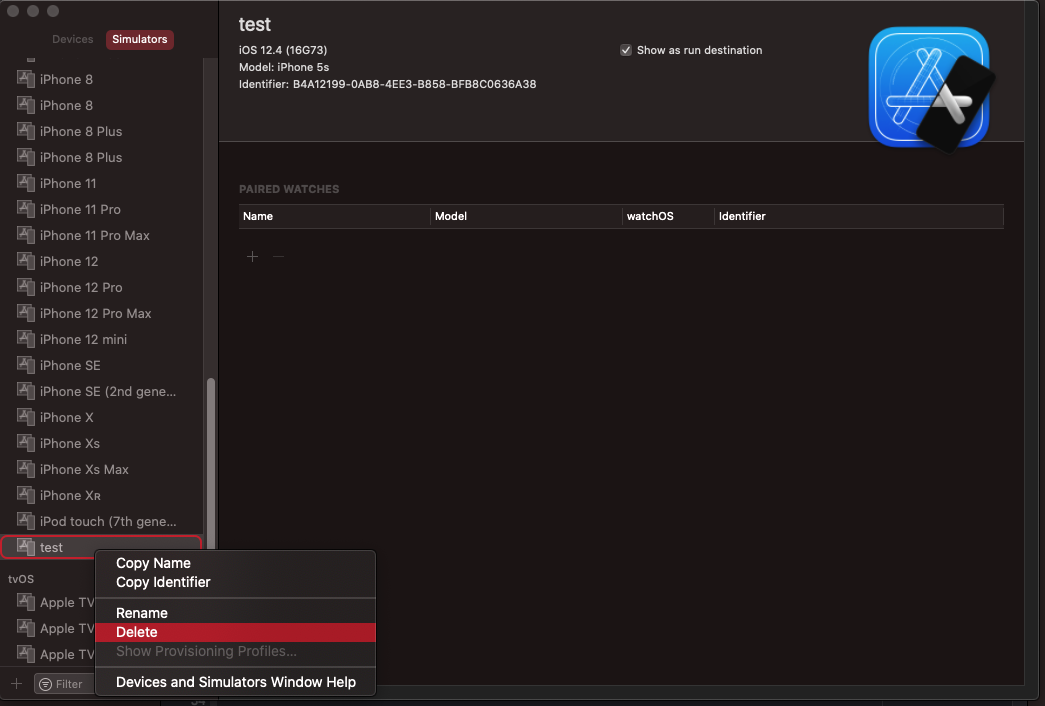
Deleting a Simulator
If you want to delete any particular simulator for your Xcode then follow the below-mentioned steps:
- Open Devices & Simulators by following the above-mentioned steps and navigate to the Simulators tab.
- Right-click or Control-click on any listed simulator.
- Then click on Delete
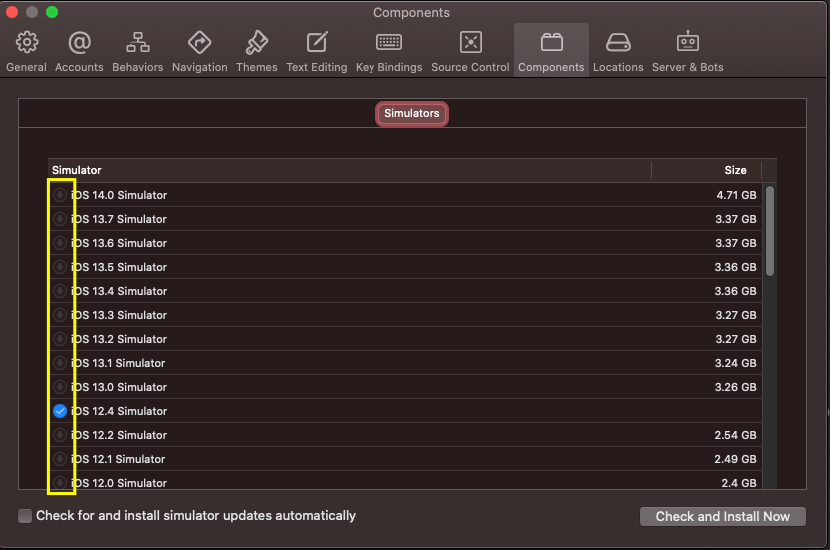
Downloading Simulator RunTime
If you want to use an older version of the simulator then you can download it from the Components window of Xcode Preference.
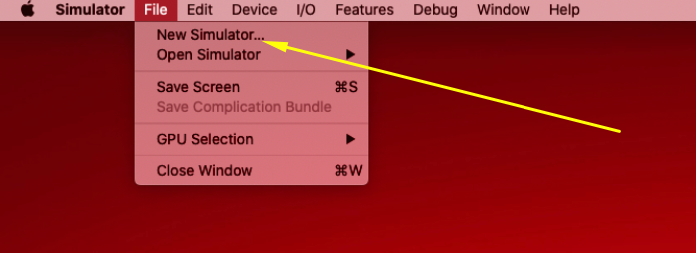
Creating Simulator From the Simulator Menu
You can also create a simulator from the simulator menu. To access the simulator menu Open the simulator in your mac via any of the above-mentioned steps. Now follow the below-mentioned steps:
- File > New Simulator form the simulator menu
- Enter the simulator name
- Select the Device Type
- Select the OS version
- Click on create.
Now once you create the simulator. You can open the simulator by following the below-mentioned steps:
- File > Open Simulator form the simulator menu
- Select the run time
- Now click on the simulator name which you want to open.

Simulator Features
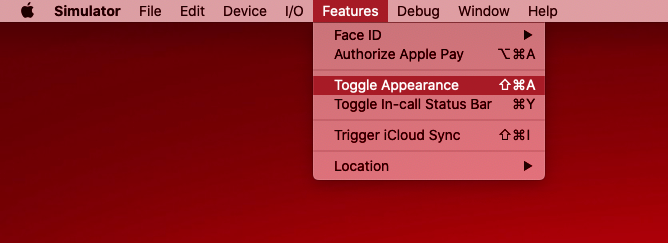
Dark Mode
You can toggle between Dark and Light Mode appearance by following the below-mentioned steps:
- Click on Features Menu of simulator’s menu
- Click on Toggle Appearance
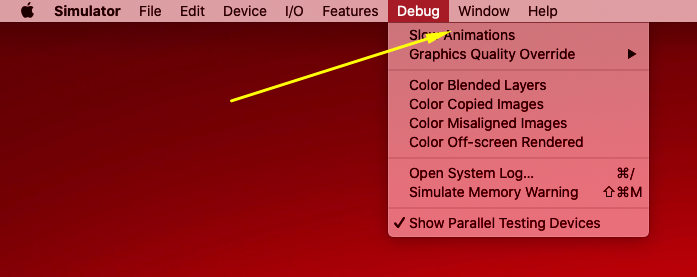
Slow Animation
If you want to slow down the animation which you have implemented in your application for testing purpose. Follow the below-mentioned steps:
- Click on Debug Menu
- Click on Slow Animations
Taking Screenshots
You can capture the current screen of the simulator by following the below-mentioned steps.
- Click on File Menu
- Click on Save Screen

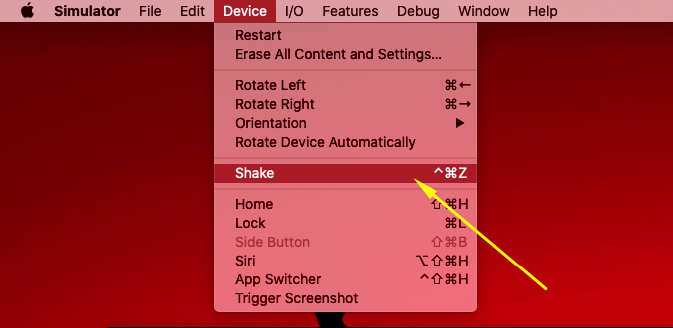
Simulating Shake Gesture
- Click on Device Menu
- Click on Shake
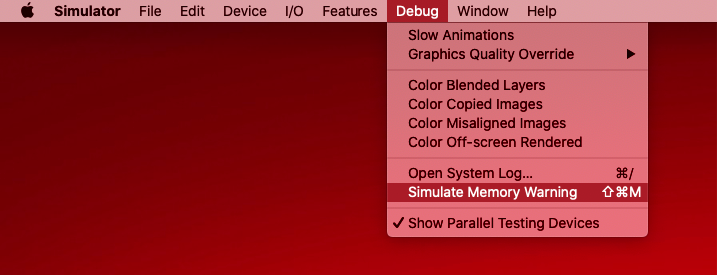
Simulating Memory Warning
iOS sends a warning to the application when the memory usages reach their limit. To create a memory warning follow the below steps:
- Click on Debug menu
- Click on Simulate Memory Warning
Simulating Location
The simulator provides us an easy way to simulate location. But for this, first, you need to grant location permission to your application.
Follow the below steps to provide a custom location:
- Click on Features from Simulator Menu
- Select Location > Custom Location
- Enter the coordinates
- Click OK.
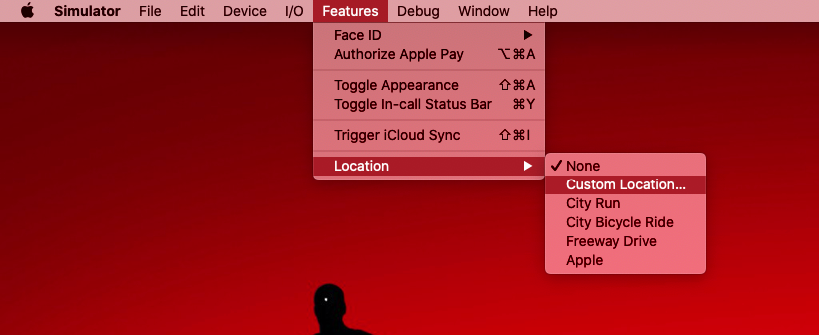
The simulator also provides us the different ways for simulating locations which you can see in the above image.
Useful Shortcuts of Simulator
- Volume Up (⌘ + ↑)
- Volume Down (⌘ + ↓)
- Rotate left (⌘ + ←)
- Rotate Right (⌘ + →)
- Shake Gesture (^ + ⌘ + Z)
- Save Screen (⌘ + S)
- Show or Hide Keyboard (⌘ + K)
- Home (⇧ + ⌘ + H)
- Minimize (⌘ + M)
- Toggle Apperence (⇧ + ⌘ + A)
- Lock (⌘ + L)
- App Switcher (^ + ⇧ + ⌘ + H)
Managing Simulator with Command Line
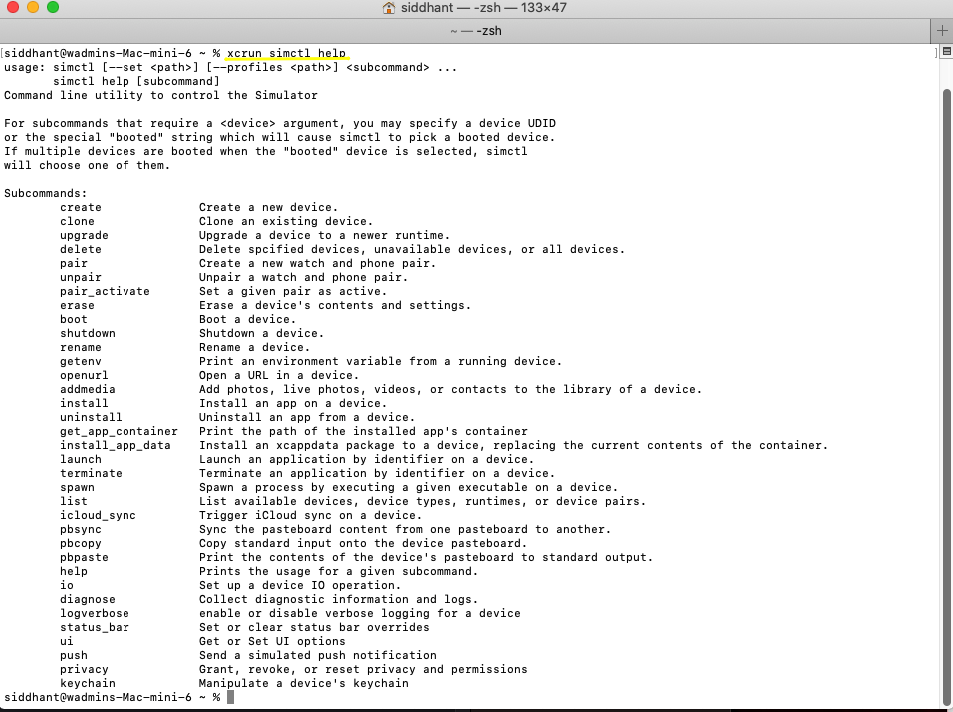
Apple provides us simctl to interact with iOS simulators via Command-Line. You can find the binary at /Applications/Xcode.app/Contents/Developer/usr/bin/simctl and you can use it with xcrun command-line tool. This binary is similar to the adb for Android.
To check all available options of simctl enter the below-mentioned command in the terminal.
|
1 |
$ xcrun simctl help |
If you want to see the list of all available simulators enter the below-mentioned command.
|
1 |
xcrun simctl list |
To erase a simulator we need to make sure that the simulator is in a shutdown state.
|
1 2 |
$ xcrun simctl shutdown UUID $ xcrun simctl erase UUID |
The CRUD operations for the simulator only work on the basis of UUID / Device name therefore you need to enter UUID with each command.
In addition, you can also boot the simulator with the below-mentionded command.
|
1 |
xcrun simctl boot UUID |
Similarly, you can also generate simulator logs which can help in determining the activity of the simulator by using the below-mentioned command.
|
1 |
$ xcrun simctl spawn booted log stream — level=debug |
Similarly, you can also generate full application info using its bundle ID.
|
1 |
xcrun simctl appinfo booted <BUNDLE ID> |
You can also run the simulator in full-screen mode. Use the below-mentioned command to enable this feature :
|
1 |
defaults write com.apple.iphonesimulator AllowFullscreenMode -bool YES |
Capture iOS Simulator video
You can also record a video of the simulator screen using the xcrun command. In addition, to record a video, run the below-mentioned command
|
1 |
xcrun simctl io booted recordVideo <filename>.<file extension> |
Press control + c to stop recording the video. The video file will be stored at the current directory.
Remove unavailable simulators from Xcode
The below-mentioned command will remove those simulators which are not available to the XCode selected version.
|
1 |
xcrun simctl delete unavailable |
Thank you for reading this article. If you want to read more articles regarding iOS Development click here.

2 comments
Please elaborate on your point.