Wireless Debugging in Android
In this blog, We are going to learn how to debug the android app wirelessly (Wireless Debugging in Android).
It is a very useful blog. We all know it is very difficult when your cable is broken or connection is lost frequently via cable connection. It is so frustrating So I thought to write a blog on this topic.
So let’s get started.
Step 1 :
Firstly you have to connect your device and your system to the same internet connection. If you are using a different internet connection you won’t be able to debug your app.
Step 2:
For the very first time, you have to connect your device with your system to complete the configuration.
Step 3:
In this step, you have run an adb command.
|
1 |
adb devices |
The above command is just to verify whether adb command is working or not. If it is not working you can go for Step 4 else you can skip it.
Step 4:
If the ADB command is not working globally that means that PATH is not set.
|
1 |
export PATH="/Users/{user_name}/Library/Android/sdk/platform-tools":$PATH |
If you don’t want to edit your PATH variable then you can use the ADB command by using this prefix ./ in your platform-tools folder.
Step 5:
Set the target device to listen for a TCP/IP connection on port 5555 by using the below-mentioned command.
|
1 |
./adb tcpip 5555 // In case adb command is not working. |
|
1 |
adb tcpip 5555 // In case adb command is working. |
Setp 6:
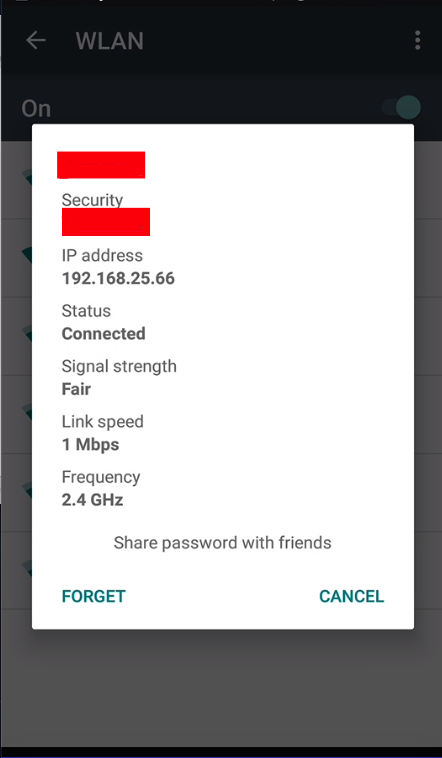
Find the IP that your device is using.
Step 7:
Connect your device by IP.
|
1 |
adb connect device_ip_address |
|
1 |
./adb connect 192.168.25.66 // In case adb command is not working. |
|
1 |
adb connect 192.168.25.66 // In case adb command is working. |
Here we have done. Now you can remove your cable and enjoy the wireless debugging experience.
Hope this blog will help you.
Refrence link –> https://developer.android.com/studio/command-line/adb

Be the first to comment.