Hello readers, today we will discover the permissionScope in the swift programming.
Considering Apple Security, managing app permissions in an iOS application is a critical aspect of creating a seamless user experience. In ios apps, permissions are necessary for accessing the user’s private data or features such as the camera, photo library, location services, and more.
Managing these permissions can often be cumbersome and intrusive if not handled correctly. This is where PermissionScope comes into play. PermissionScope is a Swift library and designed to simplify the process of requesting permissions from users.
What is PermissionScope in Swift?
In iOS development, permissionScope is an open-source Swift library that provides a simplified interface for requesting permissions from users.
PermissionScope allows users to ask for a variety of permissions, including location, camera, photos, contacts, and more from the user. Furthermore, the library presents a customizable permission dialogue box that can handle multiple permissions.
How to Implement PermissionScope in Swift?
You can implement permission scope in your iOS application by simply following the steps.
Step 1. Add the permission scope pod into your projects pod file and run the pod install command to install it.
Step 2. Import PermissionScope into the file and create an object of it.
Step 3. Ask for permission by adding the below code on the file.
|
1 2 3 4 5 |
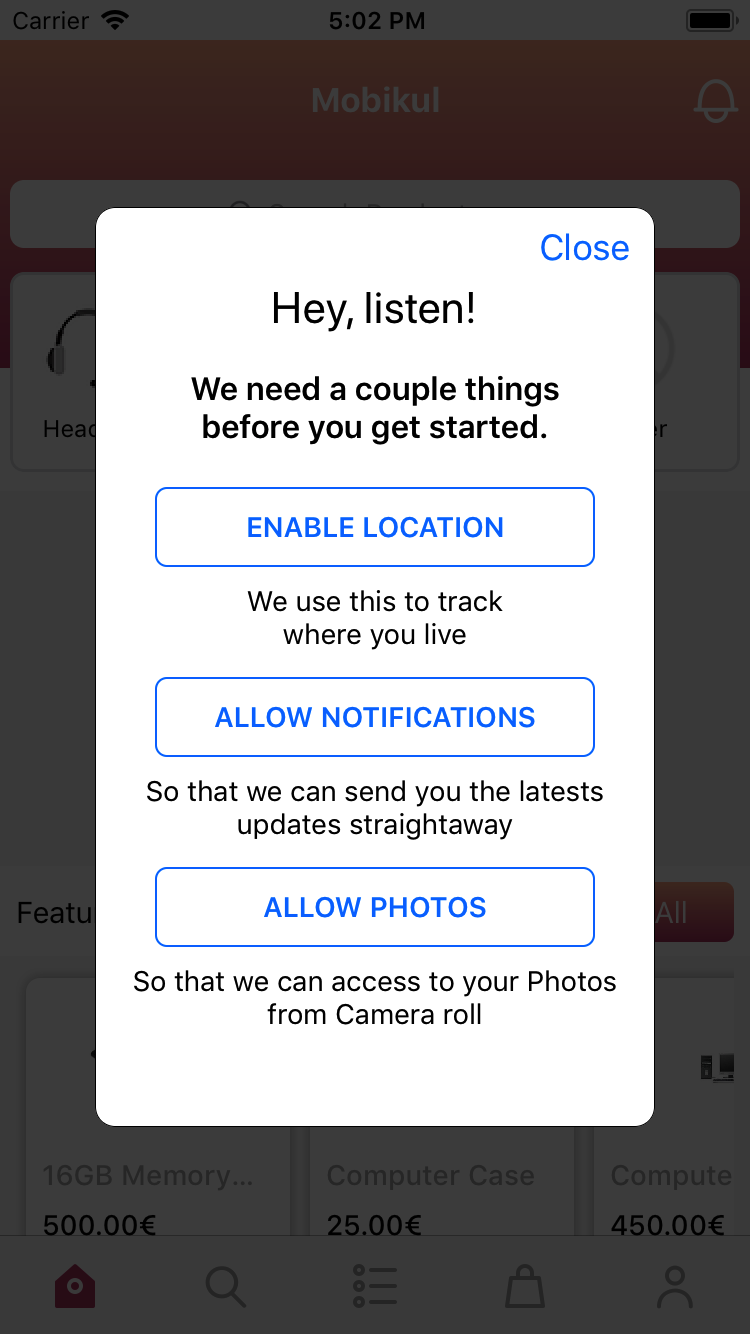
permissionScope.addPermission(LocationWhileInUsePermission(), message: "We use this to track\r\nwhere you live" ) permissionScope.addPermission(NotificationsPermission(notificationCategories: nil), message: "So that we can send you the latests updates straightaway" ) permissionScope.addPermission(PhotosPermission(), message: "So that we can access to your Photos from Camera roll" ) |
Step 4. Show permission dialog with callbacks
|
1 2 3 4 5 6 7 |
permissionScope.show( { finished, results in print("Permissions state changed, results: \(results)") }, cancelled: { results in print("User closed the permission alert, results: \(results)") } ) |
You can also check whether permissions are authorized or not before or after the PermissionScope. Use the below code to check the permission authorization.
|
1 2 3 |
if PermissionScope().statusLocationInUse() == .authorized { print("authorized") } |
Once all the above steps are implemented you will be able to check the output like this:-
Conclusion
With this, we have learned about the permission scope in Swift and how we can effectively use these in our programming.
You can continue your learning journey with more interesting topics and technologies with the Mobikul Blog.

Be the first to comment.