Today, I will discuss the UISplitViewController and how we can use it in our app.
Swift version: 5
iOS version: 13
Xcode: 11
Let start about the UISplitViewController.
A split view controller is a master or container view controller that manages child view controllers in a hierarchical interface. An example of the split view controller is Mail.app. The split view controller has supported both the iPad and iPhone, since iOS 8.
To more details about this click here.
In this tutorial, we will show the country list in master view and selected country details will display in the child view controller
Getting Started
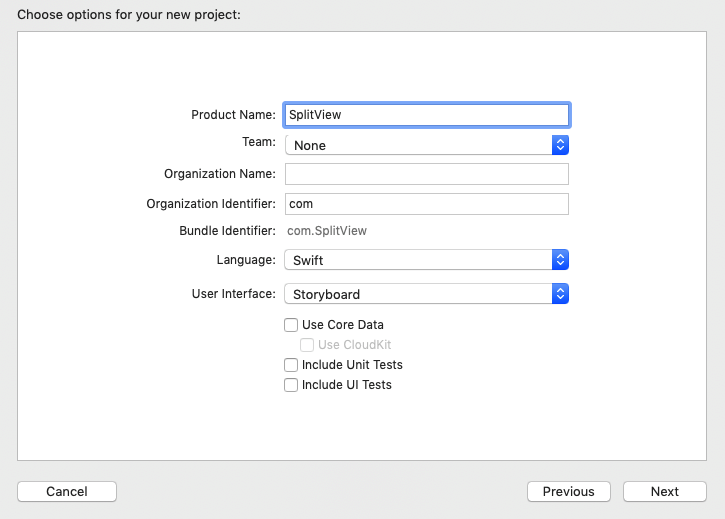
Step 1: Create a project from Xcode.
File ▸ New ▸ Project…. Choose the iOS ▸ Application ▸ Single View App template and create a new project.
Step 2: Drag a Split View Controller in the main storyboard.

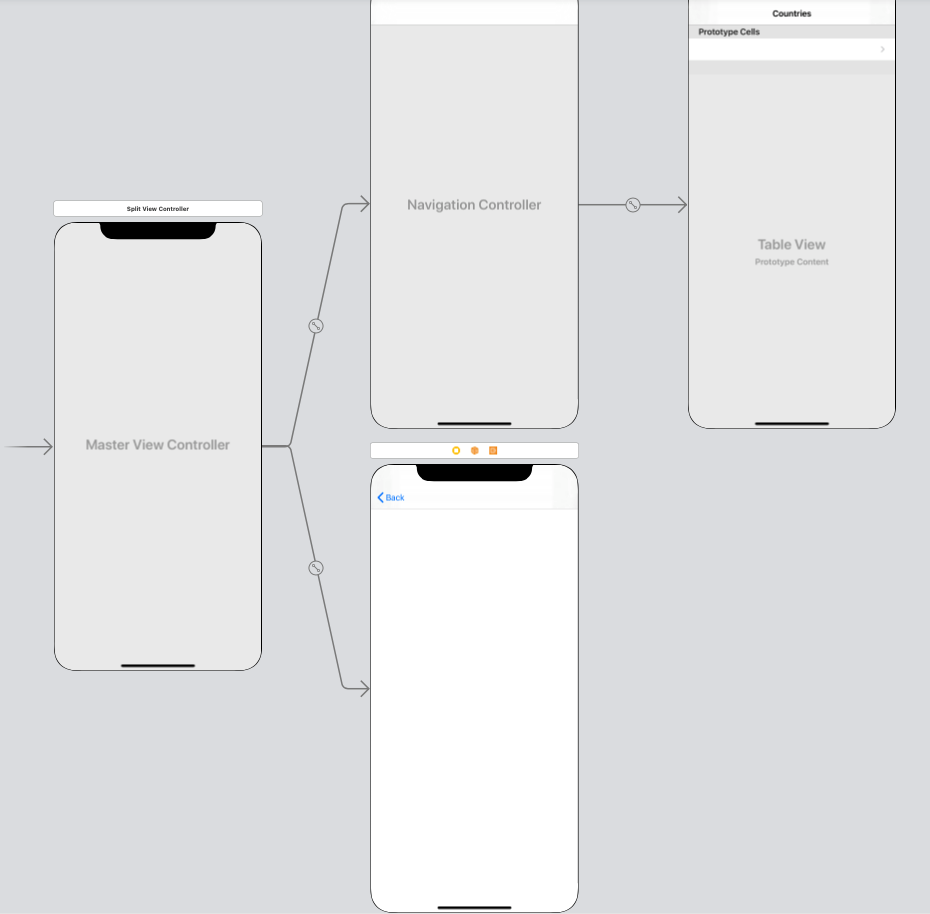
- Split View Controller: This split view will contain the rest of the app and is the root of your application.
- Navigation Controller: This
UINavigationControllerwill be the root view of your master view controller. - View Controller: This controller is used for the showing details.
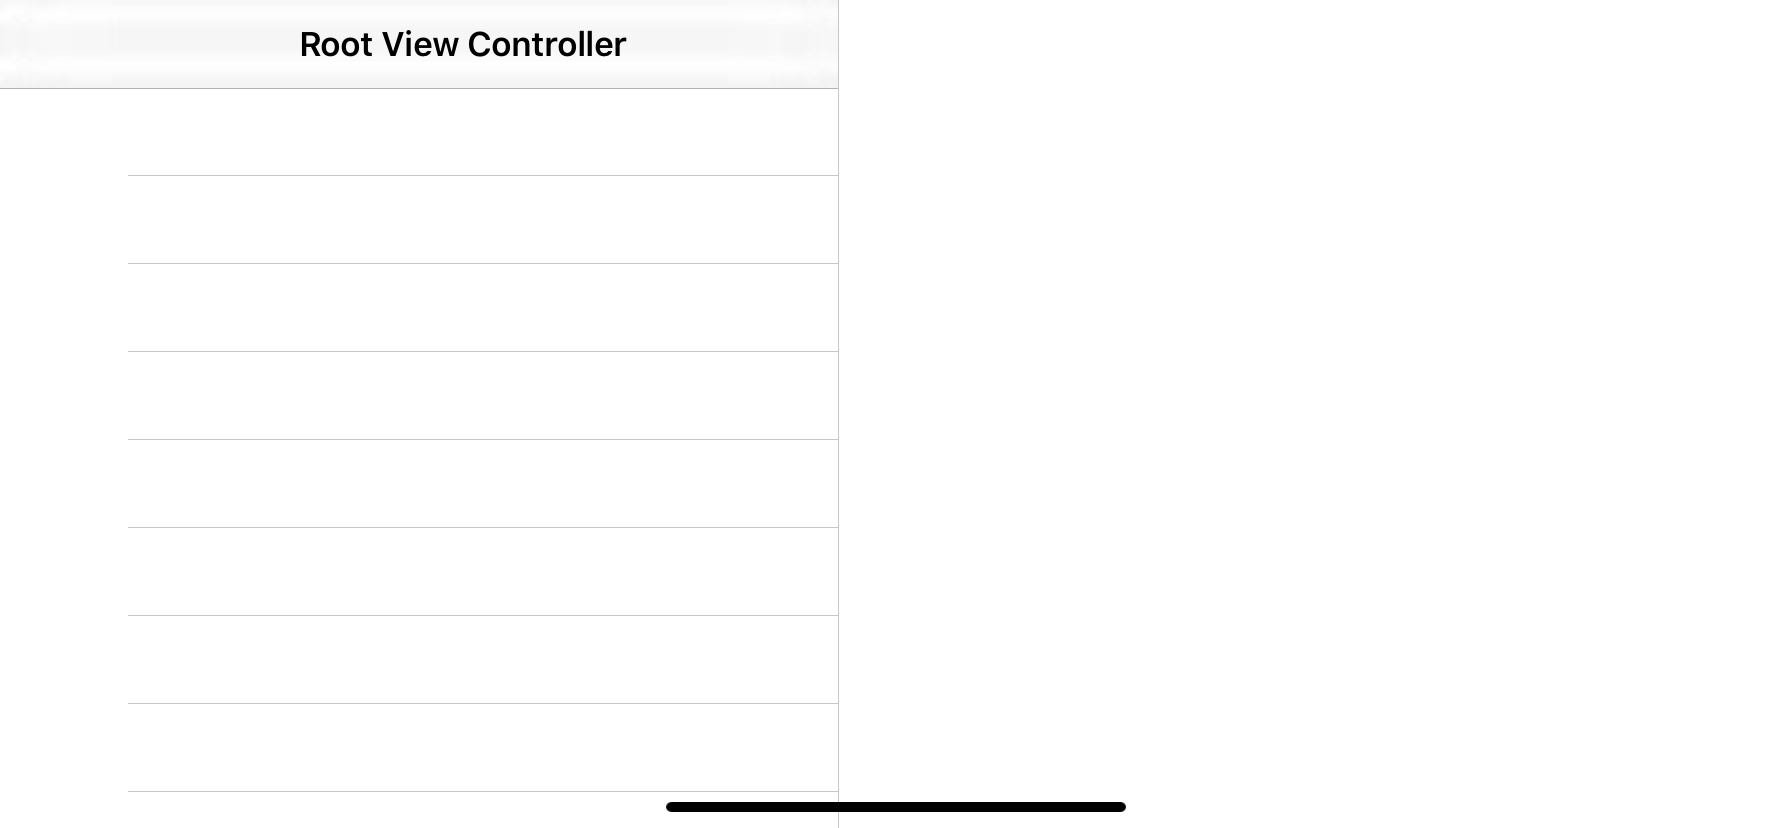
Now run the app.
Steps 3: Create a MasterViewController for the UItableviewController where we parse the JSON file and bind the table view.
import countries.json file in the project directory. Click here countries to download the JSON file.
|
1 2 3 4 5 6 7 8 |
struct Country { var name : String var code : Int init(data:Dictionary<String, Any>){ name = data["name"] as? String ?? "" code = data["code"] as? Int ?? 0 } } |
Now, create the getCountryList method for parse the JSON file and call the on viewDidLoad.
|
1 2 3 4 5 6 7 8 9 10 11 12 13 14 |
var list = [Country]() func getCountryList(){ if let path = Bundle.main.path(forResource: "countries", ofType: "json") { do { let data = try Data(contentsOf: URL(fileURLWithPath: path), options: .mappedIfSafe) let jsonResult = try JSONSerialization.jsonObject(with: data, options: .mutableLeaves) if let jsonResult = jsonResult as? [Any] { list = jsonResult.map{Country(data: $0 as! Dictionary<String, Any>)} self.tableView.reloadData() } } catch { } } } |
|
1 2 3 4 5 |
override func viewDidLoad() { super.viewDidLoad() getCountryList() } |
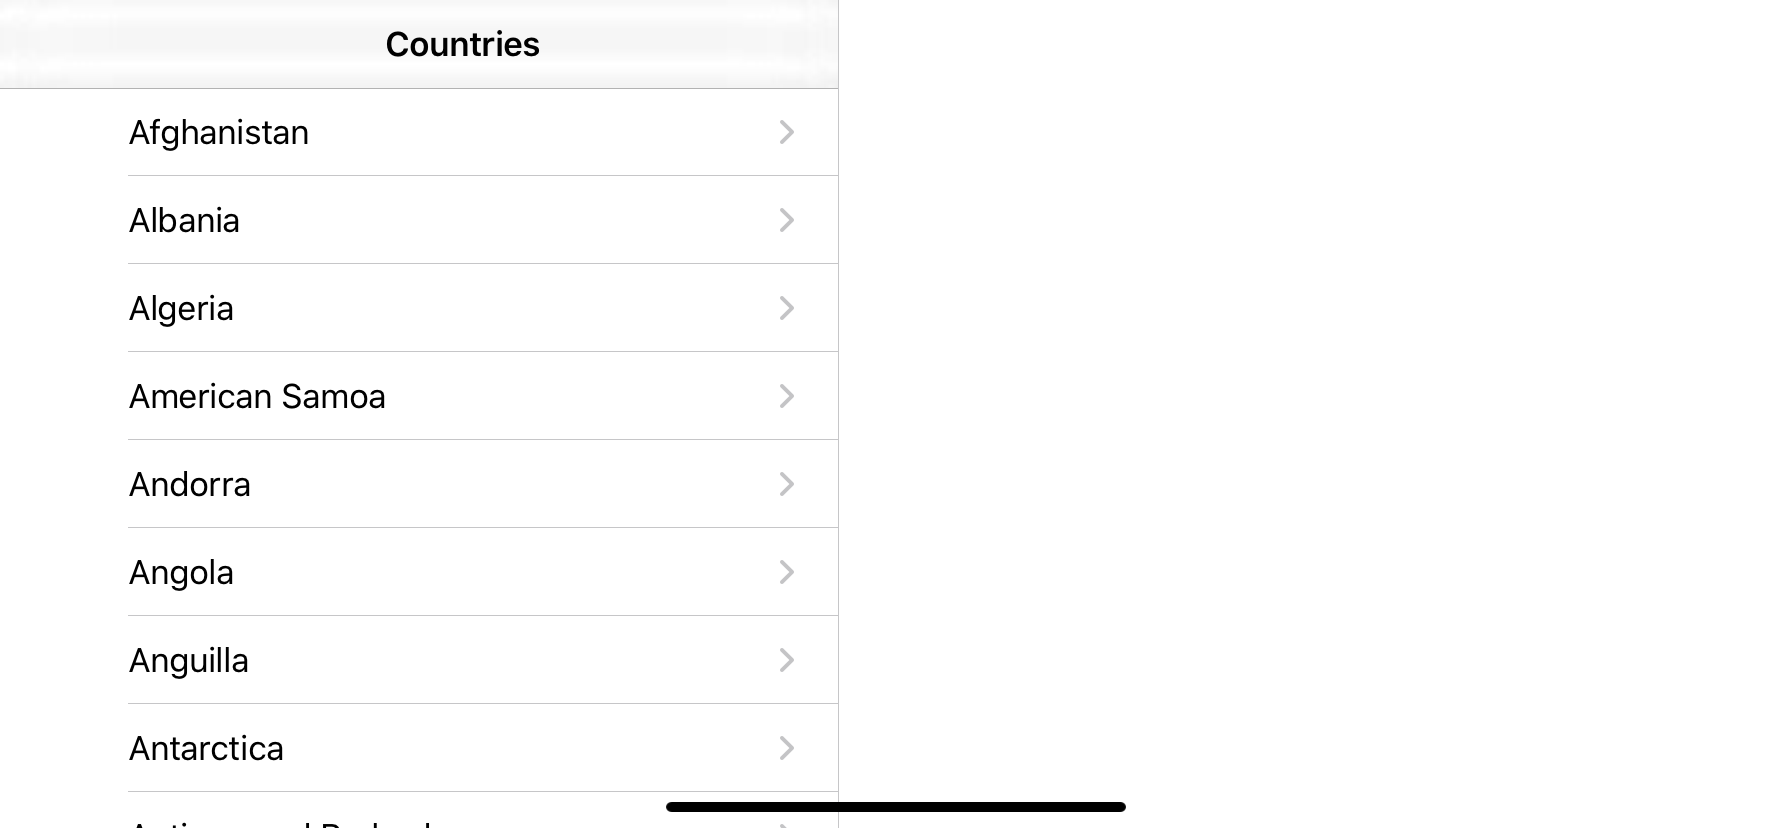
Now, showing the countries in the table view.
|
1 2 3 4 5 6 7 8 9 10 11 12 13 |
override func numberOfSections(in tableView: UITableView) -> Int { return 1 } override func tableView(_ tableView: UITableView, numberOfRowsInSection section: Int) -> Int { return list.count } override func tableView(_ tableView: UITableView, cellForRowAt indexPath: IndexPath) -> UITableViewCell { let cell = tableView.dequeueReusableCell(withIdentifier: "cell", for: indexPath) cell.textLabel?.text = list[indexPath.row].name return cell } |
This will look like the below image.
Step 4: Create a details view controller page and add UILabel which will show the country name from the master view controller.
|
1 2 3 4 5 6 7 8 9 10 |
class DetailViewController: UIViewController { @IBOutlet weak var name : UILabel? override func viewDidLoad() { super.viewDidLoad() // Do any additional setup after loading the view. } } |
Final Step: Now will pass the date from the master controller to details view controller and render it on screen.
Now, Confirm the didSelectRowAt delegate in the master view controller and access the UILabel from the details view.
|
1 2 3 4 5 |
override func tableView(_ tableView: UITableView, didSelectRowAt indexPath: IndexPath) { if let splitVC = self.splitViewController, let detailVC = splitVC.viewControllers[1] as? DetailViewController { detailVC.name?.text = list[indexPath.row].name + " (\(list[indexPath.row].code))" } } |

I hope the above blog will help you to learn about UISplitViewController and how we will use it in our app.
Thanks.

Be the first to comment.