In this blog, we are going to learn about the Tabby Payment gateway in Swift. Tabby Payment gateway is widely used in the United Arab Emirates. Payment plays a very important role in transactions using your mobile application. So, in order to connect with the local customers, we need to use the payment in our iOS app which is common to the local user.
Please follow the below steps for the integration of the Tabby Payment in Swift.
STEPS FOR INTEGRATION
Step – 1
Please create a pod file and install the pod mention below in your swift project.
|
1 2 3 |
pod 'AnyCodable' pod 'Alamofire','~>4.9.1', :inhibit_warnings => true pod 'NotificationBannerSwift' |
Step – 2
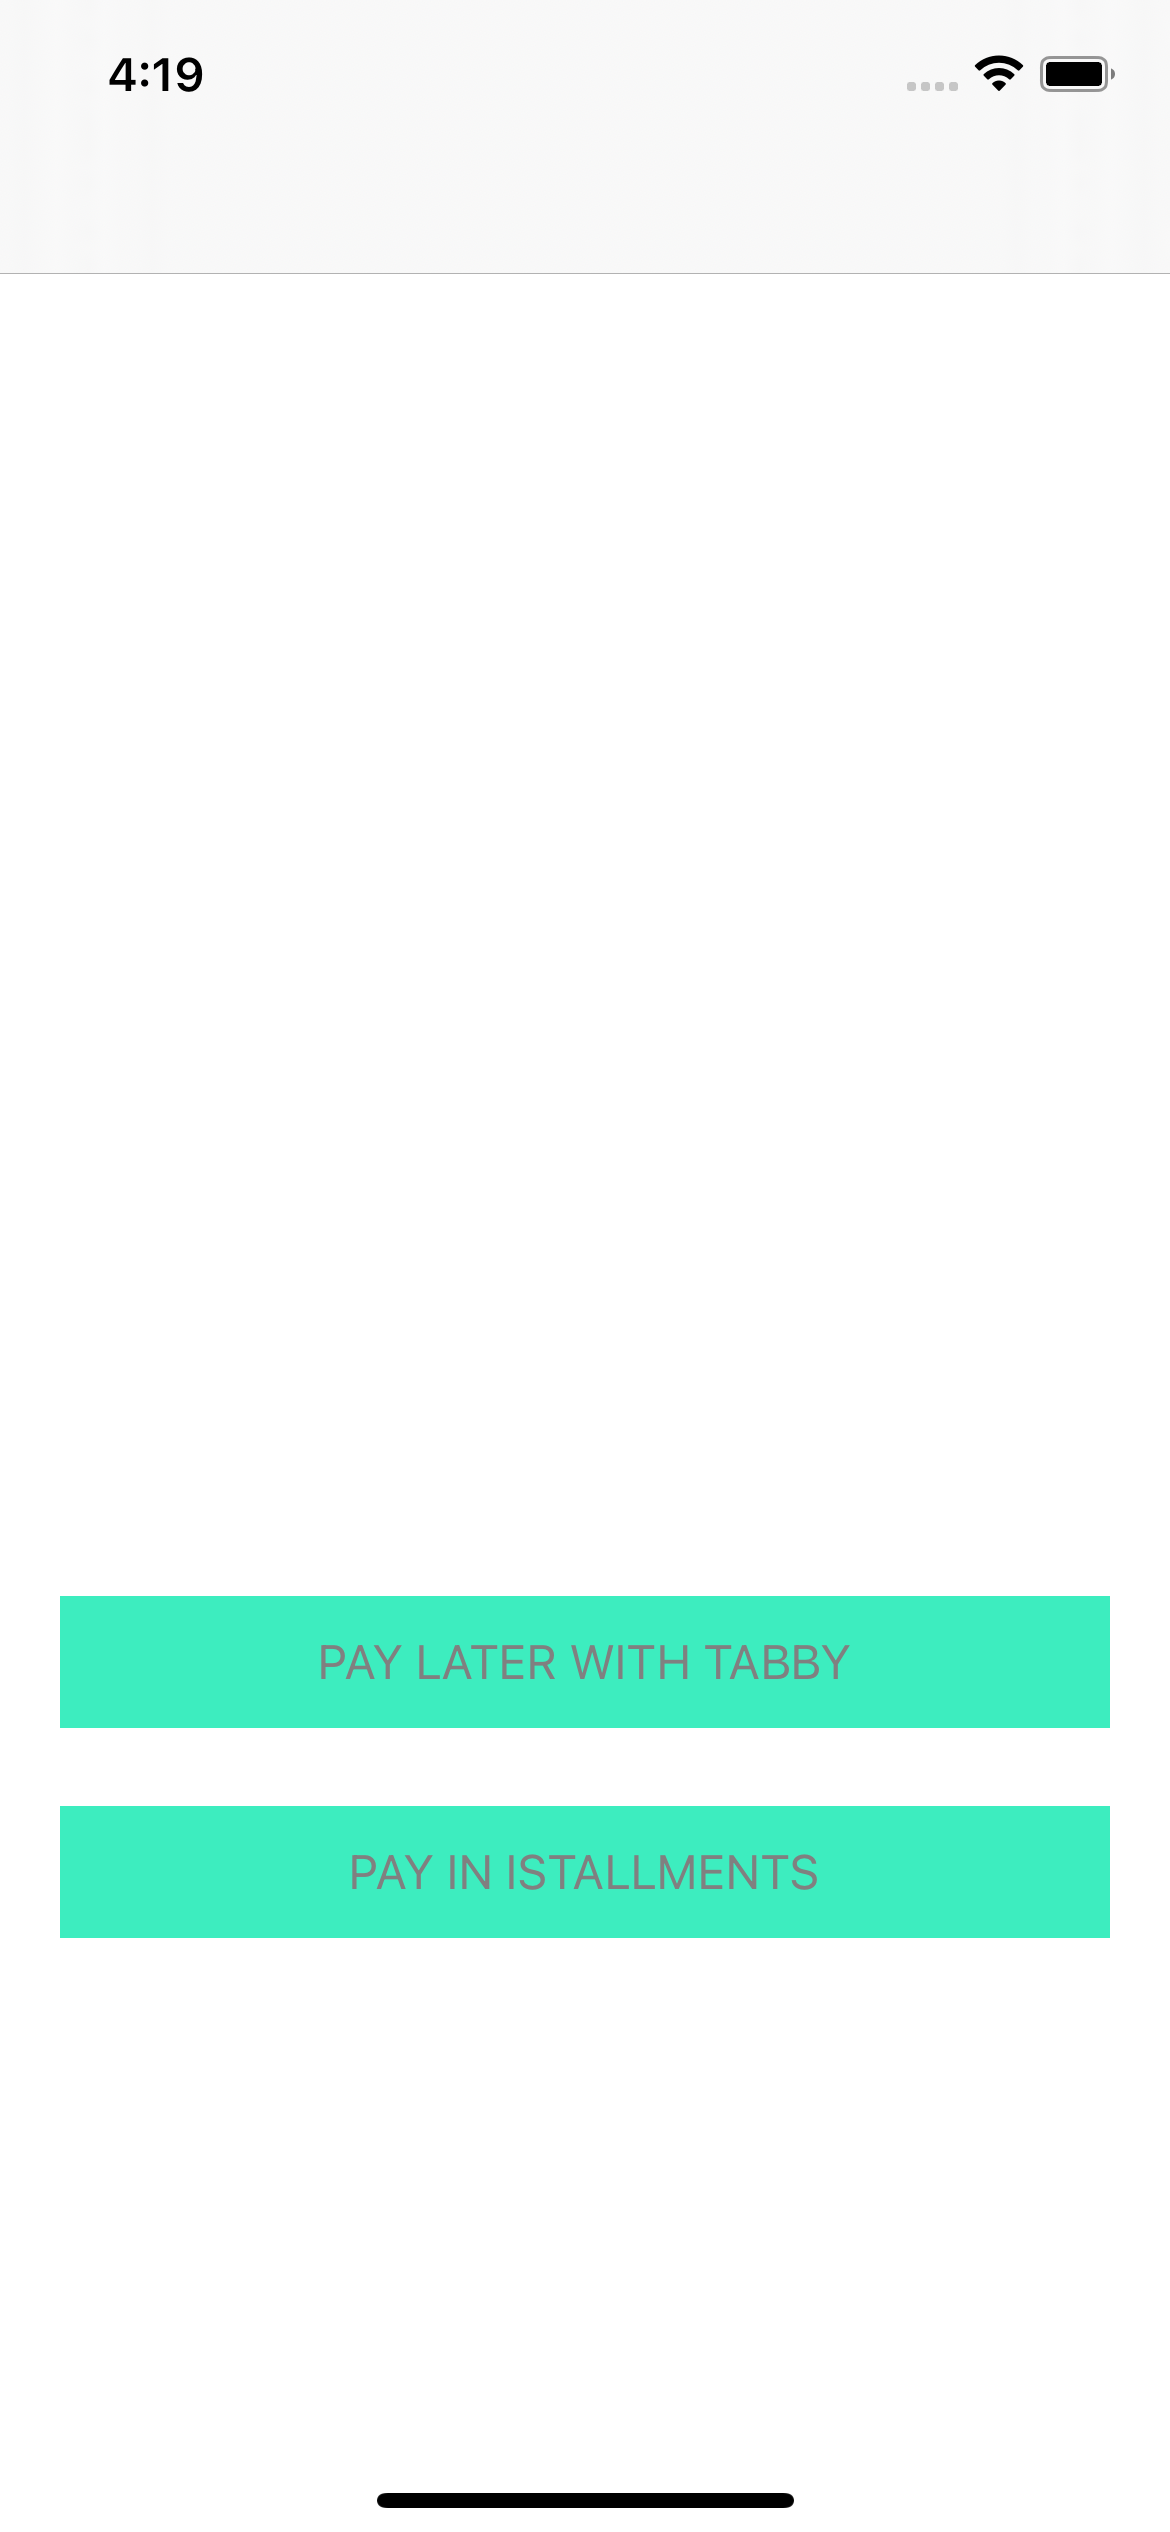
Now create a view controller and add the button for initialization of the payment gateway.
|
1 2 3 4 5 6 7 8 9 10 11 12 13 14 15 16 17 18 19 20 21 22 23 24 25 26 27 28 29 30 31 32 33 34 35 |
@IBOutlet private var paylaterButton: UIButton! { didSet { paylaterButton.backgroundColor = UIColor(red:0.24, green:0.93, blue:0.75, alpha:1.0) paylaterButton.contentEdgeInsets = UIEdgeInsets(top: 12, left: 12, bottom: 12, right: 12) paylaterButton.isEnabled = false paylaterButton.setTitleColor(.gray, for: .disabled) paylaterButton.setTitleColor(.black, for: .normal) } } @IBOutlet private var installmentsButton: UIButton! { didSet { installmentsButton.backgroundColor = UIColor(red:0.24, green:0.93, blue:0.75, alpha:1.0) installmentsButton.contentEdgeInsets = UIEdgeInsets(top: 12, left: 12, bottom: 12, right: 12) installmentsButton.setTitleColor(.gray, for: .disabled) installmentsButton.setTitleColor(.black, for: .normal) installmentsButton.isEnabled = false } } @IBAction private func didTabButton(_ sender: Any) { switch sender as? UIButton { case installmentsButton: selectedProduct = .installments case paylaterButton: selectedProduct = .payLater default: return } self.performSegue(withIdentifier: "showDetail", sender: self) } |
Step – 3
Now add the session function for the Tabby payment gateway and call it while loading the view controller.
|
1 2 3 4 5 |
override func viewDidLoad() { super.viewDidLoad() createCheckoutSession() } |
|
1 2 3 4 5 6 7 8 9 10 11 12 13 14 15 16 17 18 19 20 21 22 23 24 25 26 27 28 29 30 31 32 33 34 35 36 37 38 39 40 41 42 43 44 45 46 47 48 49 50 51 52 53 54 55 56 57 58 59 60 61 62 63 64 65 66 67 68 69 70 71 72 73 74 75 76 77 78 79 80 81 82 83 84 85 86 87 88 89 90 91 92 |
func createCheckoutSession() { let body = """ { "payment": { "amount": "150", "currency": "AED", "description": "Sales order 123", "buyer": { "phone": "+971500000001", "email": "successful.payment@tabby.ai", "name": "Yazan AlTamimi" }, "buyer_history": { "registered_since": "2021-09-06T10:15:22Z" }, "order": { "reference_id": "24512312112", "items": [] }, "order_history": [] }, "lang": "en", "merchant_code": "uae" } """ var request = URLRequest(url: URL(string: "https://api.tabby.ai/api/v2/checkout")!) request.httpMethod = "POST" request.addValue("PUBLIC_KEY", forHTTPHeaderField: "Authorization") request.httpBody = Data(body.utf8) Alamofire.request(request).validate(statusCode: 200...200).response(completionHandler: { response in debugPrint("response: \(response.error)") switch response.result { case .success(let value): var session: CheckoutSession? do { session = try JSONDecoder().decode(CheckoutSession.self, from: value!) } catch let error { var msg: String switch error { case DecodingError.keyNotFound(let key, let context): msg = "could not find key \(key) in JSON: \(context.debugDescription)" case DecodingError.valueNotFound(let type, let context): msg = "could not find type \(type) in JSON: \(context.debugDescription)" case DecodingError.typeMismatch(let type, let context): msg = "type mismatch for type \(type) in JSON: \(context.codingPath) -> \(context.debugDescription)" case DecodingError.dataCorrupted(let context): msg = "data found to be corrupted in JSON: \(context.debugDescription)" default: msg = error.localizedDescription } let banner = FloatingNotificationBanner(title: "could not decode response", subtitle: msg, style: .danger) banner.autoDismiss = false banner.show() return } if let session = session { self.session = session for type in session.configuration.availableProducts.keys { switch type { case "installments": self.installmentsButton.isEnabled = true case "pay_later": self.paylaterButton.isEnabled = true default: continue } } } case .failure(let error): var msg: String switch error.responseCode { case 400: msg = "invalid data \(response.error)" case 401: msg = "Not authorized. Check your credentials or merchantCode" default: msg = error.localizedDescription } let banner = FloatingNotificationBanner(title: "could not create session", subtitle: msg, style: .danger) banner.autoDismiss = false banner.show() } }) } |
Step – 4
Now adding the required file
|
1 2 3 4 5 6 7 8 9 10 11 12 13 14 15 16 17 18 19 20 21 22 23 24 25 26 27 28 29 30 31 |
struct CheckoutSession: Decodable { var id: String var configuration: Configuration enum CodingKeys: String, CodingKey { case id = "id" case configuration = "configuration" } } struct Configuration: Decodable { var availableProducts: [String: [Product]] enum CodingKeys: String, CodingKey { case availableProducts = "available_products" } } struct Product: Decodable { var webUrl: URL enum CodingKeys: String, CodingKey { case webUrl = "web_url" } } enum ProductType: String, Decodable { case payLater = "pay_later" case installments = "installments" } |
Step – 5
Now create a new view controller for creating the checkout session and a WebView for creating the session and integrate the javascript for listening to the events on the Webview.
|
1 |
@IBOutlet var webView: WKWebView! |
|
1 2 3 4 5 6 7 8 9 10 11 12 13 14 15 16 17 18 19 20 21 22 23 24 25 26 27 28 29 30 31 32 33 34 35 |
func loadJSView() { let webConfiguration = WKWebViewConfiguration() webConfiguration.preferences.javaScriptEnabled = true // Please note tabbyAppListener, we're testing solution where this code won't be necessary // and tabbyAppListener will be a connection point between Tabby.SDK and Mobile App // please don't change tabbyAppListener naming let js = """ var launchTabby = true; window.SDK = { config: { direction: 'ltr', onChange: function(data) { window.webkit.messageHandlers.tabbyAppListener.postMessage(JSON.stringify(data)); if (data.status === 'created' && launchTabby) { Tabby.launch(); launchTabby = false; } }, onClose: function() { window.webkit.messageHandlers.tabbyAppListener.postMessage('close'); } } }; """ webConfiguration.userContentController.addUserScript( WKUserScript(source: js, injectionTime: .atDocumentStart, forMainFrameOnly: false) ) webConfiguration.userContentController.add(self, name: "tabbyAppListener") webView = WKWebView(frame: .zero, configuration: webConfiguration) webView.uiDelegate = self view = webView } |
|
1 2 3 4 5 6 7 8 9 10 11 12 13 14 15 16 17 18 19 20 21 22 23 24 25 26 27 28 29 30 31 32 |
func userContentController(_ userContentController: WKUserContentController, didReceive message: WKScriptMessage) { print(message.body) if let msg = message.body as? String { switch msg { case "close": self.navigationController?.popViewController(animated: true) case "payment_in_progress": break default: do { let session: CreatedCheckoutSession = try JSONDecoder().decode(CreatedCheckoutSession.self, from: Data(msg.utf8)) print("session: \(session)") // Here you get all the updetes from Tabby API // Save order when session.payment.status == "authorized" switch session.payment.status { case .authorized, .rejected: DispatchQueue.main.asyncAfter(deadline: .now() + .seconds(2)) { self.navigationController?.popViewController(animated: true) } default: break } } catch { let banner = FloatingNotificationBanner(title: "Error on decoding message from JS SDK", subtitle: "\(error.localizedDescription): \(msg.utf8)", style: .danger) banner.autoDismiss = false banner.show() } } } } |
|
1 2 3 4 5 6 7 8 9 10 11 12 13 14 15 16 17 18 19 20 21 22 23 24 |
struct CreatedCheckoutSession: Decodable { var status: String var payment: Payment enum CodingKeys: String, CodingKey { case status = "status" case payment = "payment" } } struct Payment: Decodable { var status: PaymentStatus enum CodingKeys: String, CodingKey { case status = "status" } } enum PaymentStatus: String, Decodable { case authorized = "authorized" case rejected = "rejected" case closed = "closed" case created = "CREATED" } |
Step – 6
Using the above function we can listen to the event trigger from the backend and navigate and perform an action. Please refer here for a sample project.
In Conclusion
In this blog, we have learned about the integration of the tabby payment gateway in Swift. Please refer to my other blogs from here.

Be the first to comment.