Today’s topic we will discuss the Pull to Refresh in Swift, or you can say UIRefresh Control.
UIRefersh Control inherits from UIControl. In addition, UIControl inherits from the UIView and UIView inherits from the UIResponder.
Finally, UIResponder inherits from the NSObject class.
We can use UIRefresh Control with any UIScrollView objects like UITableview or UICollectionView.
We will show how to use UIRefresh Control when we pull down the UIScrollView object and refresh its content.
Pull to Refresh in Swift
UI Implementation for Pull to Refresh in Swift:
We are going to implement the Pull to Refresh functionality by calling an API and populating the table view with the data returned from the API.
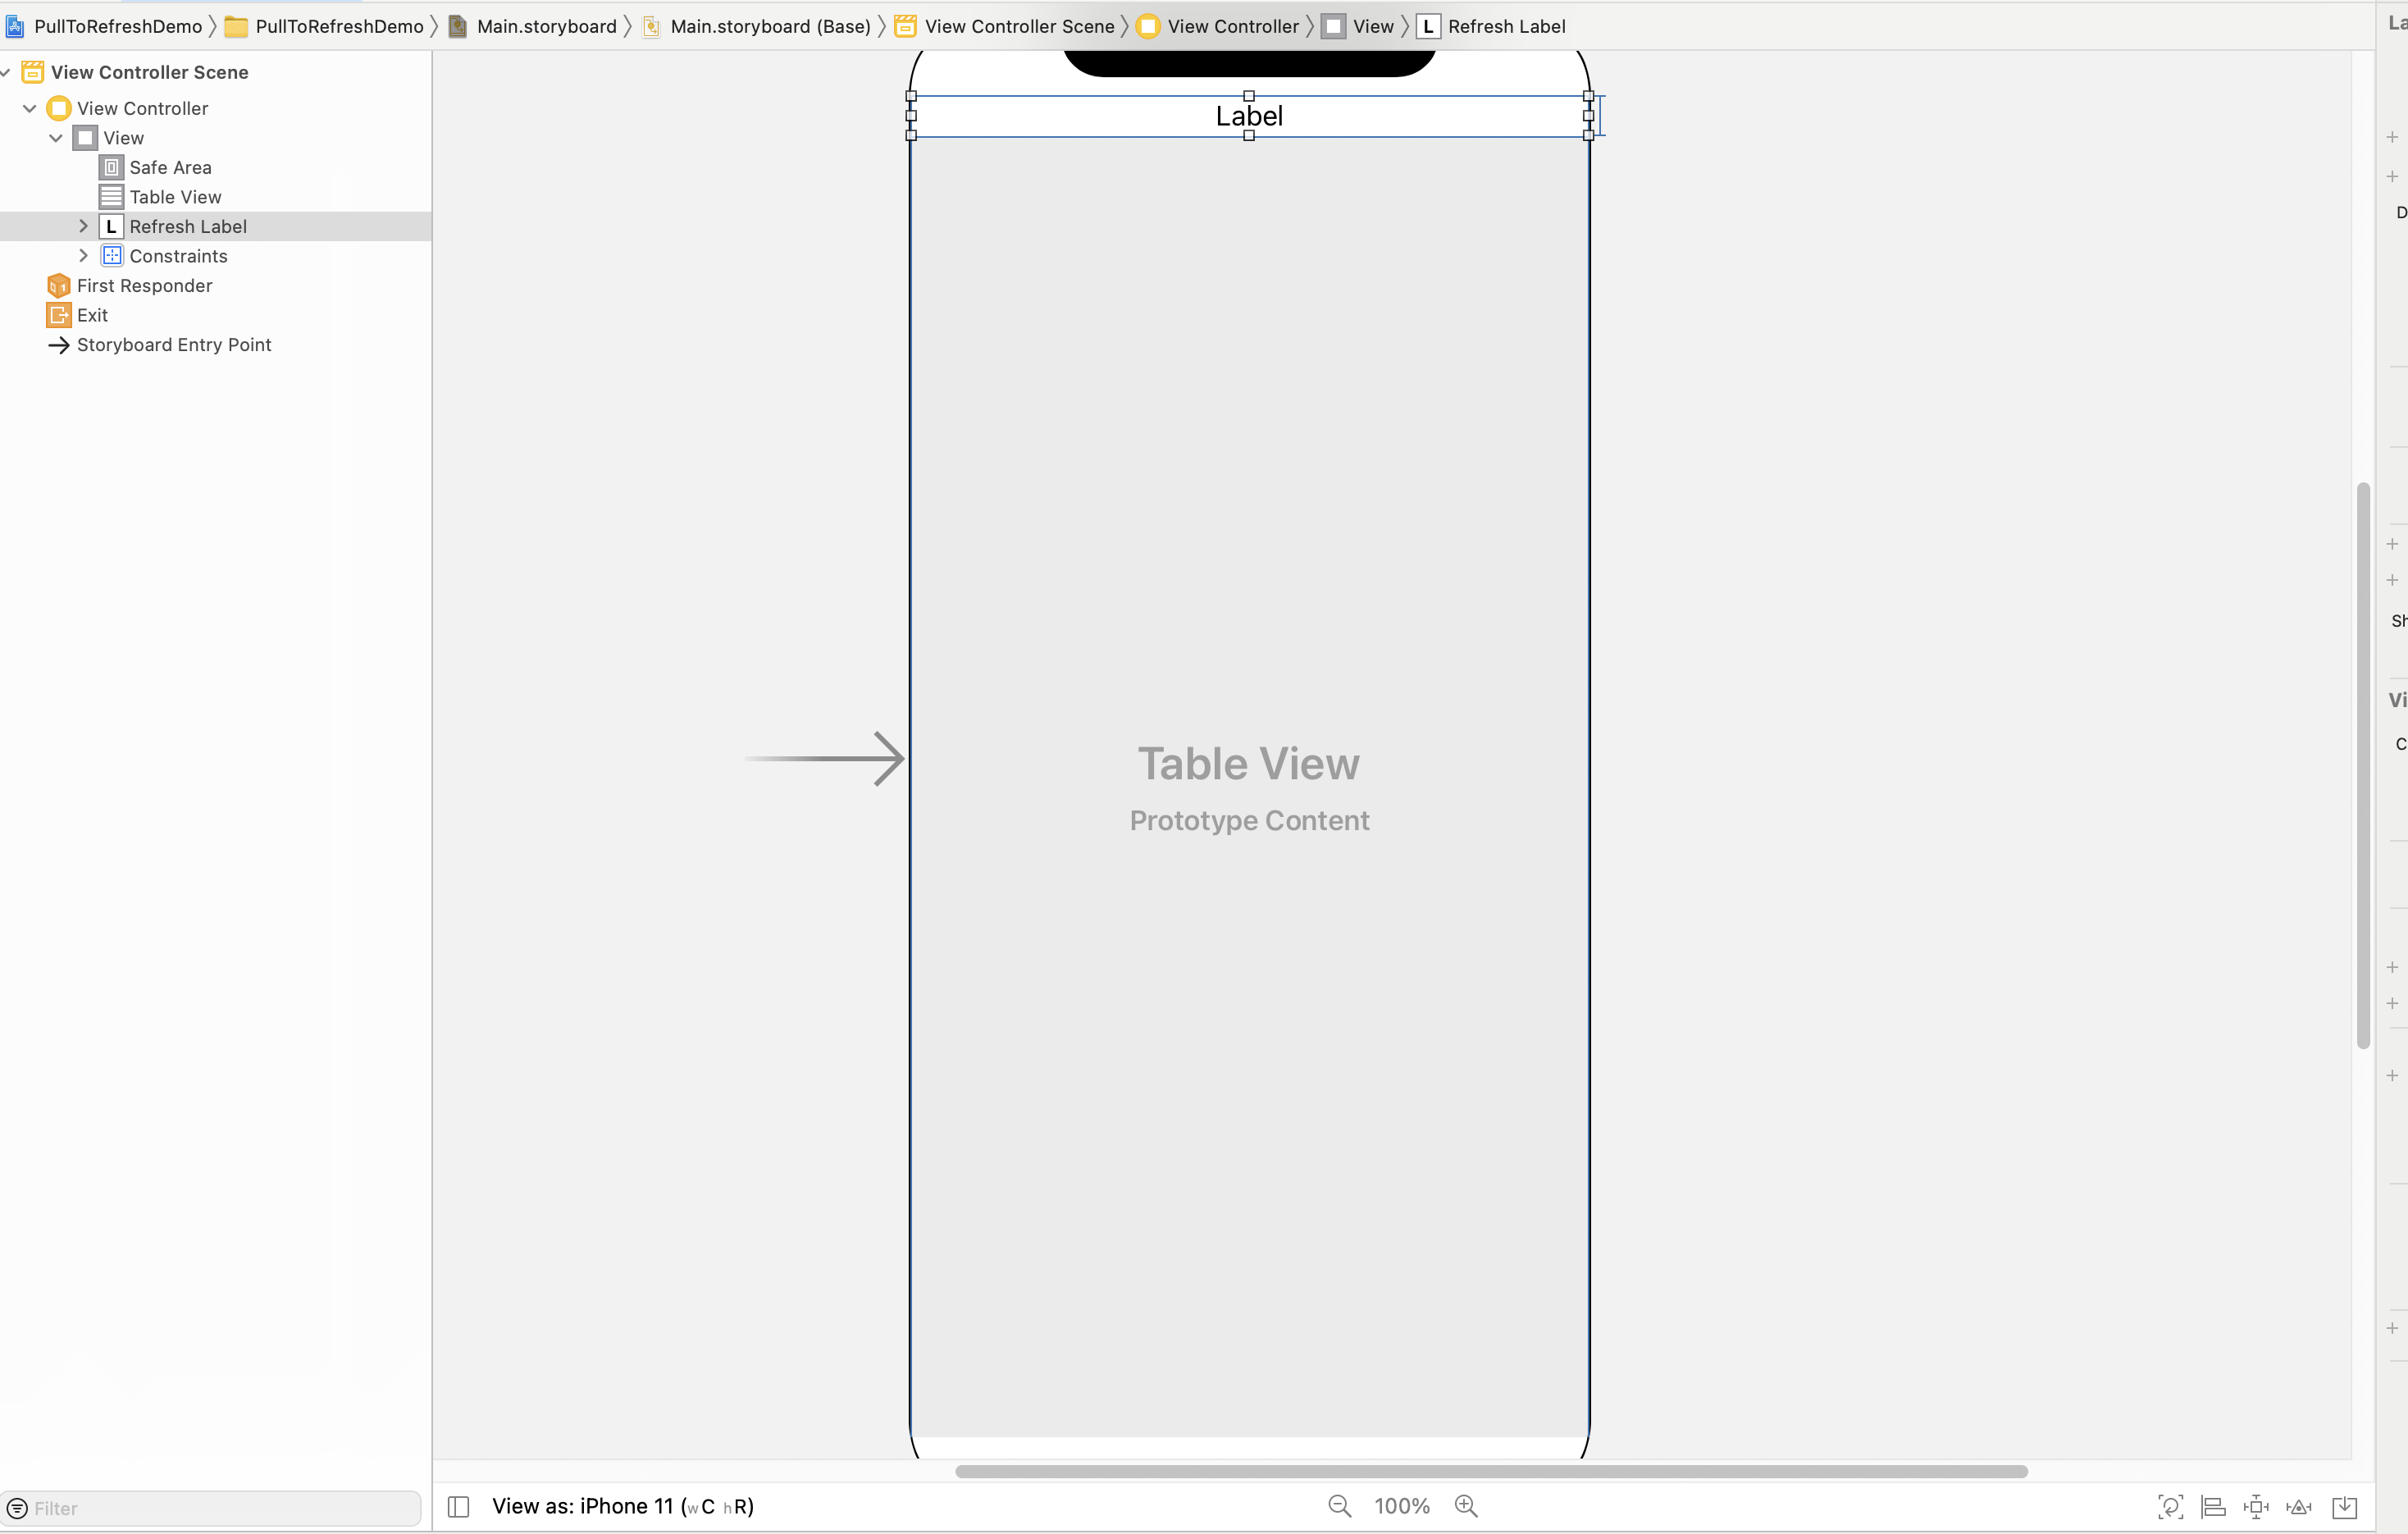
1. Let’s begin by creating an Xcode project, adding a table view and a label in the Main storyboard.
2. Create TableViewCell and Xib. After that, register TableViewCell and assign delegate and dataSource.
3. Table view cell is populated with the data returned by the API call
Adding basic functionality for Pull to Refresh in Swift:
1. Create a model to parse the data as below. After that, we will decode the API response using JSONDecoder.
|
1 2 3 4 5 6 7 8 |
struct DataResponse: Codable{ var results : DataResult } struct DataResult: Codable{ var sunrise: String var sunset: String var day_length: Int } |
2. Till now, your viewDidLoad() function would look like below.
|
1 2 3 4 5 6 7 8 |
override func viewDidLoad() { super.viewDidLoad() // register tableview cell self.tableView.register(UINib(nibName: "TableViewCell", bundle: nil), forCellReuseIdentifier: "TableViewCell") tableView.delegate = self tableView.dataSource = self tableView.tableFooterView = UIView() } |
3. Create a variable array to store the desired values. For instance, we have created var apiData = [String]()
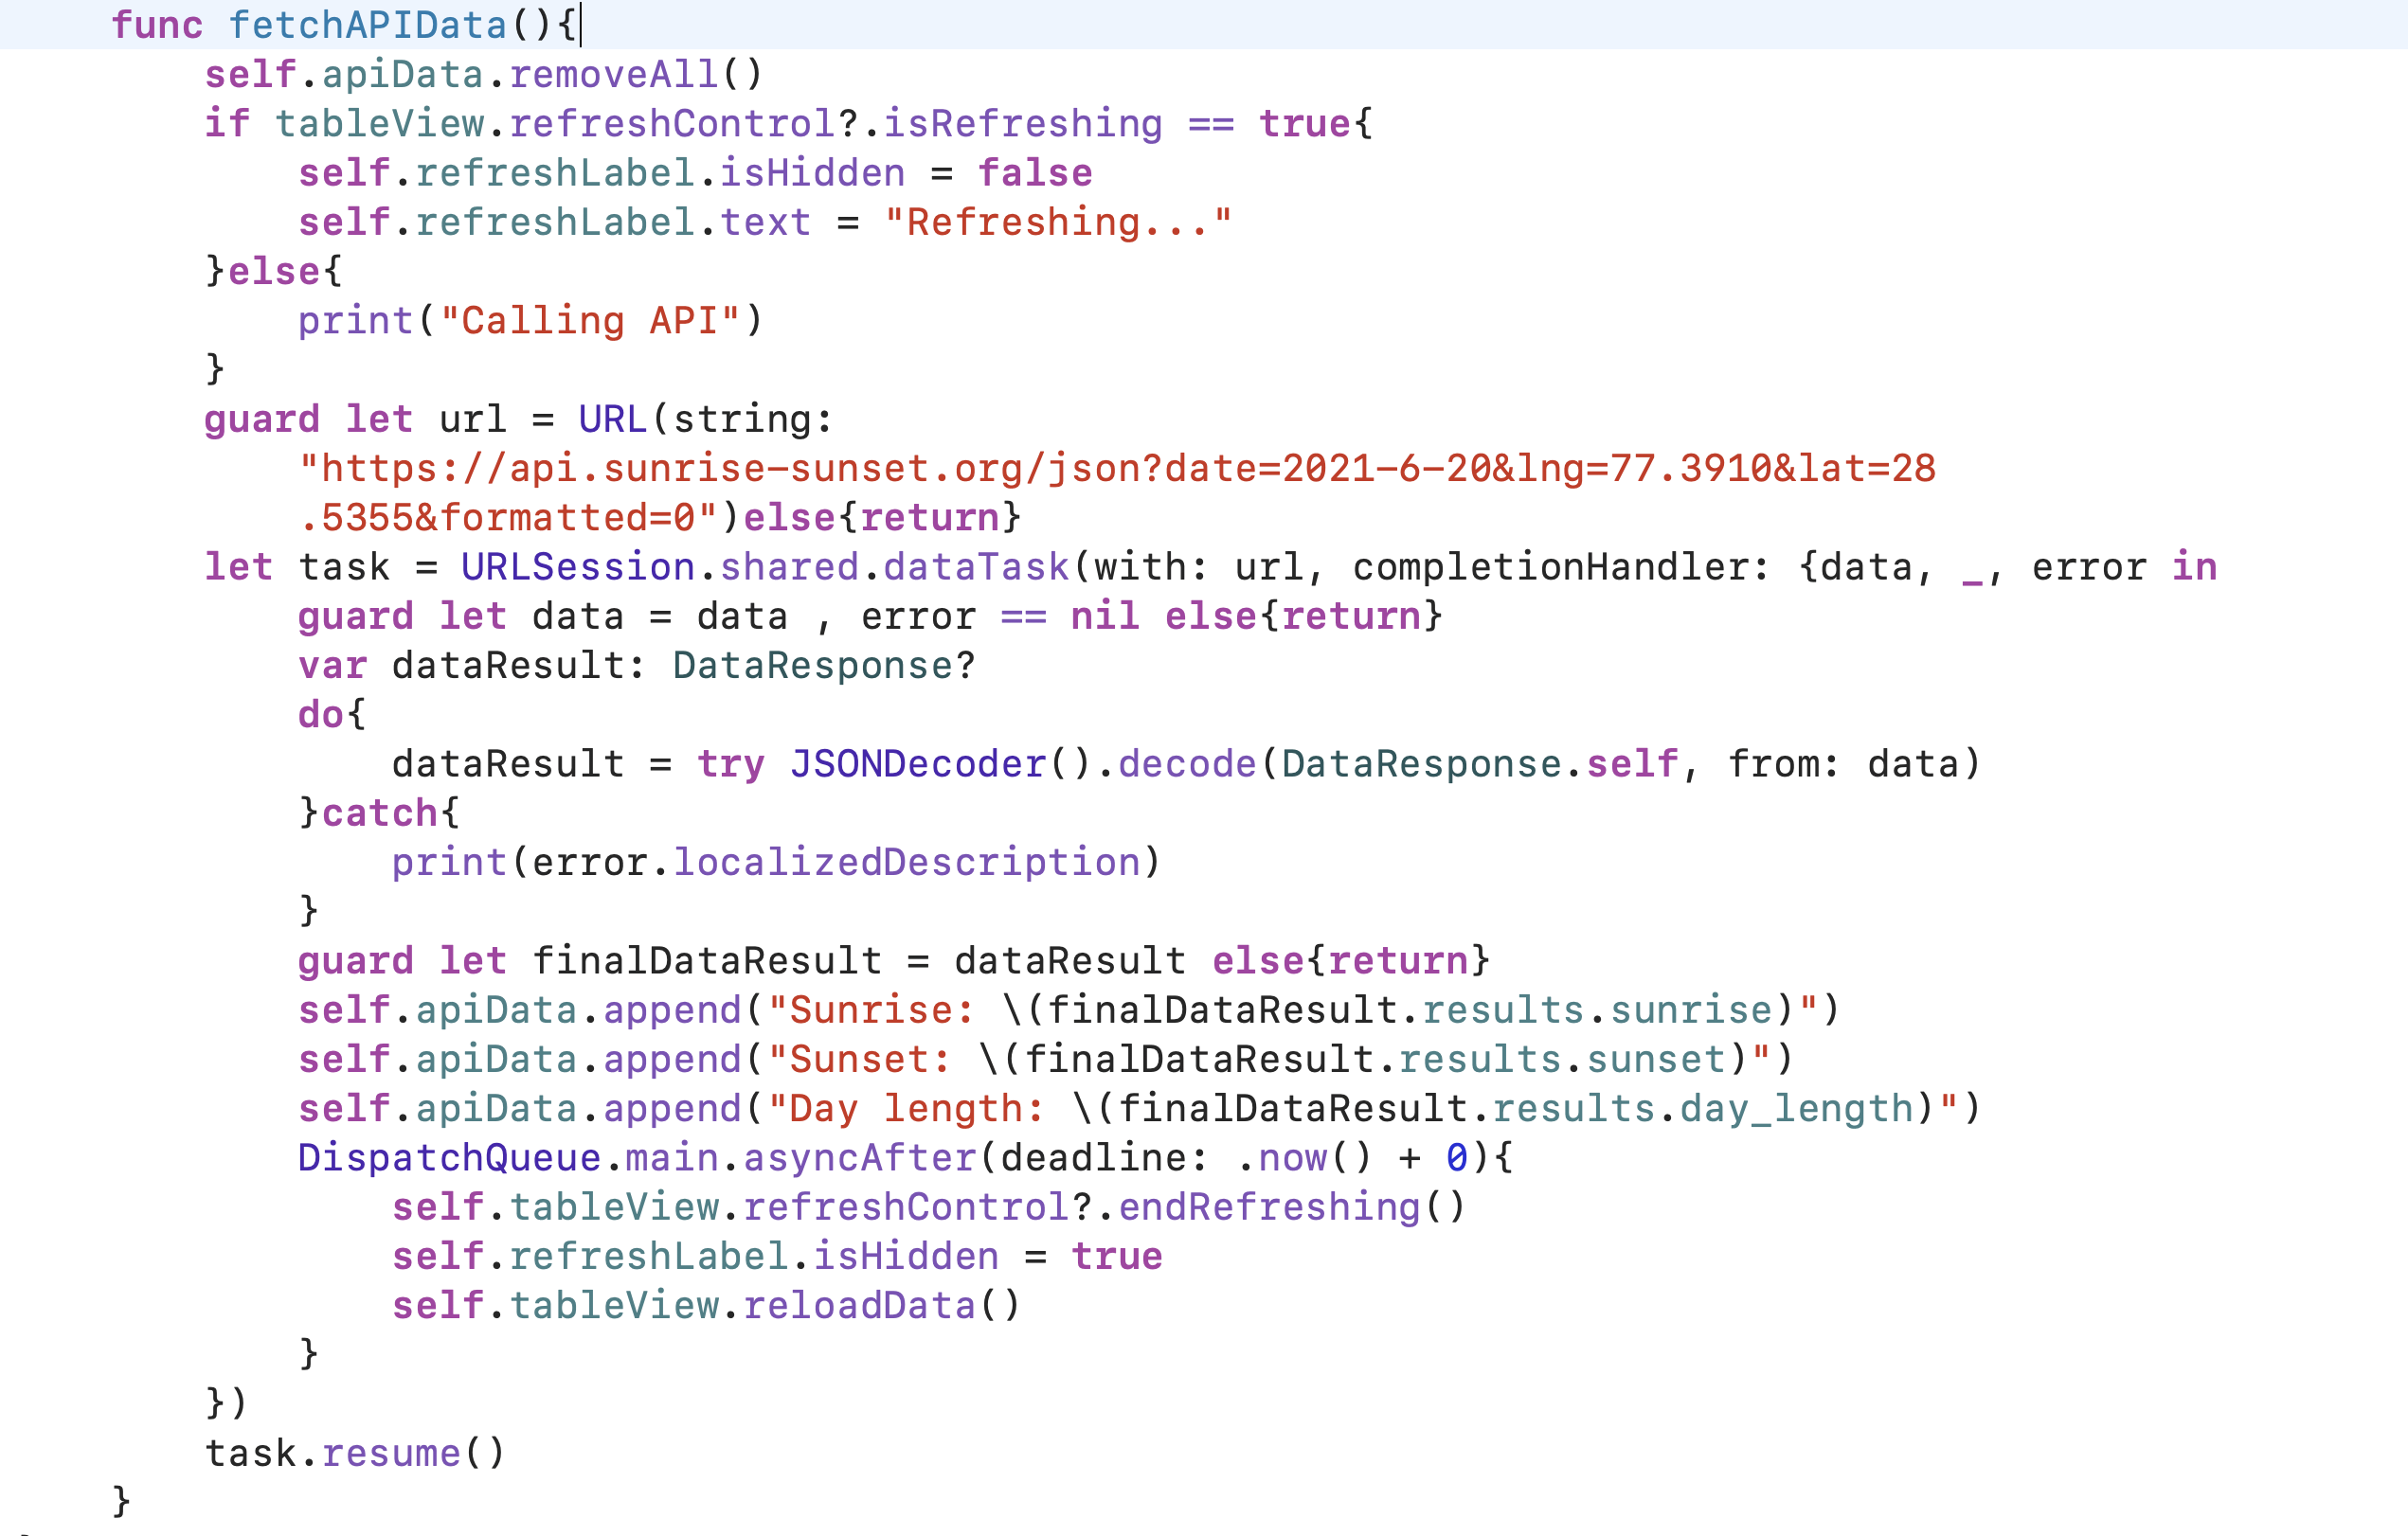
4. After that, we will create a function fetchAPIData() for the network-related task. This function is called from the viewDidLoad().
|
1 2 3 4 5 6 7 8 9 10 11 12 13 14 15 16 17 18 19 20 21 22 |
func fetchAPIData(){ self.apiData.removeAll() guard let url = URL(string: "https://api.sunrise-sunset.org/json?date=2021-6-20&lng=77.3910&lat=28.5355&formatted=0")else{return} // network task created an API is being called let task = URLSession.shared.dataTask(with: url, completionHandler: {data, _, error in guard let data = data , error == nil else{return} var dataResult: DataResponse? do{ // decoding the response to the model DataResponse dataResult = try JSONDecoder().decode(DataResponse.self, from: data) }catch{ print(error.localizedDescription) } guard let finalDataResult = dataResult else{return} // storing the data to the defined array apiData of type String self.apiData.append("Sunrise: \(finalDataResult.results.sunrise)") self.apiData.append("Sunset: \(finalDataResult.results.sunset)") self.apiData.append("Day length: \(finalDataResult.results.day_length)") }) task.resume() } |
5. In the above code we are hitting the API and decoding the returned data to DataModel DataResponse using Codable protocol.
6. We are then appending the data to apiData array of type String. We will now populate our TableView with the data of the apiData array, shown below.
|
1 2 3 4 5 6 7 8 9 10 11 |
func tableView(_ tableView: UITableView, numberOfRowsInSection section: Int) -> Int { return apiData.count } func tableView(_ tableView: UITableView, cellForRowAt indexPath: IndexPath) -> UITableViewCell { let cell = tableView.dequeueReusableCell(withIdentifier: "TableViewCell", for: indexPath)as! TableViewCell cell.celllabel.text = self.apiData[indexPath.row] return cell } func tableView(_ tableView: UITableView, heightForRowAt indexPath: IndexPath) -> CGFloat { return 50 } |
Adding UIRefreshControl
Till now we prepared our ViewController class to use the UIRefreshControl which will be visible when we pull down our Table view.
UIRefreshControl will start working when the user pulls the Tableview, it will call the fetchAPIData() function and reloads the table view with new data returned from the API.
refreshControl will call the objective-C function callPullToRefresh based on its value changes through the listener .valueChanged
After that, add the below code to your viewDidLoad()
|
1 2 3 4 |
// initializing the refreshControl tableView.refreshControl = UIRefreshControl() // add target to UIRefreshControl tableView.refreshControl?.addTarget(self, action: #selector(callPullToRefresh), for: .valueChanged) |
Now declare an objective-C function which will call the fetchAPIData() function.
|
1 2 3 |
@objc func callPullToRefresh(){ self.fetchAPIData() } |
In addition to the above, we must update our UI in the main thread. Therefore, use the below code after the network call in fetchAPIData() function.
|
1 2 3 4 5 |
DispatchQueue.main.asyncAfter(deadline: .now() + 5){ self.tableView.refreshControl?.endRefreshing() self.refreshLabel.isHidden = true self.tableView.reloadData() } |
endRefreshing() function tells the status of the UIRefreshControl that it has finished refreshing the UITableView. Similarly, beginRefreshing() tells the status of the UIControl is now started refreshing the contents.
In the above code, we have made a delay of 5 seconds for refreshControl. The refreshControl will be visible for 5 seconds.
Accordingly, we are hiding and unhiding the refreshLabel.
We are updating the refreshLabel in the below code inside the fetchAPIData()
|
1 2 3 4 5 6 |
if tableView.refreshControl?.isRefreshing == true{ self.refreshLabel.isHidden = false self.refreshLabel.text = "Refreshing..." }else{ print("Calling API") } |
isRefreshing is a boolean property that describes the current state of the UIRefreshControl
Based on the isRefreshing value we are updating the refreshLabel status.
Now your fetchAPIData() function would like as shown in the below image.
Result
After successfully adding the UIRefreshControl, your app will look like below.

Conclusion
Here, we have used the custom refreshLabel to show the refreshing status of the UIRefreshControl however, you can use the UIRefreshControl attribute attributedTitle for showing the status of the UIRefreshControl.
You can also check the Apple documentation for UIRefreshControl here
We hope this blog will help you in creating interactive designs for your projects.
For other blogs Please click here

Be the first to comment.