Notification Service extension does not present any UI of its own. It is use to modify the contents of notifications before they are display and download the content.
For example, to download images and videos related to notifications and display it on a notification banner.
LifeCycle of Notification Service Extension
- The app receives a notification.
- Now, system will create extension from notification and runs in the background.
- The extension will perform the function to download or modify content.
- After that, notifications will be display to the screen.
Setting up Notification Service
Step- 1
Create a simple app to display name and picture.
Step- 2
Now, create a new target for Notification Service with File > New > Target > Search Notification Service Extension, then Next.

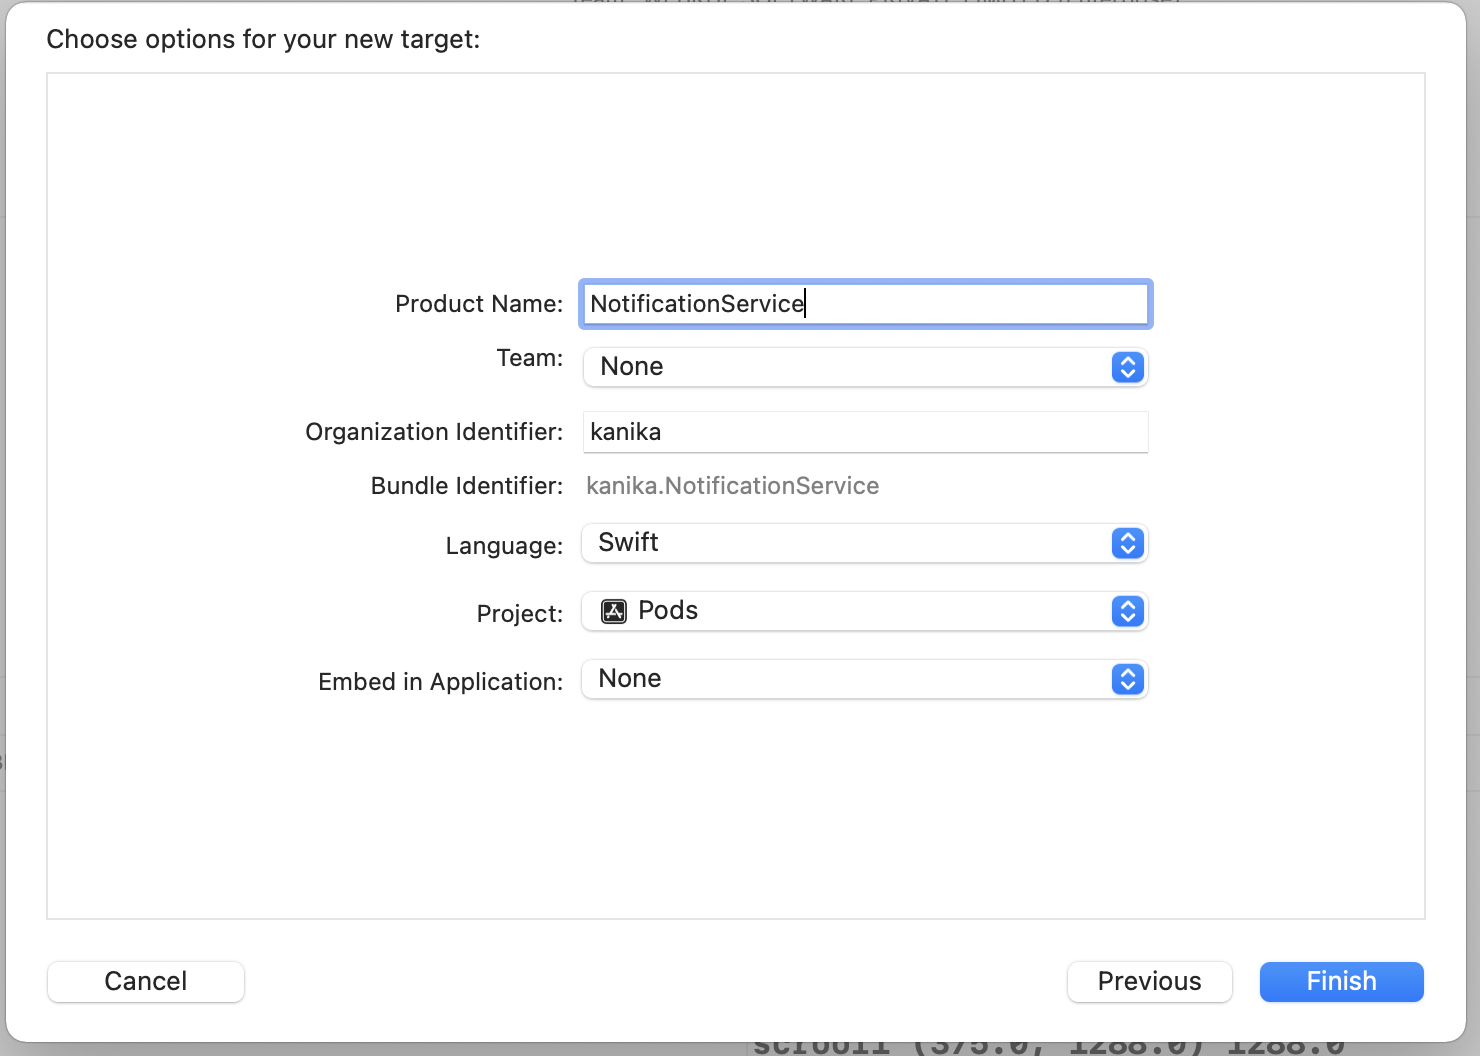
Step- 3
When a dialog appears to activate the target extension, Give a name. For example: NotificationService, then click Finish.
Step – 4
Add App Groups to the target application and notification extension on the Signing & Capabilities tab. Then, create an id for App Groups by clicking the + button in the App Groups section and check whether the id has been added plus give a checkmark on it. Finally, add capabilities for Push Notifications.
Step- 5
After completing the setup process, we need to implement push notification in the project.
To implement the Push Notification: – https://firebase.google.com/docs/cloud-messaging/ios/client
In conclusion, we have learned about Notification Service
Lastly, please comment your thoughts and queries below.
For more blogs please click here

Be the first to comment.