Networking is a process to connect your app to remote servers or local servers with the help of internet. It allows to share data and information between client and server.
In flutter/Dart application to perform networking requests there are multiple clients available such as HTTP, Retrofit, & Dio. For today’s blog we are going to use Dio package it provide efficient API for making HTTP requests and support global configuration, interceptors, FormData, connection and receiver timeout features.
Check our Flutter app development services page.
Implementation
First Create a new flutter project and then add following dependency package in pubspec.yaml file
|
1 2 3 4 5 6 7 |
dependencies: dio: ^5.1.2 json_annotation: ^4.8.1 dev_dependencies: json_serializable: ^6.7.0 build_runner: ^2.4.4 |
Dio :- For making HTTP requests.
Testing Example API
For testing dio network client we will use REQRES free API, and will fetch the list of users from the URL endpoint.
|
1 |
GET https://reqres.in/api/users?page=1 |
Creating model class
We will get the response as below for a single user details when the request is successful.
|
1 2 3 4 5 6 7 |
{ "id":7, "first_name":"Michael", "last_name":"Lawson", "avatar":"https://reqres.in/img/faces/7-image.jpg" } |
Create a model class for the user data with the help of response, model classes helps to handle data returned from REST API easily in flutter.
|
1 2 3 4 5 6 7 8 9 10 11 12 13 14 15 16 17 18 19 |
part 'user_model.g.dart'; @JsonSerializable() class User { int? id; String? email; @JsonKey(name: "first_name") String? firstName; @JsonKey(name: "last_name") String? lastName; String? avatar; User({this.id, this.email, this.firstName, this.lastName, this.avatar}); factory User.fromJson(Map<String, dynamic> json) => _$UserFromJson(json); Map<String, dynamic> toJson() => _$UserToJson(this); } |
@JsonSerializable :- annotation to generate toJSON and fromJSON code for the classes.
part :- dart file named user_model.g.dart is created automatically when the build_runner command run in the terminal it contains autogenerated codes.
@JsonKey :- define the name key same as the keys received in Map object as response.
Initialize Dio client
Create a separate class to initialize the dio client as below.
|
1 2 3 4 5 6 7 8 9 10 11 12 13 14 15 16 17 18 19 20 21 22 23 24 |
class DioClient { final _baseUrl = 'https://reqres.in/api'; Future<UserModel?> getUsers(Dio dio, {required int pageNumber}) async { UserModel? userList; try { Response userData = await dio.get('$_baseUrl/users?page=$pageNumber'); userList = UserModel.fromJson(userData.data); } on DioError catch (e) { if (e.response != null) { debugPrint('Dio error! STATUS: ${e.response?.statusCode}'); } else { debugPrint(e.message); } } return userList; } Future<Dio> getClient() async { Dio dio = Dio(); return dio; } } |
getClient() :- Initialize the global dio client and return the dio object.
getUsers() :- call the GET API using dio and return the response.
Add interceptors and common headers
we will add common headers and interceptors to dio client as below inside getClient method to initialize the dio client.
|
1 2 3 4 5 6 7 8 9 10 11 12 13 14 15 16 17 18 19 20 |
Future<Dio> getClient() async { Dio dio = Dio(); Map<String, String> headers = <String, String>{ 'Accept': 'application/json', 'content-type': 'text/plain', }; dio.options.headers = headers; dio.options.connectTimeout = const Duration(milliseconds: 5000); dio.options.receiveTimeout = const Duration(milliseconds: 5000); dio.interceptors.add(LogInterceptor( request: true, requestBody: true, requestHeader: true, responseBody: true, responseHeader: true)); return dio; } |
Interceptors :- helps to Log the request and response in the console every time when the API is called, to verify the request body, headers, params send by the client to server and response body & headers received from server.
Headers :- send additional information about the request such as content-type, authorization token and Accepted response type to the server.
Connection timeout :- The time period within which the connection must be establised between the client and server after which the dio client cancel the connection and throw exception if it failed.
Receive timeout :- The time period within which the server should send the response back to client.
Interceptors Logs in console
Request body and headers printed as below inside console when the API is called.

Response body printed as below in console when the server send response.

Performing multiple Future call
First create new method inside dio client class to call multiple APIs and this method will return future List of Response.
|
1 2 3 4 5 6 |
Future<List<Response<dynamic>>?> getFutureList(Dio dio) async { List<Response<dynamic>>? response; response = await Future.wait([dio.post('/comments/4'), dio.get('/users/10')]); debugPrint("response --> ${response[0].data}"); return response; } |
Create User interface
create a stateful widget to create UI and display the list of users after getting successful response.
|
1 2 3 4 5 6 7 8 9 10 11 12 13 14 15 16 17 18 19 20 21 22 23 24 25 26 27 28 29 30 31 32 33 34 35 36 37 38 39 40 41 42 43 44 45 46 47 48 49 50 51 |
class HomePage extends StatefulWidget { const HomePage({Key? key}) : super(key: key); @override State<HomePage> createState() => _HomePageState(); } class _HomePageState extends State<HomePage> { DioClient? client; UserModel? userList; bool isLoading = true; @override void initState() { client = DioClient(); getUsers(); super.initState(); } Future<void> getUsers() async { Dio dio = await client!.getClient(); userList = await client?.getUsers(dio, pageNumber: 1); setState(() { isLoading = false; }); } @override Widget build(BuildContext context) { return Scaffold( appBar: AppBar( title: const Text("Users"), ), body: Stack( children: [ ListView.builder(itemCount: userList?.data?.length ?? 0,itemBuilder: (context, index){ return ListTile( title: Text(userList?.data?[index].firstName ?? ""), leading: Image.network("${userList?.data?[index].avatar}"), ); }), Visibility( visible: isLoading, child: const Center(child: CircularProgressIndicator()) ) ], ), ); } } |
initState() :- initialize the dio client inside initstate and call the API to get users list from the server.
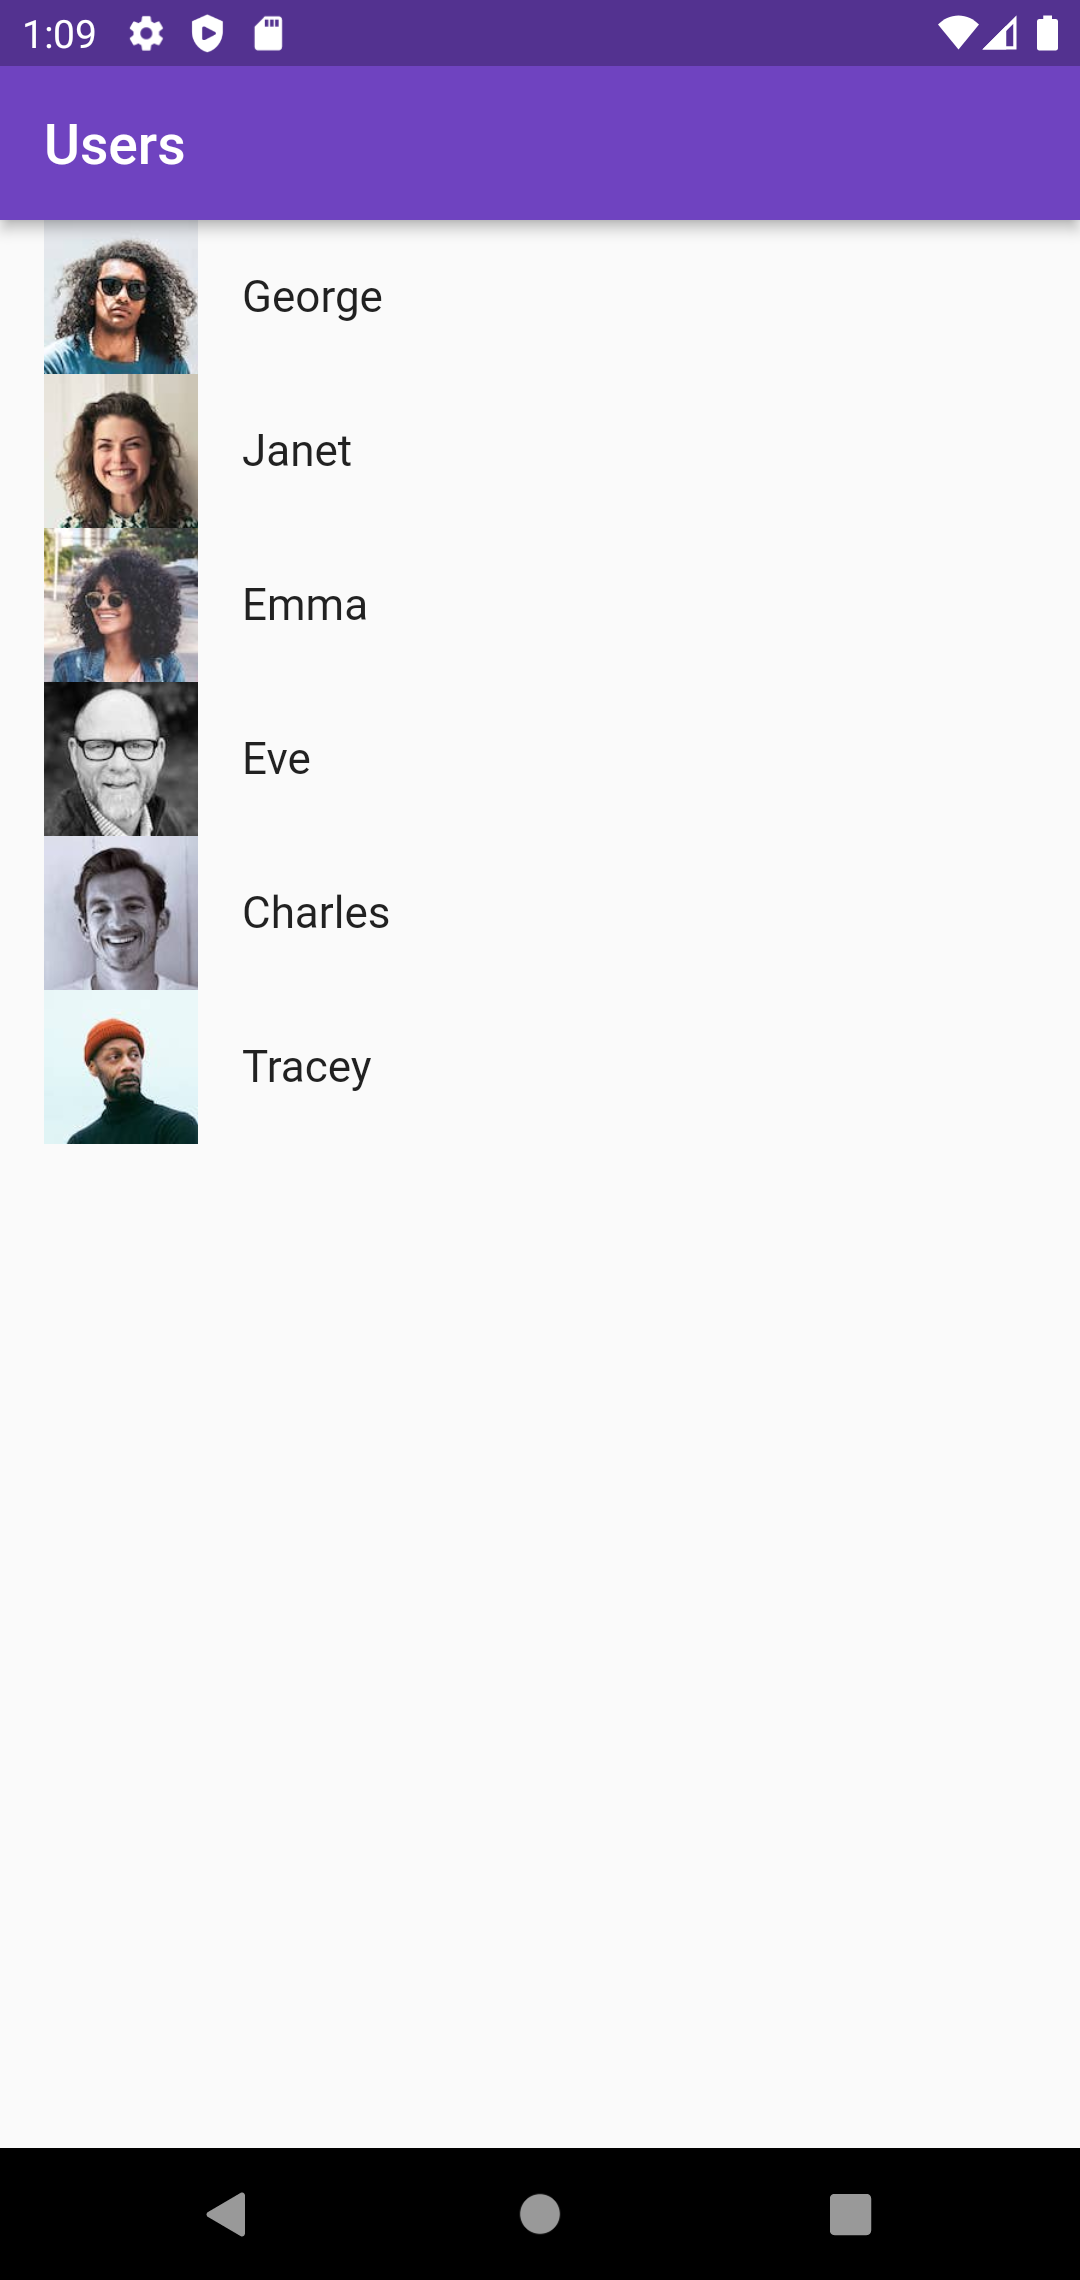
Output
Networking in Flutter using Dio
Conclusion
Thanks for reading this article ❤️
I hope this blog will help you to learn about how to perform networking using dio in flutter and you will be able to implement it. For more updates, make sure to keep following Mobikul Blogs to learn more about Flutter and Android.
Happy Learning ✍️
For more interesting blogs you can check out https://mobikul.com/blog/
Reference

Be the first to comment.