You can simply add banner images for displaying it on your Mobikul application. For this, you need to do simple banner image configuration by navigating through the following path of your CS-Cart admin panel.
Mobikul Banner Tab > Manage Banner Images
Add Banner
Click on the Add Banner button for adding new banner images. You can configure the banner image as per your requirement by setting up the banner information.
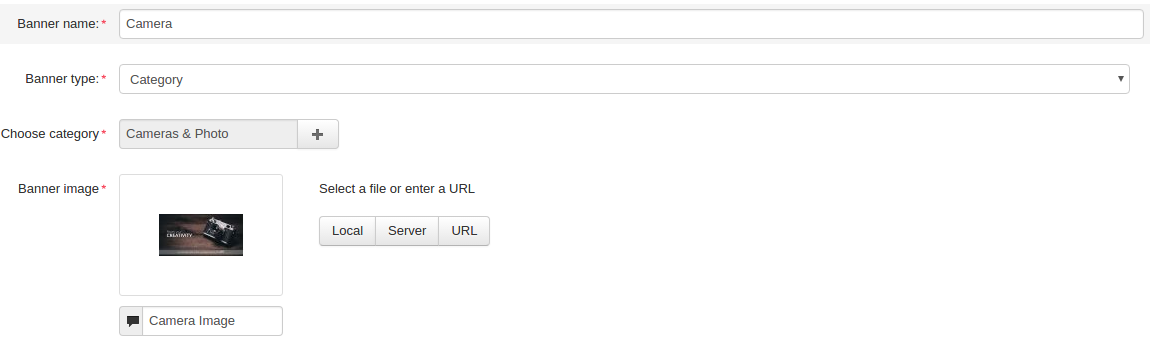
Banner Name: Set the banner name.
Banner Type: The banner-type can be either Category or Product.
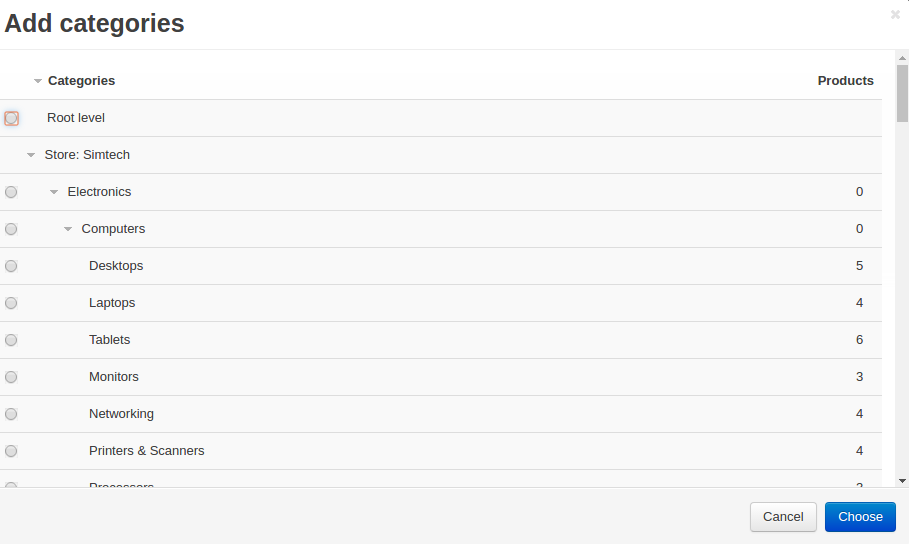
Choose Category/Product: If the banner type is set to a category then the admin can choose a category to associate with the banner. The associated category will be redirected by clicking the banner image in the application.
If the banner type is set to a product then the admin can choose a product to associate with the banner. The associated product will be redirected by clicking the banner image in the application. The admin can choose the products with help of filter search.
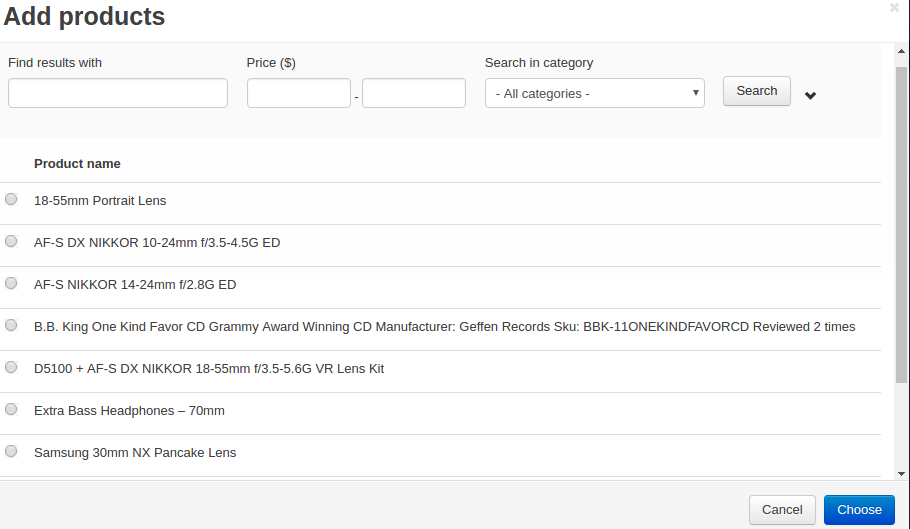
The admin can also choose the product by extending the filter search option from the “v” shaped extend button.
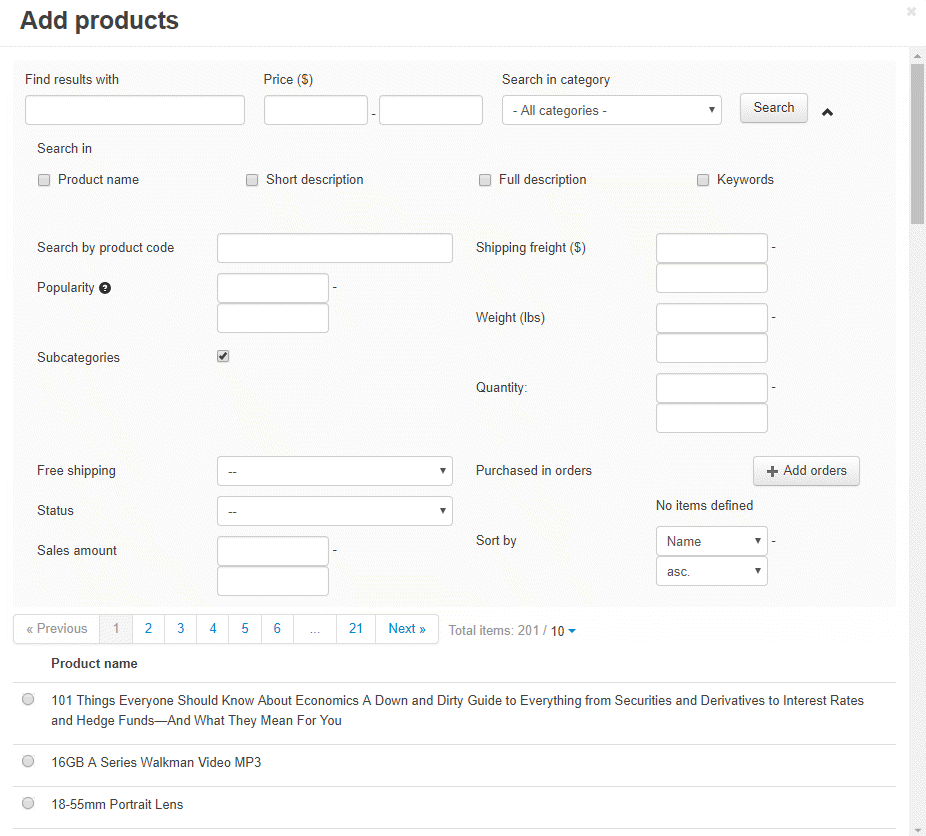
- Filter results with: The text provided here will be searched in all products name/short description/Full description/ Keywords and the products with the match will be displayed as the search result for choosing the product.
- Search in: The text provided in the above field will be searched according to the search scope set in this field.
- Price($): The product will be filtered according to the price range provided.
- Search in Category: The product will be searched in the category provided in this field.
- Search By Product Code: The product will be searched according to the Product Code given in this filed.
- Shipping Freight($): The product will be filtered according to the shipping price range provided.
- Popularity: The product will be filtered according to the popularity range provided.
- Weight(lbs): The product will be filtered according to the weight range provided.
- Subcategories: The product will be searched in the subcategories of the category chosen in “Search in category” field.
- Quantity: The product will be filtered according to the quantity range provided.
- Free Shipping: The admin can set to Yes for filtering the products which have free shipping else No.
- Status: The admin can filter the products on the basis of their status- Active, Hidden or Disabled.
- Purchased in orders: The admin can also filter the products on the basis of orders. the chosen order’s product will be shown in the filter result.
- Sales Amount: The admin can also filter the products on the basis of their sale. The quantity of sale range provided will be used to filter the product.
- Sort By: The admin can sort the filter search result on the basis of – List Price, Name, Price, CODE, Quantity or status. The admin can also set the order of the sorted result in ascending or descending order.
Banner Image: The admin can upload the banner image from several sources.
- Local
- Server
- URL
The admin can also provide alternative text/title for the banner image.
Edit Banner
Editing a banner has no difference from adding a banner image. The difference is, here you are updating the banner image with new updated information. The banner image can be edited by simply clicking on the related Setting button.

Deleting Banner
For deleting the banner image first select the banner images via banner image checkbox. All the banner image can be selected at once by mass selection checkbox present in the checkbox column heading section.

After selecting the banner images click on the Setting drop-down button present at the right side of the “Add banner” button. In the Actions drop-down, there will be an option for deleting the banner images, click on “Delete selected“. A pop-up for delete confirmation will appear. Click on Ok to delete the selected banner.

If you have any issue then please let us know anytime. You can raise a ticket for any query at webkul.uvdesk.com.

Be the first to comment.