Hello guys, today we will learn about Migration In CoreData In Swift.
In the phase of development, we want to add new features and functionality to our live app. These features add some extra requirements to our database model for this we need to update our data entity and data models.
For Example:-
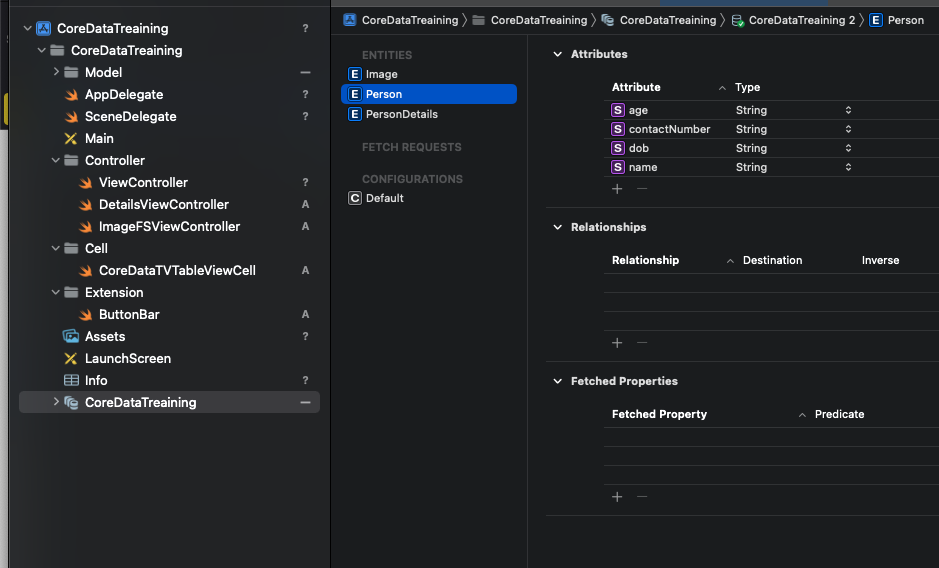
Our app is uploaded to the app store which stores the person’s details like – name, age, And the date of birth by using core data. And we want to add some extra information like – contact numbers in our data model for this we use core data migration in our app
Why we use Migration In Core Data:-
Let’s suppose we uploaded our app to the app store and changed the data model entity and upload our app to the app store. when users updated the app on the app store, they may be losing their saved data from the data model and we do not want this. To solve this problem we use Migration In CoreData and follow the migration process.
Getting Started:-
Step1:- Firstly, open your existing project in Xcode.
Step 2:- Then, select your CoreData.xcdatamodeld (your CoreData file name.xcdatamodeld). attached screenshot below.
Step 3:- Then, Go to the Editor and click on add model version option. Attached screenshot below.

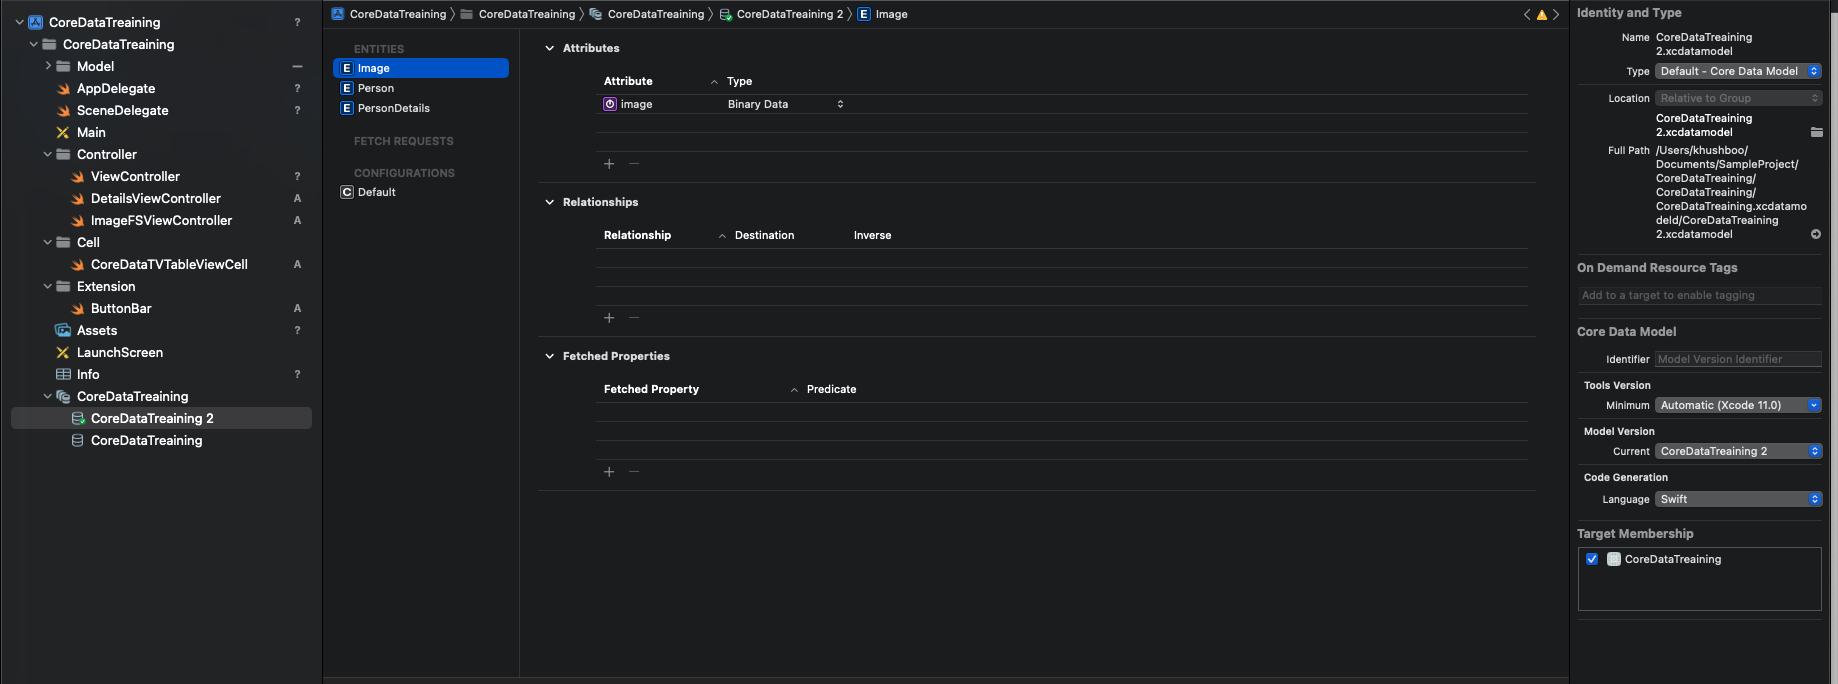
Step 4:- After this give the version name and choose the base model. attached screenshot below

Step 5:- Lastly, we need to change the model version ( the previous one to the new one ). Attached screenshot below.

In the end, add some lines of code in the core data persistent Container file. otherwise, your app will crash in case of core data migration.
|
1 2 3 4 5 |
let container = NSPersistentContainer(name: "CoreDataTreaining") // core data file name let description = NSPersistentStoreDescription() description.shouldMigrateStoreAutomatically = true description.shouldInferMappingModelAutomatically = true container.persistentStoreDescriptions = [description] |
Conclusion:-
In this blog, We have discussed about CoreData Migration.
I hope this blog will help you to understand the coredata migration process.
If you want to learn about core data functionality, Please click here.
Thanks for reading!!

Be the first to comment.