In this blog,
We have shown you how to add manually the external aar file in your android application.
How to include
Step 1: Put your aar file in the libs folder. And let’s take the file name is webkul.aar as an example.
Step 2: Put the following code in your Project level build.gradle file,
and in the app level module write the below code,
Step 3: Then Click sync project with Gradle files.
If everything is working fine, then you will see library entry is made in build ->intermediates -> exploded-aar.
Or you can also follow these following steps,
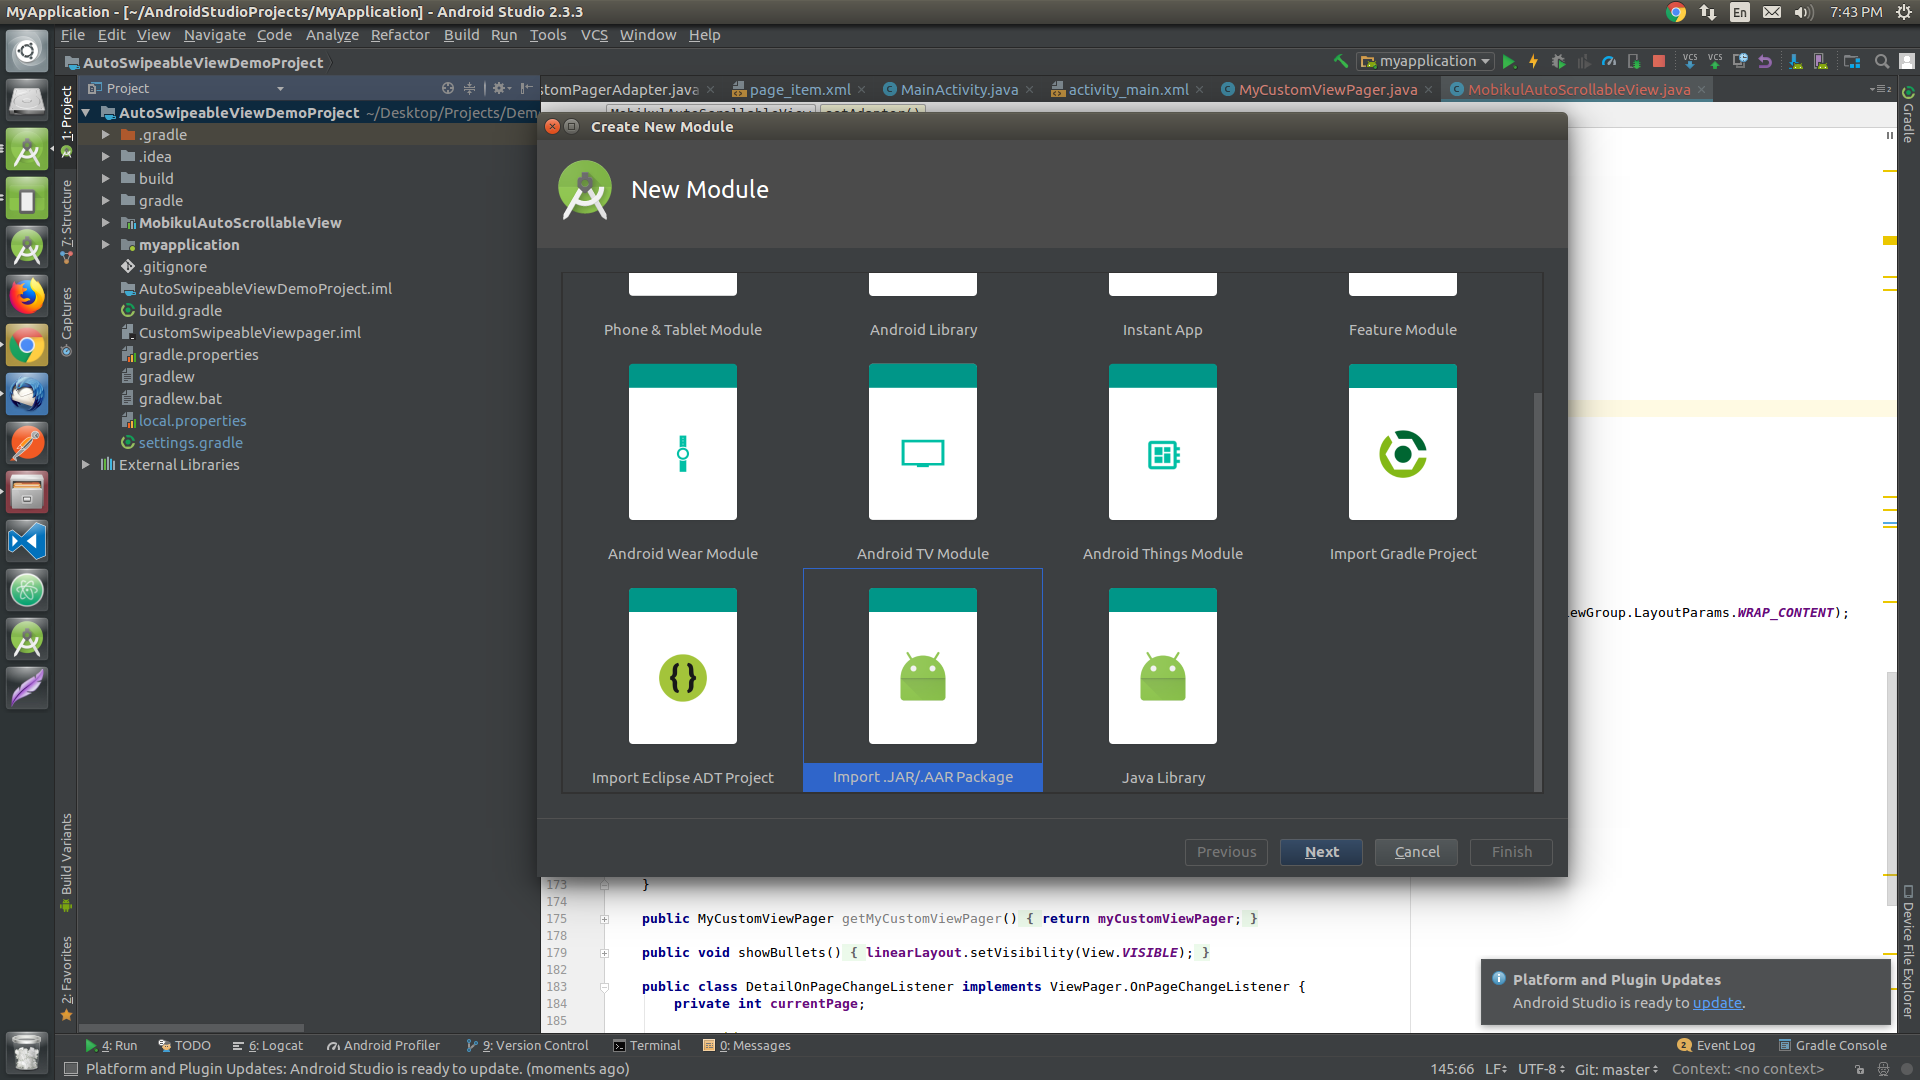
- Go to File>New>New Module
- Select “Import .JAR/.AAR Package” and click next,

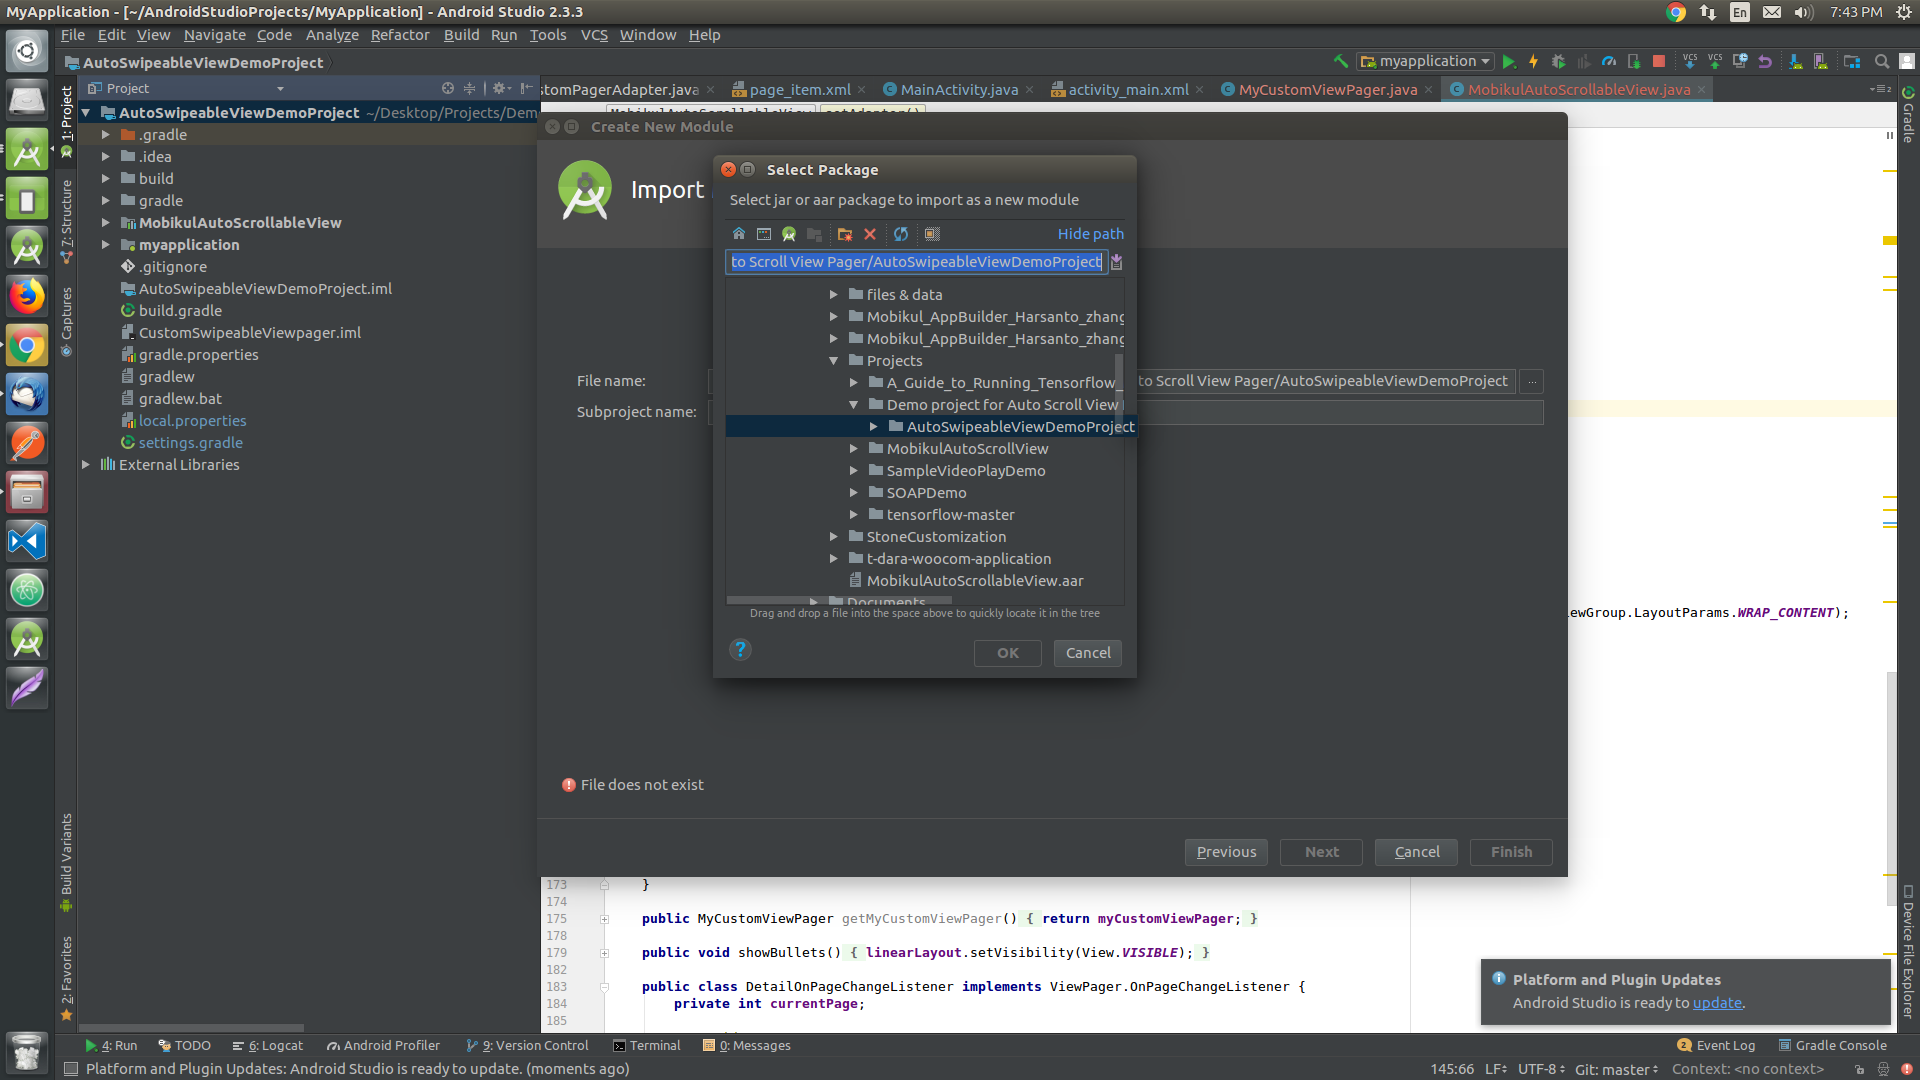
- Enter the path to .aar file and click finish,
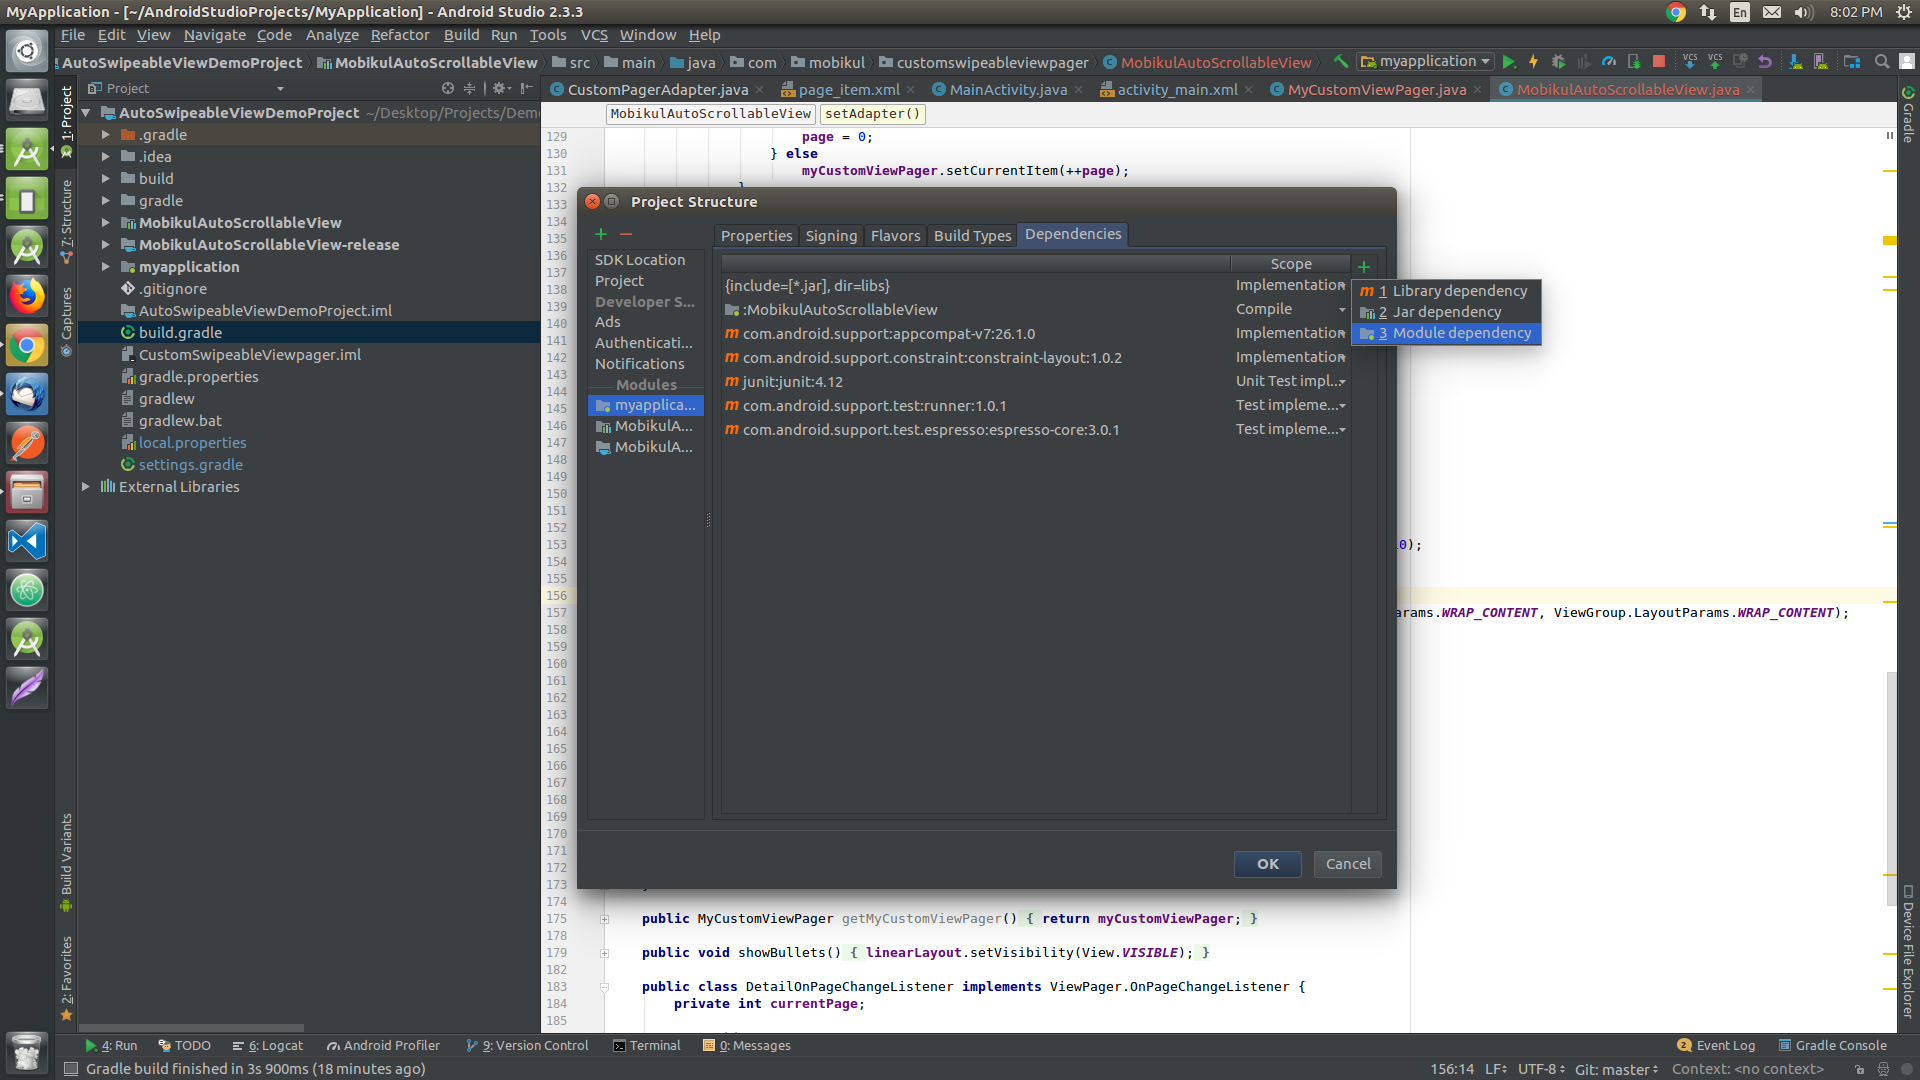
- Go to File>Project Structure (Ctrl+Shift+Alt+S) and go to dependencies tab,
- Click the green “+” in the upper right corner,
- Select “Module Dependency”,
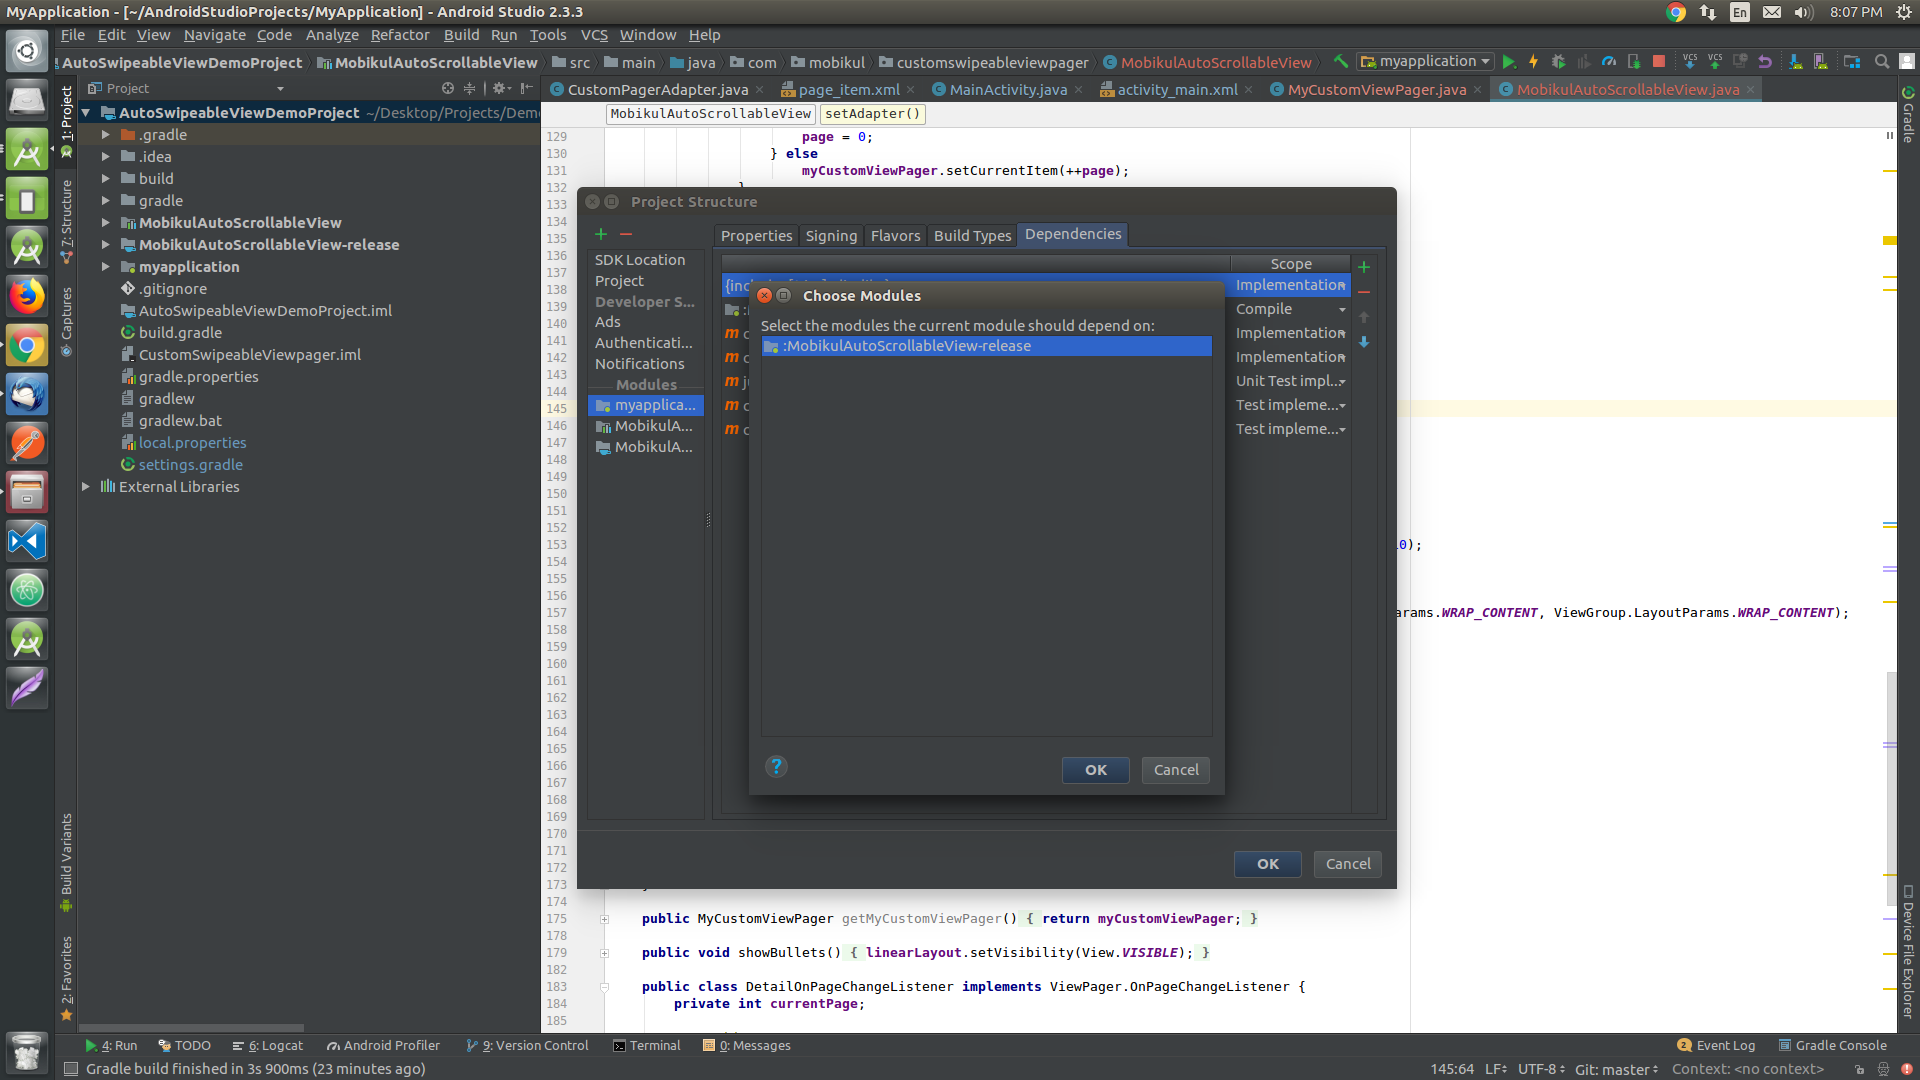
- Select the new module from the list,

Thanks for reading this blog. Stay updated.

. . .
1 comments