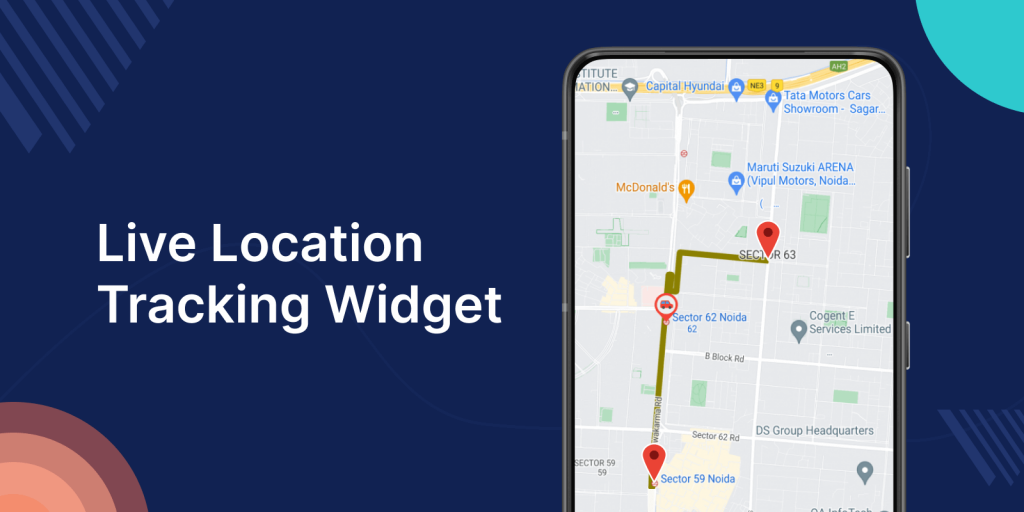
In this blog, we are learning about the ‘Live location Tracking ‘ in Flutter.
Live location tracking in Flutter refers to the ability to continuously monitor and display the real-time geographic location of a device or user on a map within a Flutter application.
This feature is commonly used in various types of apps, such as ride-sharing, delivery, social networking, fitness apps, and navigation apps, to provide users with up-to-date information.
1. Set Up Dependencies
|
1 2 3 |
location: ^4.4.0 flutter_polyline_points: ^1.0.0 google_maps_flutter: ^2.5.0 |
To implement live location tracking with the ability to create polylines and display them on the map in a Flutter project, you can use the following three dependencies.
You may view our other separate paragraph about the map in Flutter for more details regarding the location dependent.
2. Permissions
|
1 2 |
<uses-permission android:name="android.permission.ACCESS_FINE_LOCATION" /> <uses-permission android:name="android.permission.ACCESS_COARSE_LOCATION" /> |
We have added these two permissions for the current location.
3. Google Map
Our project must first include Google Maps, so we are making a stateful widget with a Google Map widget.
To use Google Maps in your Flutter app, you need an API key. Visit the Google Cloud Console, create a project, enable the Maps SDK for Android and iOS, and generate an API key.
|
1 2 3 4 5 6 7 8 9 10 11 12 13 14 15 16 17 18 19 20 21 22 23 24 25 26 27 28 29 |
final Completer<GoogleMapController> _controller = Completer<GoogleMapController>(); GoogleMap(initialCameraPosition: CameraPosition( target: LatLng( currentLocation!.latitude!, currentLocation!.longitude!), zoom: 13.5,), markers: { Marker( markerId: const MarkerId("ourCurrentLocation"), position: LatLng( currentLocation!.latitude!, currentLocation!.longitude!), ), const Marker( markerId: MarkerId("Staring point location "), position: startLocation, ), const Marker( markerId: MarkerId("End point location "), position: endLocation , ), }, onMapCreated: (mapController) { _controller.complete(mapController); }, ), |
Set the initial camera position of the GoogleMap widget to the position of the current location. Set the zoom to 13.5 because the map has to be a little closer up.
4. Poly Lines
The next thing I want to do is draw a line connecting the source and the destination. Make a list called polylineCoordinates that is empty.
Make a getPolyPoints async function and a PolylinePoints instance. The list of polyline points is returned by the getRouteBetweenCoordinates function.
|
1 2 3 4 5 6 7 8 9 10 11 12 13 14 15 16 17 |
List<LatLng> polylineCoordinates = []; PolylinePoints polylinePoints = PolylinePoints(); PolylineResult result = await polylinePoints.getRouteBetweenCoordinates( "XXXXXXXXX", // Your Google Map Key PointLatLng(startLocation.latitude, startLocation.longitude), PointLatLng(endLocation.latitude, endLocation.longitude), ); if (result.points.isNotEmpty) { for (var point in result.points) { polylineCoordinates.add( LatLng(point.latitude, point.longitude), ); } setState(() {}); // Up } |
We are defining the polyline in Google Maps.
|
1 2 3 4 5 6 7 8 9 10 |
polylines: { Polyline( polylineId: const PolylineId("track"), points: polylineCoordinates, color: const Color(0xFFFF0000), width: 4, ), }, |
5. Current Location
To move the marker between the start position and the finish location, we must obtain the device’s location.
In order to obtain the current location, we are creating a function. You should visit our other blog for more details regarding the current location.
|
1 2 3 4 5 6 7 8 9 10 11 12 13 14 15 16 17 18 19 |
Location currentLocation = Location(); var location = await currentLocation.getLocation(); currentLocation.onLocationChanged.listen((LocationData loc){ _controller?.animateCamera(CameraUpdate.newCameraPosition(new CameraPosition( target: LatLng(loc.latitude ?? 0.0,loc.longitude?? 0.0), zoom: 12.0, ))); print(loc.latitude); print(loc.longitude); setState(() { _markers.add(Marker(markerId: MarkerId('CurrentLocation'), position: LatLng(loc.latitude ?? 0.0, loc.longitude ?? 0.0) )); }); }); |
Read about the variety of Flutter App Development Services offered by Mobikul.
6. Display the Widget
Finally, you can display the LiveLocationTracking widget in your app by navigating to it or embedding it within your app’s navigation flow.

Conclusion
Congratulations!! You have learned about Live Location Tracking in Flutter.
Thanks for reading this blog. You can also check other blogs from here for more knowledge.
Always be ready for learning

Be the first to comment.