UITabBarController is one of the most commonly used UI elements of iPhone apps. It appears at the bottom of an app screen and provides the ability to switch between different sections of an app quickly. the TabBar controller is not very customizable and recommends only 5 icons before having to present a “more options” icon. A tab bar is often used to switch between different, but comparable view controllers.
What we are going to do?
- Implement a view controller that can hold some other view controllers.
- Show one of those view controllers.
- Show a tabbar at the bottom of the screen over the shown view controller.
- Switch between the various view controllers when the user taps on a tabbar button.
Let’s create a project of the custom Tab bar.
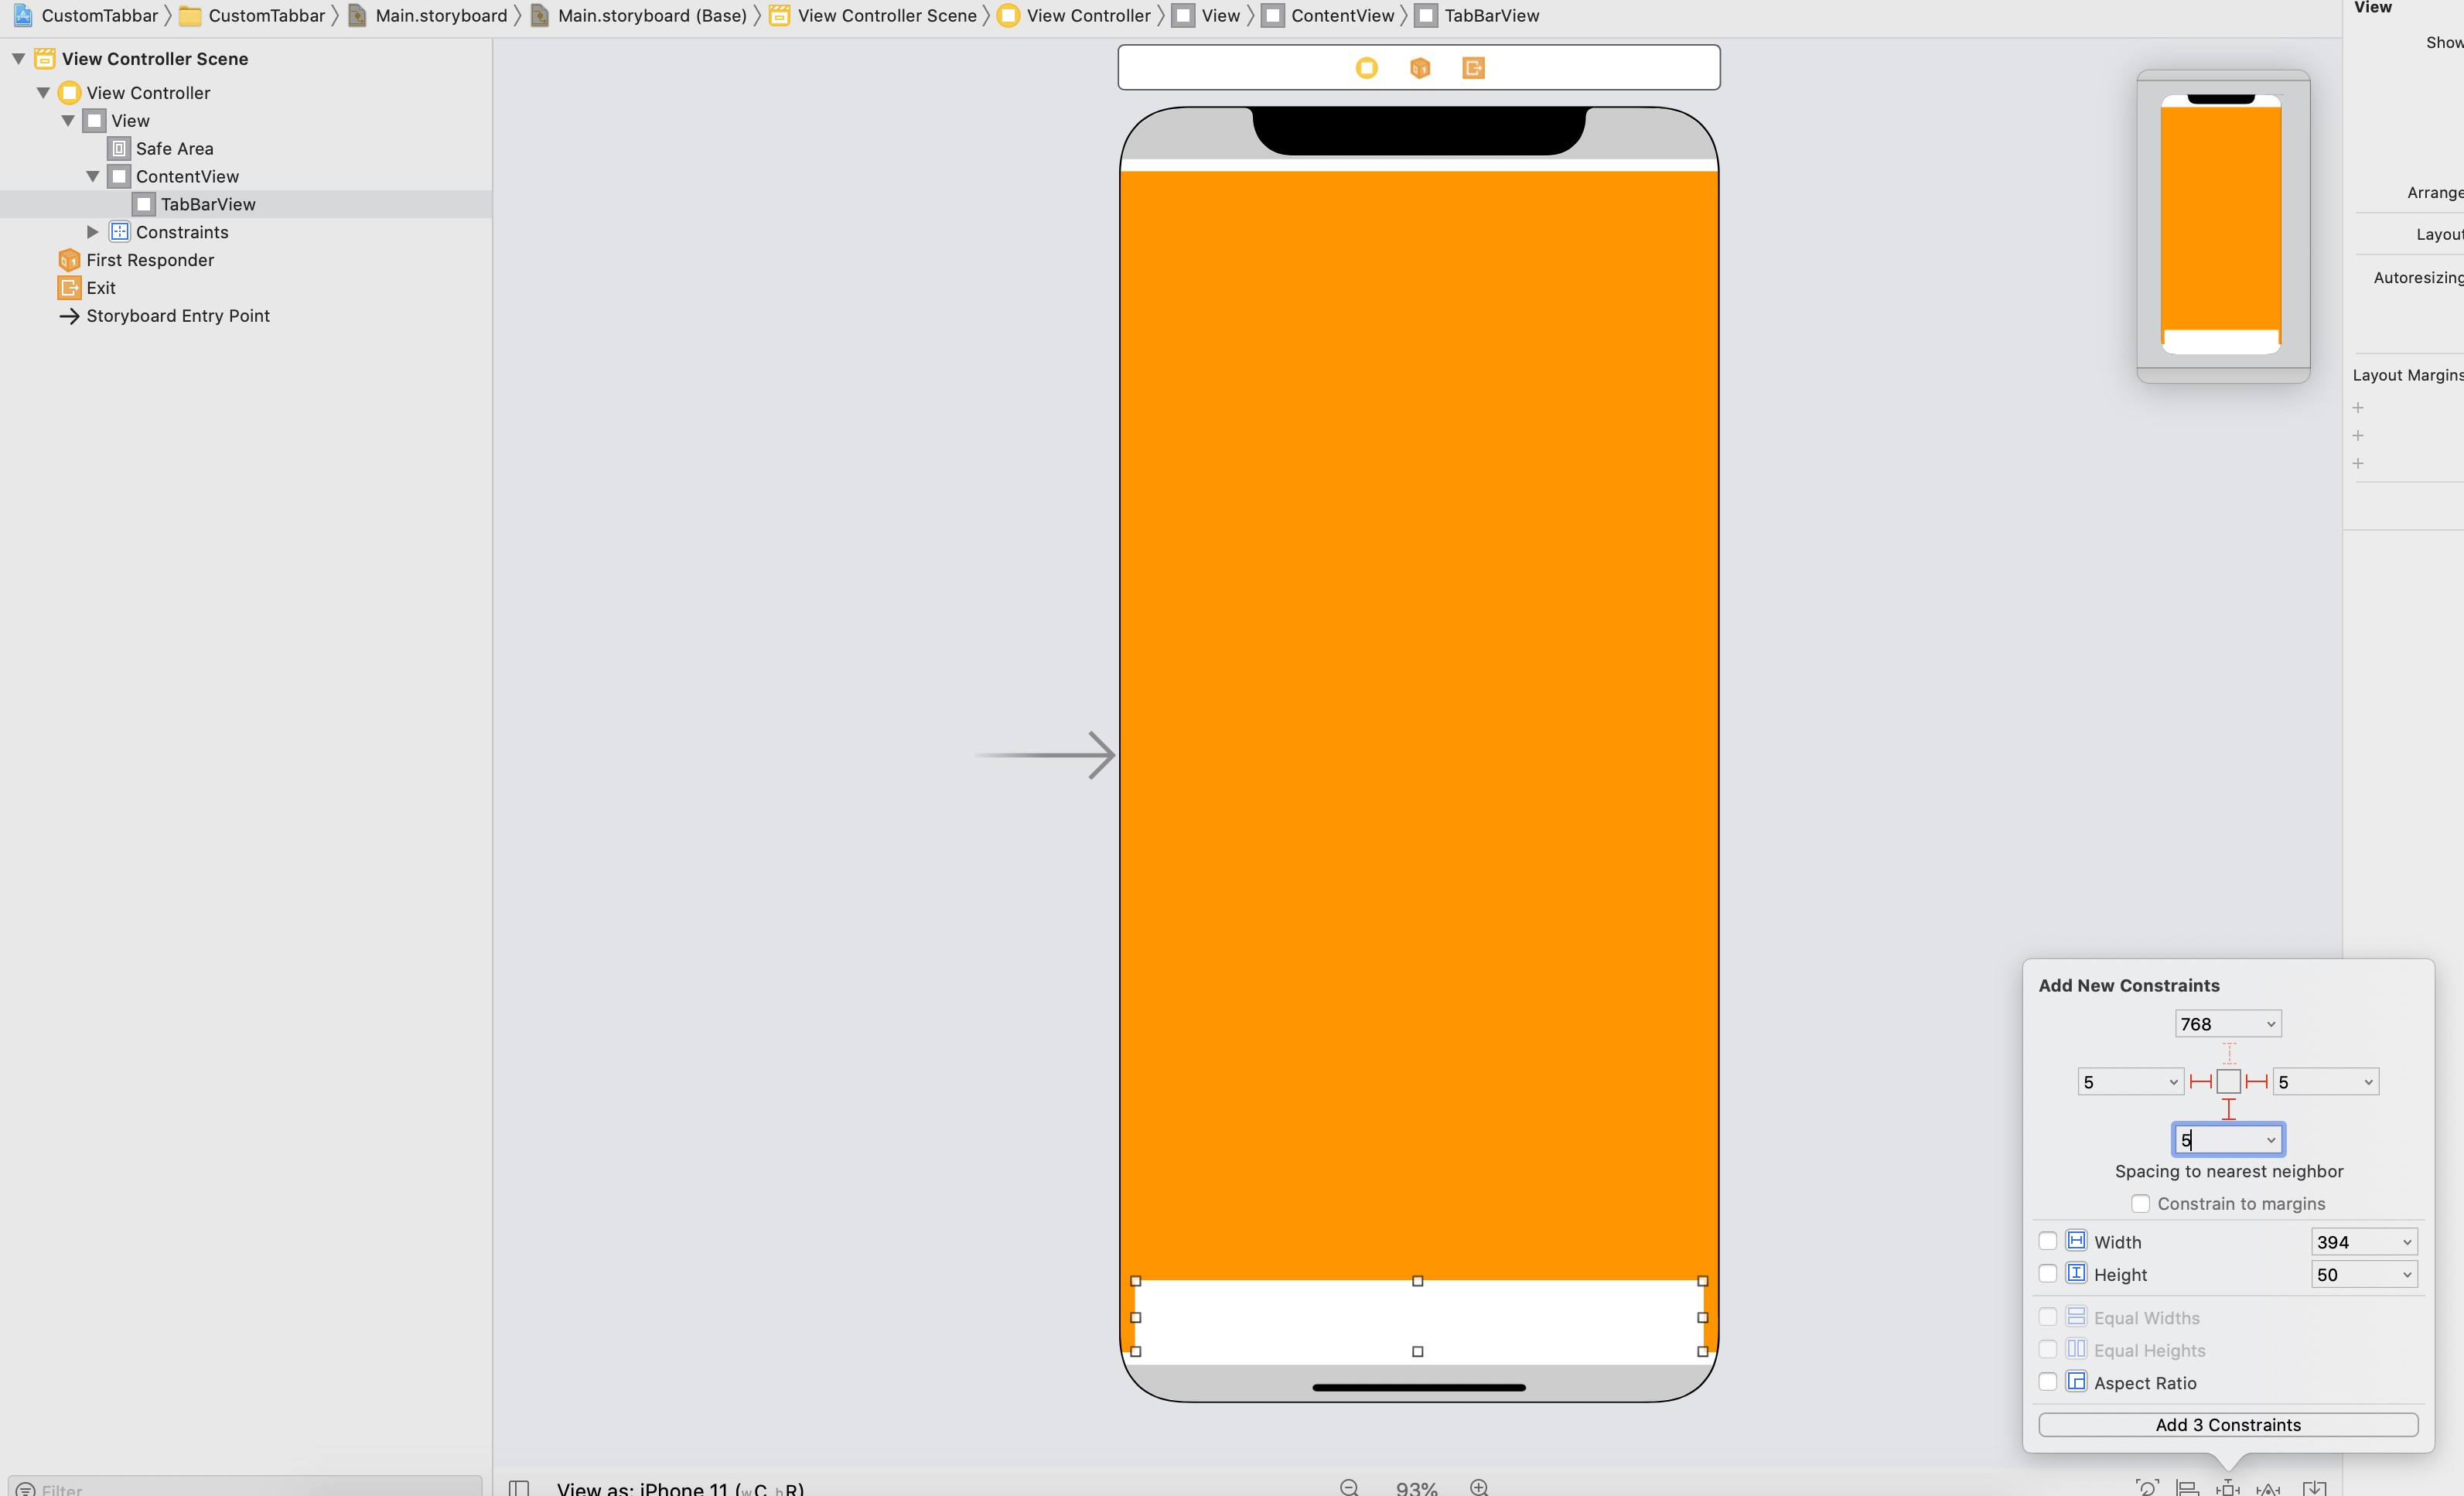
- Open an Xcode and take a view on Storyboard.
- Now, we need another UIView at the bottom of the storyboard for the tab bar view. The TabBarView consists of a collection of buttons the user can tap to switch from one tab to another.

- Create tab bar items. take 4 views in TabBarview and add a button for the item icon in each view.
- Take 4 ViewControllers
1234567891011121314151617181920212223242526272829303132333435363738394041424344454647import UIKitclass ViewController: UIViewController {@IBOutlet weak var TabBarView: UIView!@IBOutlet weak var Contentview: UIView!override func viewDidLoad() {super.viewDidLoad()// Do any additional setup after loading the view.TabBar()}func TabBar(){TabBarView.layer.cornerRadius = TabBarView.frame.size.height/2TabBarView.clipsToBounds = true}@IBAction func AllbuttonAction(_ sender: Any) {let tag = (sender as AnyObject).tagif tag == 0{guard let home = self.storyboard?.instantiateViewController(identifier: "HomeViewController") as? HomeViewController else { return}Contentview.addSubview(home.view)home.didMove(toParent: self)}else if tag == 1{guard let search = self.storyboard?.instantiateViewController(identifier: "SearchViewController") as? SearchViewController else { return}Contentview.addSubview(search.view)search.didMove(toParent: self)}else if tag == 2{guard let camera = self.storyboard?.instantiateViewController(identifier: "CameraViewController") as? CameraViewController else { return}Contentview.addSubview(camera.view)camera.didMove(toParent: self)}else{guard let profile = self.storyboard?.instantiateViewController(identifier: "ProfileViewController") as? ProfileViewController else { return}Contentview.addSubview(profile.view)profile.didMove(toParent: self)}}} - Add the view of the HomeViewController to the content view as a subview and call the didMove(toParent: ) function.


Note:- If you don’t call it the child view controller won’t be able to detect that it did move to the parent view controller.
6. Now, run the project.
For other blogs Please click here

. . .
1 comments