Updated 31 January 2022
Hello guys, Today we learn about @IBDesignable And @ IBInspectable in Swift.
@IBDesignable:- When we want to change our custom outlet design from the StoaryBoard or .xib files at a time we will use @IBDesignable functionality. for this, we need to create a class and mark that class name with the @IBDesignable attribute.
@IBInspectable:- When we want to make some part of the custom view subclass configurable inside the @IBInspectable builder it allows us to create an attribute that is assigned in storyboard or .xib
|
1 2 3 4 5 6 |
@IBDesignable class ViewCLass: UIView { @IBInspectable var cornerRadius: Double { // code } } |
Getting Start:- Let’s take an example, I am taking a view and TextView and want to change their design like I want to give some shadow, the border with, and borderColor to the view outlet and set some padding in my textView
step1:- Firstly, create a new Xcode project.
File-> New-> Project-> Choose Ios-> choose App-> next and Add your project name then create.
Step2:- Then, take a View or textView

Step 3:- Then, create a new swift class
File–> New–> File–> Select Cocoa Touch class –> and create a class
Step4:- Now, write the code
|
1 2 3 4 5 6 7 8 9 10 11 12 13 14 15 16 17 18 19 20 21 22 23 24 25 26 27 28 29 30 31 32 33 34 35 36 37 38 39 40 41 42 43 44 45 46 47 |
import UIKit @IBDesignable class ViewCLass: UIView { @IBInspectable var cornerRadius: Double { get { return Double(self.layer.cornerRadius) }set { self.layer.cornerRadius = CGFloat(newValue) } } @IBInspectable var borderWidth: Double { get { return Double(self.layer.borderWidth) } set { self.layer.borderWidth = CGFloat(newValue) } } @IBInspectable var borderColor: UIColor? { get { return UIColor(cgColor: self.layer.borderColor!) } set { self.layer.borderColor = newValue?.cgColor } } @IBInspectable var shadowColor: UIColor? { get { return UIColor(cgColor: self.layer.shadowColor!) } set { self.layer.shadowColor = newValue?.cgColor } } @IBInspectable var shadowOpacity: Float { get { return self.layer.shadowOpacity } set { self.layer.shadowOpacity = newValue } } } |
This code is for UIView outlets like- View.
|
1 2 3 4 5 6 7 8 9 10 11 12 13 14 15 16 17 18 19 20 21 22 23 24 25 26 27 28 29 30 31 |
@IBDesignable class TextViewWithInsets: UITextView { @IBInspectable var topInset: CGFloat = 0 { didSet { self.contentInset = UIEdgeInsets(top: topInset, left: self.contentInset.left, bottom: self.contentInset.bottom, right: self.contentInset.right) } } @IBInspectable var bottmInset: CGFloat = 0 { didSet { self.contentInset = UIEdgeInsets(top: self.contentInset.top, left: self.contentInset.left, bottom: bottmInset, right: self.contentInset.right) } } @IBInspectable var leftInset: CGFloat = 0 { didSet { self.contentInset = UIEdgeInsets(top: self.contentInset.top, left: leftInset, bottom: self.contentInset.bottom, right: self.contentInset.right) } } @IBInspectable var rightInset: CGFloat = 0 { didSet { self.contentInset = UIEdgeInsets(top: self.contentInset.top, left: self.contentInset.left, bottom: self.contentInset.bottom, right: rightInset) } } } |
This code indicates for textView – it is used for padding purposes.
Here we are using the did Set or get Set method so here is what is did Set and get Set method in swift?
GetSet:- To write a value we use the set method and to read a value we use the get method. The common use would be data handling with persistent storage.
DidSet:- didSet is called right after the data is stored and it has a default constant that shows the previous value that is overwritten.
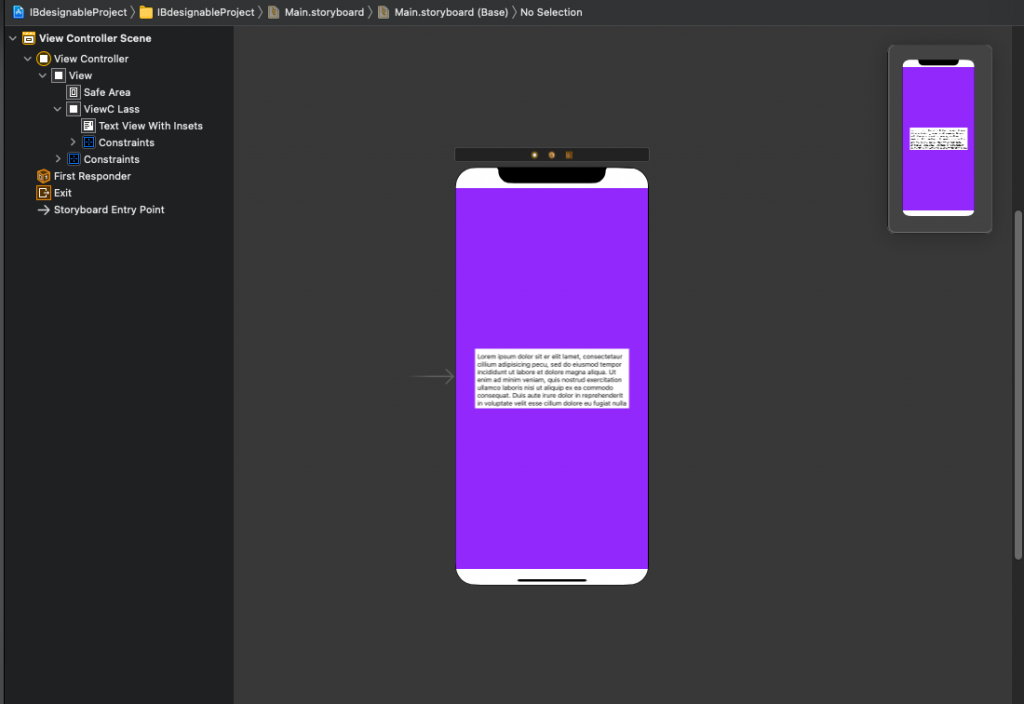
Output:- Now, run your project and see the result.
In this blog, we discussed @IBdesignable And @ IBInspectable in Swift
I hope this blog will help you to understand the working of @IBdesignable And @ IBInspectable in Swift
Thanks for reading!!!
If you have more details or questions, you can reply to the received confirmation email.
Back to Home
Be the first to comment.