Dear Folks, today I am going to explain the use of OneSignal for push notifications. OneSignal is a high-volume and reliable push notification service for websites and mobile applications.
For using OneSignal you must have an OneSignal account. So before proceeding, I would like you to request just sign up to create an account.
Now you are ready to create a demo application to integrate OneSignal. Follow the below steps:
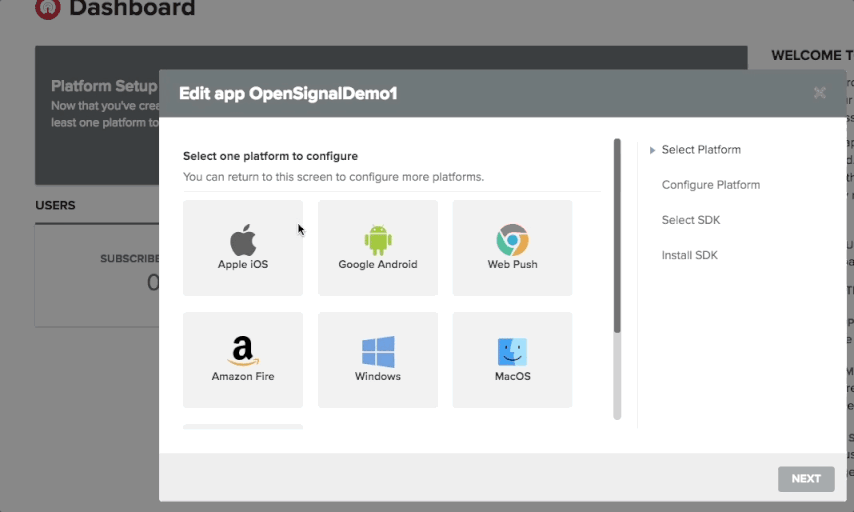
Step 1: Create on ADD APP.

Step 2: Write the Application name and follow the instruction to complete configuration upload production or sandbox certificates.

Step 3. Now coming to the Xcode Project
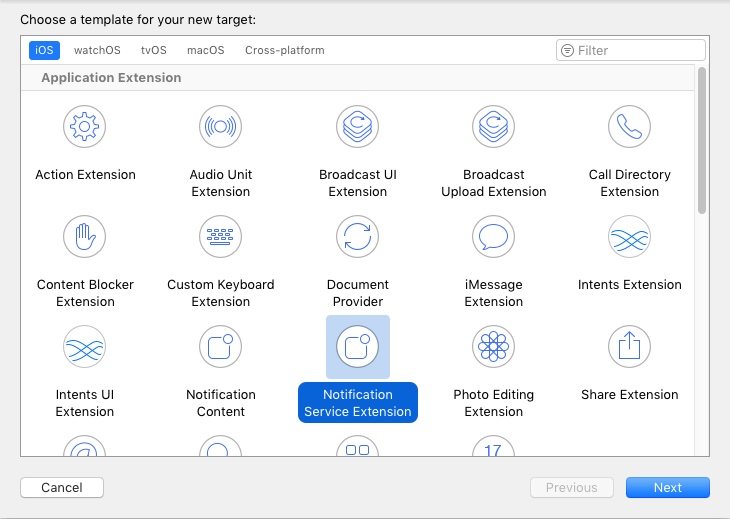
3.1 In Xcode Select File > New > Target...
3.2 Select Notification Service Extension then press Next.
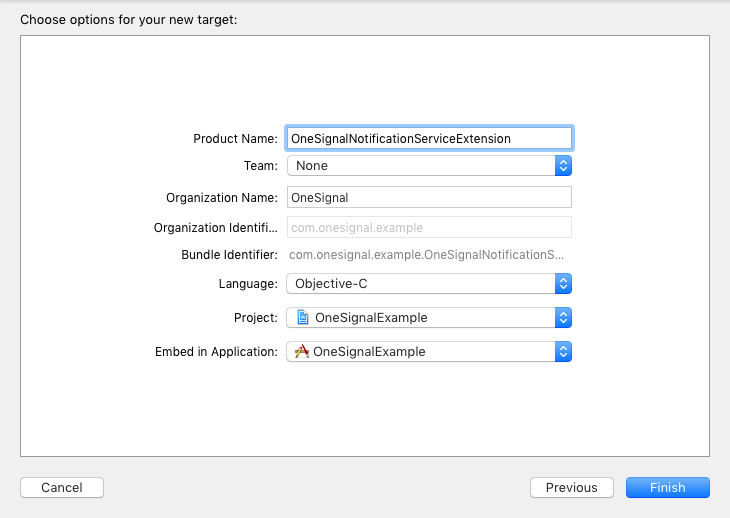
3.3 Enter the product name as OneSignalNotificationServiceExtension and press Finish.
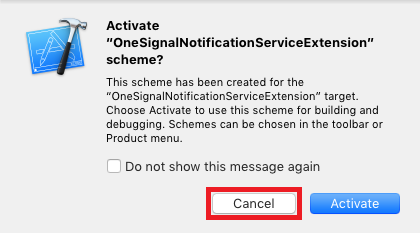
3.4 Press Cancel on the Activate scheme prompt.
4. Install Podfile in XCode Project
|
1 2 3 4 5 6 7 |
target 'project_name' do pod 'OneSignal' end target 'OneSignalNotificationServiceExtension' do pod 'OneSignal' end |
5. Add Required Capabilities
5.1 Select the root project and Under Capabilities Enable “Push Notifications”.
5.2 Next Enable “Background Modes” and check “Remote notifications”.
6. Add the following OneSignal initialization code to your AppDelegate. Replace YOUR_APP_ID with your OneSignal App ID.
|
1 2 3 4 5 6 7 8 9 10 11 12 13 14 15 16 17 18 19 20 21 22 |
import OneSignal func application(_ application: UIApplication, didFinishLaunchingWithOptions launchOptions: [UIApplicationLaunchOptionsKey: Any]?) -> Bool { let onesignalInitSettings = [kOSSettingsKeyAutoPrompt: false] // Replace 'YOUR_APP_ID' with your OneSignal App ID. OneSignal.initWithLaunchOptions(launchOptions, appId: "YOUR_APP_ID", handleNotificationAction: nil, settings: onesignalInitSettings) OneSignal.inFocusDisplayType = OSNotificationDisplayType.notification; // Recommend moving the below line to prompt for push after informing the user about // how your app will use them. OneSignal.promptForPushNotifications(userResponse: { accepted in print("User accepted notifications: \(accepted)") }) return true } |
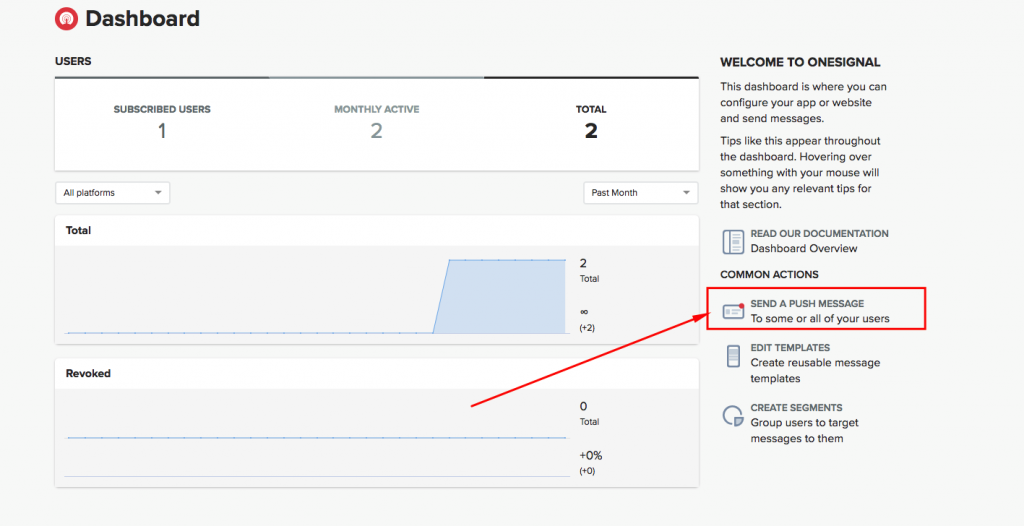
7. Now Push the notification from the OneSignal Dashboard.
If you still have any doubt, just leave the comment below. I will get back to you soon.

Be the first to comment.