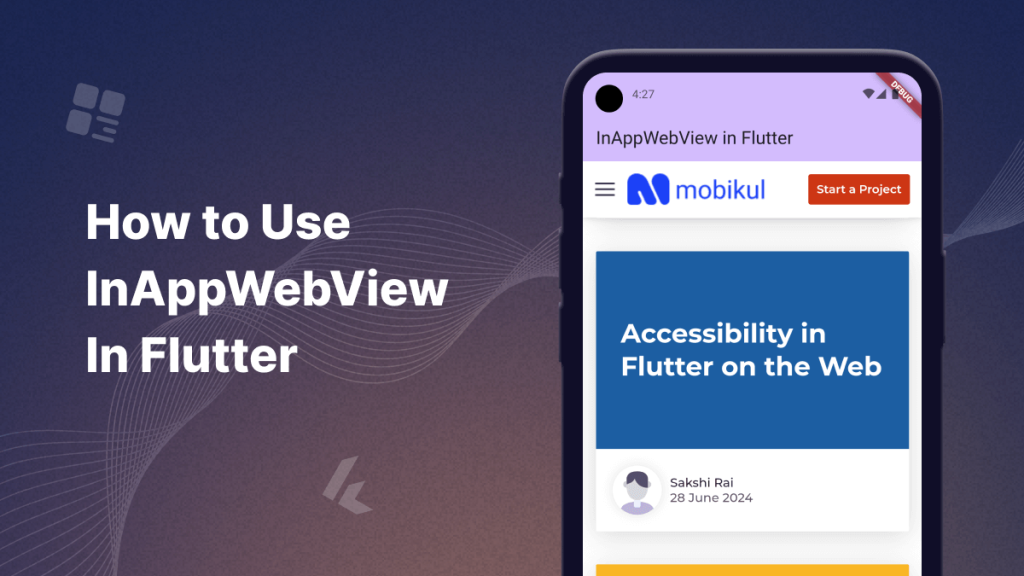
In this blog we are going to discussion about How To Use InAppWebView In Flutter.
InAppWebView is a widget which is provided by the flutter, which allows developer to embed web content in flutter application.

Introduction
InAppWebView is flutter widget which allow to display webpage in your flutter application.
InAppWebView is a widget from the flutter_inappwebview plugin that lets you display web pages inside your Flutter app, It offers more features and flexibility compared to the basic WebView widget in Flutter.
Property of InAppWebView
initialUrlRequest:
Specifies the initial URL to load when the InAppWebView is first created.
initialFile:
Allows loading a local file (such as an HTML file) into the web view.
initialData:
In this property we are loading HTML content directly as a string.
onLoadStart:
This is a callback function that gets triggered when the WebView begins loading a new webpage.
onLoadStop:
This callback is triggered when a page finishes loading.
onLoadError:
This callback is triggered when an error occurs while loading a page.
onConsoleMessage:
This callback is triggered when InAppWebView receives javascript console message.
onDownloadStartRequest:
This callback is triggered when WebView recognizes downloadable file.
Implementation
We are going to implement InAppWebView In Flutter .
Please follow below mention steps to implement InAppWebView.
First of all you need to create a flutter project and add following dependency.
|
1 |
flutter_inappwebview: ^6.0.0 |
You need to add updated version of this dependency, this is fluter package which is provide the way to display web content in flutter application using embedded web view.
InAppWebView offers more feature as compare to WebView, such as advanced JavaScript handling, improved support for file uploads etc.
After Importing above dependency you need to create a StatefulWidget (InAppWebViewInFlutter) and call from main.dart. After that you need to add below mention code in side InAppWebViewInFlutter class, this code is helpful to display WebView inside flutter application.
|
1 2 3 4 5 6 7 8 9 10 11 12 13 14 15 16 17 18 19 20 21 22 23 24 25 26 27 28 29 30 31 |
@override Widget build(BuildContext context) { return Scaffold( appBar: AppBar( backgroundColor: Theme.of(context).colorScheme.inversePrimary, title: Text(widget.title), ), body: Center( child: InAppWebView( initialUrlRequest: URLRequest( url: WebUri("https://mobikul.com/blog/") ), onWebViewCreated: (controller) { webViewController = controller; }, onLoadStart: (controller, url) { print("Started loading: $url"); }, onLoadStop: (controller, url) { print("Finished loading: $url"); }, onProgressChanged: (controller, progress) { print("Loading progress: $progress%"); }, onConsoleMessage: (controller, progress){ print("Console message: ${progress.message}"); }, ), ), ); } |
Once the code is added, let’s review the output to verify the results.
You can check here for
Output
How To Use InAppWebView In Flutter
InAppWebView is a widget which is provided by the flutter, which allows developer to embed web content in flutter application.
Conclusion
In this blog we have discussed about How To Use InAppWebView In Flutter.
I hope this blog is helpful to UnderStand this topic, you can visit here for more knowledge about webview.
Please visit the Link for more additional information about related this topic.
You can also check other blogs from here for more knowledge.

Be the first to comment.