What is GitLab CI?
GitLab is a tool that is used for software development. You can do the planning, code management, monitoring, bugs management etc. using a single tool. It also provides GitLab CI and CD which is Continuous Integration and Continuous Deployment respectively. With the help of a few configurations, your every commit or push triggers a CI pipeline. A pipeline is a group of jobs that get executed in stages. If everything goes right in a stage then only the pipeline moves to the next stage. There are stages like build, test and deploy.
What we are going to do?
In this blog, we will learn how to set up your Android project with GitLab CI so that with every push it automatically starts generating an APK. First, we need to generate the APK and then we will go for the deployment part in the other blog.
You are here to learn about the GitLab CI, So we assume that you already know how to upload your code on GitLab CI. In case you are not aware of that you can flow this link of the GitLab Doc.
Steps to setup GitLab CI
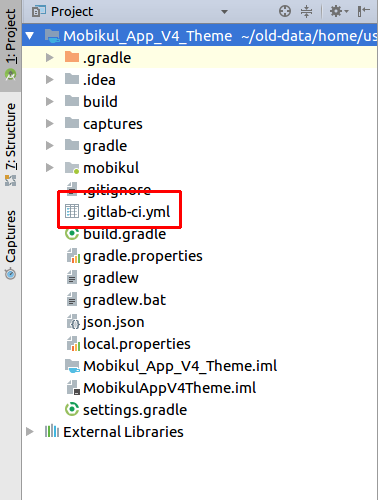
- You need to create a .gitlab-ci.yml file in the root directory of your project. This file contains all the information using which the GitLab Runner will perform the jobs.

GitLab CI file location - After the file creation, you need to write the stages and commands in the file which you want to perform after the push event. Below is a sample code for the .gitlab-ci.yml file. If you want to get deeper into the scripts then you can follow the documentation provided by the GitLab.
123456789101112131415161718192021222324252627282930313233343536373839404142434445image: openjdk:8-jdkvariables:ANDROID_COMPILE_SDK: "28"ANDROID_BUILD_TOOLS: "28.0.2"ANDROID_SDK_TOOLS: "4333796"before_script:- apt-get --quiet update --yes- apt-get --quiet install --yes wget tar unzip lib32stdc++6 lib32z1- wget --quiet --output-document=android-sdk.zip https://dl.google.com/android/repository/sdk-tools-linux-${ANDROID_SDK_TOOLS}.zip- unzip -d android-sdk-linux android-sdk.zip- echo y | android-sdk-linux/tools/bin/sdkmanager "platforms;android-${ANDROID_COMPILE_SDK}" >/dev/null- echo y | android-sdk-linux/tools/bin/sdkmanager "platform-tools" >/dev/null- echo y | android-sdk-linux/tools/bin/sdkmanager "build-tools;${ANDROID_BUILD_TOOLS}" >/dev/null- export ANDROID_HOME=$PWD/android-sdk-linux- export PATH=$PATH:$PWD/android-sdk-linux/platform-tools/- chmod +x ./gradlew# temporarily disable checking for EPIPE error and use yes to accept all licenses- set +o pipefail- yes | android-sdk-linux/tools/bin/sdkmanager --licenses- set -o pipefailstages:- build- testlintDebug:stage: buildscript:- ./gradlew -Pci --console=plain :app:lintDebug -PbuildDir=lintassembleDebug:stage: buildscript:- ./gradlew assembleDebug#./gradlew assembleRelease -Pandroid.injected.signing.store.file=$KEYFILE -Pandroid.injected.signing.store.password=$STORE_PASSWORD -Pandroid.injected.signing.key.alias=$KEY_ALIAS -Pandroid.injected.signing.key.password=$KEY_PASSWORDartifacts:paths:- mobikul/build/outputs/apk/debugTests:stage: testscript:- ./gradlew -Pci --console=plain :app:testDebug
In the above code, We have defined two stages build and test. The build stage creates a debug APK (We can also change the command to generate release version APK) and checks for lint warnings. The second stage tests the APK.
- Now when your .gitlab-ci.yml file is ready, You can push it to GitLab. You must be aware of the push commands but still, below I have mentioned the set of commands that you have to run.
123git add .gitlab-ci.ymlgit commit -m "Added .gitlab-ci.yml"git push origin master
- As soon as you push it, You will notice a little pause icon with your commit as shown in the screenshot below.
And now when you go the “Pipelines” tab of your GitLab project then you will notice that there is a pipeline created which in a pending state because its stuck due to some reason as shown in the screenshot below.
This is happening because the pipeline needs a runner to run its jobs which is yet not configured. - Our next step is to configure a runner and in this, we need to install a runner and then register it to our project.
- Installing a runner is a simple task and it also changes from OS to OS. So you can go to this link where you can find the installation process for every type of OS. All you need to do is run a few commands and it will be ready.
- To register the runner with your project, You need to get the token and to get the token you need to go to Settings -> Pipelines of your project.
- Now when you have the token you need to execute a few commands to register the runner. Again these commands are OS specific, So you can go to this link and get the commands for the specific OS.
- After Registering the runner you will notice that your pipeline will change its state from Pending to Running as shown in the below screenshot.
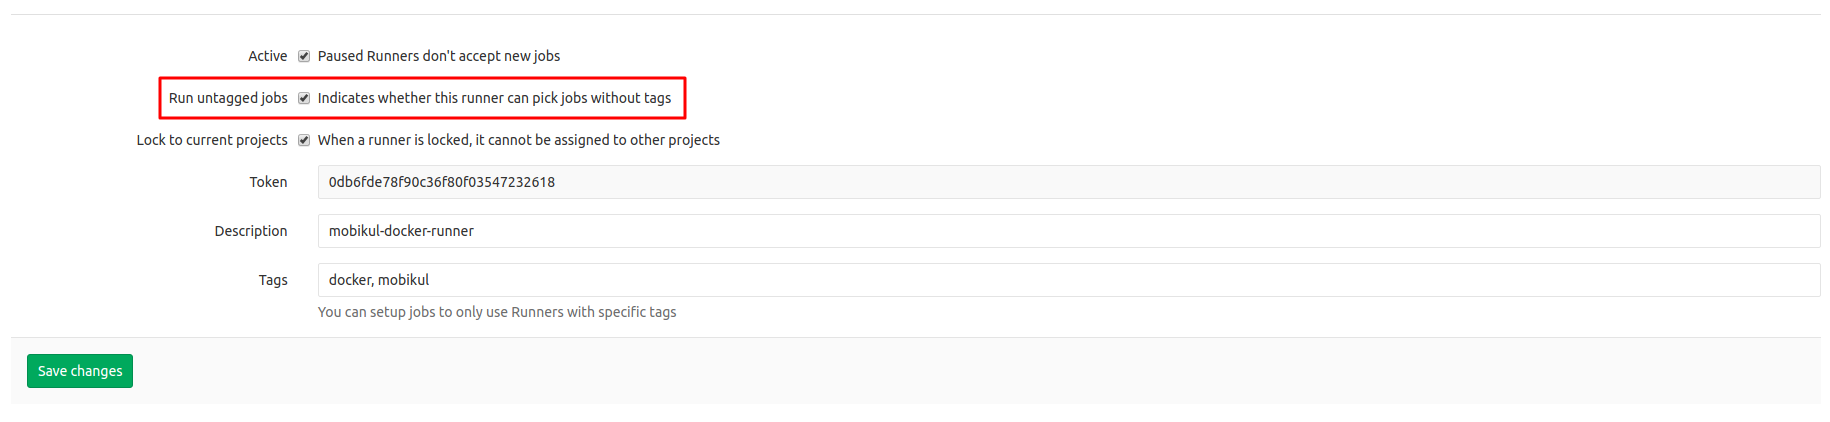
- If your commits are untagged then the pipeline will not start as the runner is by default not configured to run untagged jobs. You can change that configuration from Settings -> Pipelines by editing your configured runner.
There you will find a checkbox saying “Run untagged jobs”. You need to check this box and save the runner changes.


Hope this helps you in getting started with GitLab CI. There are a lot more things that you can do with the GitLab and we will surely see them some other day.
That’s all for this blog. Thank you very much. This is Vedesh Kumar signing off.

2 comments
./gradlew assembleRelease -Pandroid.injected.signing.store.file=$KEYFILE -Pandroid.injected.signing.store.password=$STORE_PASSWORD -Pandroid.injected.signing.key.alias=$KEY_ALIAS -Pandroid.injected.signing.key.password=$KEY_PASSWORD
All you need is to define proper variables as mentioned in this line.