Dear Reader, I hope you are doing well. Today I am going to explain the usefulness of a tool TestFlight Provided by Apple. TestFlight is an online service owned by Apple Inc for beta app testing in iOS.
In order to install an app using Testflight, you need:
a) An Apple ID
b) The Testflight app installed on your Apple device. Click here to install TestFlight
If you don’t have any apple account, you can create by clicking here
Provide this apple id to your developer.
Next steps are:
1) The app’s developer sends you an invitation via iTunes Connect. The email contact is your Apple ID. The app’s developer will associate your Apple ID to the Testflight app.
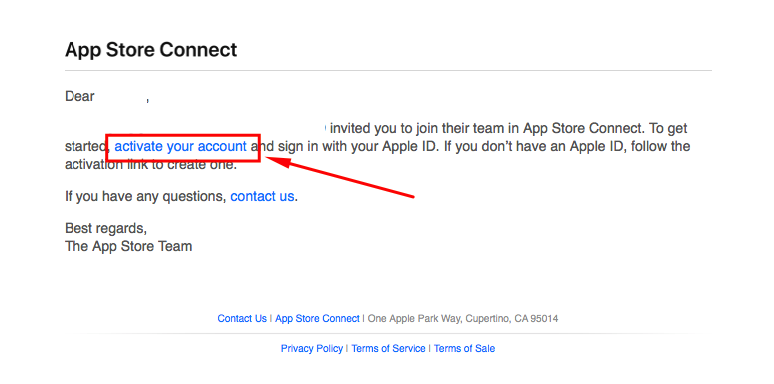
You need to click on activate your account. Then signin in with your Apple ID.
2) You have to accept this invitation so you could be associated with the developer account where is hosted the app to test.
After accepting the invitation you will receive another Email like below.

3) Click on View in TestFlight, but be sure your device must install the TestFlight App.

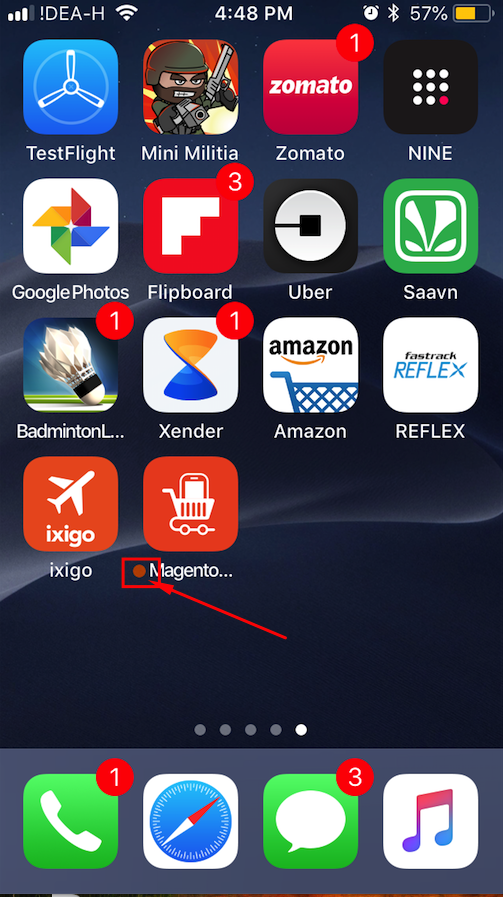
4) The App installed using TestFlight will be shown an orange color before its name. Same as Below Image:
5) When you have finished testing and don’t want to receive any notification regarding Beta Test App. Just Click on Stop Testing
For more details in depth refer: https://developer.apple.com/testflight/testers/
I hope this article will be beneficial to understand, how TestFlight really works. If you still have any doubt in your mind, please comment below. I will definitely try to resolve your doubts.
Thank You!!

Be the first to comment.