Hello guys, Today we learn about “How To Delete The Row In List In Flutter“.
In Flutter, we are using ListView to show the listing data in a row. And sometimes we need to implement the delete functionality, for example, I have a four-row in the list but I want to delete any one row in the list on that time I am implementing the delete functionality in Flutter.
You can check out more about our Flutter app development.
Getting Started:-
Step 1:- First, Create your Flutter Project from Android Studio or Visual studio code.
Step 2:- Now, implemented the simple list view in Flutter
|
1 2 3 4 5 6 7 8 9 10 11 12 13 14 15 16 17 18 19 20 21 22 23 24 25 26 27 28 29 30 31 32 33 34 35 36 37 38 39 40 41 42 43 44 45 46 47 48 49 50 51 52 53 54 55 56 57 58 59 60 61 62 63 |
import 'package:flutter/material.dart'; void main() { runApp( MaterialApp( home: MyApp(), ) ); } class MyApp extends StatefulWidget{ @override _MyAppState createState() => _MyAppState(); } class _MyAppState extends State<MyApp> { List<EmployeeData> employe= []; @override void initState() { employe.add(EmployeeData(empid:"108-01", empName:"Aman Bhatt", phoneNumber:"1234567890", country:"USA")); employe.add(EmployeeData(empid:"108-02", empName:"Riya", phoneNumber:"0987654321", country:"India")); employe.add(EmployeeData(empid:"108-03", empName:"Karan", phoneNumber:"7869805432", country:"India")); employe.add(EmployeeData(empid:"108-04", empName:"Rihana", phoneNumber:"8976543210", country:"China")); super.initState(); } @override Widget build(BuildContext context) { return Scaffold( appBar: AppBar( title:Text("Employee List"), backgroundColor: Colors.green, ), body: SingleChildScrollView( child: Container( padding: EdgeInsets.all(8), child: Column( children: employe.map((singleEmployeeData){ return Container( child: Card( child:ListTile( title: Text(singleEmployeeData.empName), subtitle: Text(singleEmployeeData.phoneNumber + "\n" + singleEmployeeData.country), ), ), ); }).toList(), ), ), ) ); } } class EmployeeData{ String empid, empName, phoneNumber, country; EmployeeData({required this.empid, required this.empName, required this.phoneNumber, required this.country}); } |
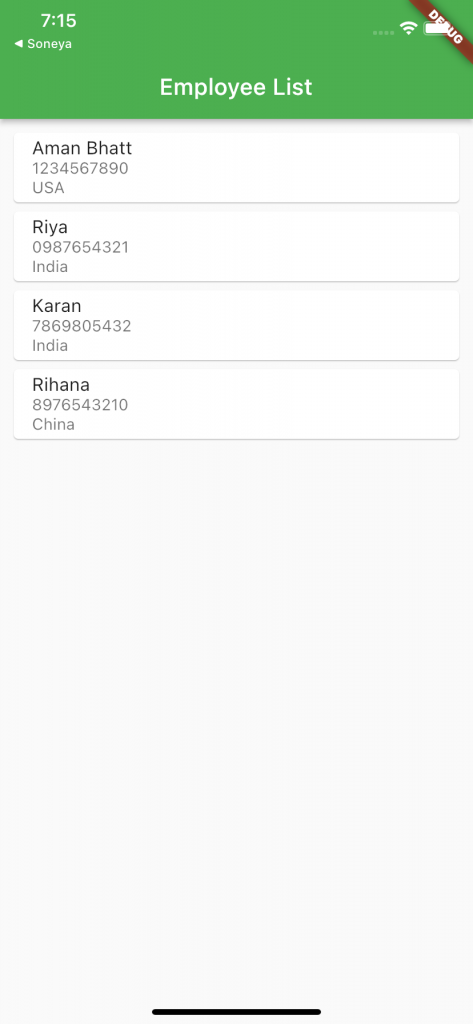
Now, Run your App and see the list

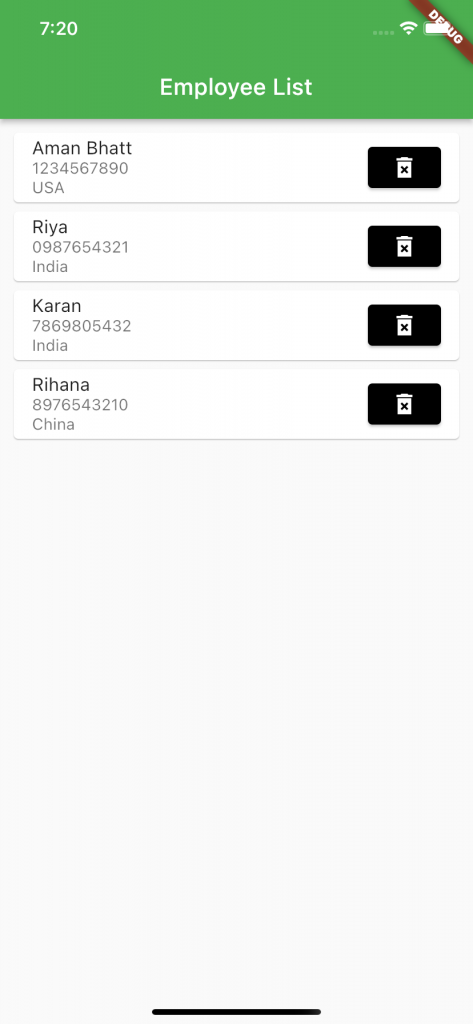
Step 3:- Secondly, Add the delete button where you want, I am taking the delete button on the right side. Now I am adding an elevated button under the list view. you may add any button.
|
1 2 3 4 5 6 7 8 9 10 11 12 13 14 15 |
trailing: ElevatedButton( style: ElevatedButton.styleFrom( primary: Colors.black ), child: Icon(Icons.delete_forever_sharp), onPressed: (){ //delete action for this button employe.removeWhere((element){ return element.empid == singleEmployeeData.empid; }); //go through the loop and match content to delete from list setState(() { //refresh UI after deleting element from list }); }, ), |
Run the project and see the output

Now, implement it’s functionality
|
1 2 3 4 5 6 7 8 9 10 11 12 13 14 15 16 17 18 19 20 21 22 |
child: Card( child:ListTile( title: Text(singleEmployeeData.empName), subtitle: Text(singleEmployeeData.phoneNumber + "\n" + singleEmployeeData.country), trailing: ElevatedButton( style: ElevatedButton.styleFrom( primary: Colors.black ), child: Icon(Icons.delete_forever_sharp), onPressed: (){ //delete action for this button employe.removeWhere((element){ return element.empid == singleEmployeeData.empid; }); //go through the loop and match content to delete from list setState(() { //refresh UI after deleting element from list }); }, ), ), ), |
Now, Run the project and see the output
Conclusion:-
In this blog, we discussed about delete functionality.
I hope this blog will help you to understand the delete functionality
To learn more about flutter-related topics, please click here.

Be the first to comment.