Handling text field in table View is a way to manage text fields and prevent the text fields entered data while reloading the table.
When we use text fields in table view then text fields data will be removed when you reload the table.
So handle this issue we will use a model to save the text fields entered data.
And then pass the same model data in table view text fields.
And we are using textFieldDidEndEditing delegate to fetch the text filed data and save it in the model.
Handling text field in table View we will use the below steps.
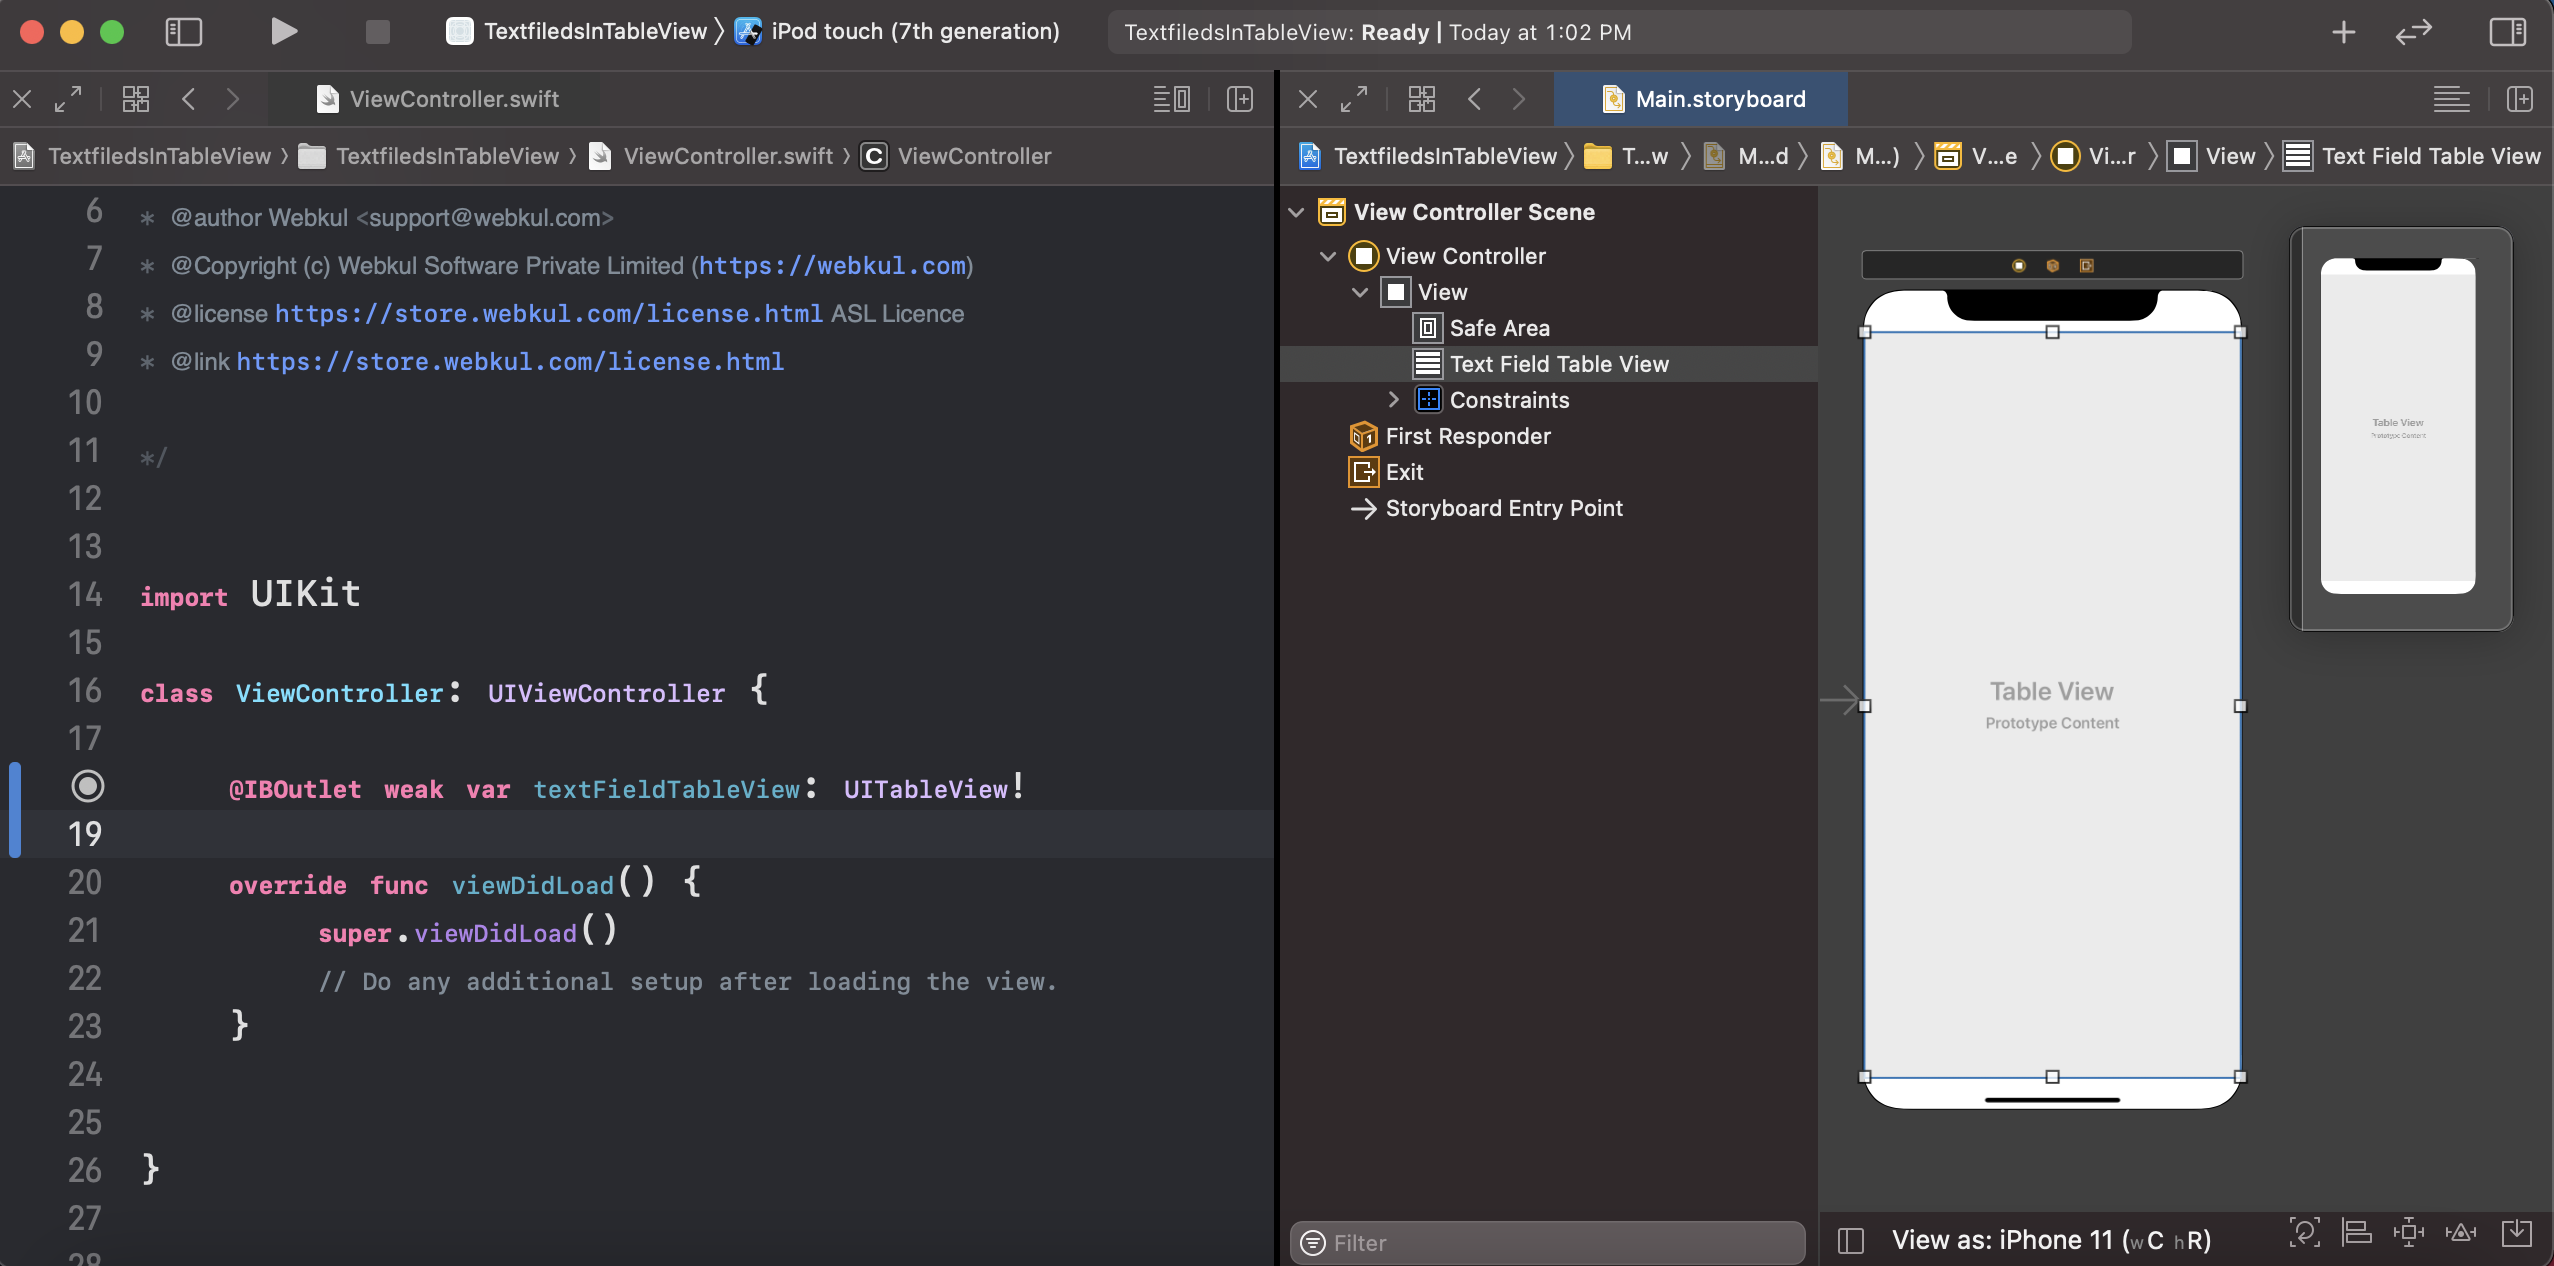
1-> Create table view in controller
First, we will take a table view in the controller.
|
1 2 3 4 5 6 7 8 9 10 11 |
class ViewController: UIViewController { @IBOutlet weak var textFieldTableView: UITableView! override func viewDidLoad() { super.viewDidLoad() // Do any additional setup after loading the view. } } |
2-> Create cell for table view
Now we will create a cell for the table view. and the cell will contain two text fields.

3-> Create the model for saving text fields data
We have created the TextFieldModel model and in the model have two variable.
|
1 2 3 4 5 6 7 8 9 |
struct TextFieldModel { var firstTextFieldData: String? var secondTextFieldData: String? init(textData1: String, textData2: String) { firstTextFieldData = textData1 secondTextFieldData = textData2 } } |
4-> Add the table view delegate
In the cell for a row, we have given a tag to identify the text fields in text fields delegates.
|
1 2 3 4 5 6 7 8 9 10 11 12 13 14 15 16 17 18 |
func tableView(_ tableView: UITableView, numberOfRowsInSection section: Int) -> Int { return dataModel.count } func tableView(_ tableView: UITableView, cellForRowAt indexPath: IndexPath) -> UITableViewCell { if let cell = tableView.dequeueReusableCell(withIdentifier: "TextFieldsTableViewCell", for: indexPath)as? TextFieldsTableViewCell { cell.rowLabel.text = "Row Number:- \(indexPath.row + 1)" cell.firstTextField.tag = indexPath.row cell.secondTextField.tag = indexPath.row cell.firstTextField.delegate = self cell.secondTextField.delegate = self cell.firstTextField.text = dataModel[indexPath.row].firstTextFieldData cell.secondTextField.text = dataModel[indexPath.row].secondTextFieldData cell.selectionStyle = .none return cell } return UITableViewCell() } |
5-> Add text field delegate for fetch text field data
Here we are using did end editing delegate to save data in the model.
We used cell to identify the edited text fields with the index path of the cell.
|
1 2 3 4 5 6 7 8 9 10 11 |
func textFieldDidEndEditing(_ textField: UITextField) { let index = NSIndexPath(row: textField.tag, section: 0) if let cell = textFieldTableView.cellForRow(at: index as IndexPath)as? TextFieldsTableViewCell { if textField == cell.firstTextField { dataModel[textField.tag].firstTextFieldData = textField.text } else if textField == cell.secondTextField { dataModel[textField.tag].secondTextFieldData = textField.text } } } |
-> Final code
This is the final view controller code for handling the text fields in the table view.
Now run the project and enter the data in text fields then reload the table with scrolling.
Then you will see your data will never loss and your code will work smoothly.
|
1 2 3 4 5 6 7 8 9 10 11 12 13 14 15 16 17 18 19 20 21 22 23 24 25 26 27 28 29 30 31 32 33 34 35 36 37 38 39 40 41 42 43 44 45 46 47 48 49 50 51 52 53 54 55 56 57 58 59 60 61 62 63 64 65 |
import UIKit class ViewController: UIViewController, UITableViewDelegate, UITableViewDataSource, UITextFieldDelegate { @IBOutlet weak var textFieldTableView: UITableView! var dataModel = [TextFieldModel]() override func viewDidLoad() { super.viewDidLoad() for _ in 0..<20 { dataModel.append(TextFieldModel(textData1: "", textData2: "")) } textFieldTableView.register(UINib(nibName: "TextFieldsTableViewCell", bundle: nil), forCellReuseIdentifier: "TextFieldsTableViewCell") textFieldTableView.delegate = self textFieldTableView.dataSource = self textFieldTableView.reloadData() // Do any additional setup after loading the view. } func tableView(_ tableView: UITableView, numberOfRowsInSection section: Int) -> Int { return dataModel.count } func tableView(_ tableView: UITableView, cellForRowAt indexPath: IndexPath) -> UITableViewCell { if let cell = tableView.dequeueReusableCell(withIdentifier: "TextFieldsTableViewCell", for: indexPath)as? TextFieldsTableViewCell { cell.rowLabel.text = "Row Number:- \(indexPath.row + 1)" cell.firstTextField.tag = indexPath.row cell.secondTextField.tag = indexPath.row cell.firstTextField.delegate = self cell.secondTextField.delegate = self cell.firstTextField.text = dataModel[indexPath.row].firstTextFieldData cell.secondTextField.text = dataModel[indexPath.row].secondTextFieldData cell.selectionStyle = .none return cell } return UITableViewCell() } func textFieldDidEndEditing(_ textField: UITextField) { let index = NSIndexPath(row: textField.tag, section: 0) if let cell = textFieldTableView.cellForRow(at: index as IndexPath)as? TextFieldsTableViewCell { if textField == cell.firstTextField { dataModel[textField.tag].firstTextFieldData = textField.text } else if textField == cell.secondTextField { dataModel[textField.tag].secondTextFieldData = textField.text } } } } struct TextFieldModel { var firstTextFieldData: String? var secondTextFieldData: String? init(textData1: String, textData2: String) { firstTextFieldData = textData1 secondTextFieldData = textData2 } } |

And thanks for reading this blog, for more blogs please click here.
So pls follow the above step and And if you have any issues or suggestions you can leave your message in the comment section I will try to solve this.

I have data comes from service end and I need to update the field values and save it, please help.