Hello folks, Welcome to our blog on Flutter’s Row Widget. Here we will learn about the Flutter Row widget and explore it’s uses for creating the dynamic and responsive interface.
What is Flutter Row Widget?
The Flutter Row widget is used to build a flexible and responsive UI by positioning elements side by side. It arranges its child widgets horizontally in a single row.
Flutter Row Widget is an ideal choice for creating elements like navigation bars, toolbars and forms where components need to be aligned horizontally.
Key Features:-
Following are some key features of the Flutter Row Widget:-
Horizontal Arrangement:-
Horizontal Arrangement is a primary purpose of the Row Widget as it aligns the children of the Row widget horizontally from left to write.
Flexibility:-
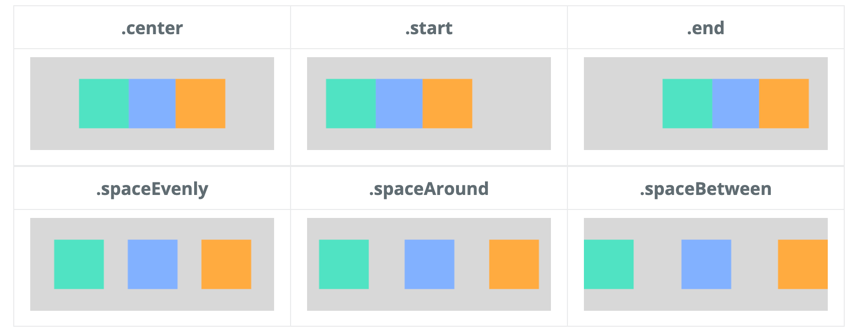
The Row widget is flexible, allowing control over the layout of child widgets. The mainAxisAlignment and crossAxisAlignment properties help manage the distribution of its children.
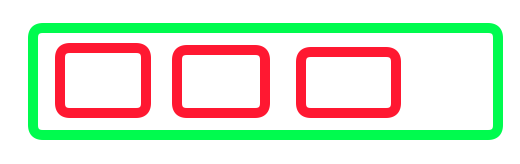
CrossAxisAlignment

MainAxisAlignment
Limitation:-
While the Row widget is great for arranging child widgets horizontally, it has limits in handling space and shows an overflow error if the children’s combined width exceeds the device width.
We Can easily overcome this issue by another flutter layout widget called Flutter Wrap Widget.
Implementation:-
We can use the Row widget by simply calling the Row widget and defining the child inside the Row widget.
|
1 2 3 4 5 6 7 8 9 10 |
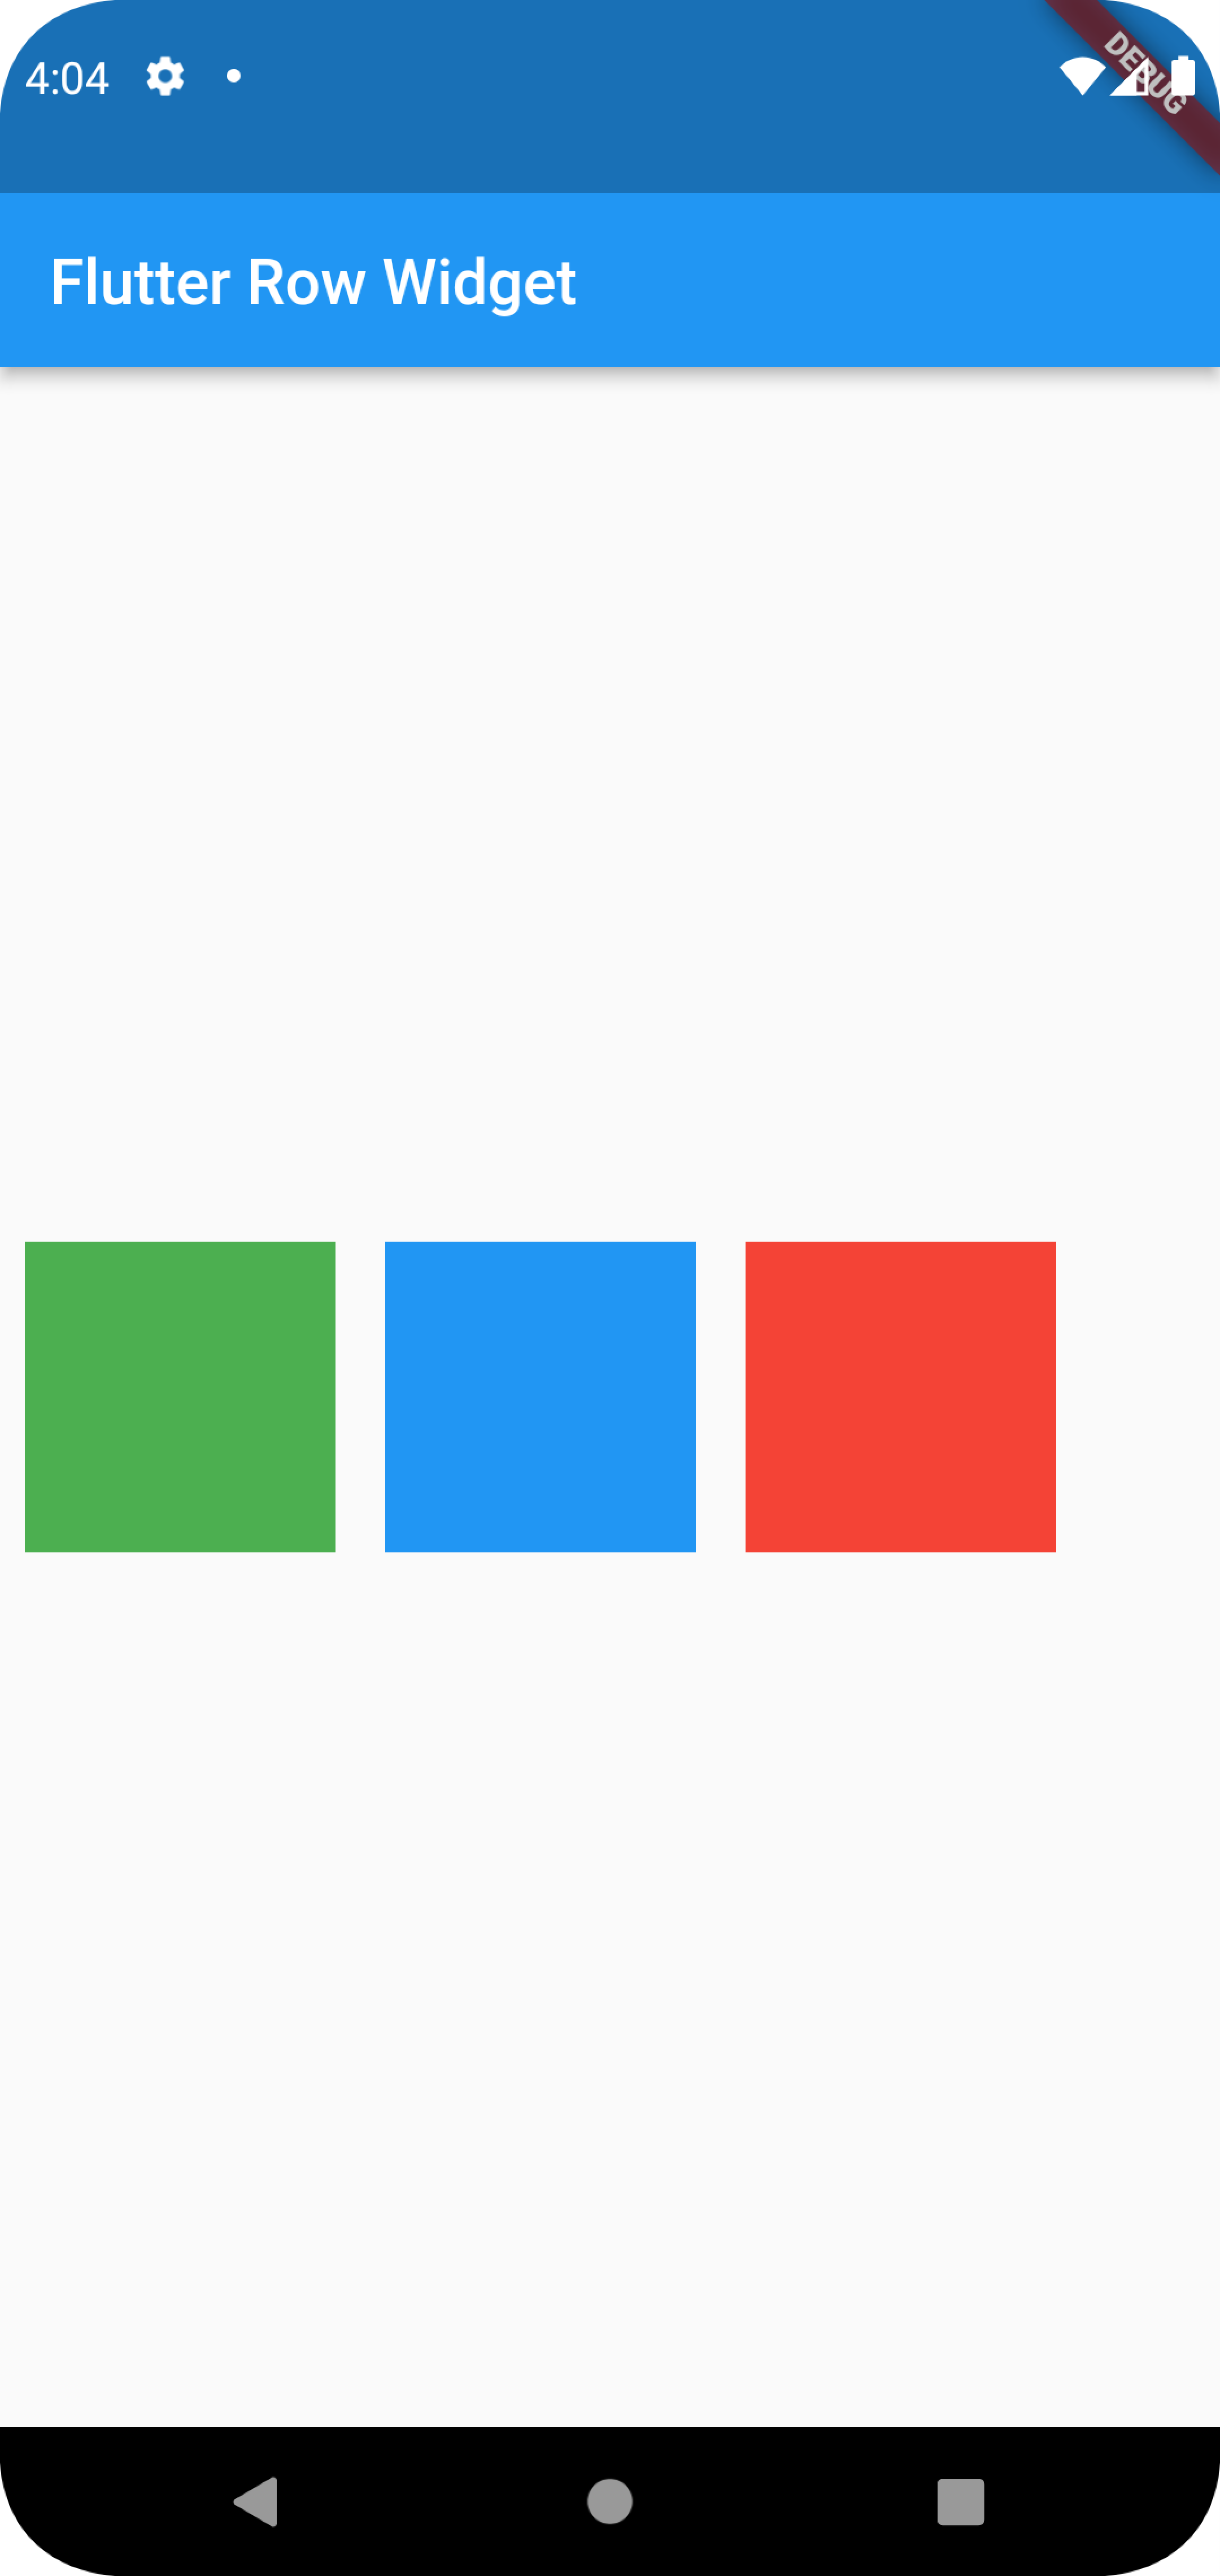
body: Center( child: Row( mainAxisAlignment: MainAxisAlignment.start, children: <Widget>[ container(Colors.green), container(Colors.blue), container(Colors.red), ], ), ), |
Complete Code:-
|
1 2 3 4 5 6 7 8 9 10 11 12 13 14 15 16 17 18 19 20 21 22 23 24 25 26 27 28 29 30 31 32 33 34 35 36 37 38 39 40 41 42 43 44 45 46 47 48 49 50 51 52 53 54 55 56 57 58 |
import 'package:flutter/material.dart'; void main() { runApp(const MyApp()); } class MyApp extends StatelessWidget { const MyApp({super.key}); @override Widget build(BuildContext context) { return MaterialApp( title: 'Flutter Row Demo', theme: ThemeData( primarySwatch: Colors.blue, ), home: const MyHomePage(title: 'Flutter Row Widget'), ); } } class MyHomePage extends StatefulWidget { const MyHomePage({super.key, required this.title}); final String title; @override State<MyHomePage> createState() => _MyHomePageState(); } class _MyHomePageState extends State<MyHomePage> { @override Widget build(BuildContext context) { return Scaffold( appBar: AppBar( title: Text(widget.title), ), body: Center( child: Row( mainAxisAlignment: MainAxisAlignment.start, children: <Widget>[ container(Colors.green), container(Colors.blue), container(Colors.red), ], ), ), ); } container(Color color){ return Padding( padding: const EdgeInsets.all(8.0), child: Container( width: 100, height: 100, color: color, ), ); } } |
Output:-
Conclusion:-
Here with this blog, we have explored the Row widget and learned how to implement it on our program.
Checkout more interesting blogs on flutter with Mobikul Blogs.
You may also check interactive app designs by our Flutter app development company
Reference:- Official Row Widget Documentation.

Be the first to comment.