Custom Paint in Flutter is used to paint or customize the shape, and size of the widgets with the help of Custom Painter Class.
In this blog, we will be creating some shapes with the help of Custom Paint.
You may also check our Flutter app development company.
Let’s begin with the basic understanding of CustomPainter Class.
Custom Painter class overrides two methods-
- paint()
- shouldRepaint()
Within the paint() method, we need to provide all the details regarding painting the canvas.
Moreover, shouldRepaint() method, we can decide whether we want the Canvas to be redrawn or not when a new Custom Painter instance is provided.
|
1 2 3 4 5 6 7 8 9 10 11 12 13 |
class Painting extends CustomPainter{ @override void paint(Canvas canvas, Size size) { // TODO: implement paint } @override bool shouldRepaint(covariant CustomPainter oldDelegate) { // TODO: implement shouldRepaint throw UnimplementedError(); } } |
Properties of Custom Paint
In CustomPaint class, there are three most important properties-
- child – It takes the widget over which the CustomPaint needs to be applied.
- painter – It paints before the widget has been built. It takes a class within it which extends CustomPainter.
- foregroundPainter- It paints after the widget has been built. It takes a class within it which extends CustomPainter.
Moreover, there are many other properties like size, isComplex etc.
Code for Custom Paint
Firstly, we will need to create a class that extends CustomPainter class.
Secondly, we have created two objects, the first one is the Path and the second one is the Circle.
Here, for creating a path we are using Path() and its quadraticBezierTo property.
|
1 2 3 4 5 6 7 8 9 10 11 12 13 14 15 16 17 18 19 20 21 22 23 24 |
class PaintingView extends CustomPainter { @override void paint(Canvas canvas, Size size) { Paint paint = Paint(); paint.color = Colors.red; paint.strokeWidth = 2.0; Path path = Path(); path.moveTo(0, size.height * 0.7); Offset center = const Offset(50.0, 100.0); path.quadraticBezierTo(size.width * 0.25, size.height * 0.7, size.width * 0.5, size.height * 0.8); path.quadraticBezierTo(size.width * 0.75, size.height * 0.9, size.width * 1.0, size.height * 0.8); path.lineTo(size.width, size.height); path.lineTo(0, size.height); canvas.drawPath(path, paint); canvas.drawCircle(center, 40.0, paint); } @override bool shouldRepaint(covariant CustomPainter oldDelegate) { return true; } } |
Finally, we have created a CustomPainter class to paint over the canvas.
Complete Code
Finally, here is the complete code for the Custom Paint –
|
1 2 3 4 5 6 7 8 9 10 11 12 13 14 15 16 17 18 19 20 21 22 23 24 25 26 27 28 29 30 31 32 33 34 35 36 37 38 39 40 41 42 43 44 45 46 47 48 49 50 51 52 53 54 55 56 57 58 59 60 61 62 63 64 65 66 67 68 69 70 71 72 73 74 |
import 'package:flutter/material.dart'; void main() { runApp(const MyApp()); } class MyApp extends StatelessWidget { const MyApp({Key? key}) : super(key: key); @override Widget build(BuildContext context) { return MaterialApp( debugShowCheckedModeBanner: false, theme: ThemeData( primarySwatch: Colors.red, ), home: const PaintDemo()); } } class PaintDemo extends StatefulWidget { const PaintDemo({Key? key}) : super(key: key); @override _PaintDemoState createState() => _PaintDemoState(); } class _PaintDemoState extends State<PaintDemo> { @override Widget build(BuildContext context) { return Scaffold( appBar: AppBar( title: Text("Custom Paint"), ), body: Column( mainAxisAlignment: MainAxisAlignment.center, children: [ CustomPaint( child: Center( child: Container( height: MediaQuery.of(context).size.width / 2, )), painter: PaintingView(), ), ], ), ); } } class PaintingView extends CustomPainter { @override void paint(Canvas canvas, Size size) { Paint paint = Paint(); paint.color = Colors.red; paint.strokeWidth = 2.0; Path path = Path(); path.moveTo(0, size.height * 0.7); Offset center = const Offset(50.0, 100.0); path.quadraticBezierTo(size.width * 0.25, size.height * 0.7, size.width * 0.5, size.height * 0.8); path.quadraticBezierTo(size.width * 0.75, size.height * 0.9, size.width * 1.0, size.height * 0.8); path.lineTo(size.width, size.height); path.lineTo(0, size.height); canvas.drawPath(path, paint); canvas.drawCircle(center, 40.0, paint); } @override bool shouldRepaint(covariant CustomPainter oldDelegate) { return true; } } |
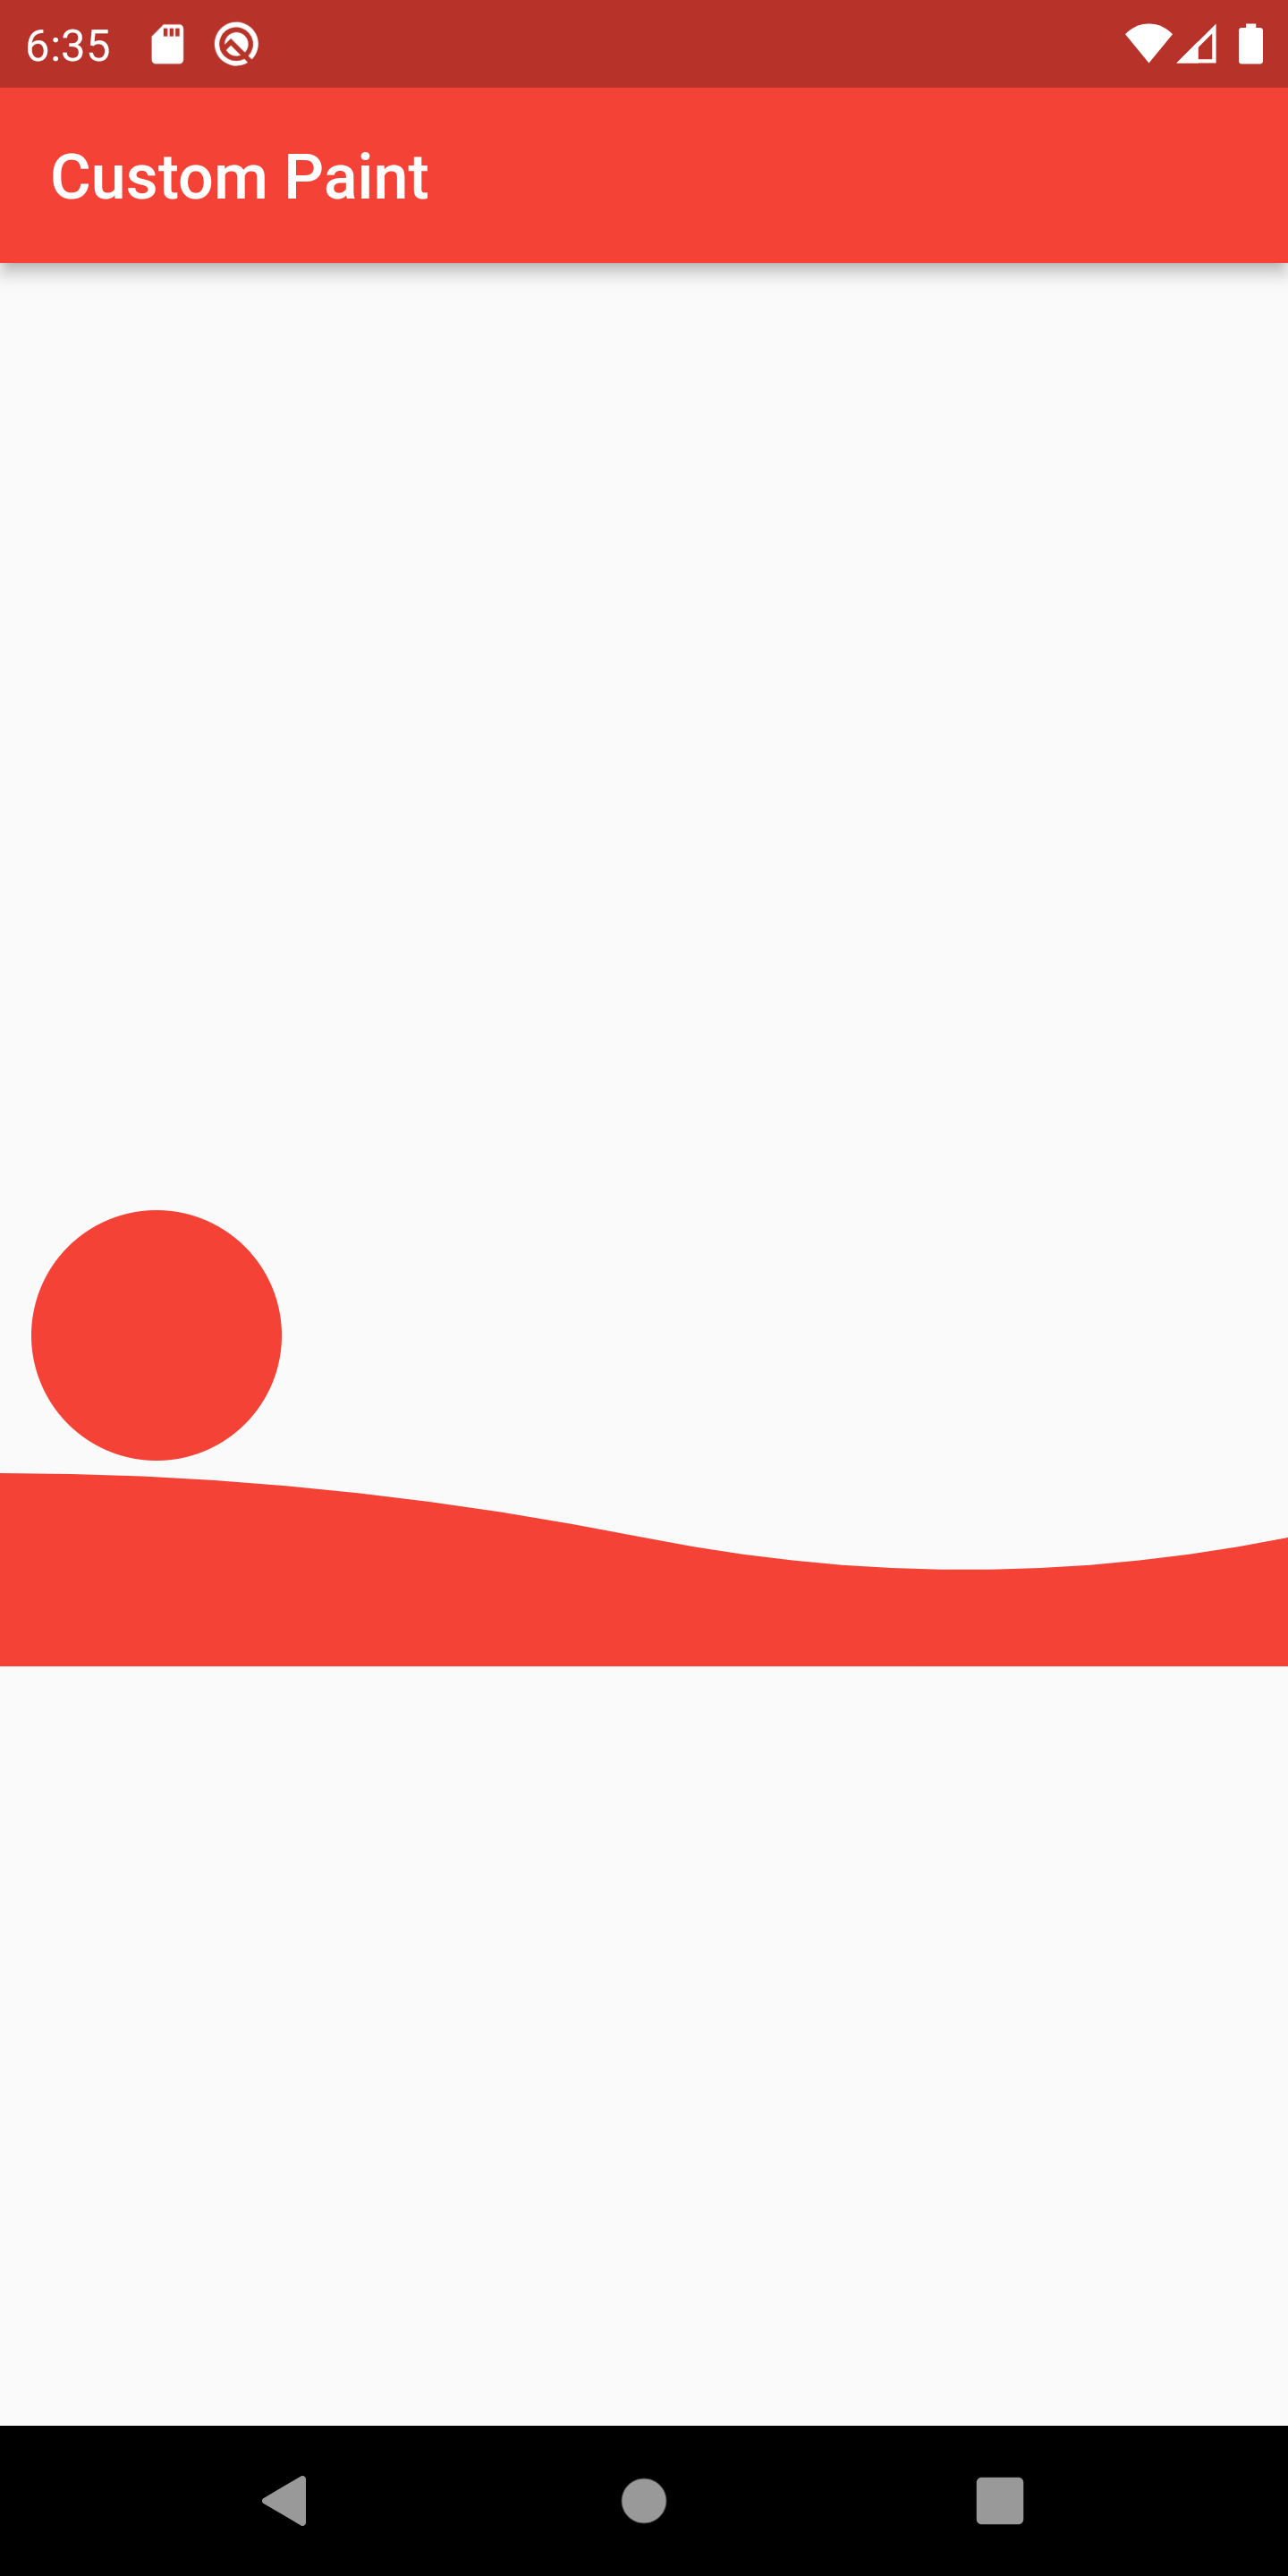
Output
Here’s the final output-
Conclusion
In this blog, we have discussed how can we use Custom Paint in Flutter.
I hope it will help you out in understanding.
You can also check out our blog on Custom Clipper in Flutter – https://mobikul.com/customclipper-in-flutter/
Thanks for reading!!
References
https://medium.com/flutter-community/a-deep-dive-into-custompaint-in-flutter-47ab44e3f216

Be the first to comment.