Although we have UIAlertViewController to display Alerts, we don’t have enough flexibility to make customization. So, here we will discuss how can we create a Custom Alertview in Swift.
Let’s create a custom Alertview in Swift that can be used instead of the UIAlertController.
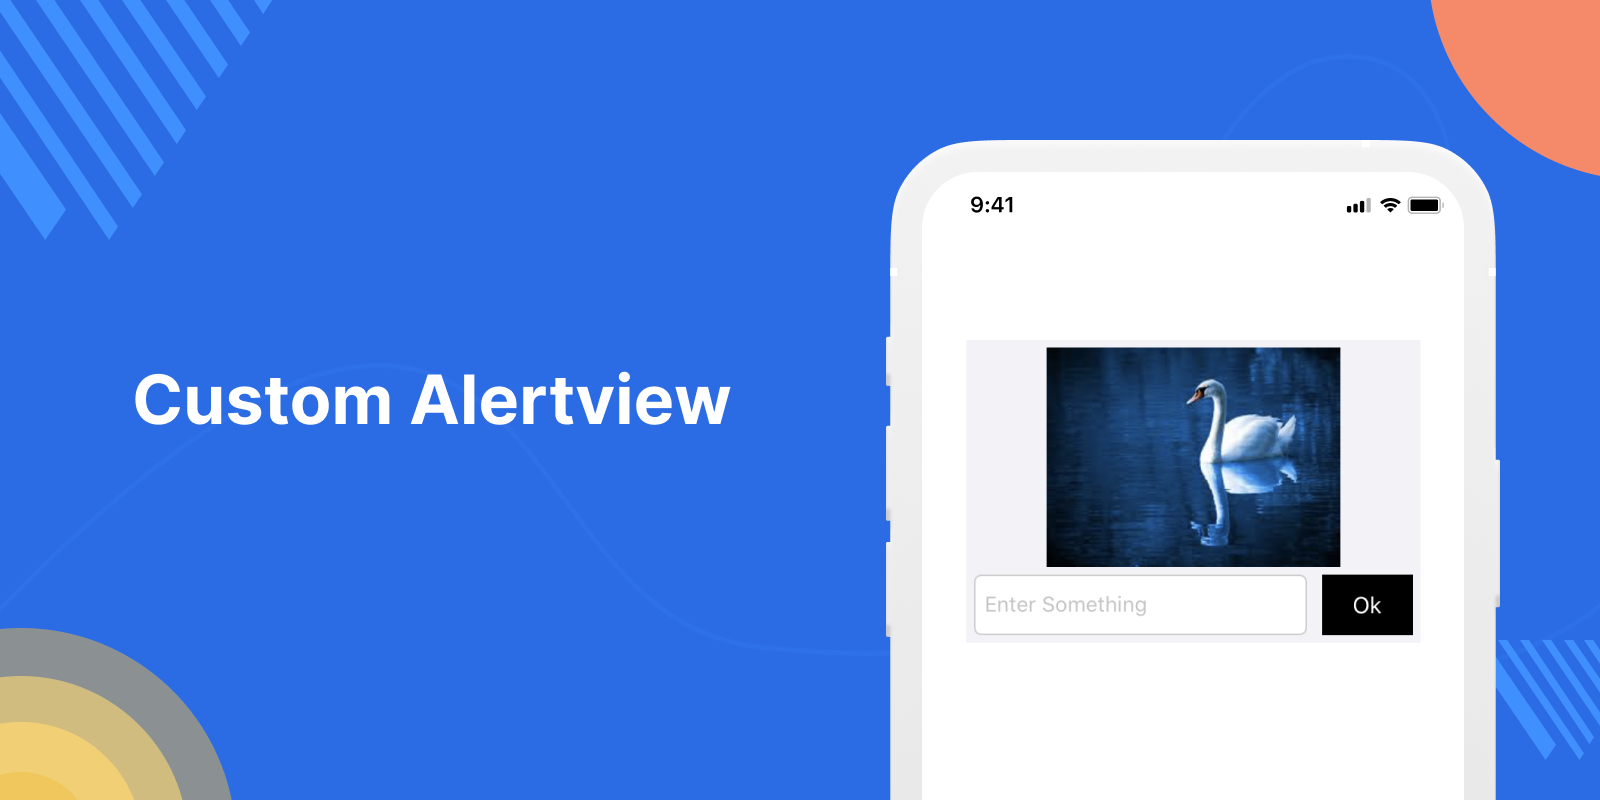
In this tutorial, we will make a simple alert view that will have ImageView, textField, and a button.
In our main view controller, there will be a Label and a button to show an alert view.
After clicking on the button an alert view will open and we will add a text on the text field then clicking on the OK button the alert view will disappear and the text will be reflected in our main View Controller.
Let’s see below, how the custom alert view will look like.
Let’s get starting with the coding part
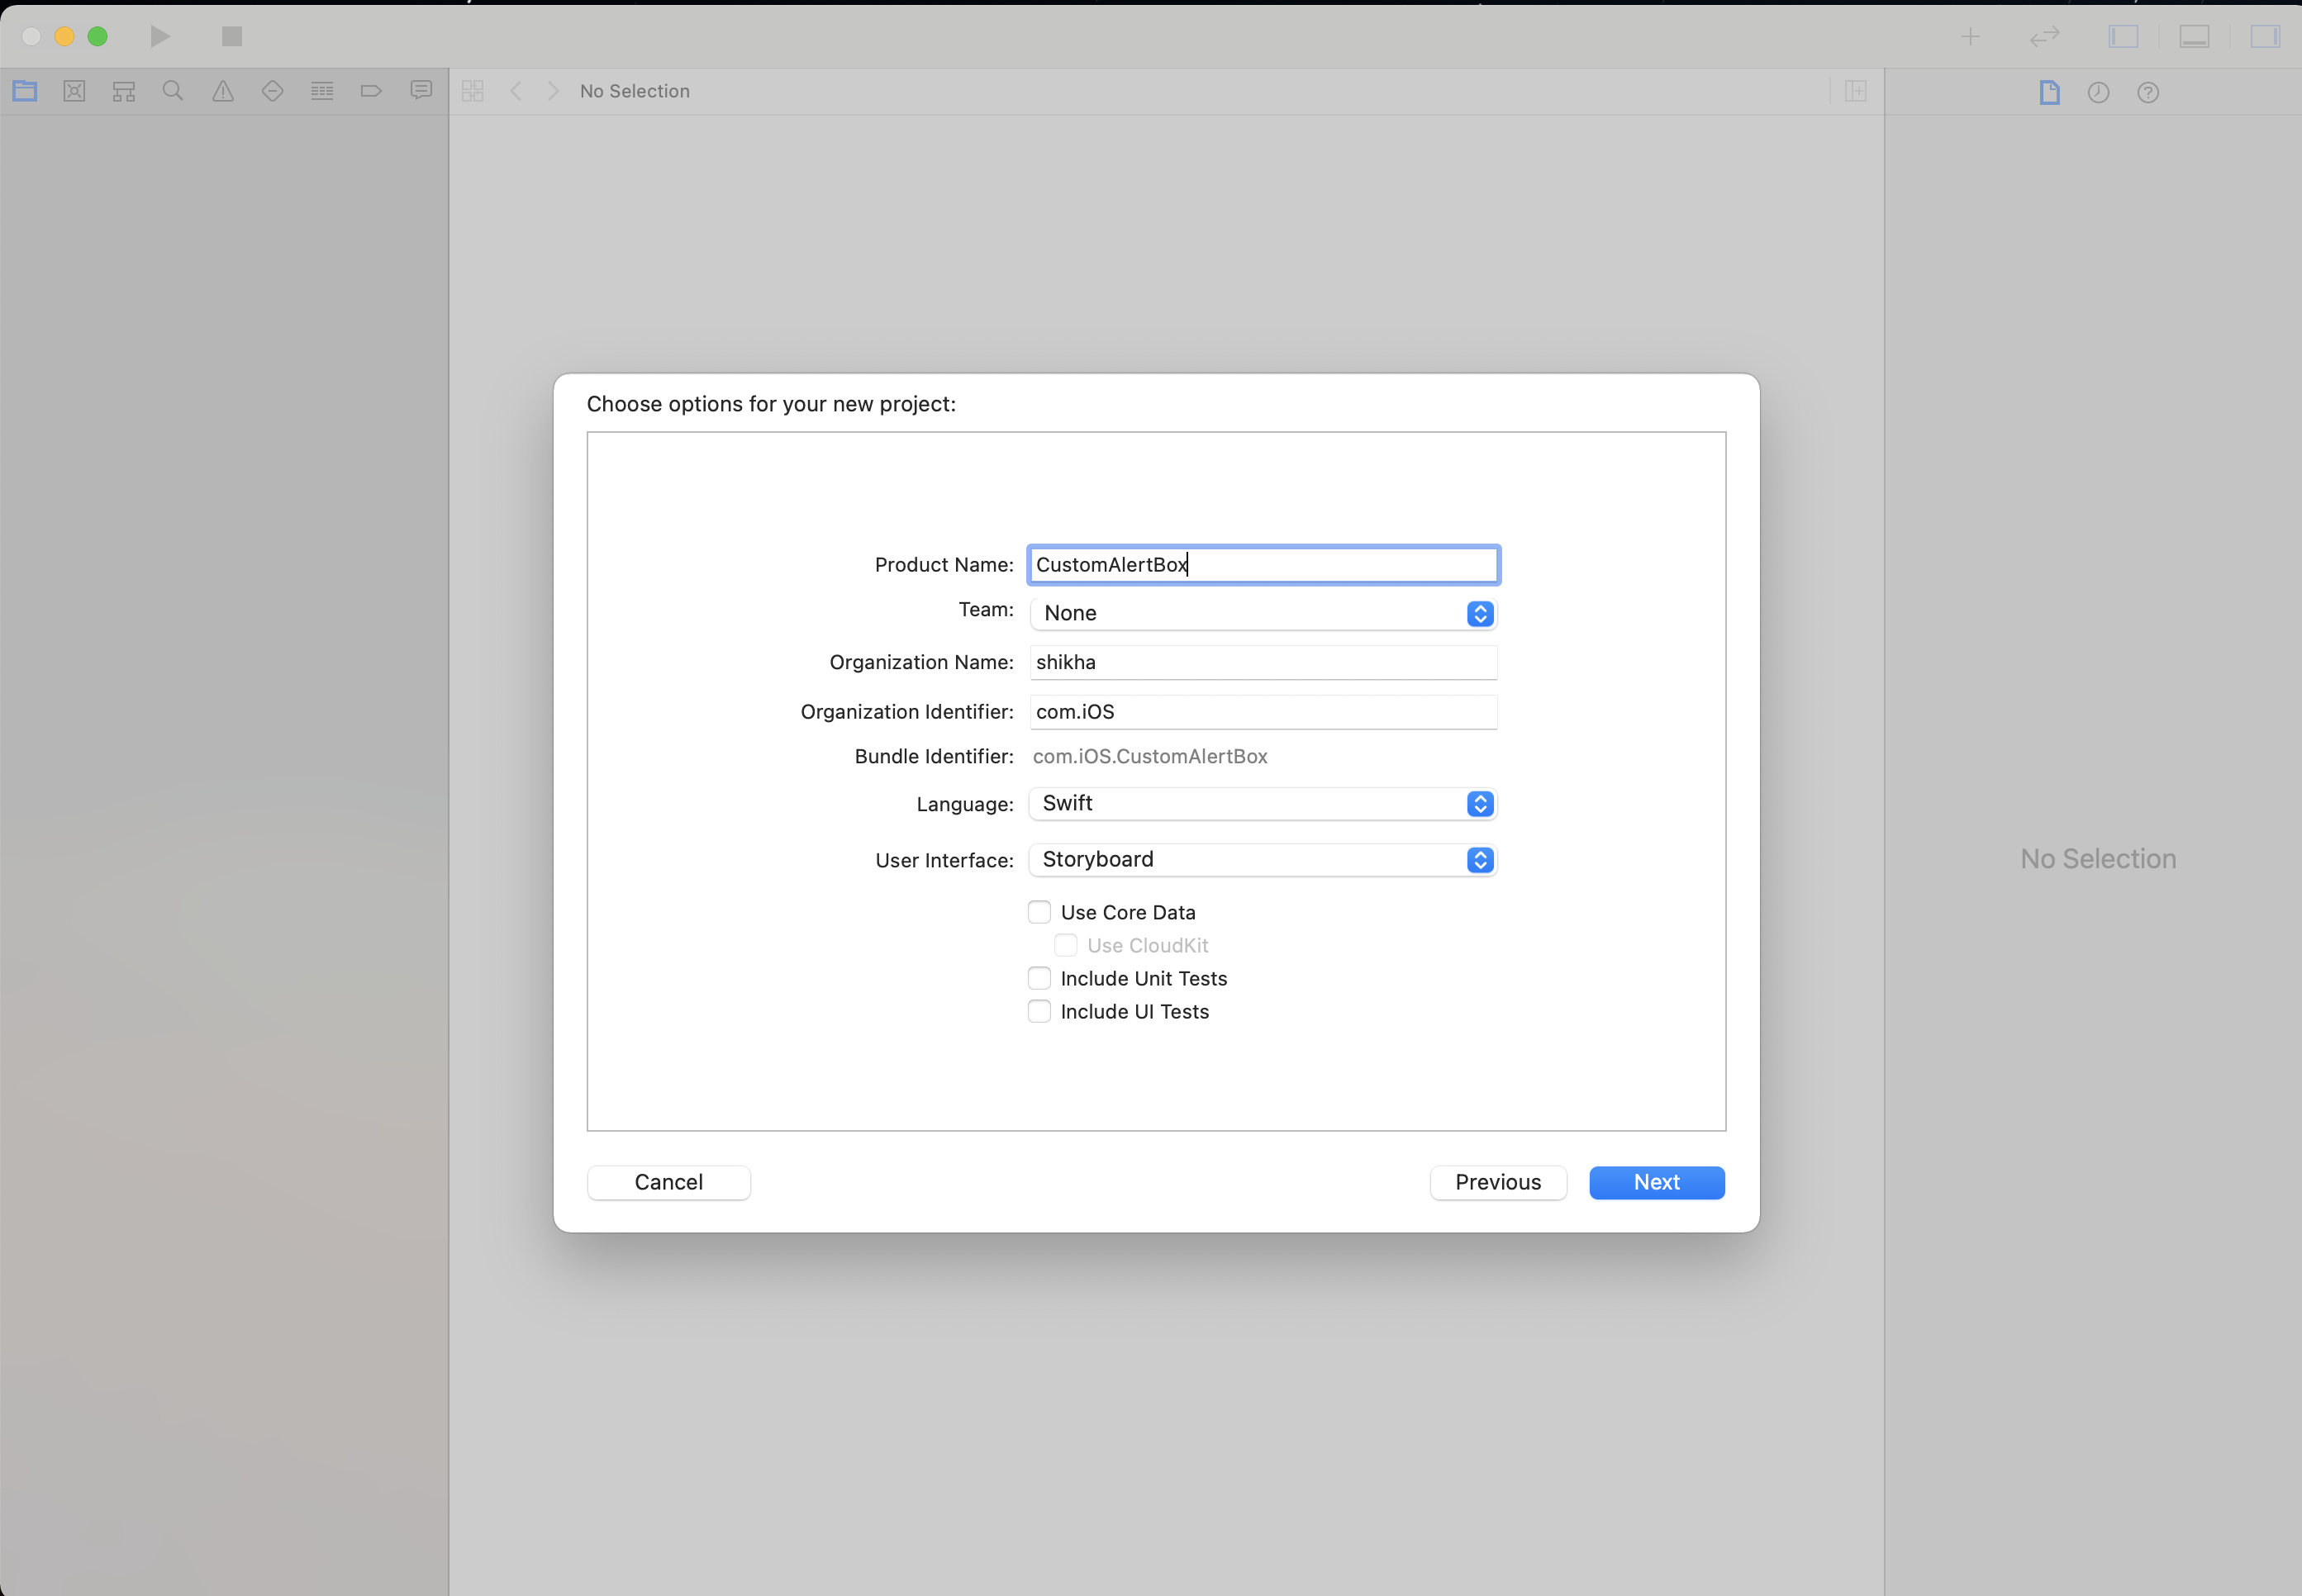
Step 1: Create a new project lets name it CustomAlertBox.
Step 2: Add a new cocoa touch class named “AlertViewController”.
Step 3: In Main.Storyboard, drag a new UIViewController, and assign the class AlertViewController to it.
Step 4: Now add the custom alert design of your choice, check below my project’s design.

Step 5: Make the outlet of views in AlertViewController, here’s below how your AlertViewController will look like.
|
1 2 3 4 5 6 7 8 9 10 11 12 13 14 15 16 17 18 19 20 21 22 23 24 25 26 27 28 29 30 31 32 33 34 |
import UIKit class AlertViewController: UIViewController { @IBOutlet weak var txtField: UITextField! @IBOutlet weak var okBtn: UIButton! var callBack: ((_ text: String)-> Void)? override func viewDidLoad() { super.viewDidLoad() // Do any additional setup after loading the view. } @IBAction func okTapped(_ sender: Any) { callBack?(txtField.text ?? "") self.dismiss(animated: false, completion: nil) } /* // MARK: - Navigation // In a storyboard-based application, you will often want to do a little preparation before navigation override func prepare(for segue: UIStoryboardSegue, sender: Any?) { // Get the new view controller using segue.destination. // Pass the selected object to the new view controller. } */ } |
Step 6: Now add a button on your base class from which you want to open the alert view. I have added a label also, to show the text field data which the user will add in the alert view text field and used call back function to get the text value.
Here’s how your base class will look like.
|
1 2 3 4 5 6 7 8 9 10 11 12 13 14 15 16 17 18 19 20 21 22 23 24 25 26 27 28 |
import UIKit class ViewController: UIViewController { @IBOutlet weak var lbl: UILabel! @IBOutlet weak var openBtn: UIButton! override func viewDidLoad() { super.viewDidLoad() // Do any additional setup after loading the view. } @IBAction func openBtnCLicked(_ sender: Any) { let storyboard = UIStoryboard(name: "Main", bundle: nil) if let myAlert = storyboard.instantiateViewController(withIdentifier: "alert")as? AlertViewController { myAlert.modalPresentationStyle = UIModalPresentationStyle.overCurrentContext myAlert.modalTransitionStyle = UIModalTransitionStyle.crossDissolve myAlert.callBack = { (text: String) in self.lbl.text = text } self.present(myAlert, animated: true, completion: nil) } } } |
Now, run your project and check the custom alert box. If you want to open a custom alert view with animation, check here.
Also, you can add an UIAlertController in a Picker view, check here how to add it.
Thanks for reading 🙂

Be the first to comment.