In this blog, we are creating stateful dialog form in flutter.
Here, I’ll explain how to create a stateful dialog form using the statefulBuilder widget of flutter.
firstly, let’s understand about statefulBuilder widget in brief.
StatefulBuilder helps us to create our own state of the dialog. As It has a change of state. What makes it so special is that it has to rebuild its widget which comes under the Statefulbuilder. And this widget will help you to update the state Even if you are having a stateless widget in your code.
Read more about Flutter app development services from mobikul.
Let us now start the code implementation of the stateful dialog form.
Code Implementation:-
Follow the steps given below.
Step:1: Create UI of dialog form
|
1 2 3 4 5 6 7 8 9 10 11 12 13 14 15 16 17 18 19 20 21 22 23 24 25 26 27 28 29 30 31 32 33 34 35 36 37 38 39 40 41 42 43 44 45 46 47 48 49 50 51 52 |
final GlobalKey<FormState> _formKey = GlobalKey<FormState>(); final TextEditingController _textEditingController = TextEditingController(); Future<void> showInformationDialog(BuildContext context) async { return await showDialog( context: context, builder: (context) { bool isChecked = false; return StatefulBuilder(builder: (context, setState) { return AlertDialog( content: Form( key: _formKey, child: Column( mainAxisSize: MainAxisSize.min, children: [ TextFormField( controller: _textEditingController, validator: (value) { return value.isNotEmpty ? null : "Enter any text";}, decoration:InputDecoration(hintText: "Please Enter Text") ,), Row( mainAxisAlignment: MainAxisAlignment.spaceBetween, children: [ Text("Choice Box"), Checkbox( value: isChecked, onChanged: (checked) { setState(() { isChecked = checked; }); }) ], ) ], )), title: Text('Stateful Dialog'), actions: <Widget>[ InkWell( child: Text('OK '), onTap: () { if (_formKey.currentState.validate()) { // Do something like updating SharedPreferences or User Settings etc. Navigator.of(context).pop(); } }, ), ], ); }); }); } |
Step:2:–>Call the UI method
|
1 2 3 4 5 6 7 8 9 10 11 12 13 14 15 16 17 18 19 |
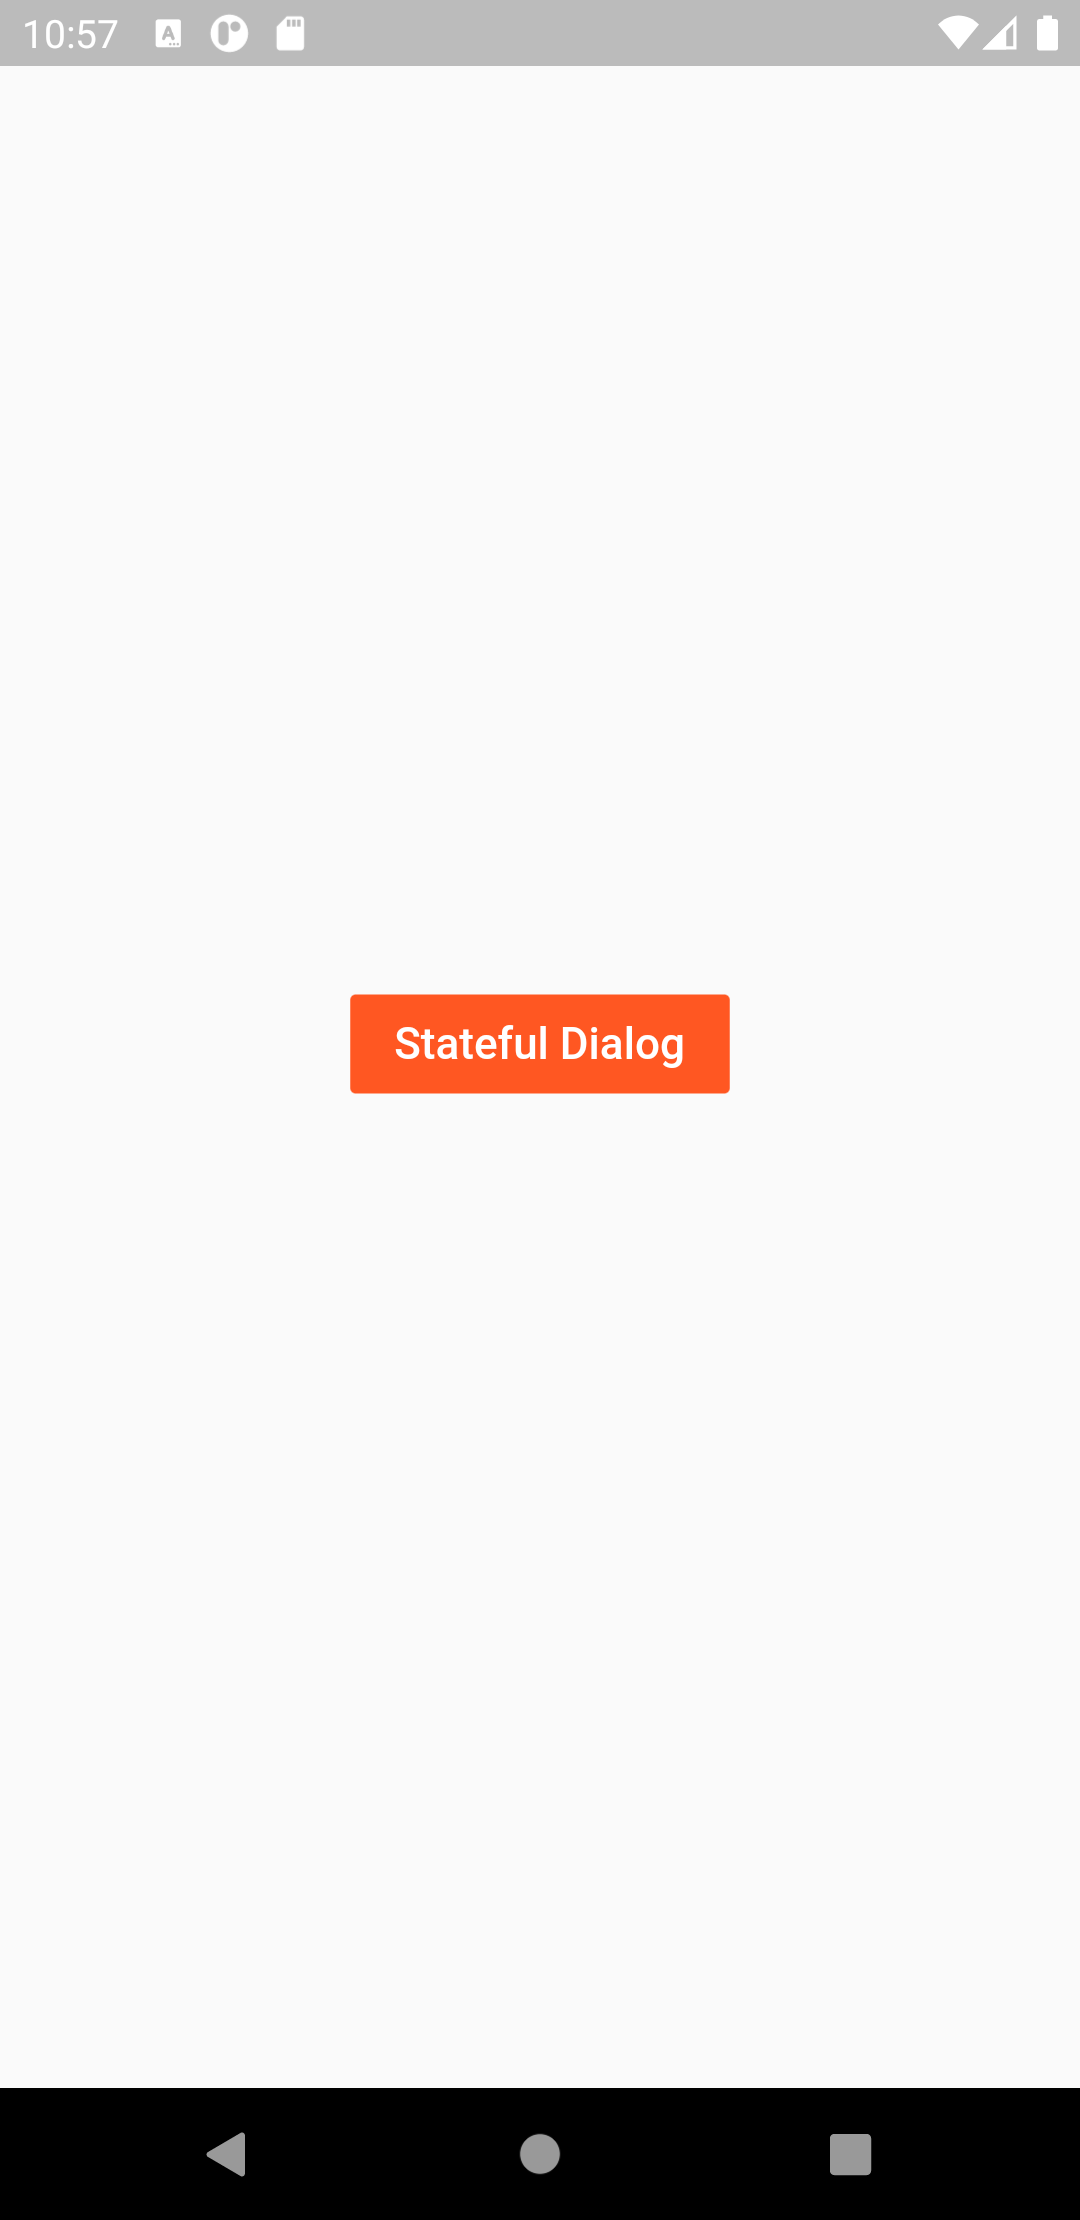
@override Widget build(BuildContext context) { return Scaffold( body: Container( child: Center( child: FlatButton( color: Colors.deepOrange, onPressed: () async { await showInformationDialog(context); }, child: Text( "Stateful Dialog", style: TextStyle(color: Colors.white, fontSize: 16), )), ), ), ); } } |
Step:3:–>After run the above code ,see the results as shown in below images.
After implementing the above code, you can see the results in the below-attached images.
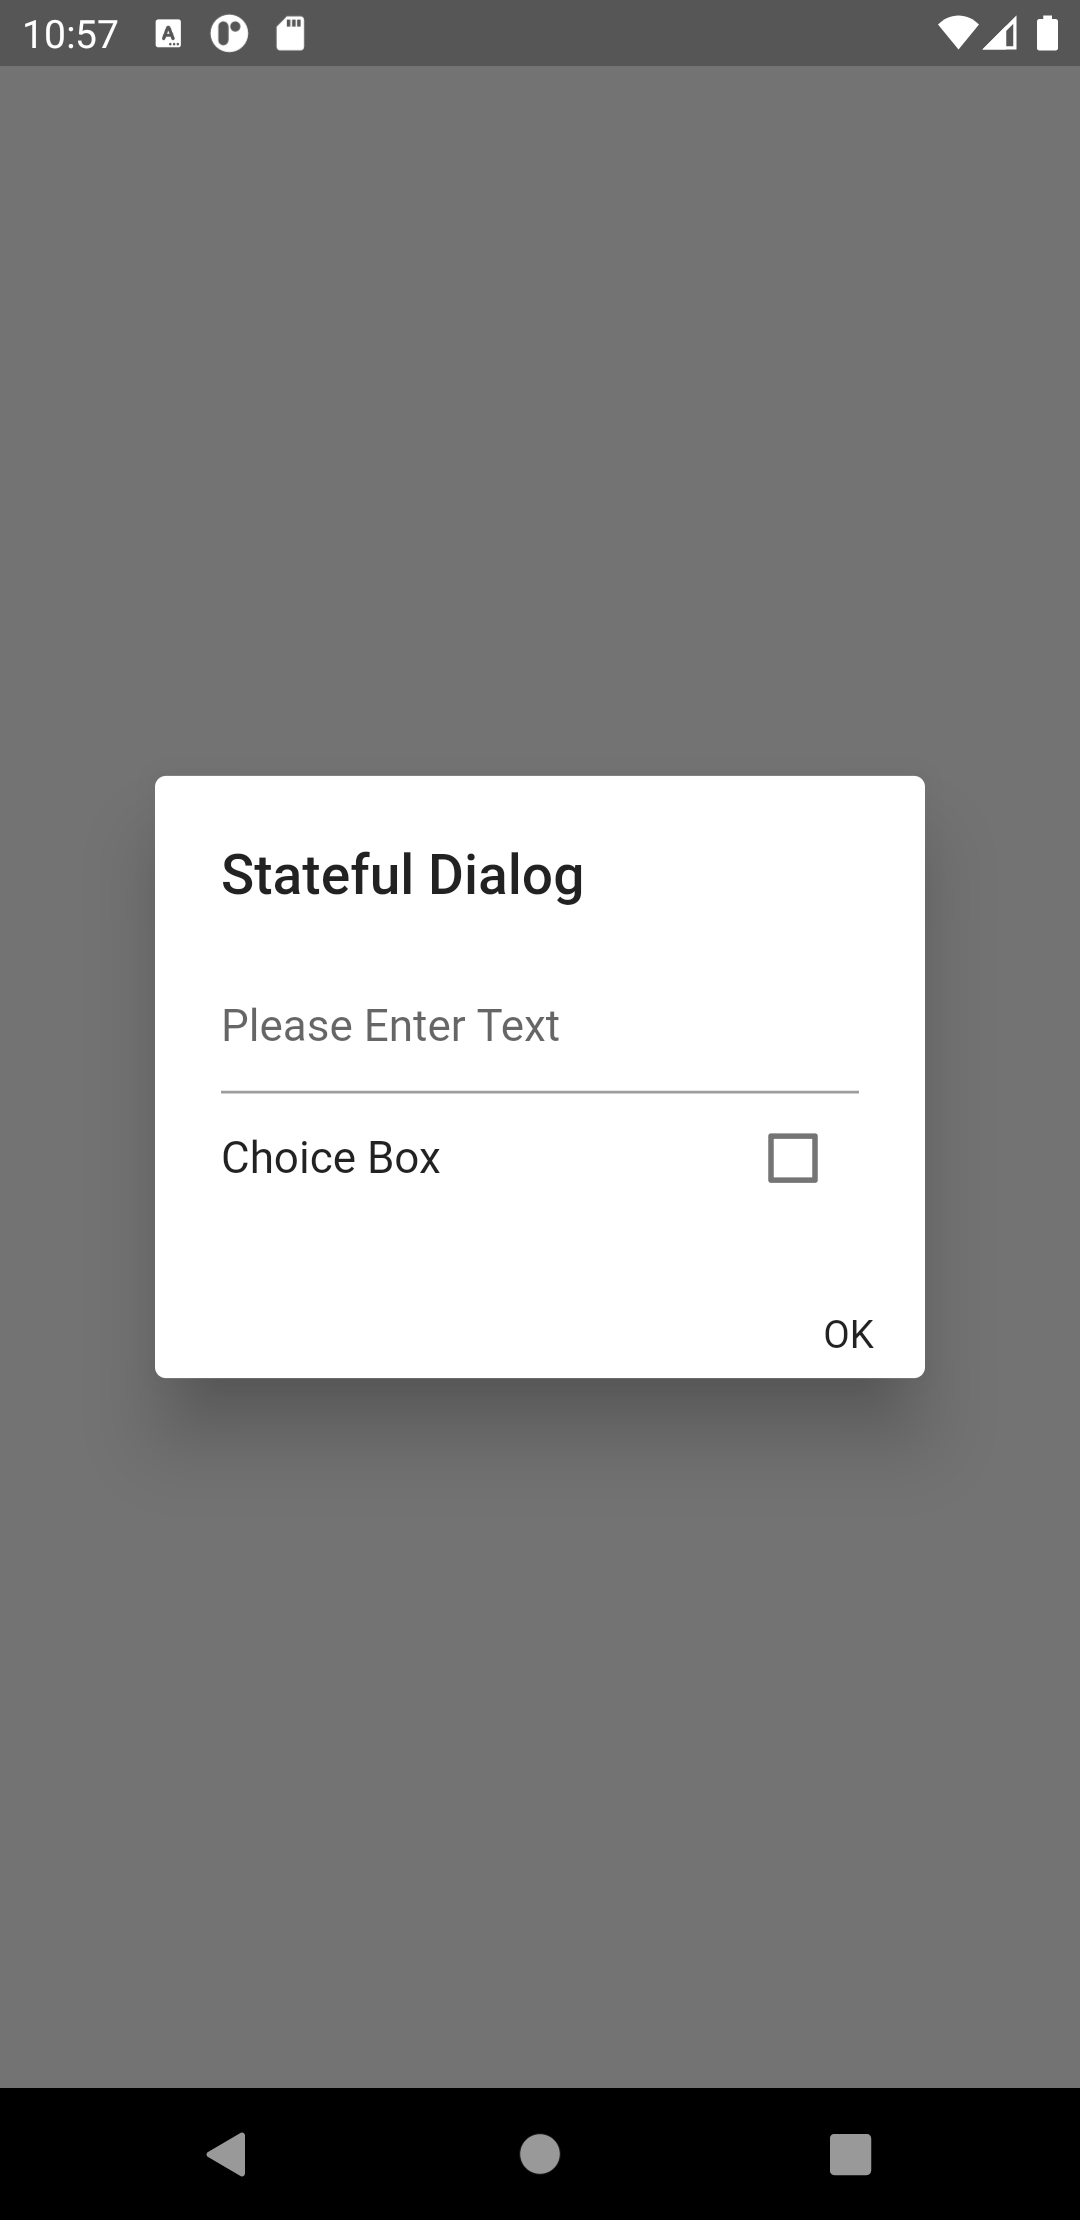
On clicking the button, you will get a dialog form as shown in 2nd image.
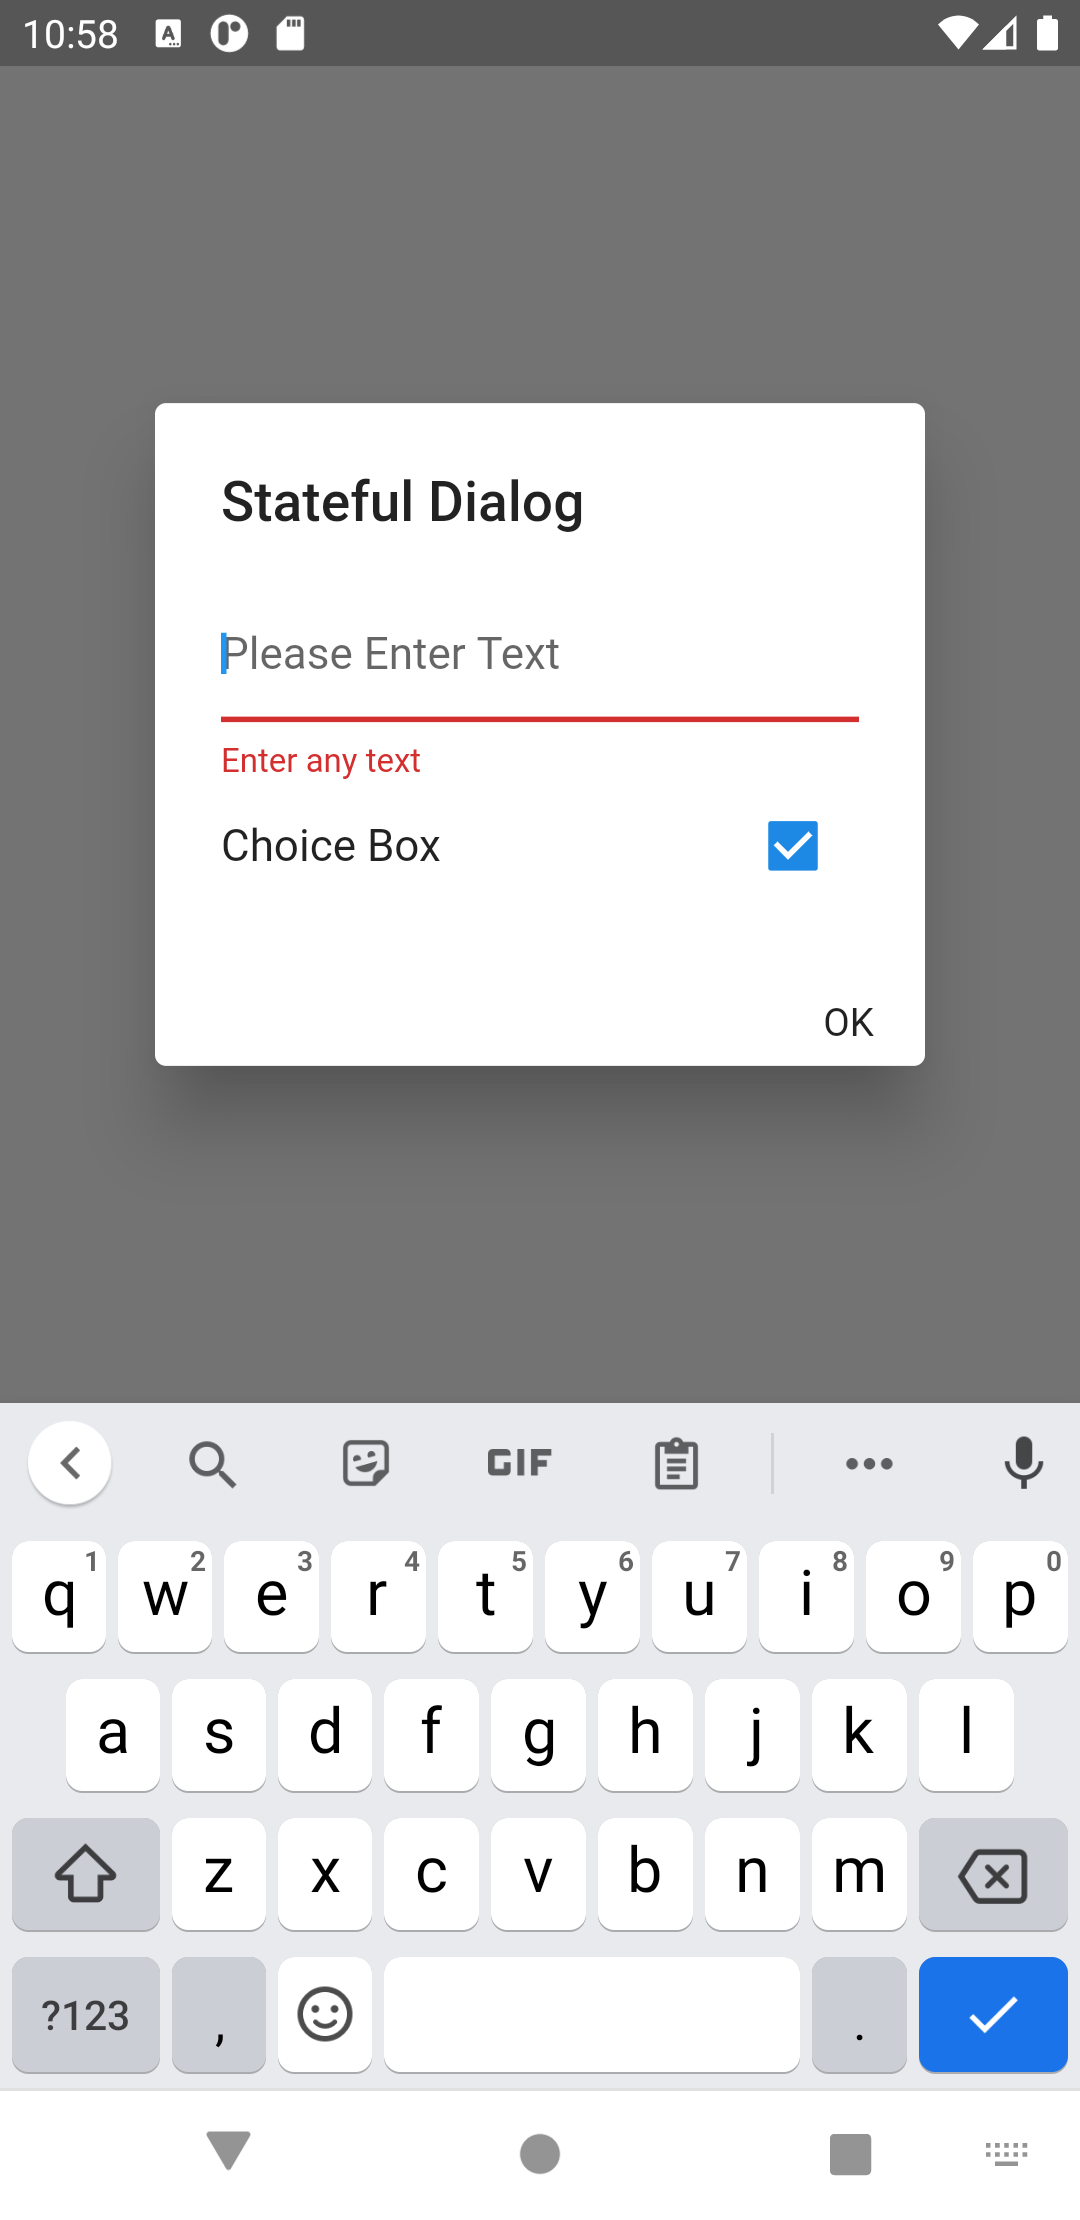
After clicking the ok button you will see that statefulBuilder changes the state of the dialog form. Also, validating the form, then it will proceed.
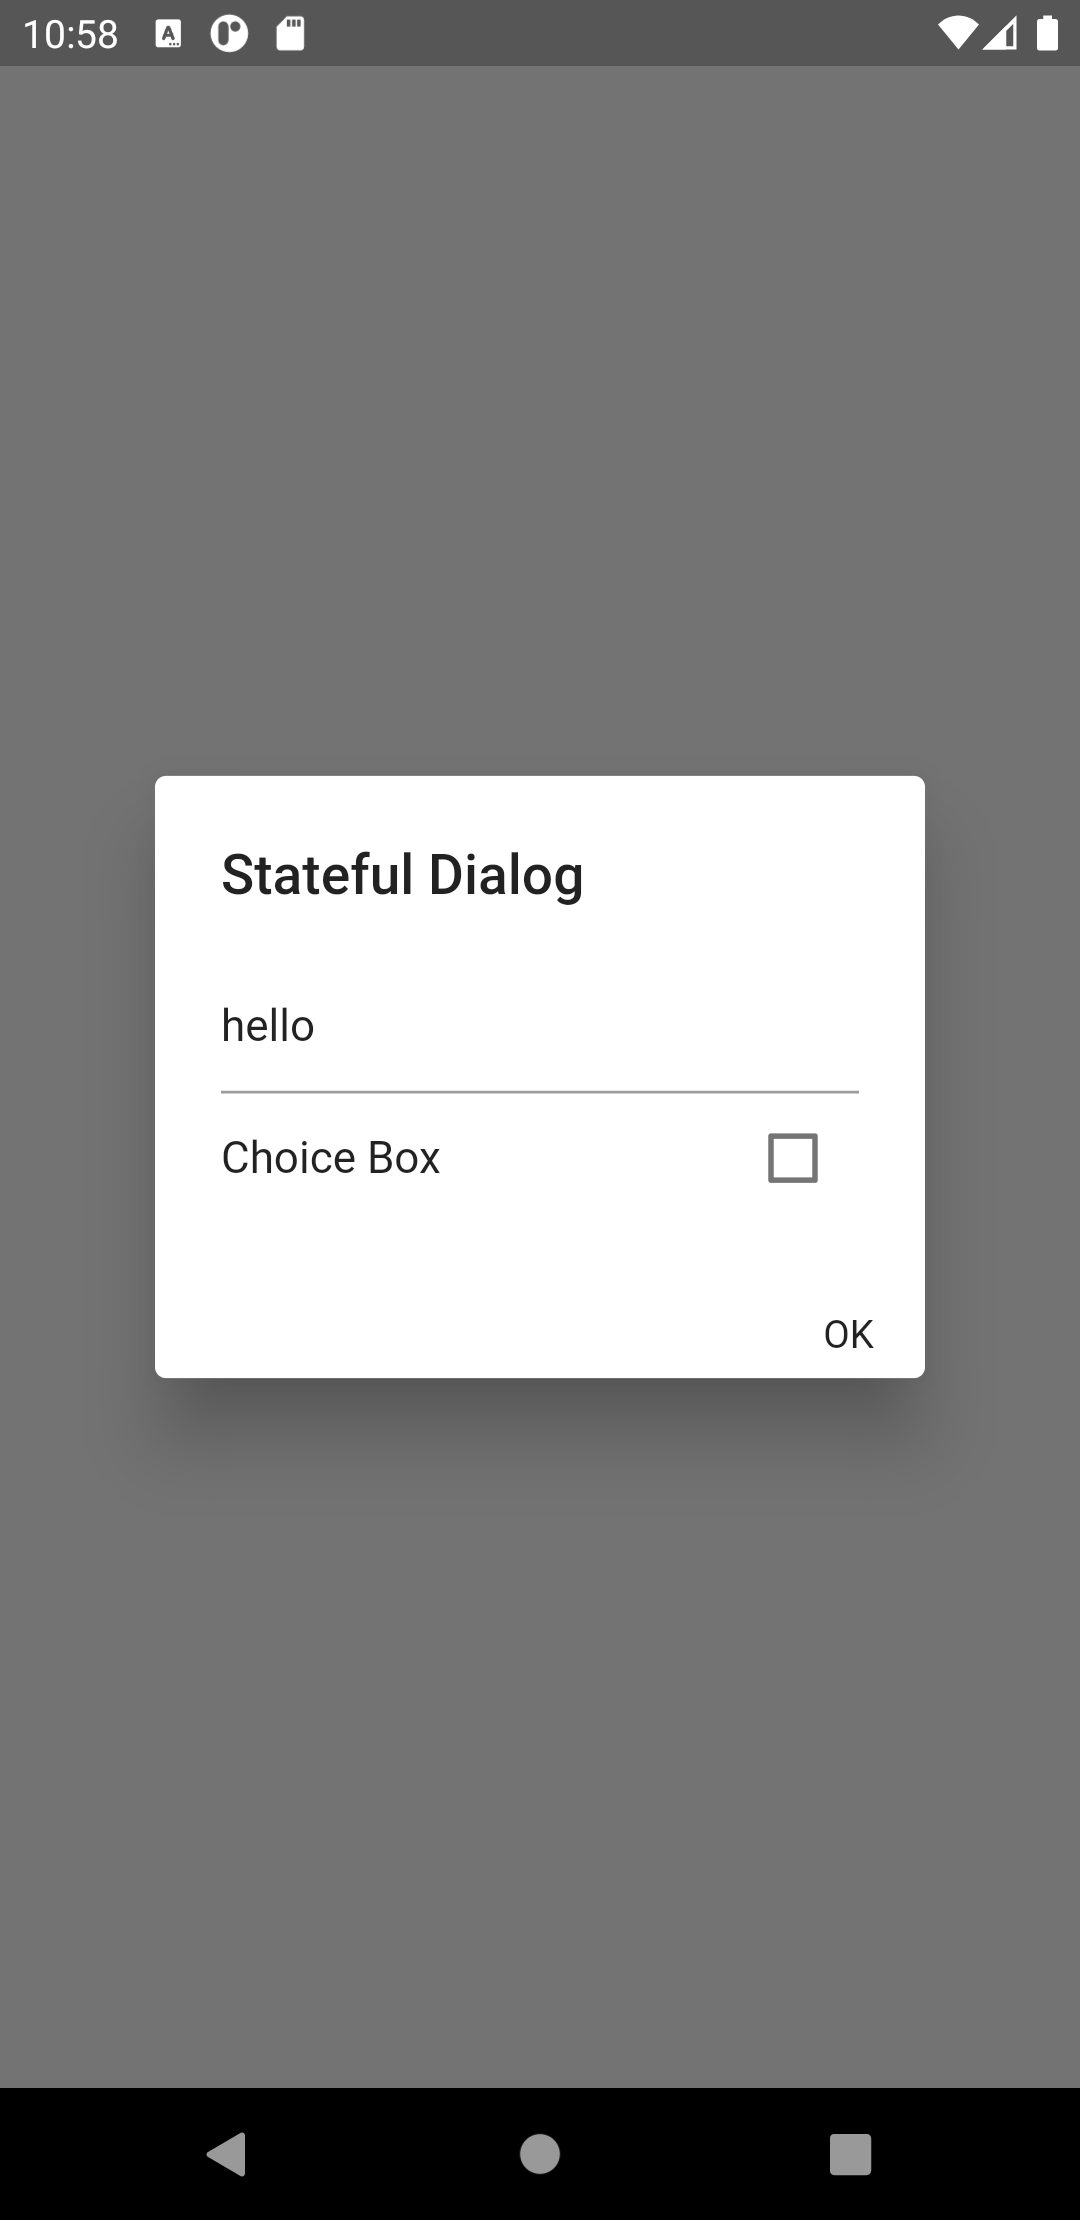
In this way, you can handle the state of dialog form or any other widget according to your convenience and usage by just using the statefulBuilder widget as this widget is very useful in the state handling of your application.
Conclusion:-
In this article, I have explained a Creating Stateful Dialog Form demo.
For more details and methods you can refer to the official doc of flutter here.
For more interesting blogs check out here – https://mobikul.com/blog/
Hope this blog helped you with a better understanding of Creating Stateful Dialog Form in your flutter project.
Thanks for reading.😇

Be the first to comment.