In this blog, we are going to learn how we can implement Cashfree Payment Gateway In Flutter.
Before we get started I urge you to go and check out our Flutter App Development Company.
We will follow the mentioned steps for integrating the Cashfree Payment Gateway:
1. Add Cashfree SDK in pubspec.yaml file.
In this step, we will add the Flutter Cashfree SDK to our project and sync the project. I have used the latest version of the SDK, you may use it as per the requirement from the Pub.dev
|
1 2 3 4 5 6 |
flutter: sdk: flutter cupertino_icons: ^1.0.2 # CashFree Flutter SDK flutter_cashfree_pg_sdk: ^2.0.12+15 |
2. Create call back for handling
Now, we will callbacks for handling the success and failure cases in the Payment flow and we will use the callback methods for creating the instance of Cashfree.
|
1 2 3 4 5 6 7 8 9 10 11 12 13 14 15 16 17 |
// This callback will be triggered if the payment goes success void verifyPayment(String orderId) { print("Verify Payment"); } // This callback will be triggered if the payment goes failed and we can get the failure reason by evaluating the errorResponse void onError(CFErrorResponse errorResponse, String orderId) { print(errorResponse.getMessage()); print("Error while making payment"); } // This callback is optional, If you want to use analytics then you can subscribe this callback void receivedEvent(String event_name, Map<dynamic, dynamic> meta_data) { print(event_name); print(meta_data); } |
3. Processing the Payment
Now, we will create the CFPaymentGatewayService instance and proceed with the payment flow. We also need order-id and payment session Id for initializing the SDK and creating a session for the payment.
|
1 2 3 4 5 6 7 8 9 10 11 12 13 |
String orderId = "000000176"; String paymentSessionId = "session_epIb1q-cw8DE-j23uC9bZzJIYuFyh__ie-Zxc_fNiFfFIrYSnLXOmXn5kcA152eSp28-w3n5t_Nqe3hrktOCxV2u9q8uG5VHJ41GRgAn81-_"; CFEnvironment environment =CFEnvironment.SANDBOX; CFSession? createPaymentSession() { try { var session = CFSessionBuilder().setEnvironment(environment).setOrderId(orderId).setPaymentSessionId(paymentSessionId).build(); return session; } on CFException catch (e) { print(e.message); } return null; } |
I have used some dummy orders and session IDs for processing the payment. You may use the data you get from your network call. You can set the environment as per the requirement, as have set it to the SANDBOX because I am using the dummy details.
NOTE: paymentSessionId will be provided by the server team because they use CashFree APIs for generating the same and it will be unique for each order.
|
1 2 3 4 5 6 7 8 9 10 11 12 13 14 15 16 |
onClickPayButton() async { try { var session = createSession(); List<CFPaymentModes> components = <CFPaymentModes>[]; var paymentComponent = CFPaymentComponentBuilder().setComponents(components).build(); var theme = CFThemeBuilder().setNavigationBarBackgroundColorColor("#FF00FF").build(); var cfDropCheckoutPayment = CFDropCheckoutPaymentBuilder().setSession(session!).setPaymentComponent(paymentComponent).setTheme(theme).build(); cfPaymentGatewayService.doPayment(cfDropCheckoutPayment); } on CFException catch (e) { print(e.message); } } |
We can call this method from where we want to start the payment flow in CashFree. We can customize the color and fonts of the Payment gateway view as per our app theme.
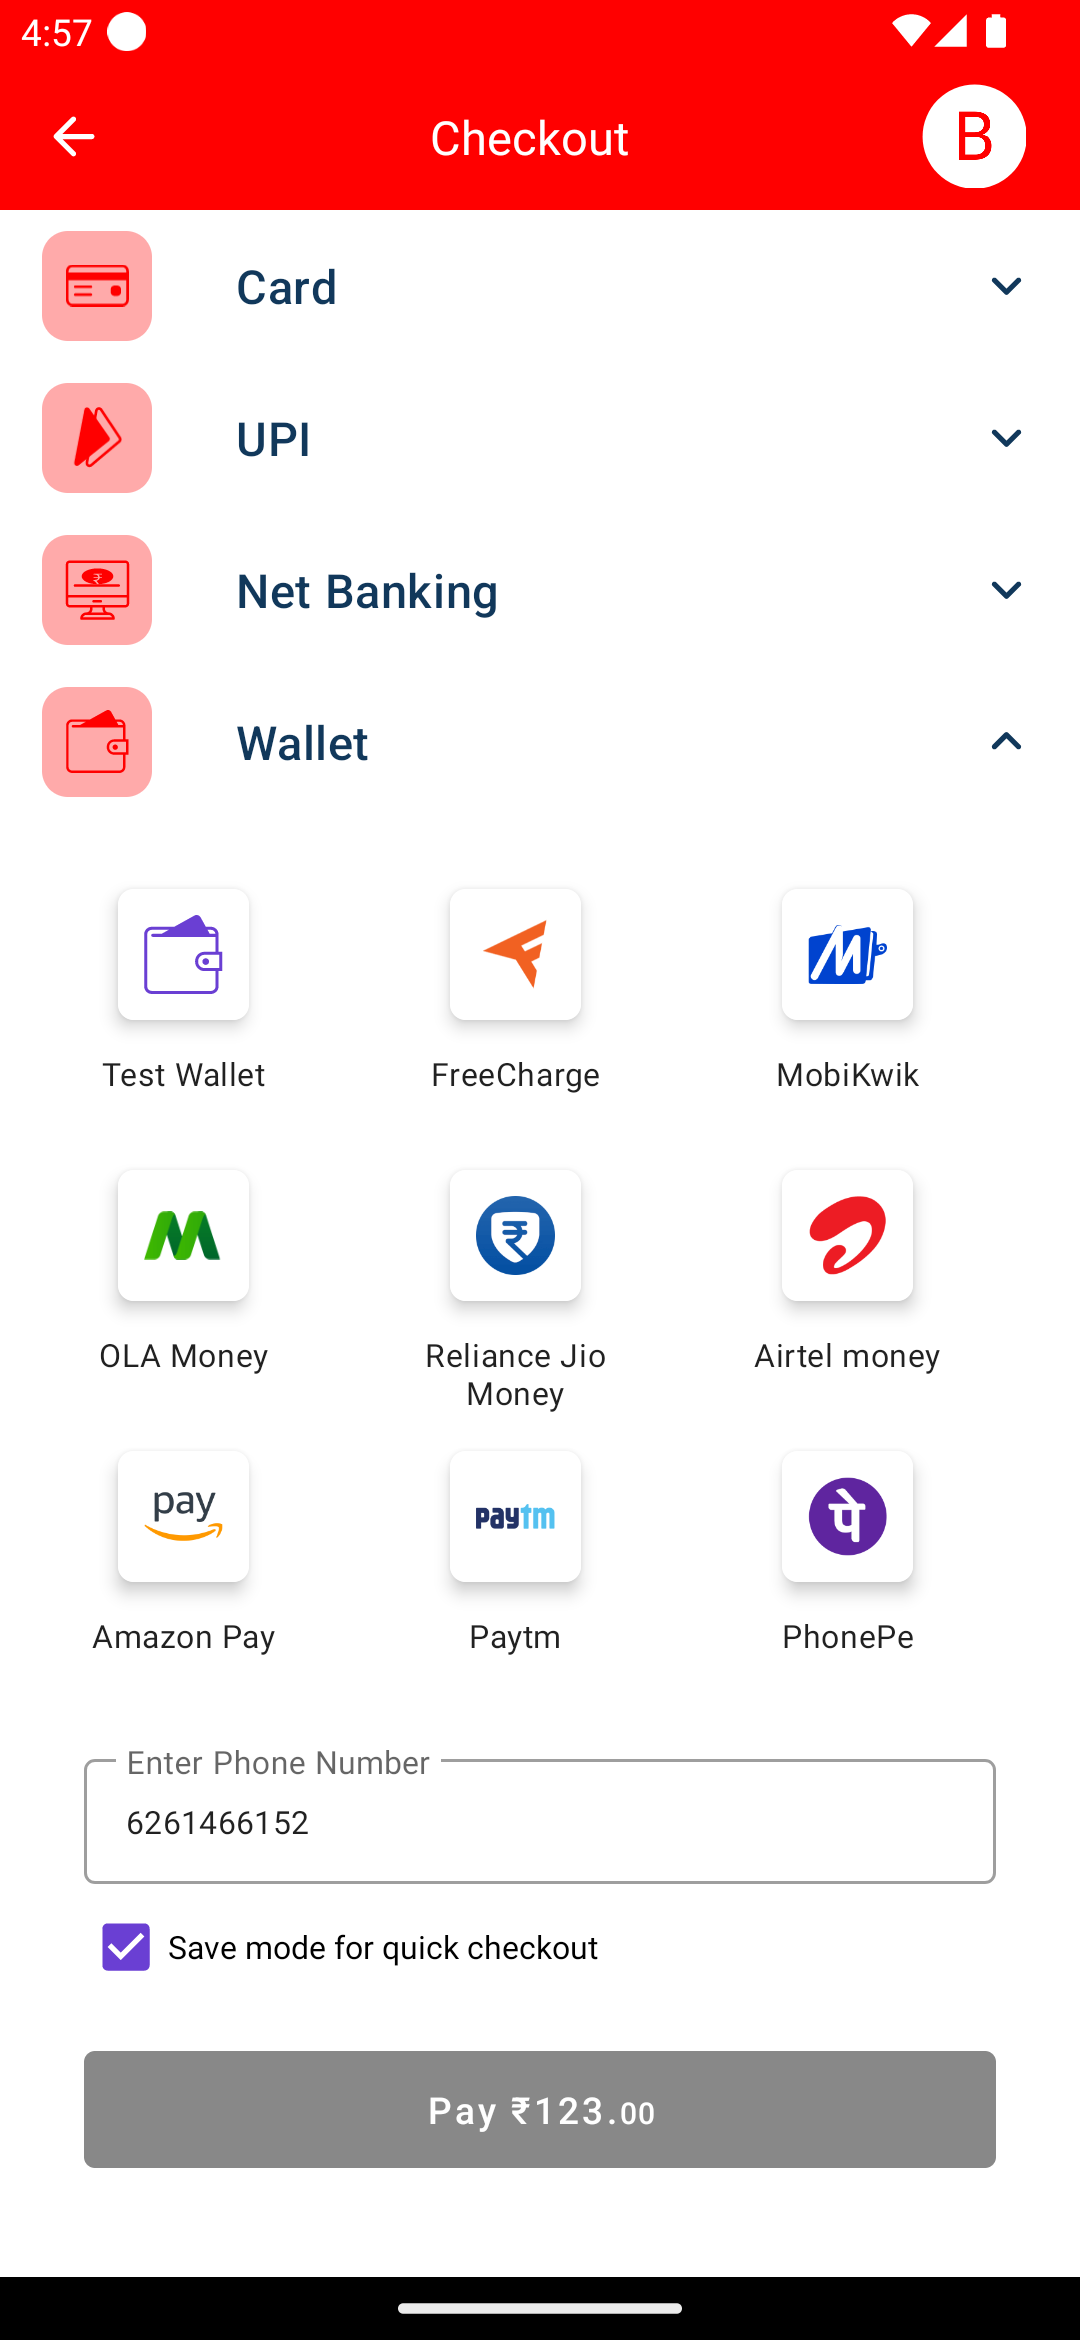
Output:
Conclusion:
In this blog, you have learned about the Cashfree Payment Gateway In Flutter.
For more information regarding the Cashfree Payment Gateway In Flutter follow the link.

Be the first to comment.