ARCore is Google’s platform for building augmented reality experiences. According to the Google’s Documentation, It is a software development kit which can be used by the developers to create an Augmented Reality experience for its users. ARCore lib can perform various tasks like Motion Tracking, Environmental Understanding, and Light estimation at the same time. Using these developers can even create shared AR experiences.
ARCore lib can track the phone’s motion using its camera and locate important points which are called features and can also remember them. It can also detect flat surfaces and the orientation of the phone. With the help of all these, the ARCore lib can create its own understanding of the world. The user can place the various object or other information which will appear like they are actually there in the real world. The user can view them from various angles as well.
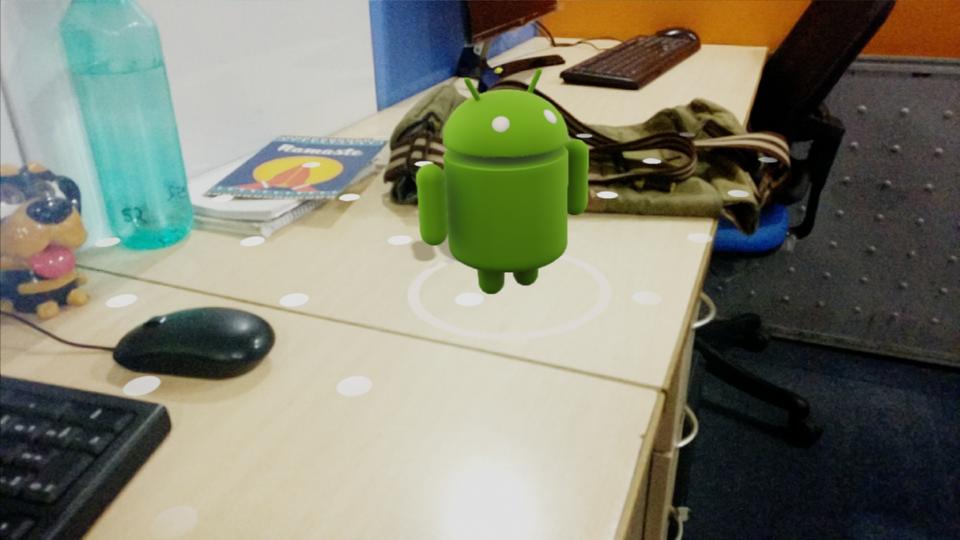
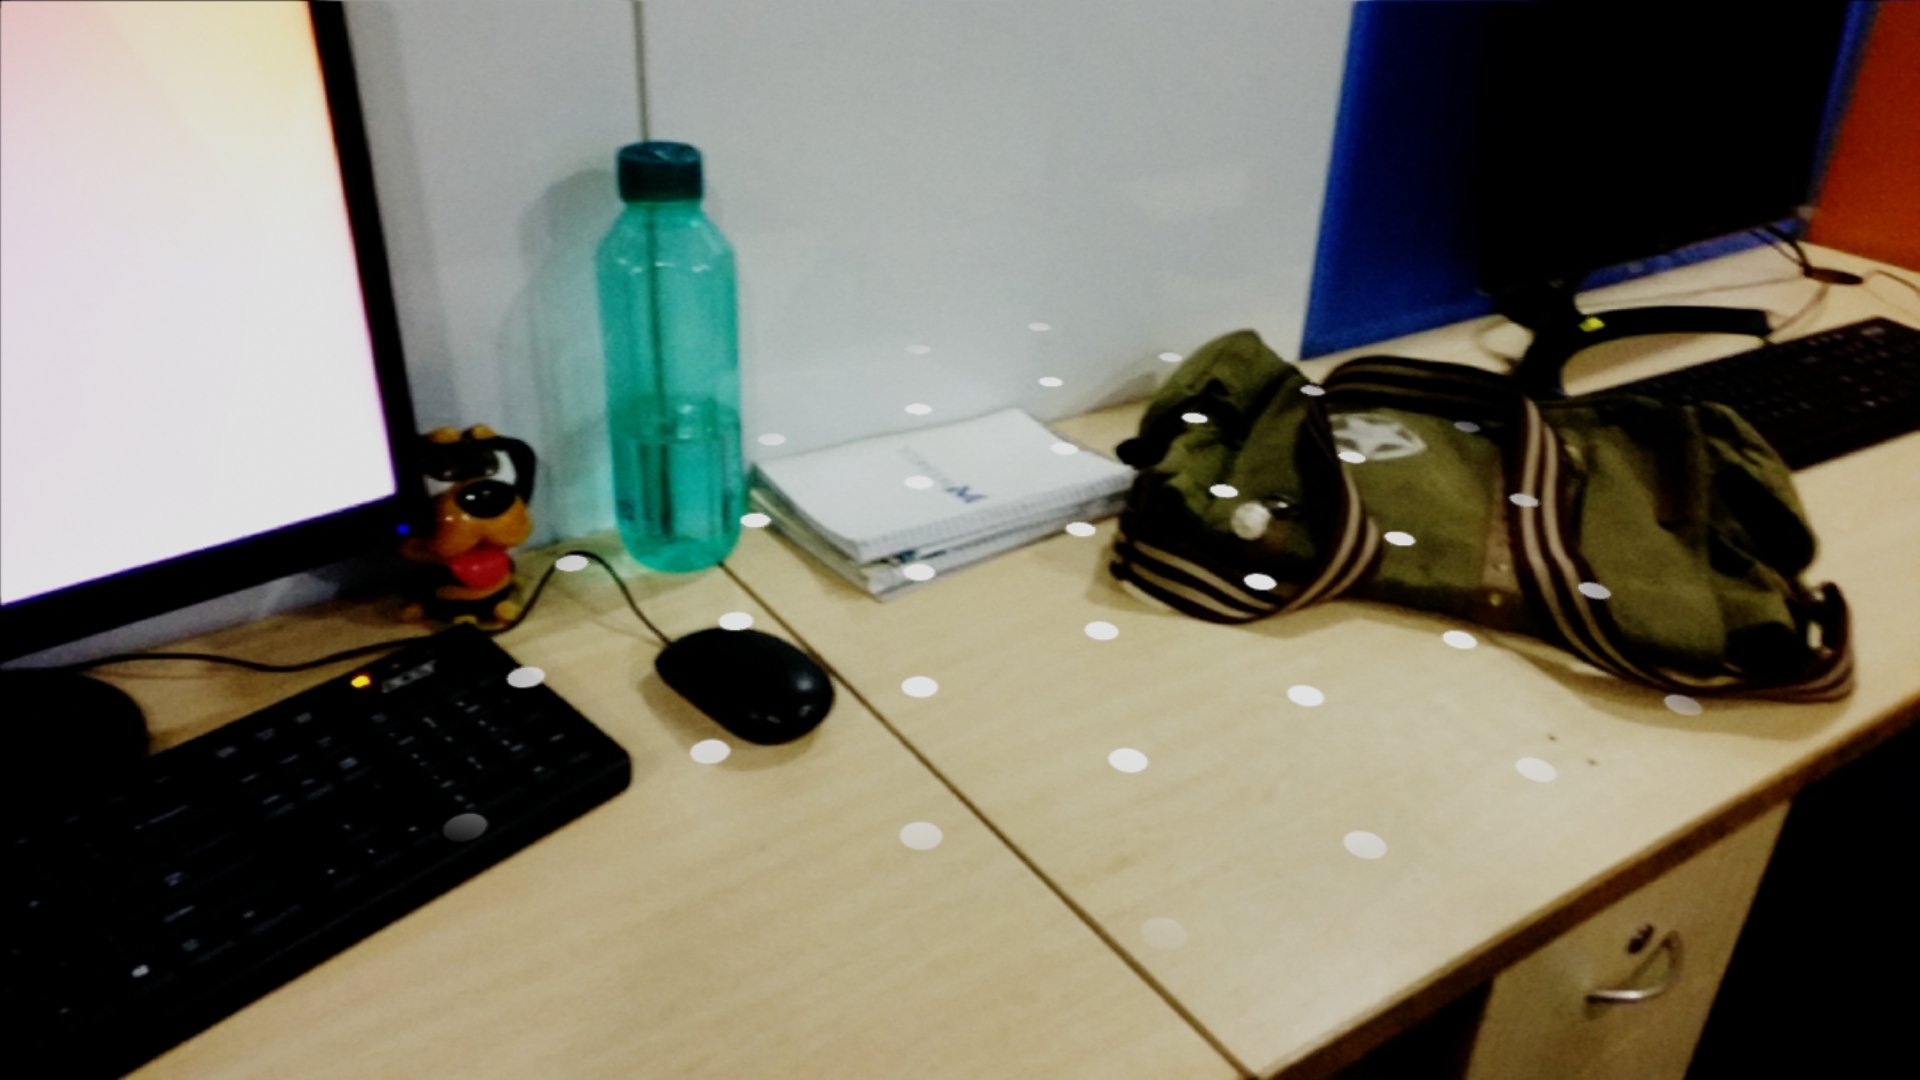
We have implemented the object rendering using the ARCore lib and you can see some of the screenshots below.

Let us now see how we can integrate this
It may look like a rocket science but believe us, It is not. Google has made it so easy that you don’t even need to have the knowledge of OpenGL to show any of the information on the screen. In this blog, we will go step by step like how we can detect surface, how to load the renderable, how to anchor points, and how to render the object. Now without wasting any time let’s enter in the world of Augmented Reality.
1. Setting up the development environment
To work with the ARCore lib you need to have
- An Android Studio version 3.1 or higher with Android SDK Platform version 7.0 (API level 24) or higher.
- AR supported device or Android Emulator version 27.2.9 or later to test the integration. OpenGL ES 3.0 or higher must be supported and enabled in the Android Emulator.
- To use the ARCore lib we need to add its dependency in our buildd.gradle.
1234567dependencies {…// ARCore libraryimplementation 'com.google.ar:core:1.3.0'} - We are using Sceneform Library and to use we need to add some dependencies in our build.gradle.
12345678910111213141516171819android {// Sceneform libraries use language constructs from Java 8.// Add these compile options if targeting minSdkVersion < 26.compileOptions {sourceCompatibility 1.8targetCompatibility 1.8}}dependencies {…// Provides ArFragment, and other UX resources.implementation 'com.google.ar.sceneform.ux:sceneform-ux:1.4.0'// Alternatively, use ArSceneView without the UX dependency.implementation 'com.google.ar.sceneform:core:1.4.0'}
2. Checking the device supports AR or not.
This is an important point if you are providing the AR as an optional feature. You need to check that the AR is supported by the device and then show the features related to AR. We can create a function which will check for the AR and change the visibility of the AR feature accordingly.
|
1 2 3 4 5 6 7 8 9 10 11 12 13 14 15 16 17 |
public void maybeEnableArButton() { ArCoreApk.Availability availability = ArCoreApk.getInstance().checkAvailability(this); if (availability.isTransient()) { // re-query at 5Hz while we check compatibility. new Handler().postDelayed(new Runnable() { @Override public void run() { maybeEnableArButton(); } }, 200); } if (availability.isSupported()) { // Set visibility to true for AR features } else { // Set visibility to false for AR features } } |
3. Opening camera and detecting surfaces
This is the best part. Usually, to render point, lines, or objects on the screen requires the knowledge of OpenGL. OpenGL is also not that easy to work with. Google has introduced a Sceneform Library which lets you draw on the screen and does not require you to have the knowledge of OpenGL.
As we have already added the dependency for the Sceneform library we need to add it to our view. The below-provided code segment demonstrates using the Sceneform lib.
|
1 2 3 4 5 6 7 8 9 10 11 12 13 14 |
<?xml version="1.0" encoding="utf-8"?> <FrameLayout xmlns:android="http://schemas.android.com/apk/res/android" xmlns:tools="http://schemas.android.com/tools" android:layout_width="match_parent" android:layout_height="match_parent" tools:context=".SceneFormActivity"> <fragment android:id="@+id/ux_fragment" android:name="com.google.ar.sceneform.ux.ArFragment" android:layout_width="match_parent" android:layout_height="match_parent" /> </FrameLayout> |
As soon as the activity is created the ArFragment will automatically check that a compatible version of ARCore is installed and prompts the user to install or update as necessary and whether the app has access to the camera and asks the user for permission if it has not yet been granted. If both the permissions are granted then it will automatically open the camera and start detecting for the surfaces.
You can also create a function which will do the checks and it will look something like the below-provided code segment.
|
1 2 3 4 5 6 7 8 9 10 11 12 13 14 15 16 17 18 19 20 |
public static boolean checkIsSupportedDeviceOrFinish(final Activity activity) { if (Build.VERSION.SDK_INT < Build.VERSION_CODES.N) { Log.e(TAG, "Sceneform requires Android N or later"); Toast.makeText(activity, "Sceneform requires Android N or later", Toast.LENGTH_LONG).show(); activity.finish(); return false; } String openGlVersionString = ((ActivityManager) activity.getSystemService(Context.ACTIVITY_SERVICE)) .getDeviceConfigurationInfo() .getGlEsVersion(); if (Double.parseDouble(openGlVersionString) < MIN_OPENGL_VERSION) { Log.e(TAG, "Sceneform requires OpenGL ES 3.1 later"); Toast.makeText(activity, "Sceneform requires OpenGL ES 3.1 or later", Toast.LENGTH_LONG) .show(); activity.finish(); return false; } return true; } |
After this, you will see the camera and an animation that will show you move the device around so that the ARCore lib can detect the surfaces around. Once the surface has been detected it will start rendering some dots over it so that the user can see the detected surface.
4. Placing Objects
Now when you have detected the surface you can place an object over it. As the user taps on the detected surface, You need to create an Anchor for that location so that the lib can remember the position on which the object has been placed and can keep rendering the object even if the user has moved the camera away from this position.
But first of all, you need a 3D Model to render and you can flow this documentation by Google to generate it. It is called the Renderable and its format is .sfb.
Now we assume that you already have a Renderable. So let’s place it on the screen and for that, you need to declare two variables ArFragment and ModelRenderable.
|
1 2 |
private ArFragment arFragment; private ModelRenderable andyRenderable |
Here ArFragment is the fragment that you have added in your XML and ModelRenderable is a class provided by Google which helps us in rendering the 3D Model by attaching it to a Node.
To initialize the arFragment, you just need to assign it the fragment with id ux_fragment that you have created in your XML.
|
1 |
arFragment = (ArFragment) getSupportFragmentManager().findFragmentById(R.id.ux_fragment); |
To initialize andyRenderable, you can follow the below-provided code segment.
|
1 2 3 4 5 6 7 8 9 |
ModelRenderable.builder() .setSource(this, R.raw.andy) .build() .thenAccept(renderable -> andyRenderable = renderable) .exceptionally( throwable -> { Log.e(TAG, "Unable to load Renderable.", throwable); return null; }); |
Here R.raw.andy is the model with .sfb format which is kept in the raw folder inside res.
Now when your fragment and renderable is ready, you need to add a tap listener on the fragment and the below-provided example will help you with that.
|
1 2 3 4 5 6 7 8 9 10 11 12 13 14 15 |
arFragment.setOnTapArPlaneListener( (HitResult hitResult, Plane plane, MotionEvent motionEvent) -> { if (andyRenderable != null) { // Create the Anchor. Anchor anchor = hitResult.createAnchor(); AnchorNode anchorNode = new AnchorNode(anchor); anchorNode.setParent(arFragment.getArSceneView().getScene()); // Create the transformable andy and add it to the anchor. TransformableNode andy = new TransformableNode(arFragment.getTransformationSystem()); andy.setParent(anchorNode); andy.setRenderable(andyRenderable); andy.select(); } }); |
As you can see in the above code segment, we have added a tap listener inside which first we have checked that our renderable has been initialized properly and is not null. After that, we have created an Anchor with the hitResult and using which we have created an AnchorNode which is a node that is automatically positioned in world space based on an ARCore Anchor.
Now you have anchored the tapped position, you need to create a TransformableNode which is a node that can be selected, translated, rotated, and scaled using gestures from TransformationSystem and add it to the anchor.
As soon as you add the transformable node to the anchor, it will start rendering your 3D model and it will appear like its in the real world.
That’s all for this blog. Thank you very much. This is Vedesh Kumar signing off.
KEEP CALM AND THANKS FOR READING MY POST

Be the first to comment.