In today’s blog, we will learn AppsFlyer integration in Swift.
AppsFlyer is used to track app installation and event recording functionality. You can track in-app events, like app launch, products viewed, orders tracking, etc.
Let’s check below the AppsFlyer integration in Swift procedure.
Install the SDK:
Step 1: Firstly, add the dependency.
|
1 |
pod 'AppsFlyerFramework' |
Step 2: Run pod install command.
|
1 |
pod install |
Initialize the SDK:
Step 1: Import the dependencies.
|
1 |
import AppsFlyerLib |
Step 2: In AppsFlyer, go to Configuration > App Settings.
Copy your dev key, and save it.
Now, initialize the SDK with the below code.
|
1 |
AppsFlyerLib.shared().appsFlyerDevKey = "<AF_DEV_KEY>" AppsFlyerLib.shared().appleAppID = "<APPLE_APP_ID>" |
Step 3: Then, start the SDK by writing the below code in the “applicationDidBecomeActive” function.
|
1 |
AppsFlyerLib.shared().start() |
Step 4: Finally, you can call the events you want to track. Please check below sample code to track the items added to the wishlist.
|
1 2 3 4 5 |
AppsFlyerLib.shared().logEvent(AFEventAddToWishlist withValues: [ AFEventParamPrice: 10, AFEventParamContentId: "123456" ]) |
To check all the events please follow this link.
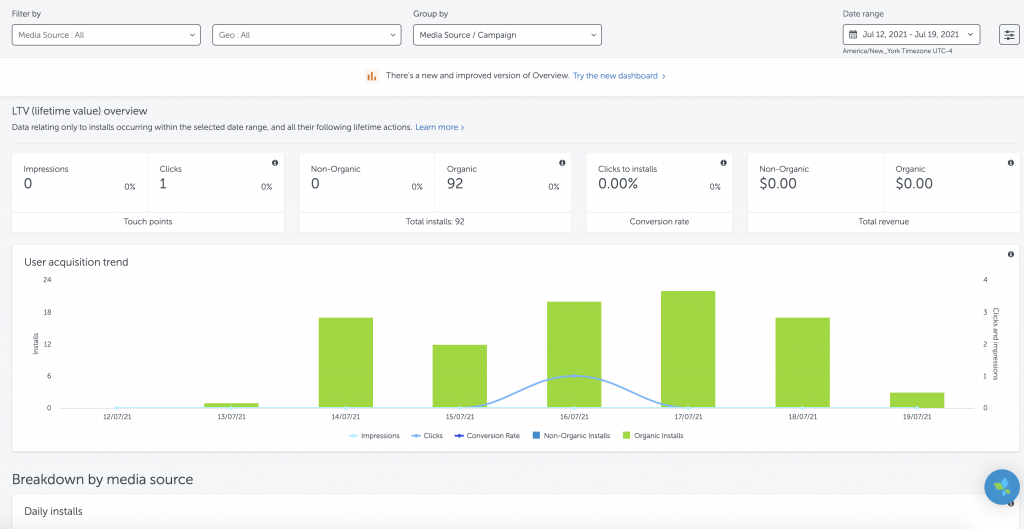
After initializing the events, your AppsFlyer dashboard will look like this.

Hope this blog helped you with a better understanding of AppsFlyer.
For more interesting blogs check out here – https://mobikul.com/blog/
Thanks for reading 🙂

Be the first to comment.