App clip is the mini-app of any main app which provides users to quickly access and experience, what your app has to offer without downloading and installing the full app. It is a small part of your app that’s discoverable at the moment it’s needed. It is fast and lightweight so a user can open them quickly. Whether they’re ordering take-out from a restaurant, renting a scooter, or setting up a new connected appliance for the first time, users will be able to start and finish an experience from your app in seconds. And when they’re done, you can offer the opportunity to download your full app from the App Store.
Offer a Great User Experience
Consider creating an App Clip if your app provides an in-the-moment experience that helps people perform a task over a finite amount of time. For example:
- A rental bike or cab could come with it that people tap or scan to launch it that lets them rent the bike or cab.
- A shop could offer it for fast advance orders that customers launch from a Smart App Banner on the shop’s website. Customers could share a link to the website from the Messages app, which recipients then tap to launch it from within Messages.
- A restaurant and hotels could let pay for a meal by launching it from the Maps app or a suggestion from Siri Suggestions, or by holding their device to close it or NFC tag at their table.
- A museum could have visitors scan Codes or QR codes on labels next to displayed works to launch it that reveals augmented reality content or provides audio commentary.
- A cinema hall ticket could provide the advance feature with the code to book the tickets if people are in the queue.
- A metro recharge could be done in a single tap and scan to open for pay it.
Keep Your App Clip Small in Size
It must be small — no more than 10 MB for the uncompressed App Clip— to launch instantly. If possible, keep your App Clip well below this limit.
The output folder for your exported App Clip also contains its size report: a file named App Thinning Size Report.txt. Open the text file, and note your uncompressed size, and make adjustments to your project to keep its uncompressed size below 10 MB.
It comes with limitations to ensure a fast launch experience, protect user privacy, and preserve resources.
Creating an App Clip with Xcode
Add an App Clip Target
It requires a corresponding full app that offers at least the same functionality as the App Clip; you use the same Xcode project for your full app and your clip. If you’re starting a new app project, first create a new iOS project with Xcode. If you want to add a clip to your existing iOS app, open its Xcode project. Then, add the target to the Xcode project:
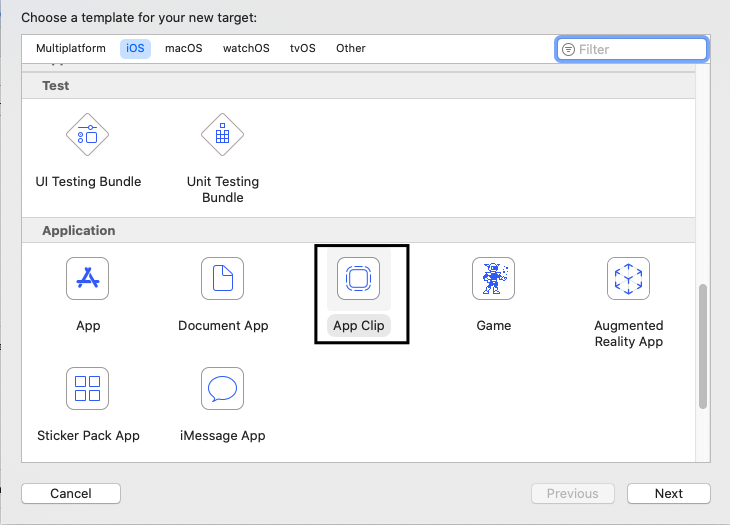
- Add a new target using the App Clip template.

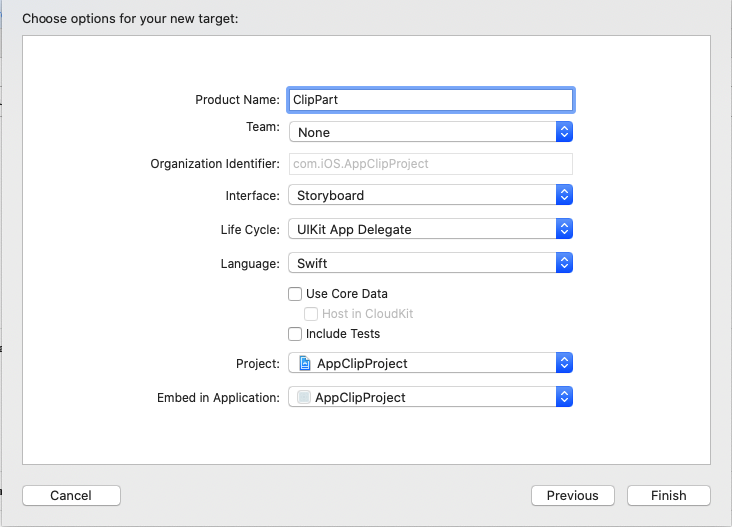
- Choose a product name, select applicable options for your App Clip, and click Finish.
- Add the Associated Domains Entitlement to both targets. If you are familiar with Universal Links(deep linking), this process should be pretty easy. Don’t forget to add applinks prefix to your associated domain name.
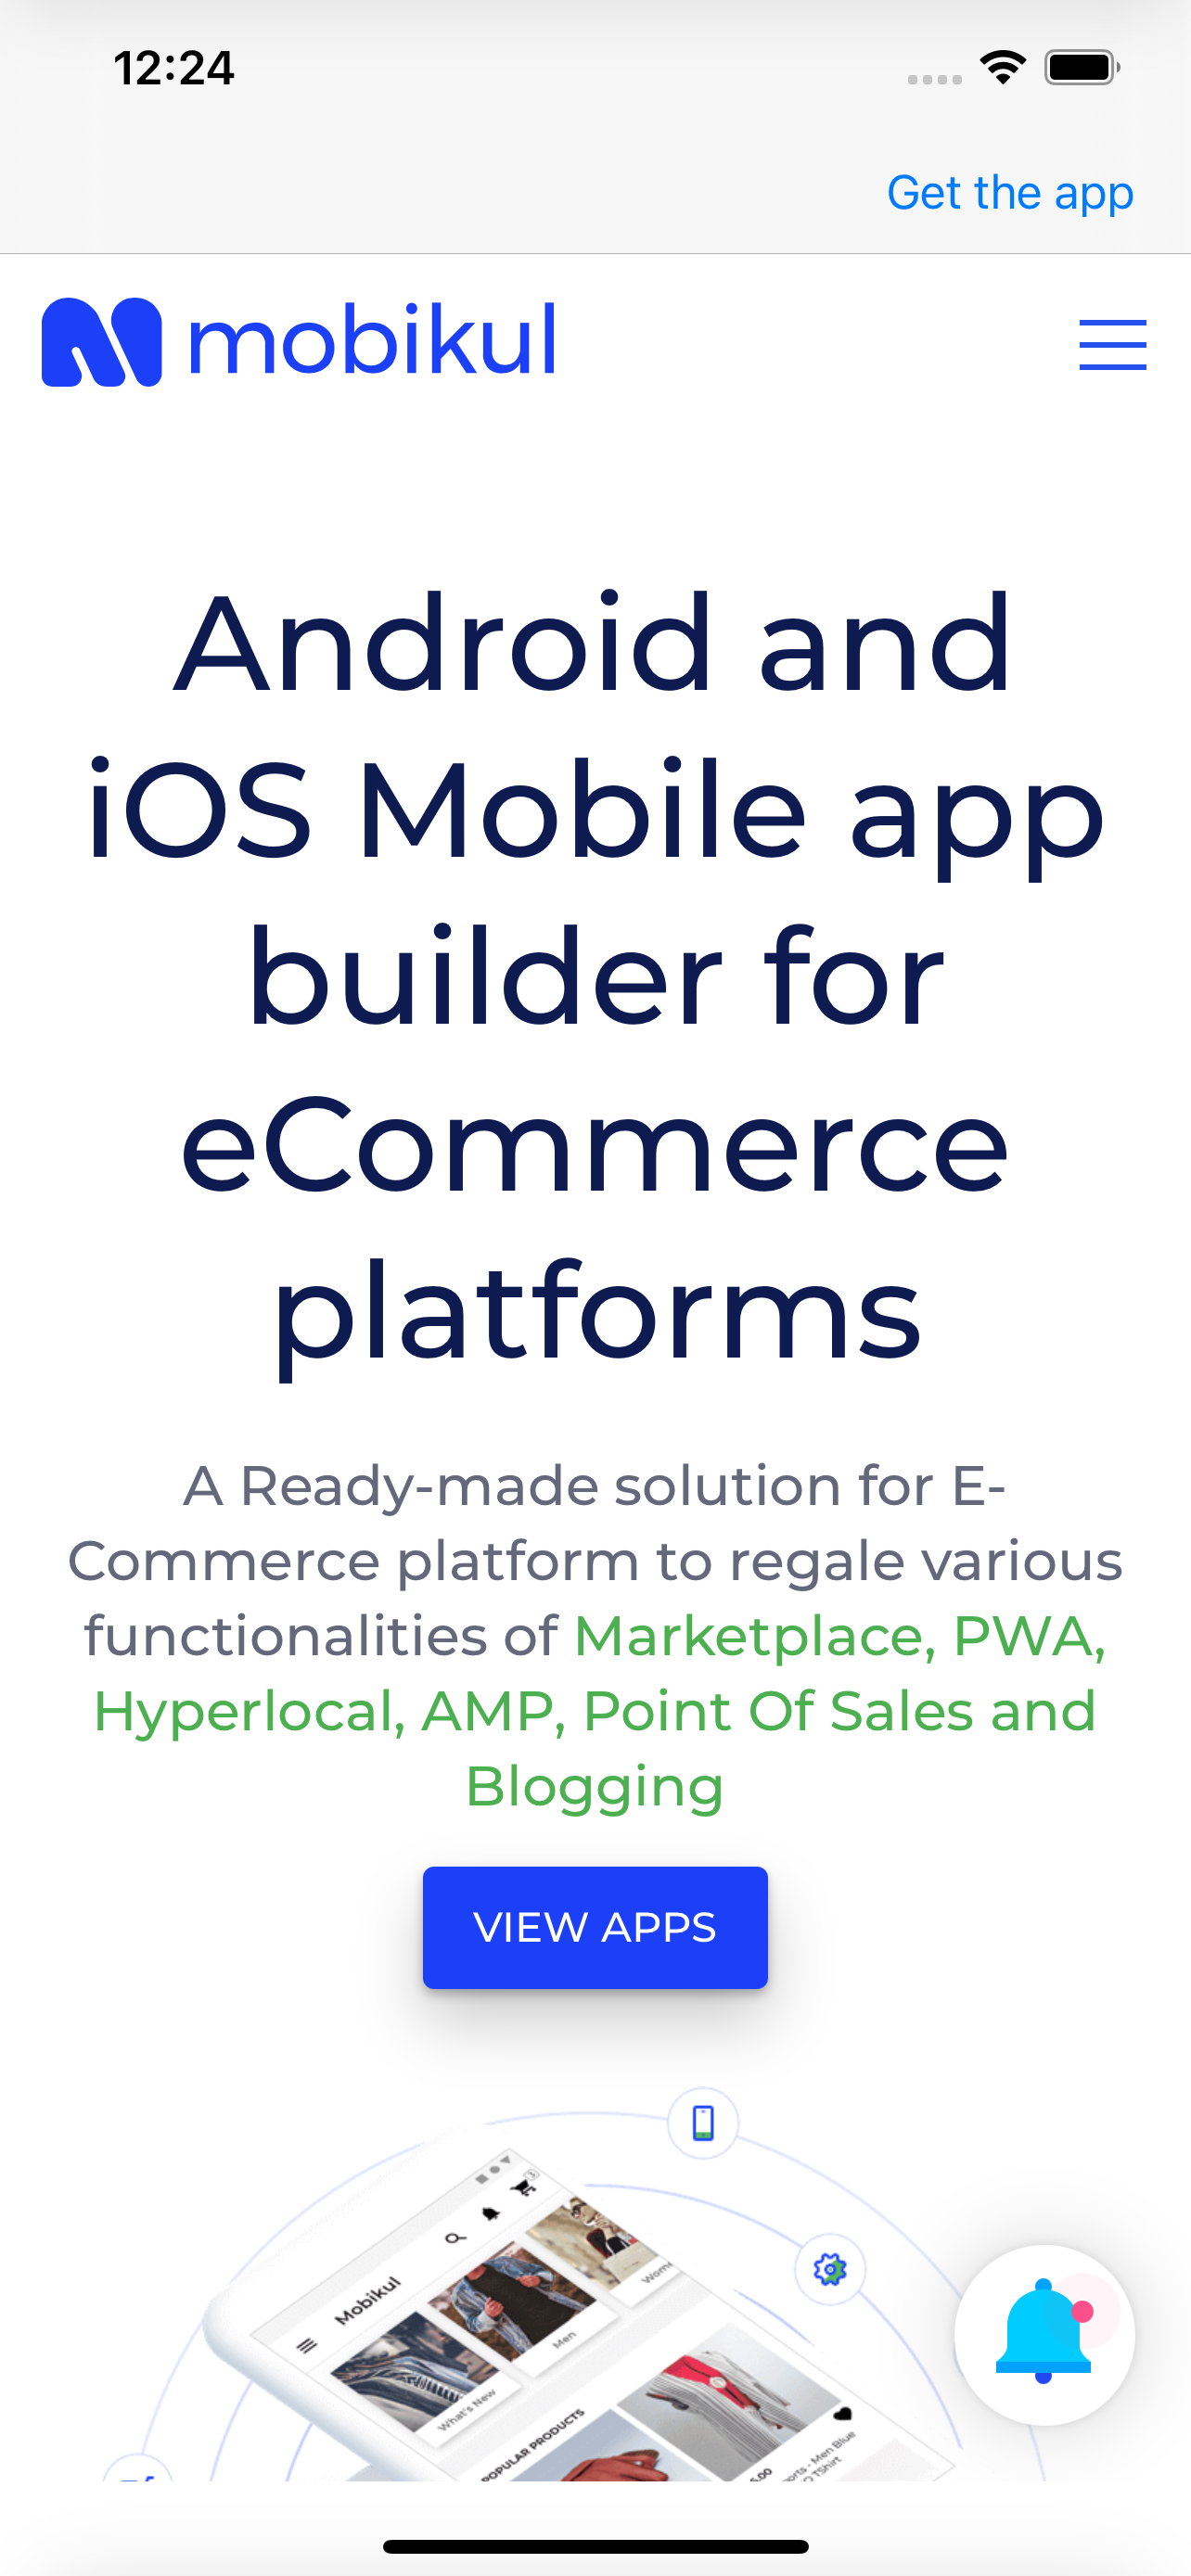
- Now you can add normal code or you can use the same Xcode project for your full app. For demonstration, I have used the WKWebView to run it.
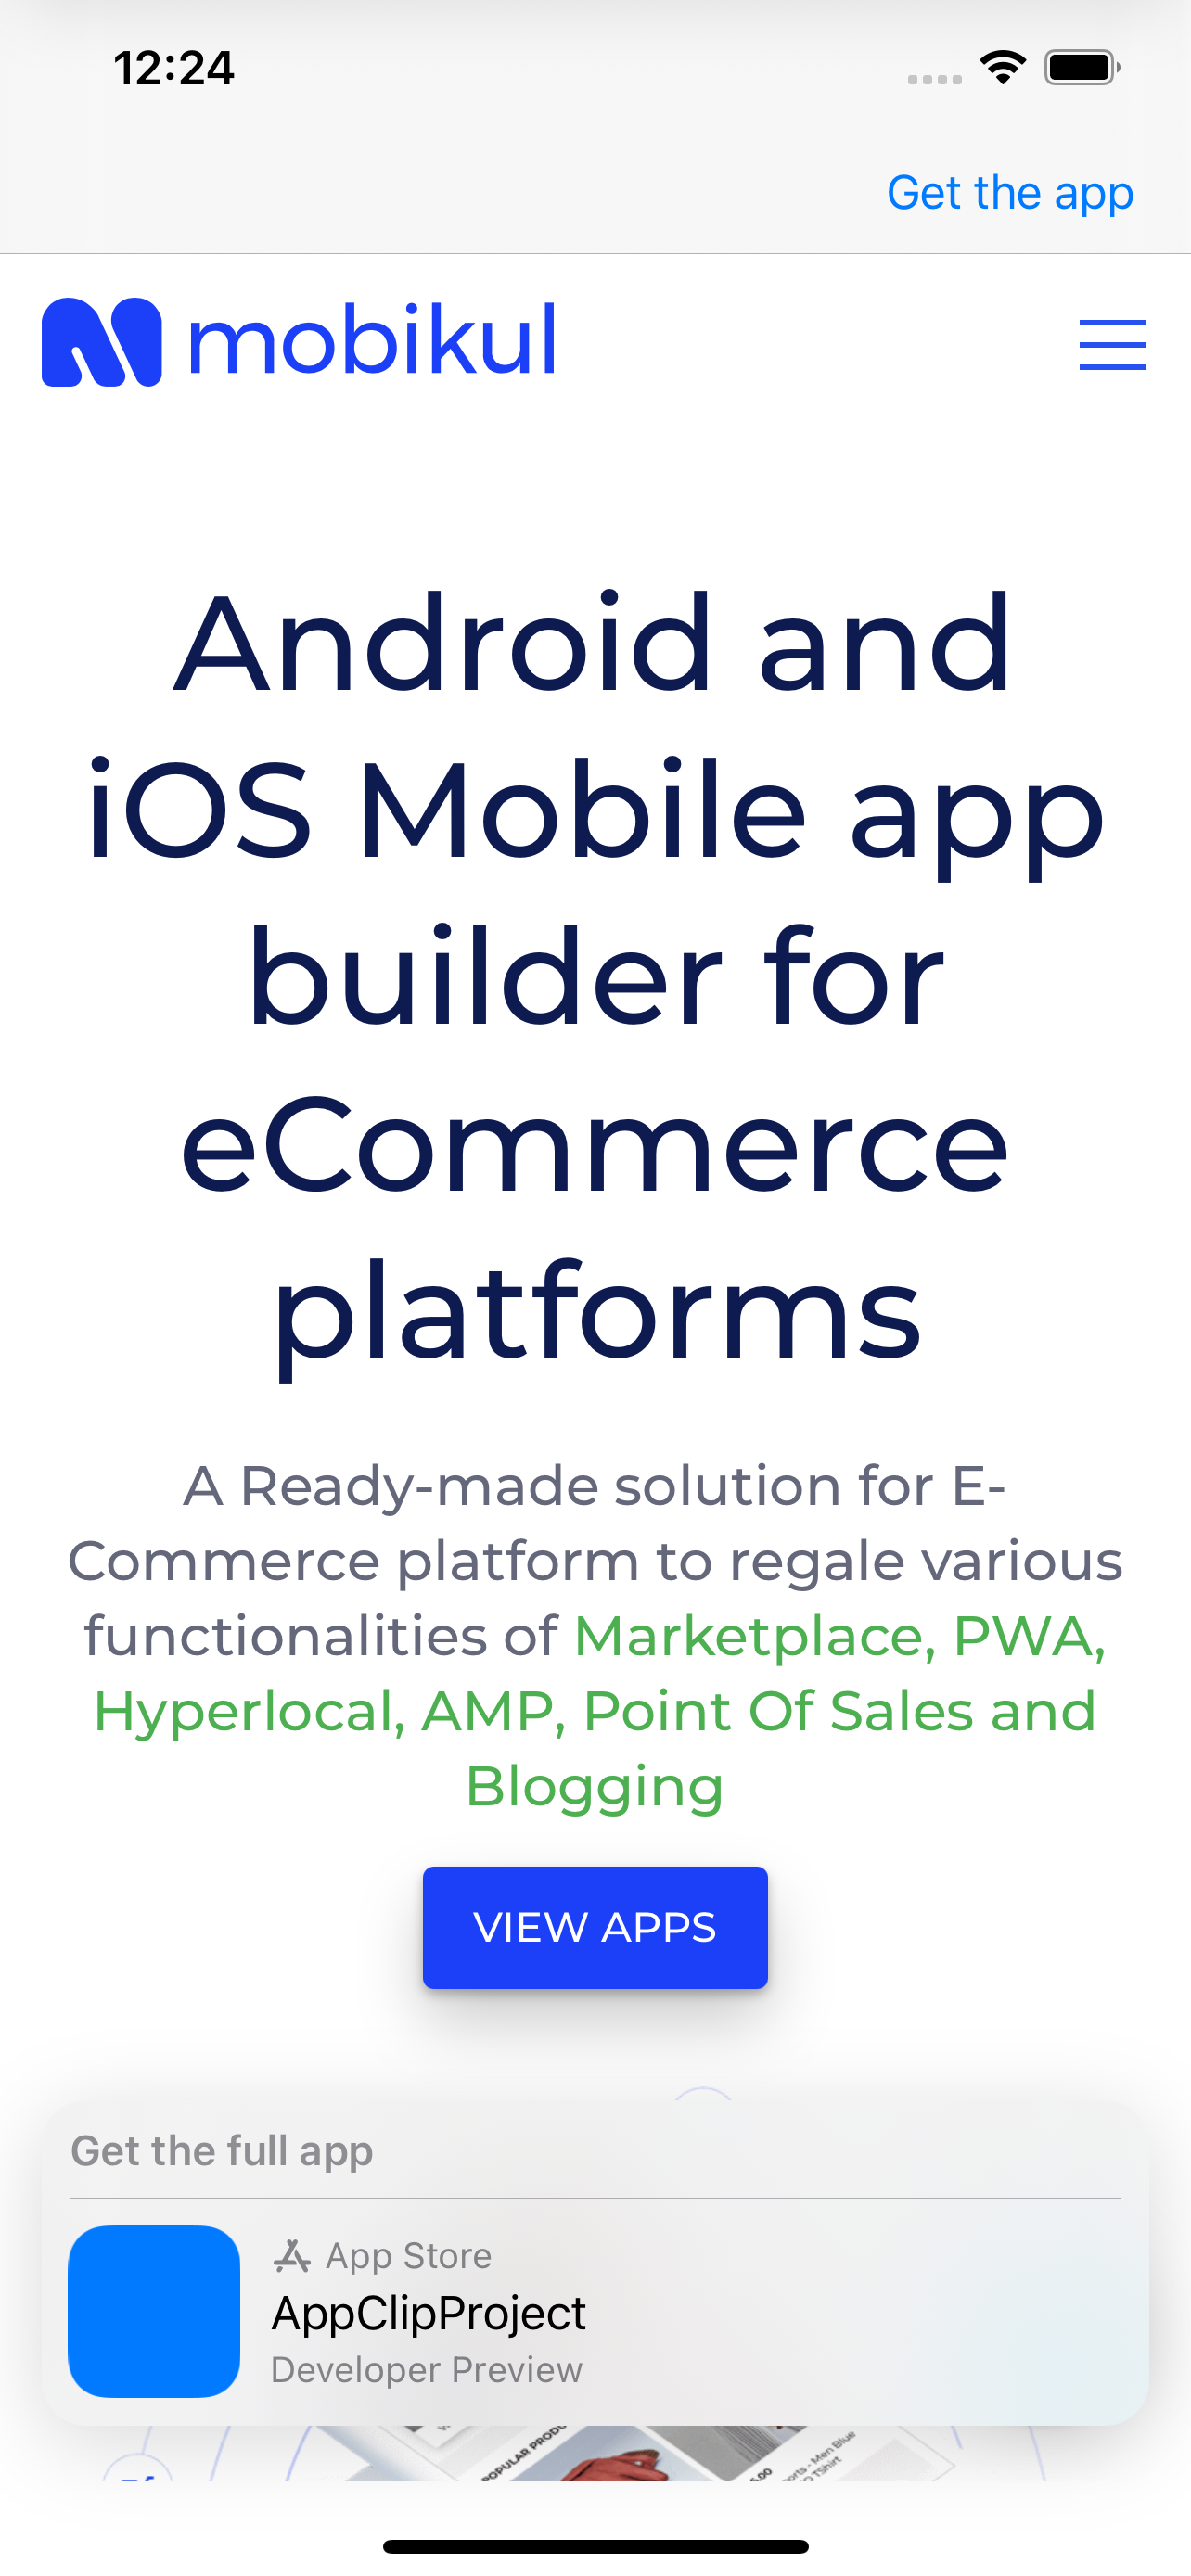
123webView.uiDelegate = selfwebView.navigationDelegate = selfwebView.load(URLRequest(url: URL(string: "https://mobikul.com/")!)) - I have also added the feature to click on the button to get the full app.
1234567@IBAction func getAppAction(_ sender: Any) {guard let scene = view.window?.windowScene else { return }let config = SKOverlay.AppClipConfiguration(position: .bottom)let overlay = SKOverlay(configuration: config)overlay.delegate = selfoverlay.present(in: scene)}
123456789101112131415161718192021222324252627import StoreKitextension ViewController : SKOverlayDelegate {func storeOverlayDidFailToLoad(_ overlay: SKOverlay, error: Error) {}func storeOverlayWillStartDismissal(_ overlay: SKOverlay, transitionContext: SKOverlay.TransitionContext) {}func storeOverlayWillStartPresentation(_ overlay: SKOverlay, transitionContext: SKOverlay.TransitionContext) {}func storeOverlayDidFinishDismissal(_ overlay: SKOverlay, transitionContext: SKOverlay.TransitionContext) {print("SKOverlay DidFinishDismissal")}func storeOverlayDidFinishPresentation(_ overlay: SKOverlay, transitionContext: SKOverlay.TransitionContext) {print("SKOverlay DidFinishPresentation")}} -
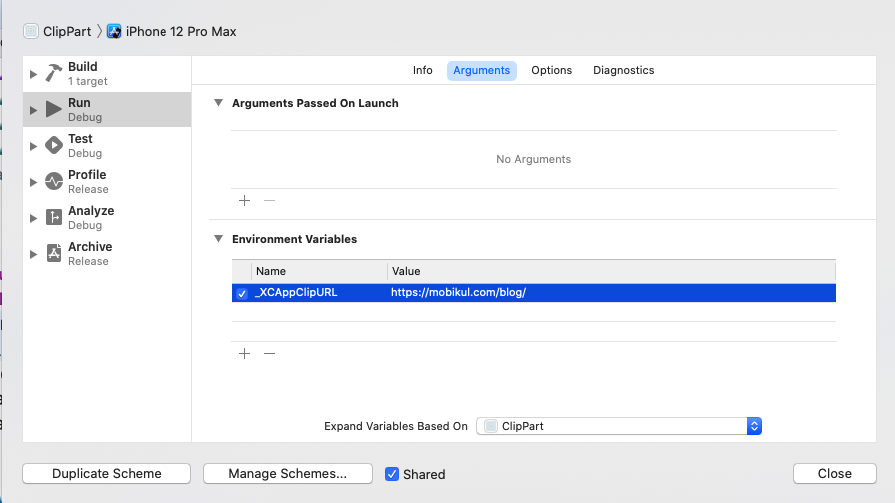
Now for testing, click on the active scheme selector in Xcode and select Edit Scheme.
-
Select and set _XCAppClipURL environment variable value with the required URL.
-
Run the app on the device or simulator to test the invocation.
Conclusion
I hope this tutorial will help you if you have any comments, questions, or recommendations, feel free to post them in the comment section below!


Be the first to comment.