Animation is a method in which elements of a scene are used as moving images for viewers. If you need good design in the app then, it is the mandatory part of the app.
It can improve the overall user experience of your application. Here, you have to only change the properties of the view or set the duration and delay time in which animations will work on your screen and UIKit animate them automatically.
There are several properties can be animated, by changing the property we can creates an animations starting at the current value and ending at the new value that you specify. Following of properties of the UIView class can animatable:
To animate your changes, create a UIViewPropertyAnimator object and use its handler block to change the values of your view’s properties.
The UIViewPropertyAnimator class lets you specify the duration and timing of your animations, but it performs the actual animations.
You can pause a property-based animator that is currently running to interrupt the animations and drive it interactively. For more information, see UIViewPropertyAnimator.
Creating Simple View Animations
Let’s create the examples of animations:
Color of the View by Animation:
To change the color of background of view by animation:
|
1 2 3 |
UIView.animate(withDuration: 5, animations: { self.view.backgroundColor = .systemGreen } , completion : nil ) |
Run the app and you get as:
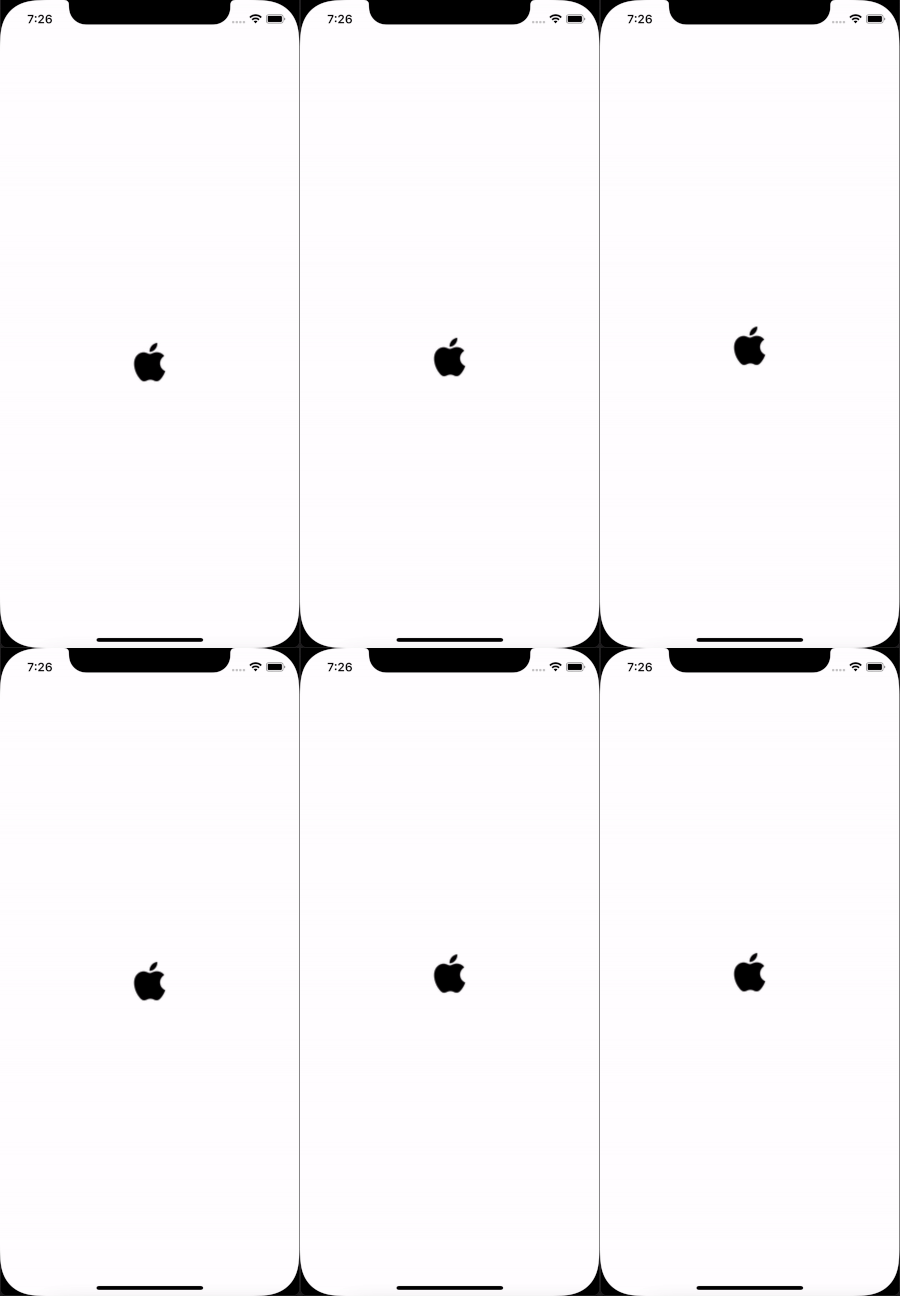
Image of the ImageView by Animation:
To change the image of UIImageView by animation:
|
1 2 3 4 5 6 7 8 9 10 11 12 13 14 15 16 17 18 |
let subImageView = UIImageView() override func viewWillAppear(_ animated: Bool) { self.imageView.image = UIImage(named: "google") subImageView.frame = self.imageView.frame subImageView.image = UIImage(named: "apple") subImageView.alpha = 0 self.imageView.addSubview(subImageView) } override func viewDidAppear(_ animated: Bool) { UIView.animate(withDuration: 1, delay: 3,options: .autoreverse, animations: { self.subImageView.alpha = 1.0 }, completion: {_ in self.imageView.image = self.subImageView.image//UIImage(named: "apple") self.subImageView.removeFromSuperview() }) } |
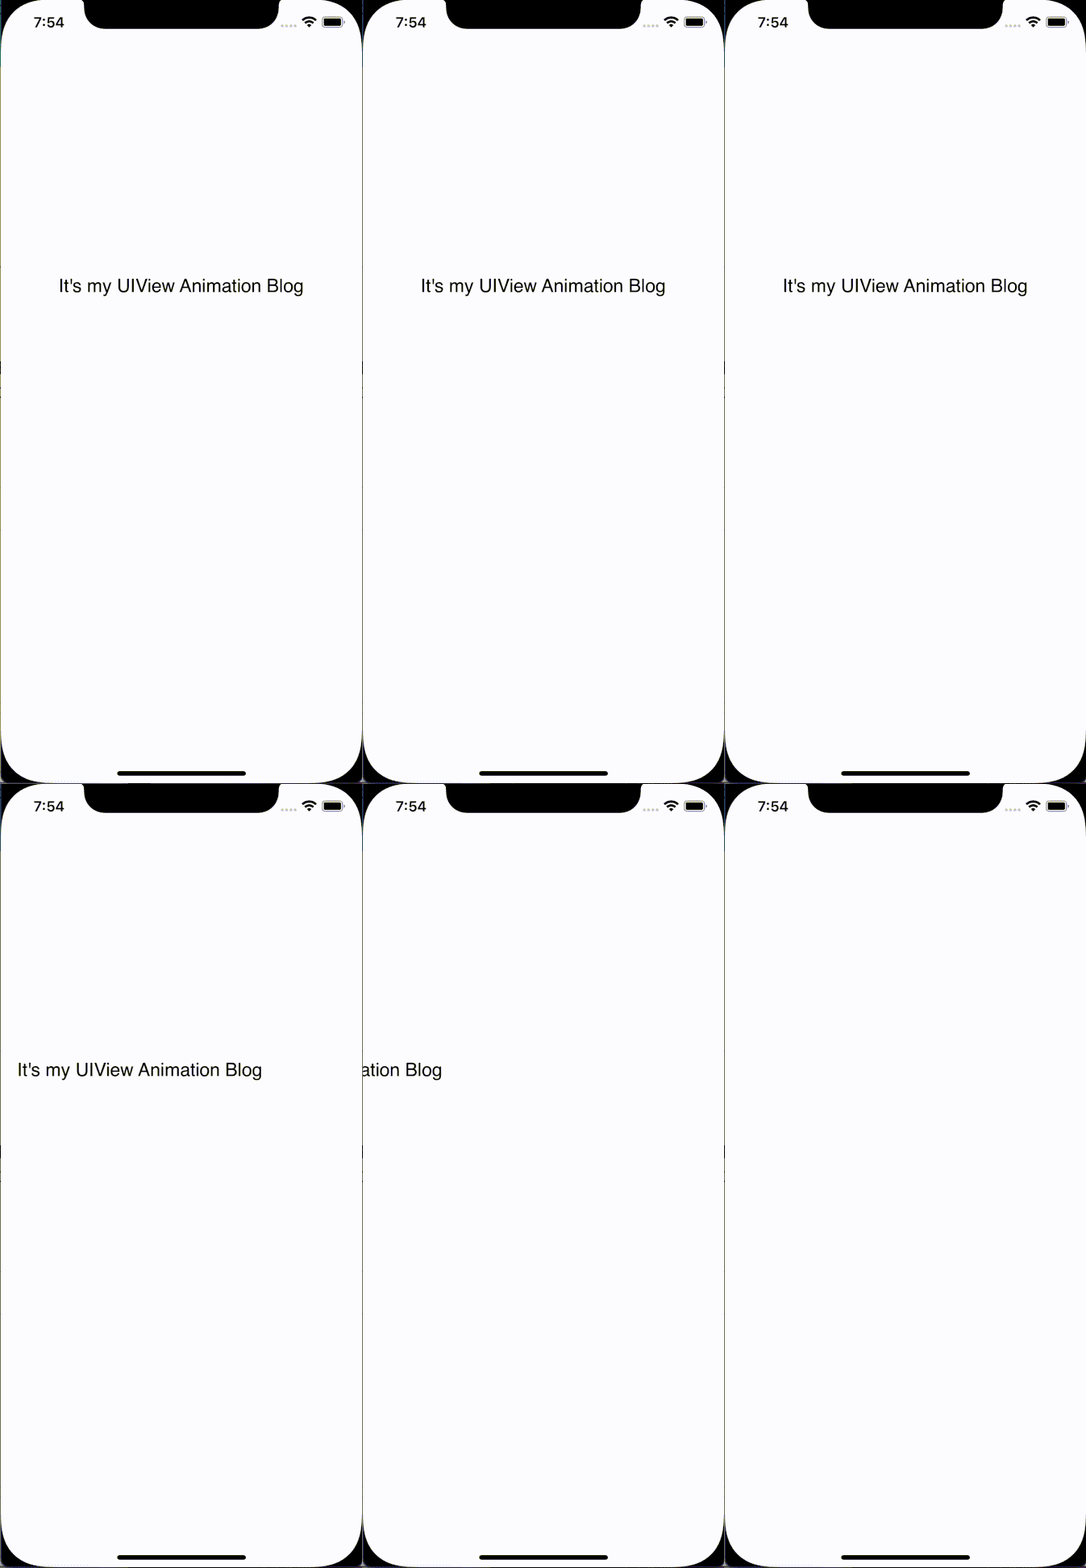
Position of the view by Animation :
To change the position of view:
|
1 2 3 4 5 6 7 8 9 10 11 12 |
//Before view will appear override func viewWillAppear(_ animated: Bool) { self.labelText.frame.origin.x += 0 } //After view will appear override func viewDidAppear(_ animated: Bool) { UIView.animate(withDuration: 1, delay: 2, animations: { self.labelText.frame.origin.x -= self.view.frame.width }, completion: nil) } |
Run the app:
Size of the view:
Size of view replaced with another size:
|
1 2 3 4 |
UIView.animate(withDuration: 4, delay: 0, options: .curveEaseOut, animations: { self.imageView.frame.size.width += 100 self.imageView.frame.size.height += 100 }, completion: nil) |
Toggle the View
Position of view changed with autoreverse(as toggle):
|
1 2 3 4 |
UIView.animate(withDuration: 1, delay: 0.5, options: [.autoreverse, .repeat], animations: { self.imageView.image = UIImage(named: "apple") self.imageView.frame.origin.y -= 50 }) |
Conclusion
I hope this tutorial will help you if you have any comments, questions, or recommendations, feel free to post them in the comment section below!
For other blogs, please click here.


Be the first to comment.