We need to add or remove views from a view and adjust the layout of views. UIStackview has simplified such a task. We can easily layout a series of views horizontally or vertically in stack view and setup in a way that views are automatically adjusted.
Adding UIStackView from the object library
Open Main.storyboard. drag a vertical stack view to the view controller from object library.
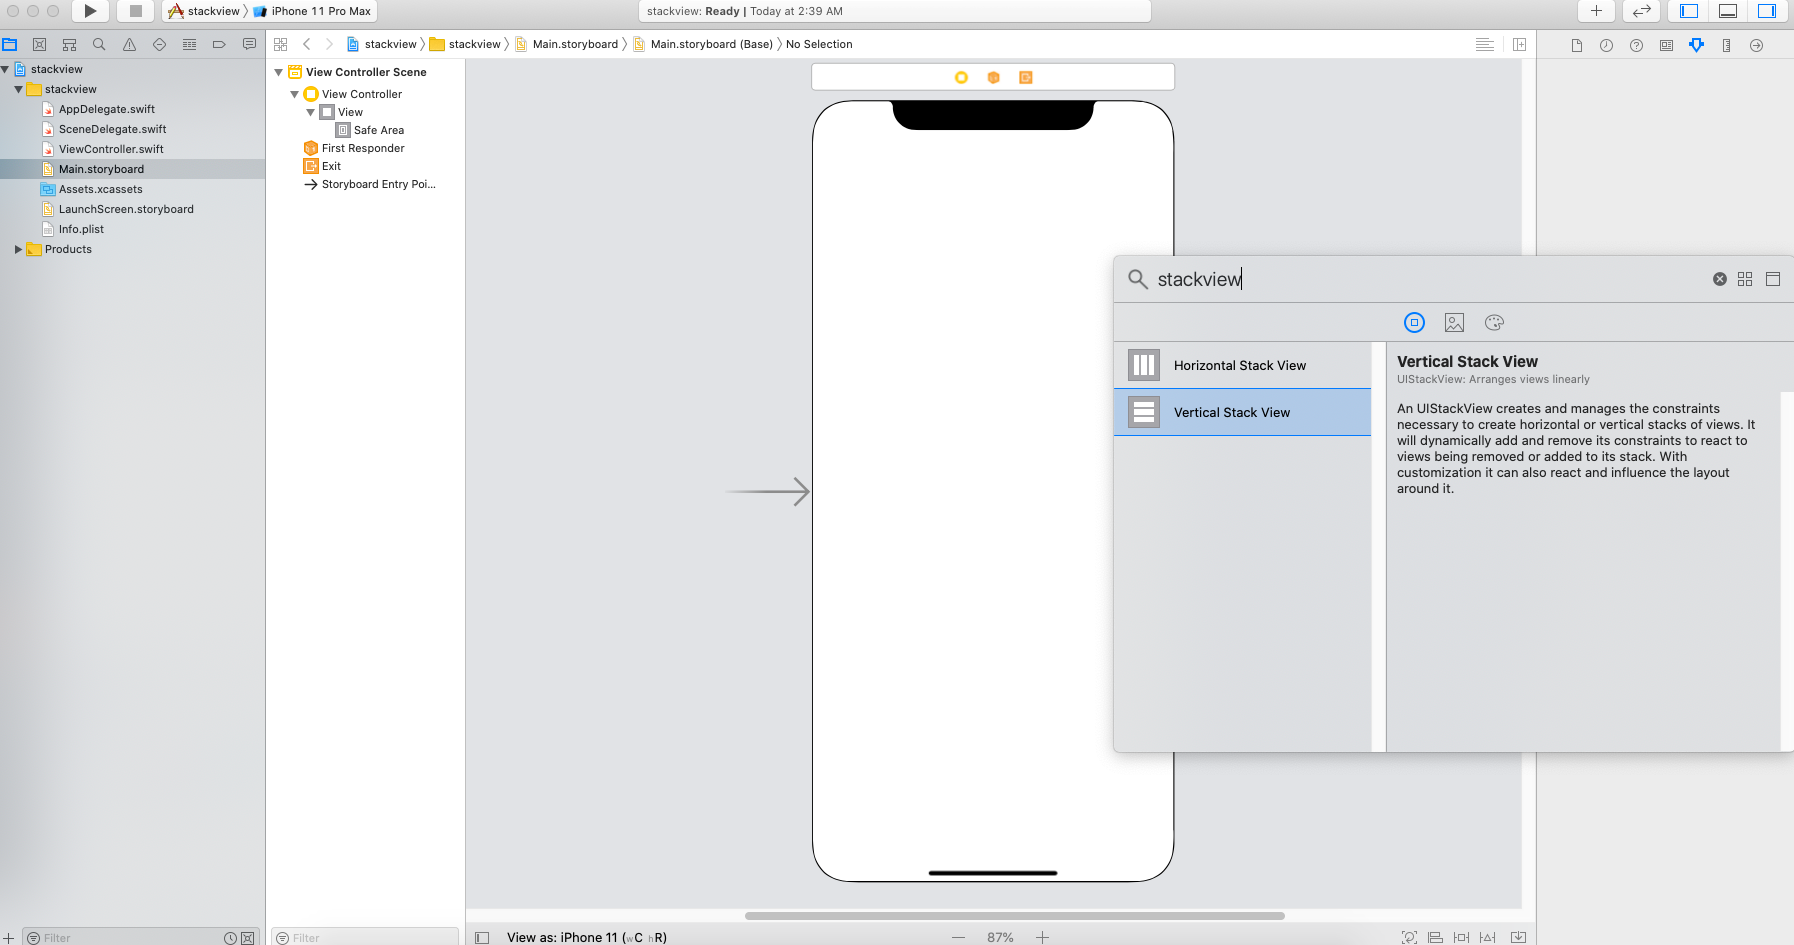
Note: We are going to layout image views vertically, We choose the vertical stack view.
Next, drag the image view into the stack view, the UIImageView automatically resized. Repeat the same step and add one or two more image views to it. When you add another UIImageView to it, the UIStackview automatically layouts the image view vertically.
Defining Constraints for the UIStackView
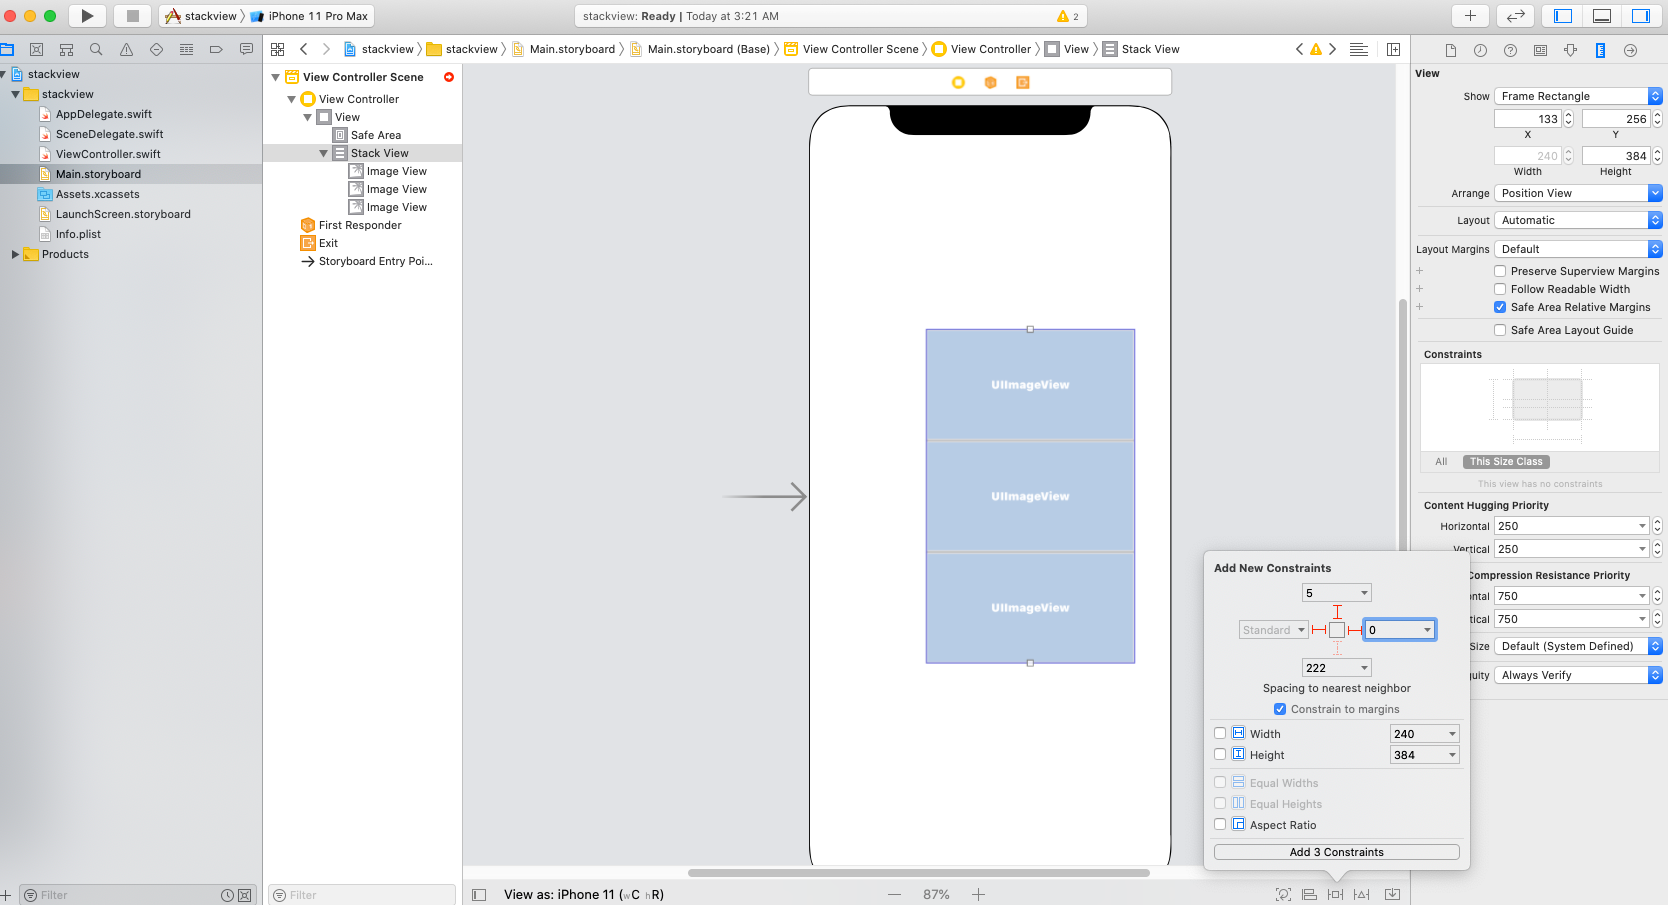
We have to determine the layout constraints for the stack view. For the one we have just added, We will define the following layout constraints:
- Set spacing constraints for the top, left and right sides of the stack view.
- Set a height constraint for the UIstackview.
To set the height constraint, go to the Document Outline of Interface Builder. Control-drag from Stack View to View. After releasing the buttons, select Equal Heights.
Properties of UIStackView
We can alter a number of the stack view’s properties to change its appearance. The axis option indicates whether the arranged views should be layout vertically or horizontally. the alignment option controls how the arranged views are aligned. the distribution option defines the size and position of the arranged views. By default, it is set to Fill. change this option to Fill Equally. The stack view automatically resizes the arranged views such that they are all of the same size. The spacing option allows you to set the space between views. Change its value to 10 to add extra space between the image views.

Setting the Images
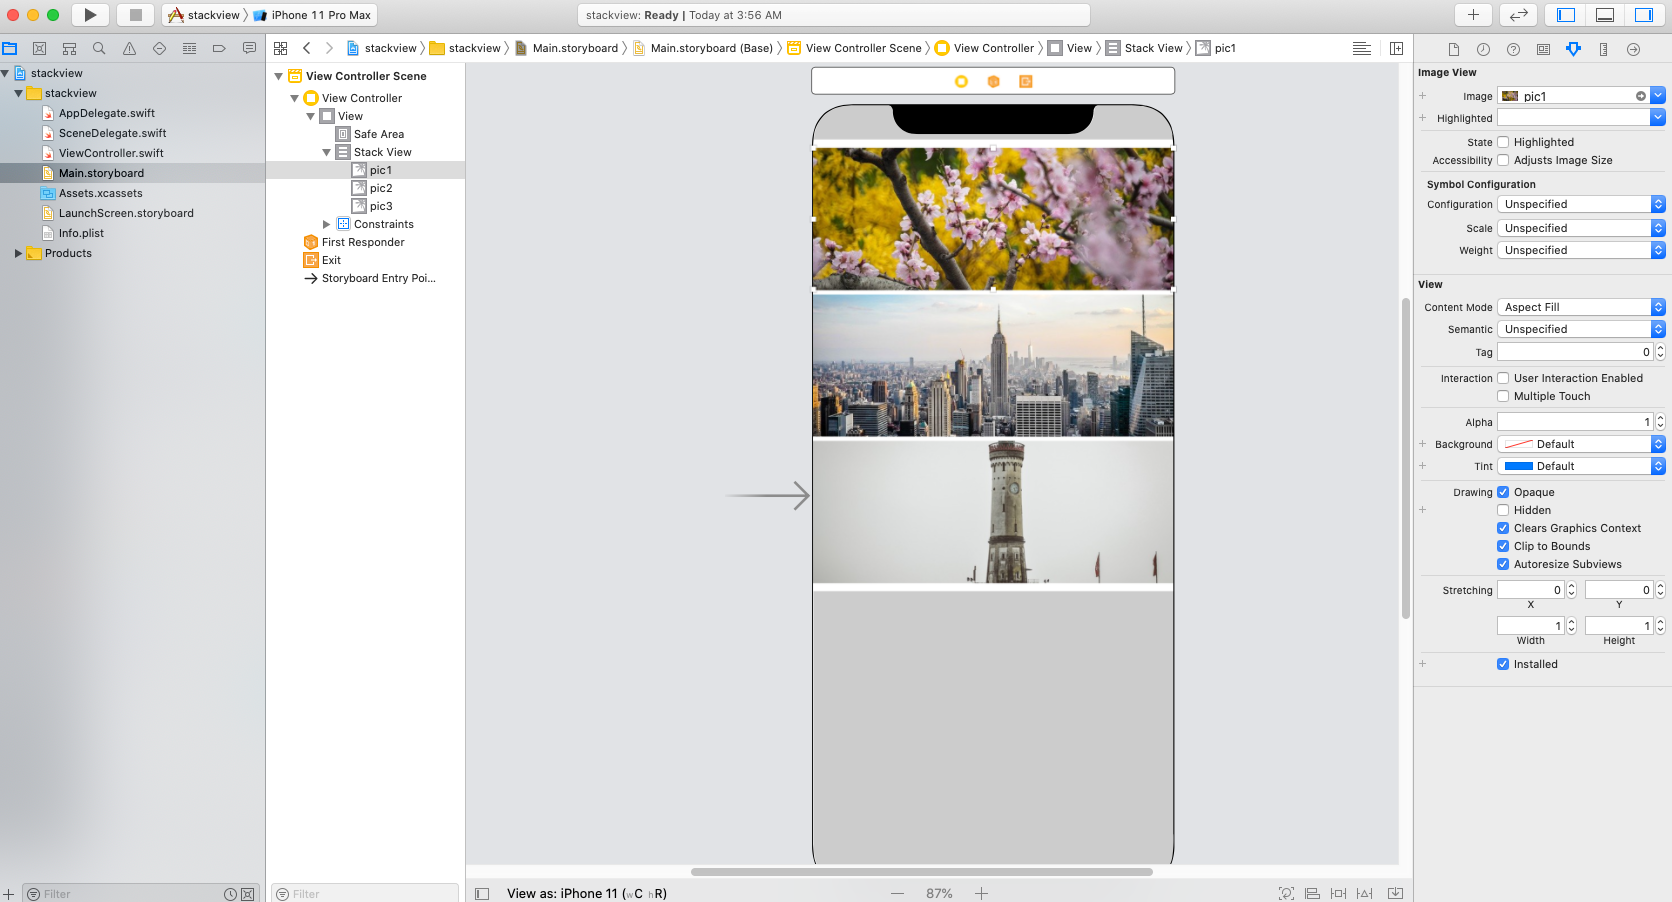
Now, assign the image views with the corresponding image. Select the first image view and go to the Attributes inspector. Change the image to “pic-1” and set the mode to “Aspect Fill”. Also enable the “Clip Subviews” option.Repeat the same steps for the rest of the image views
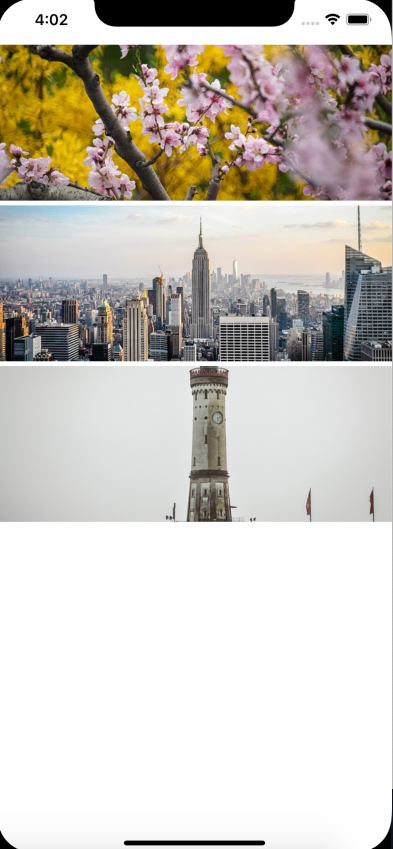
Now. We can run the project.
Conclusion

Be the first to comment.