In this blog we will learn about how to set up and use amazon code whisperer in android studio and make android development easy.
Amazon Code Whisperer is a machine-learning(ML) powered service through which developers can write code faster, easier, and with enhanced code security. This is one of the top most time-saving tools so far developed for the developers.
Without further ado, let’s just start on how you can install and harness the power of mighty Amazon Code Whisperer in your Android Studio.
Installation Steps :
Step -1: Launch Android Studio Application and navigate to the Plugins section.
File –> Settings ( Preferences for Mac users)–> Plugins
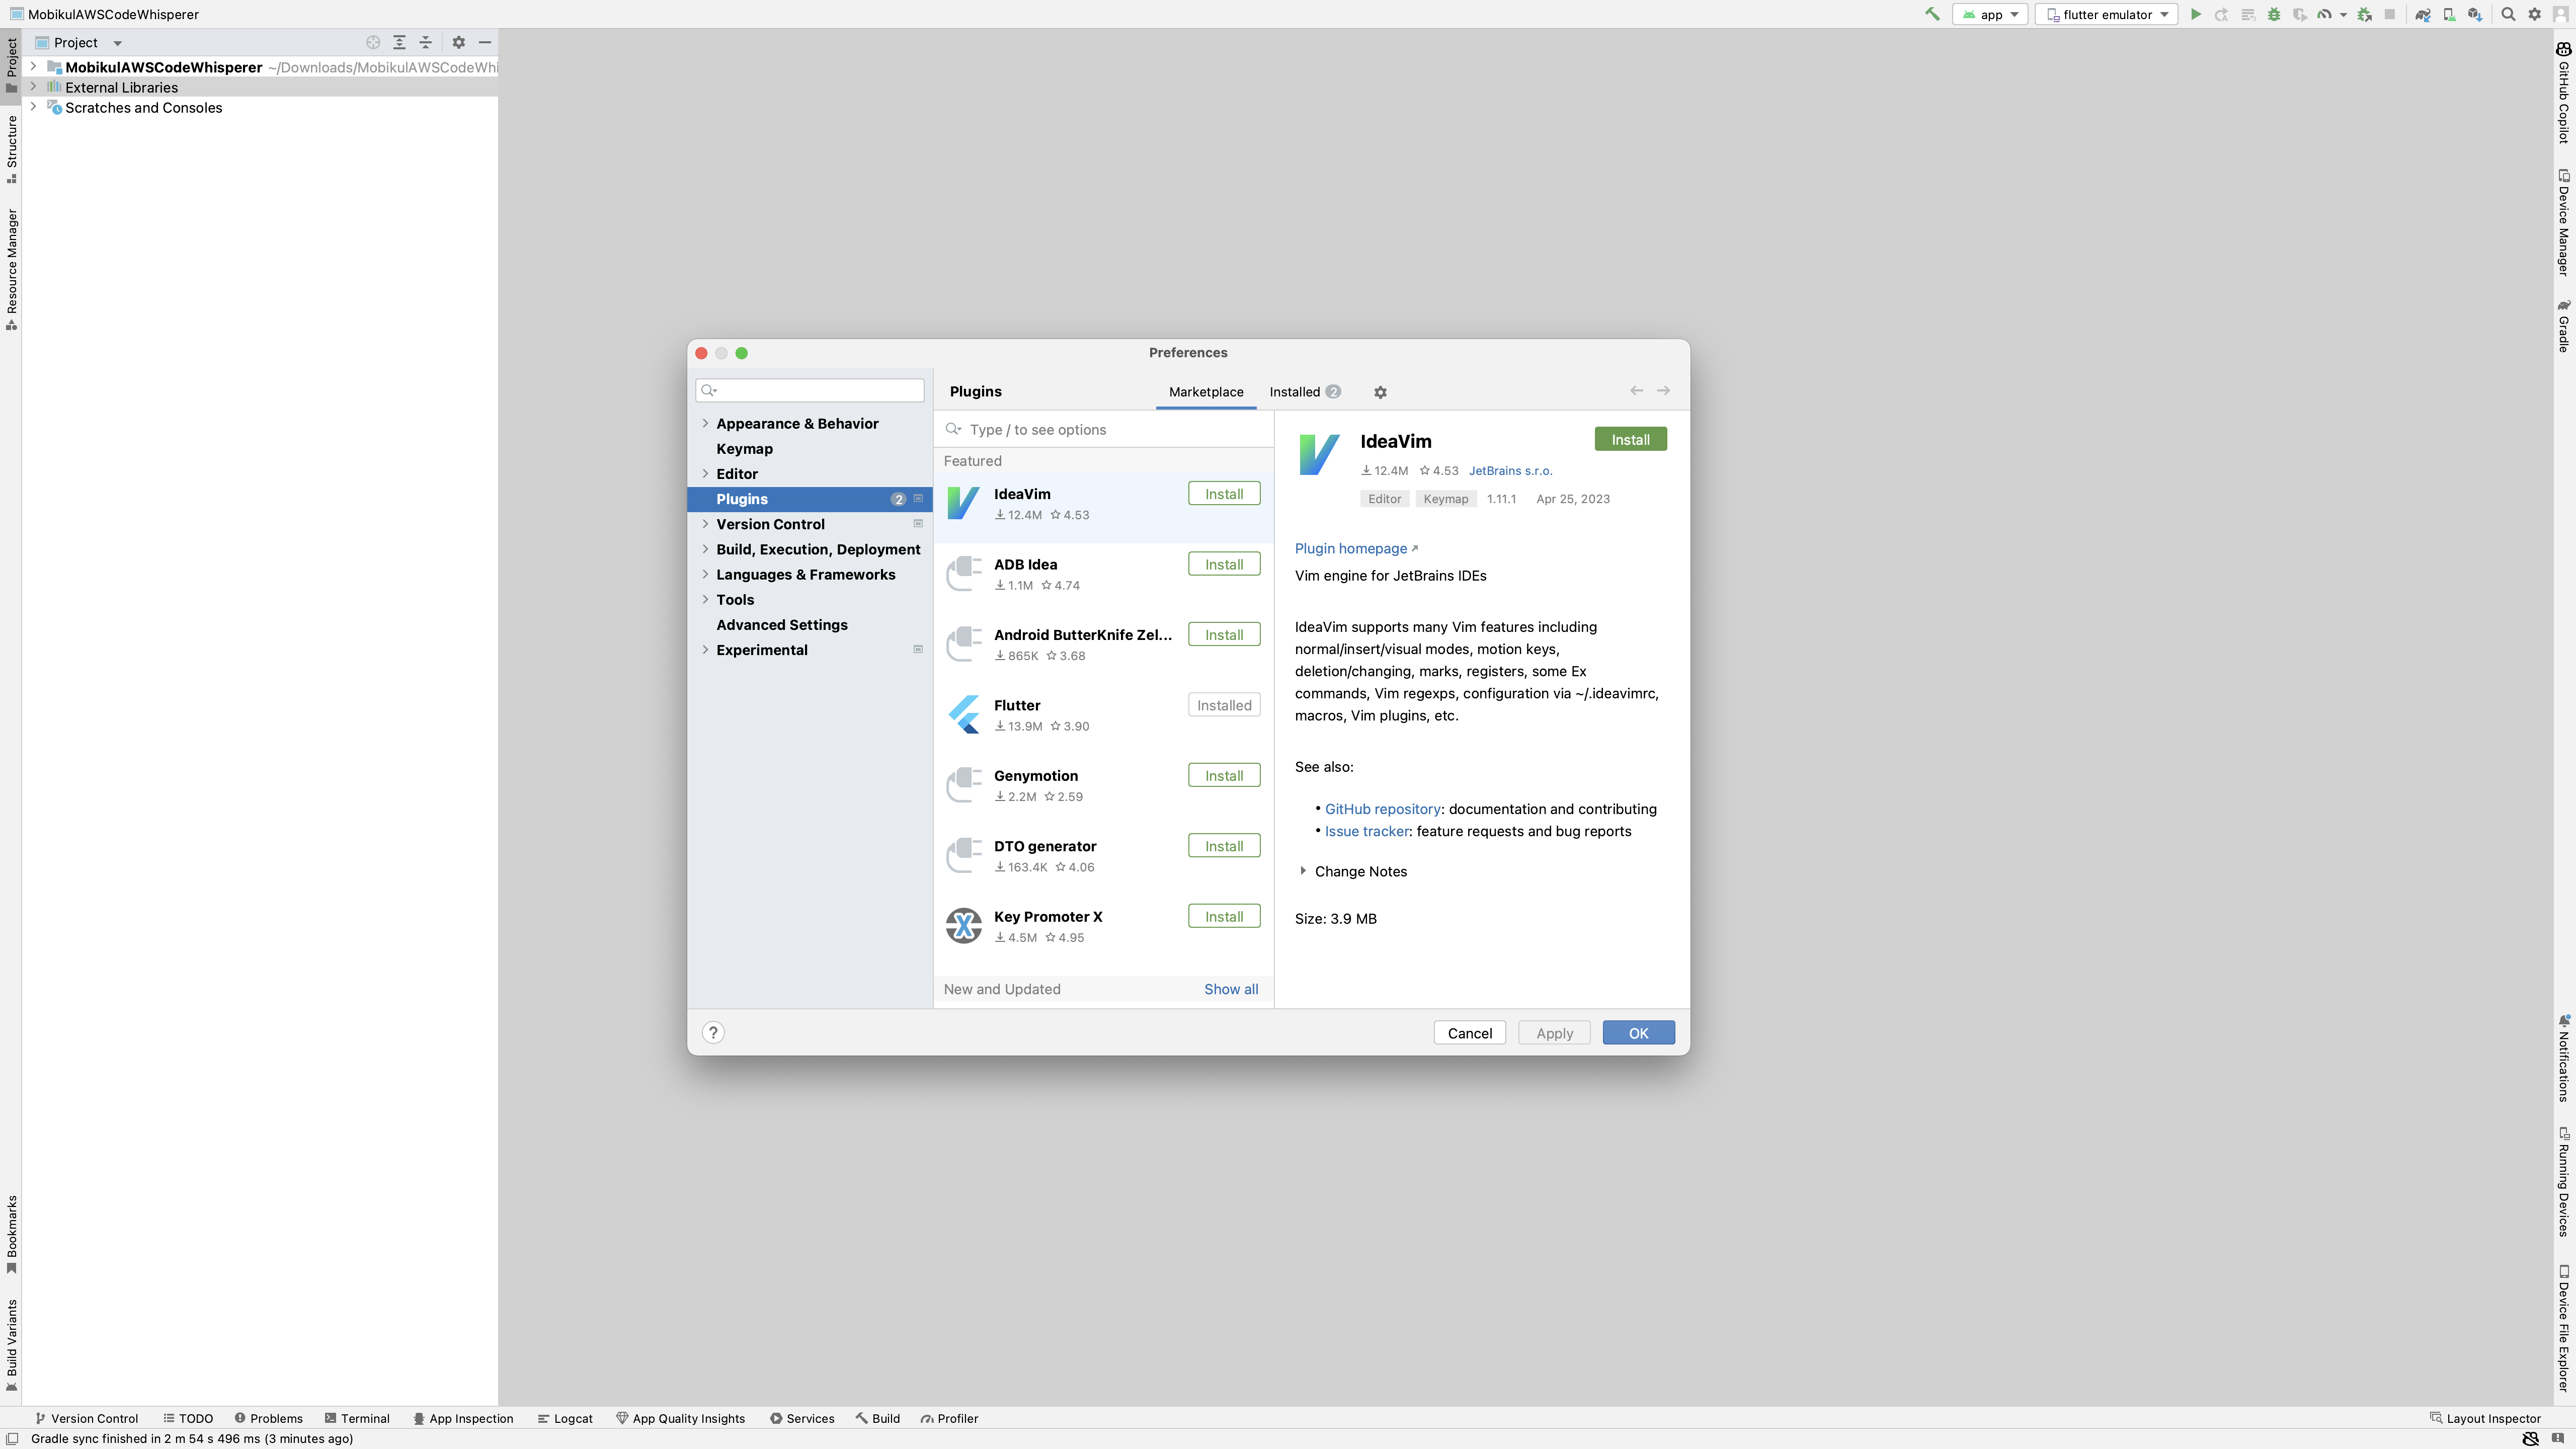
Step -2: Search Aws Toolkit and select it and install the plugin.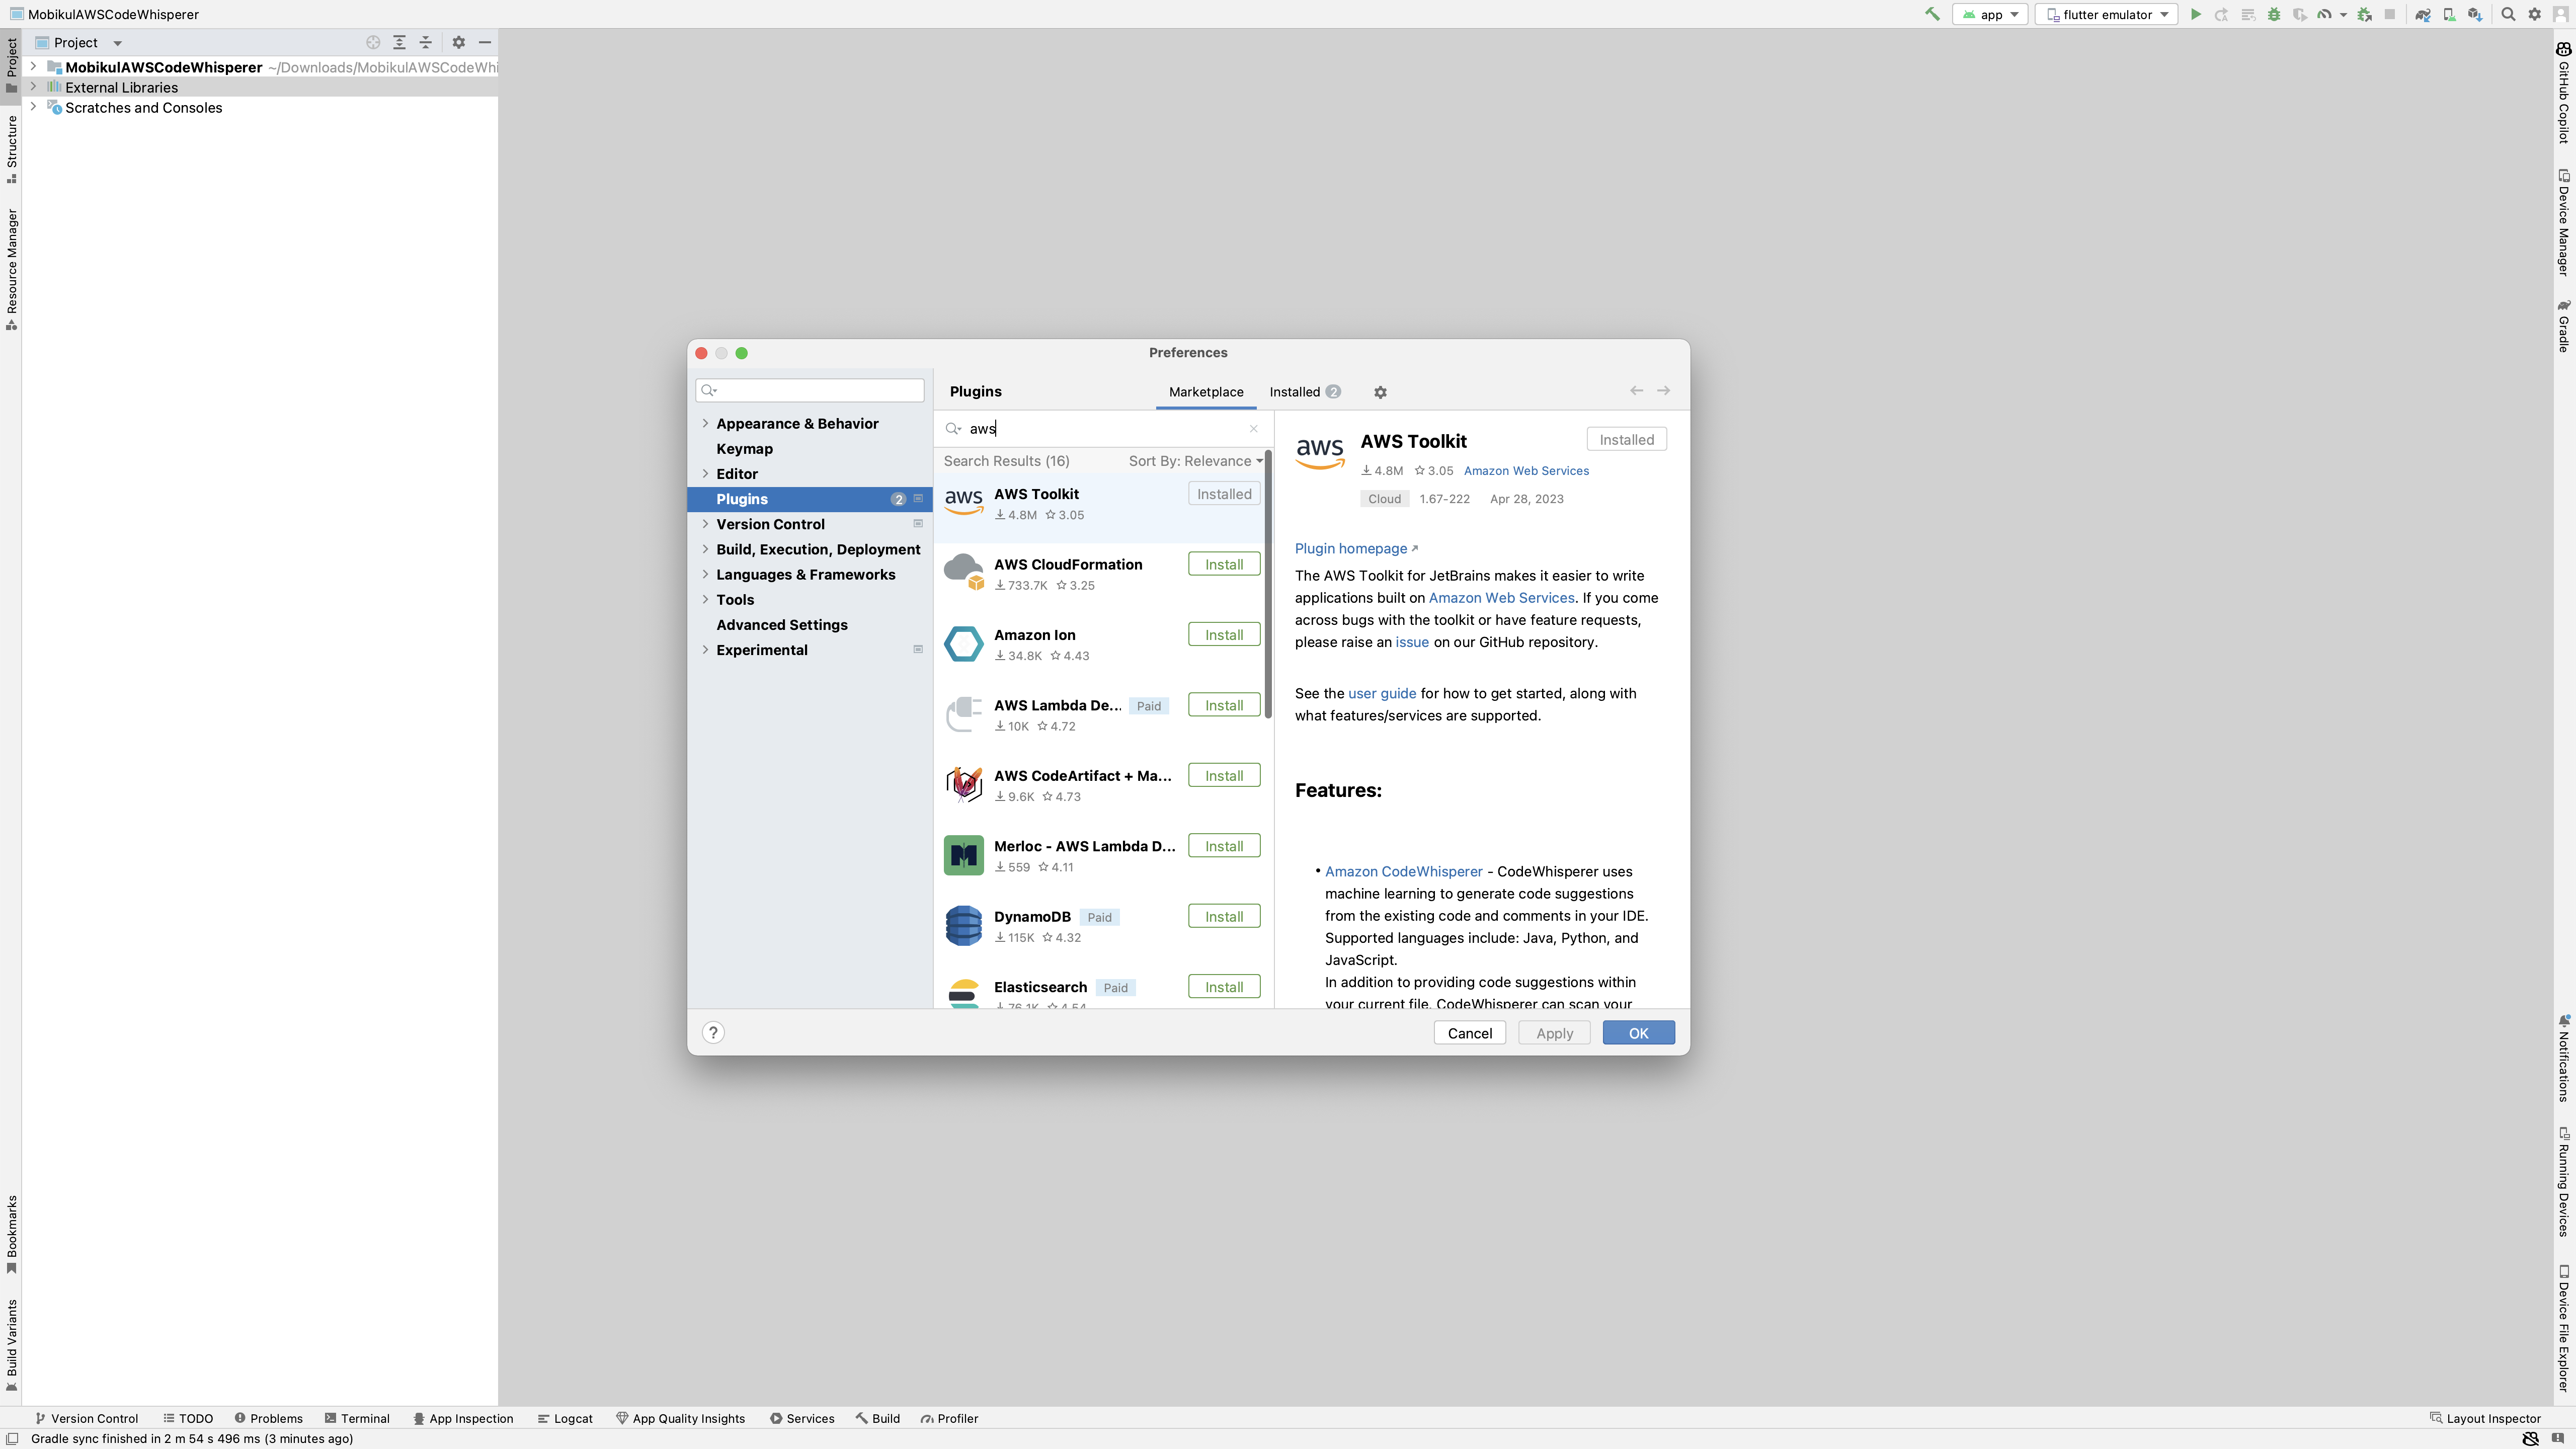
You might get a prompt to restart your Android Studio after the plugin installation is completed, you should simply restart Android Studio in that case and if you don’t get any prompts then you are good to move ahead.
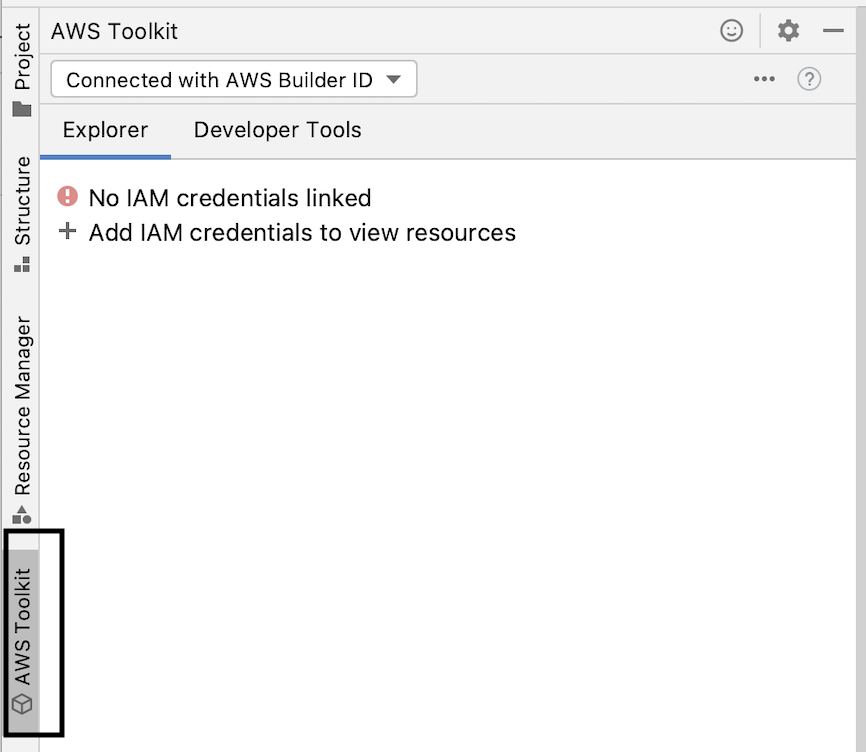
Step -3: Post installation of this plugin, you will start seeing a new tab on the left side bar of your Android Studio.
Step -4: Select the Developer Tools tab and then expand the option under Code Whisperer.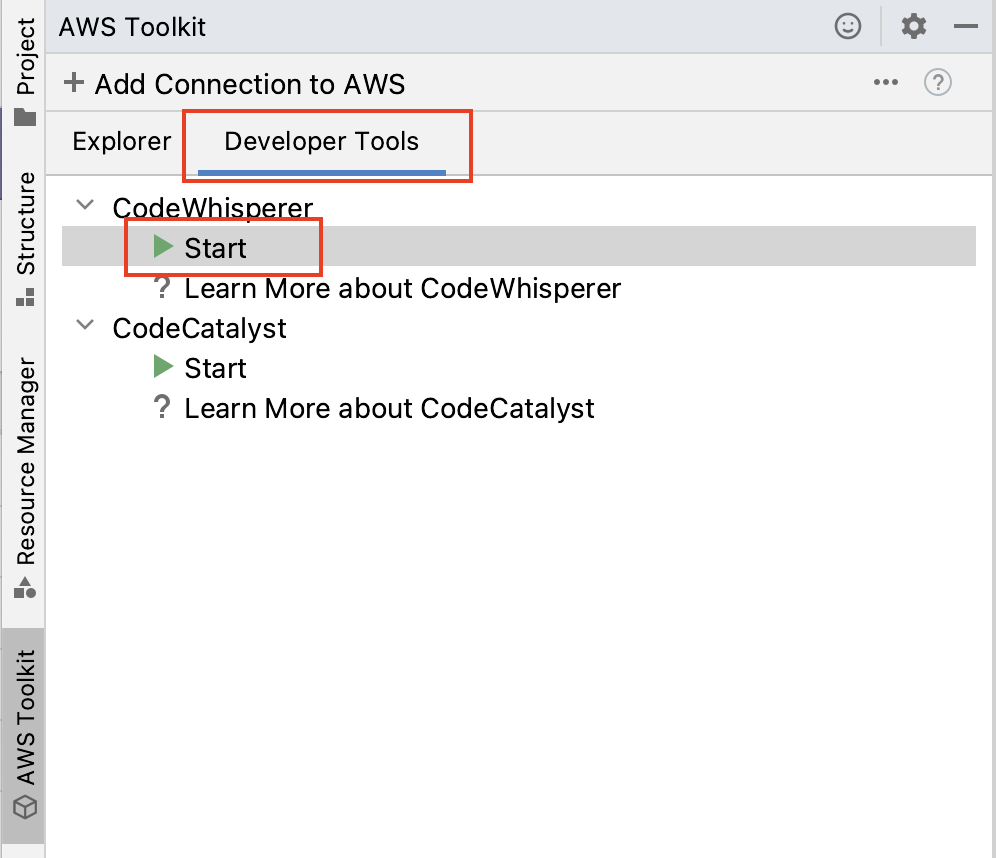
Step -5: Once You click on the Start button, you will be prompted to a screen to choose your amazon account and credentials.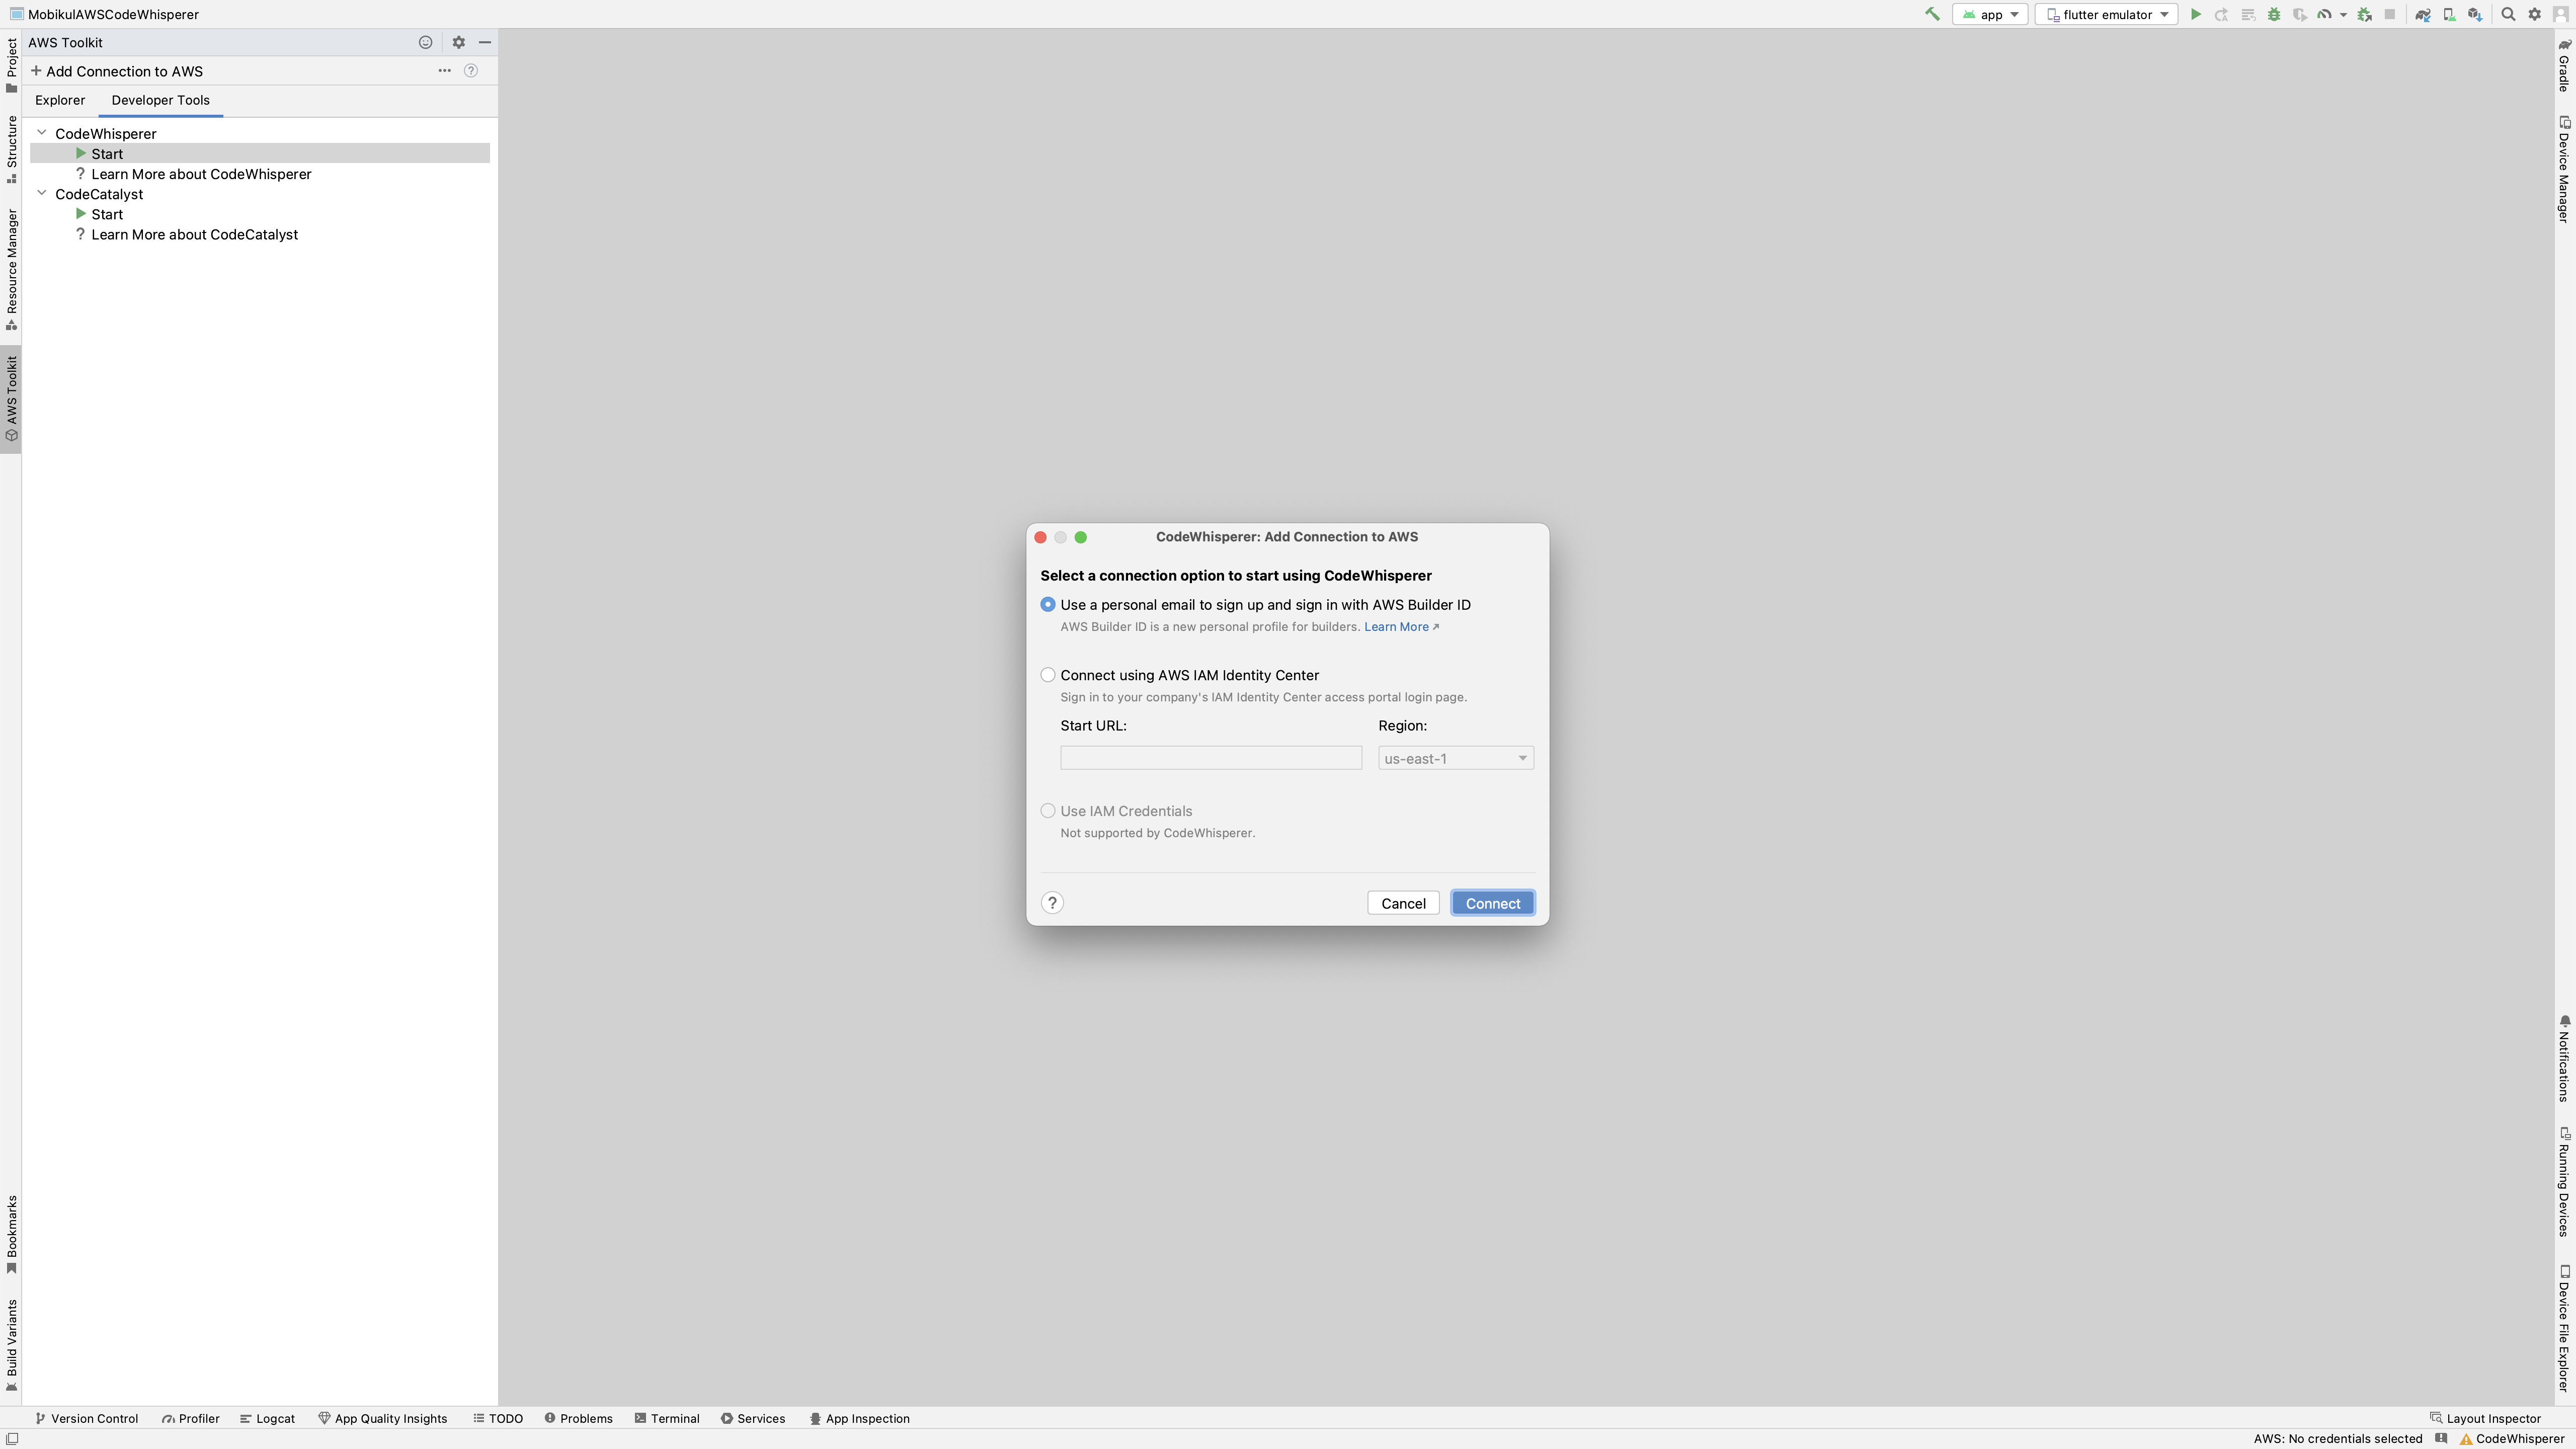
Choose the option that suits you. For the rest of the blog we are going to use the option of personal email.
Step -6: Click the Connect button and you will then be shown a prompted text like below :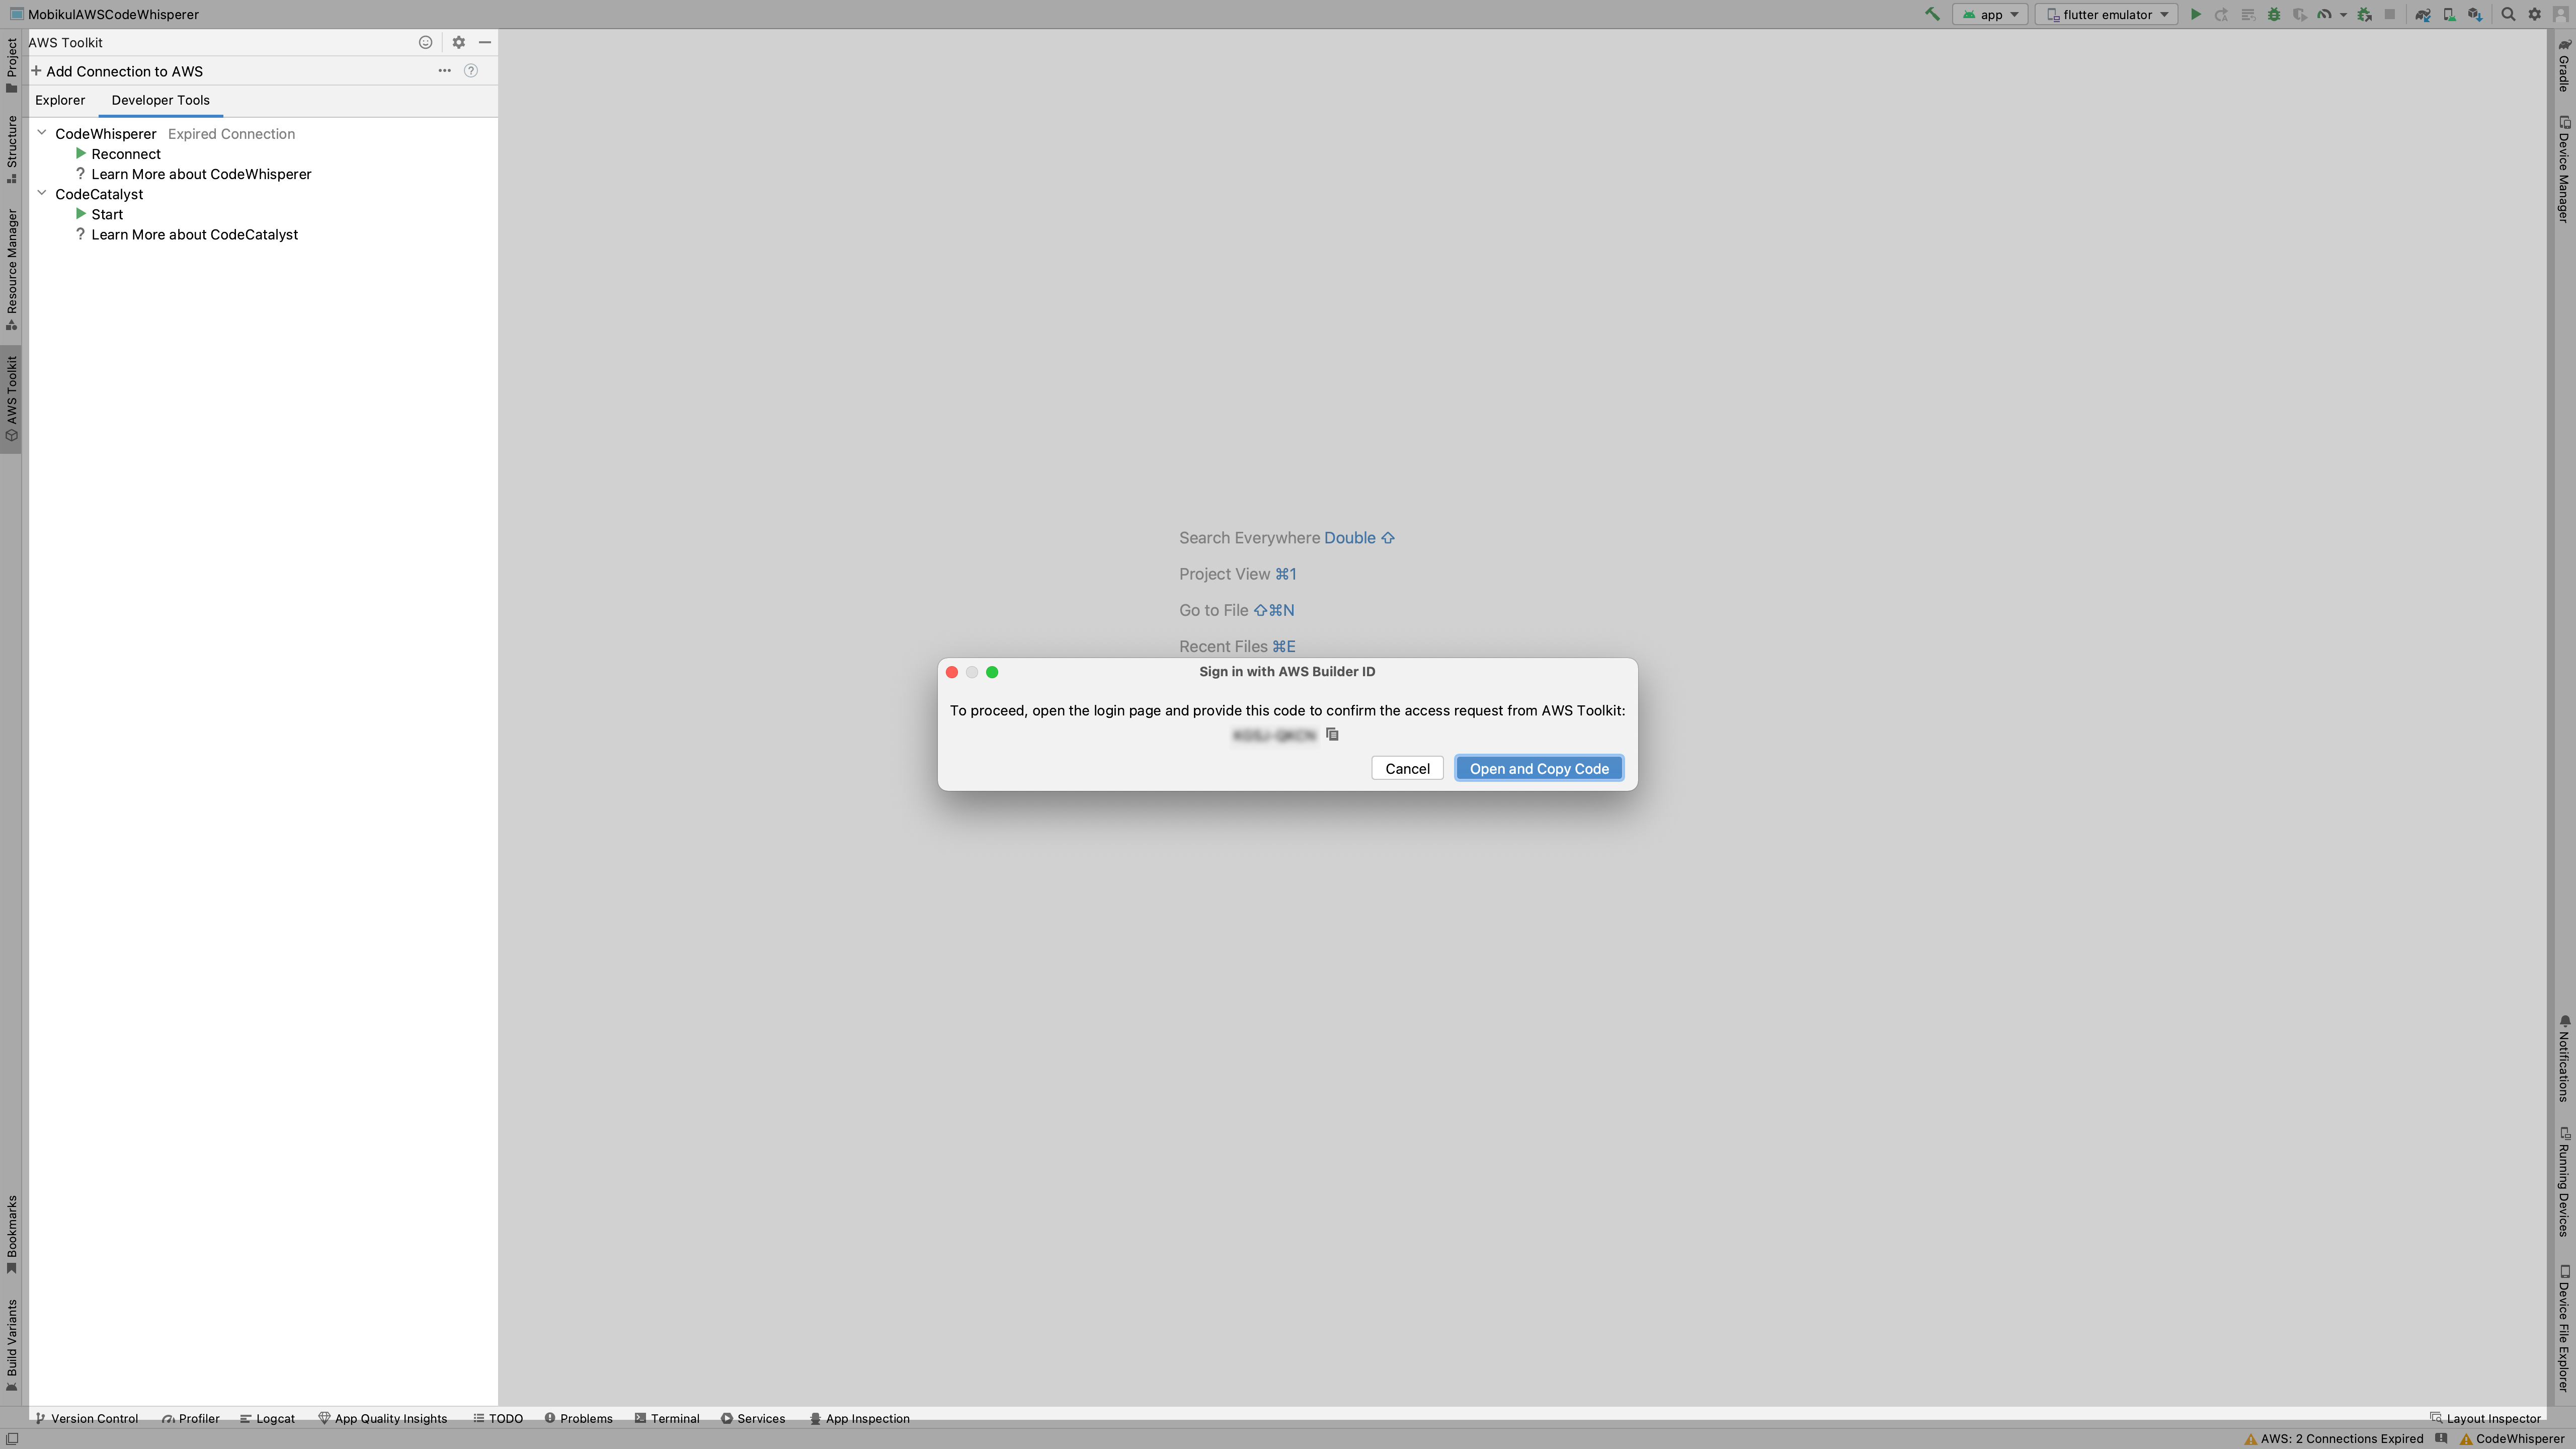
Step -7: Press the Open and Copy code button, you will now be redirected to your default browser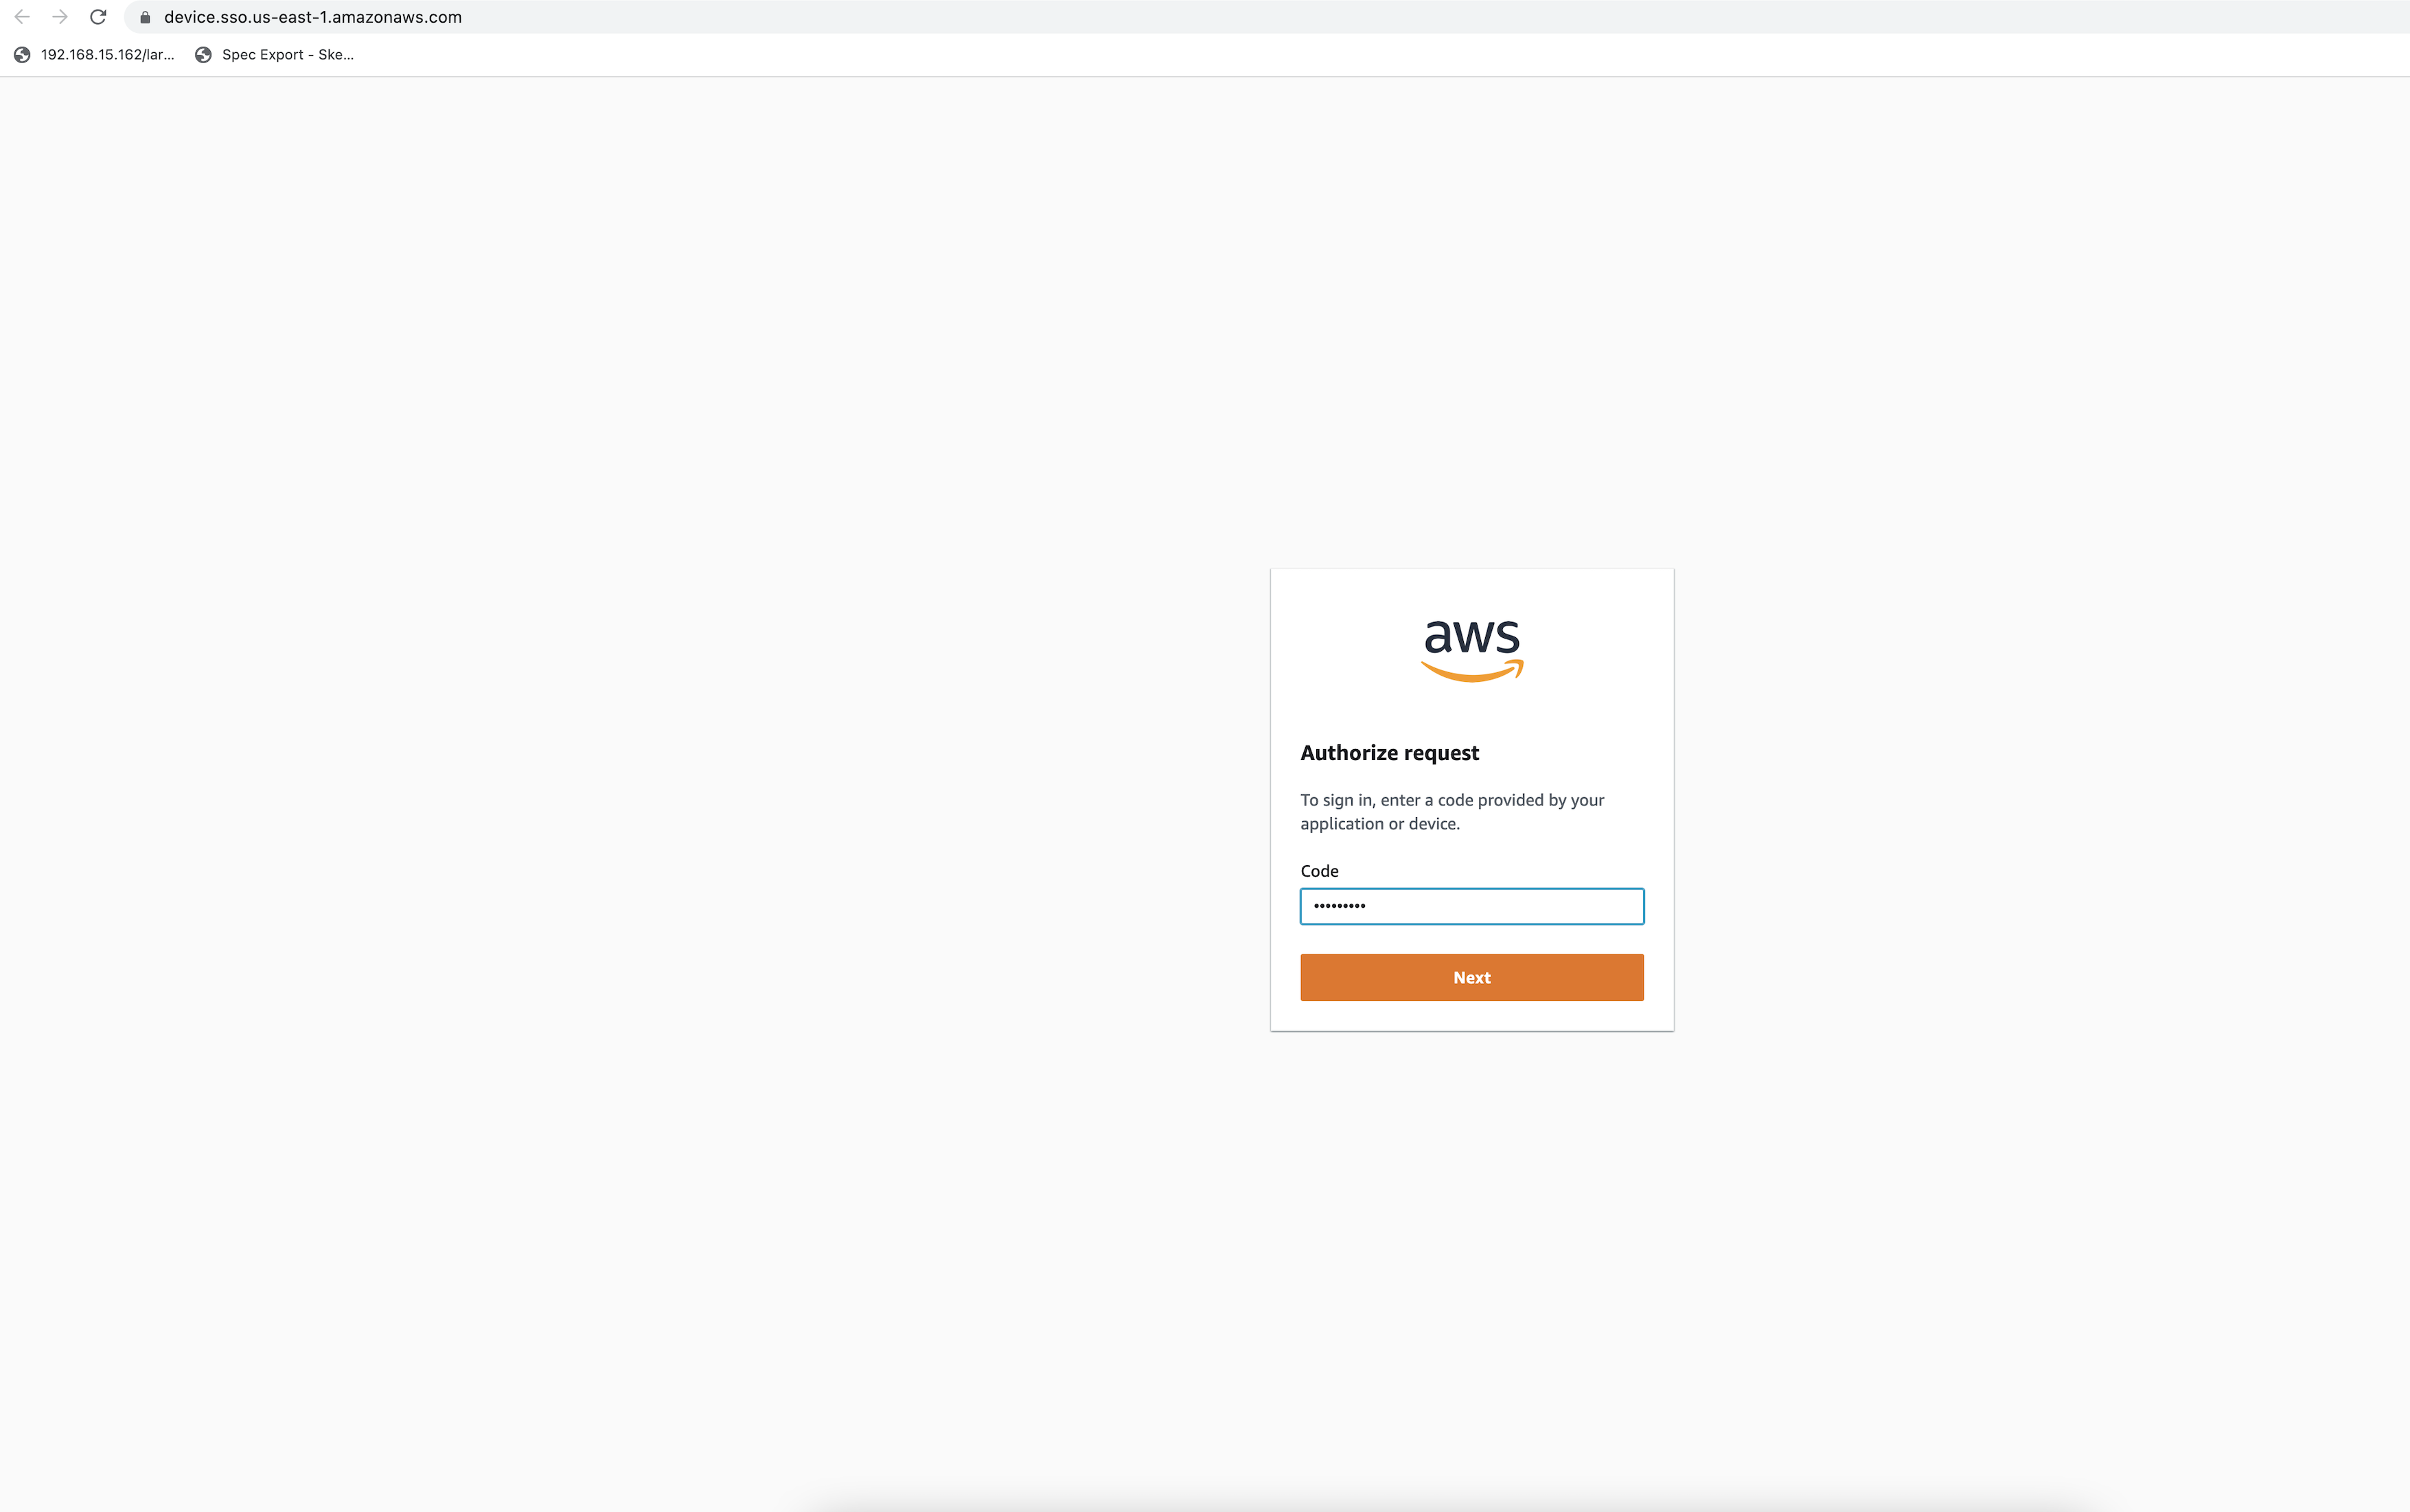
Step -8: Hit the Next Button and then you will be prompted to log in to your amazon account. ( you can easily create one if you don’t have)
Post login, you will see screen like one below 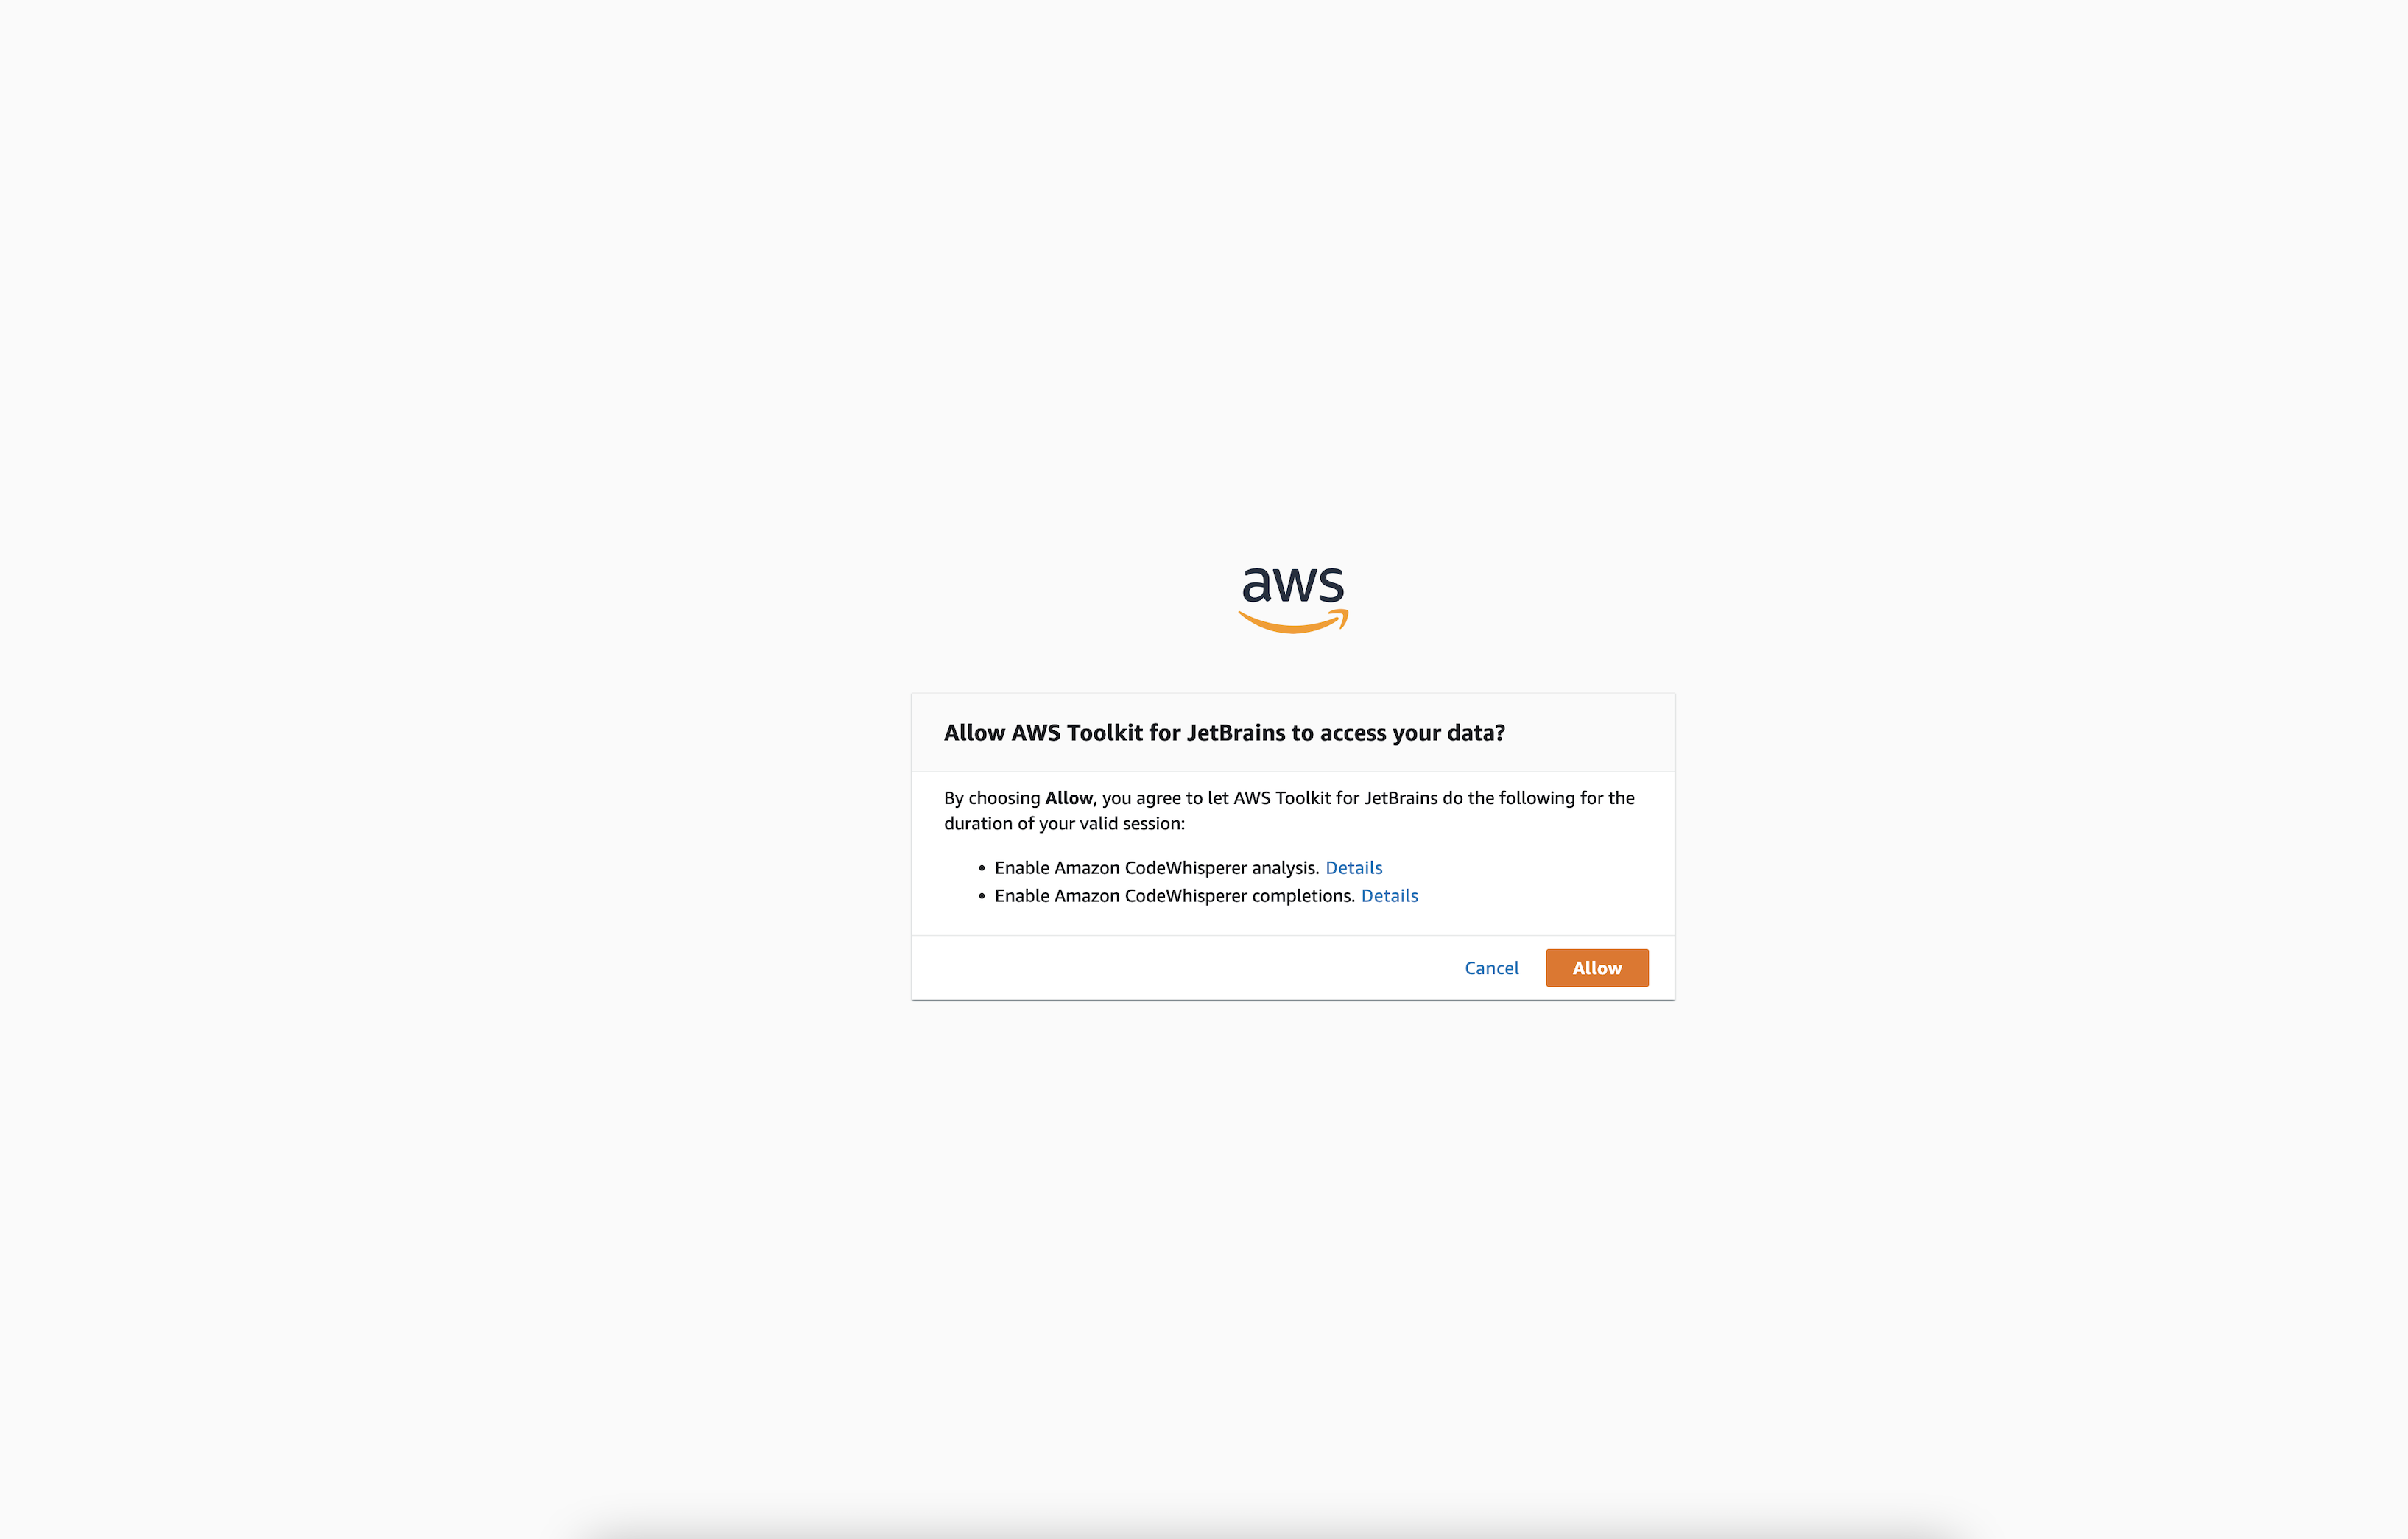
Just click on the allow button and you will see a success screen like the one below 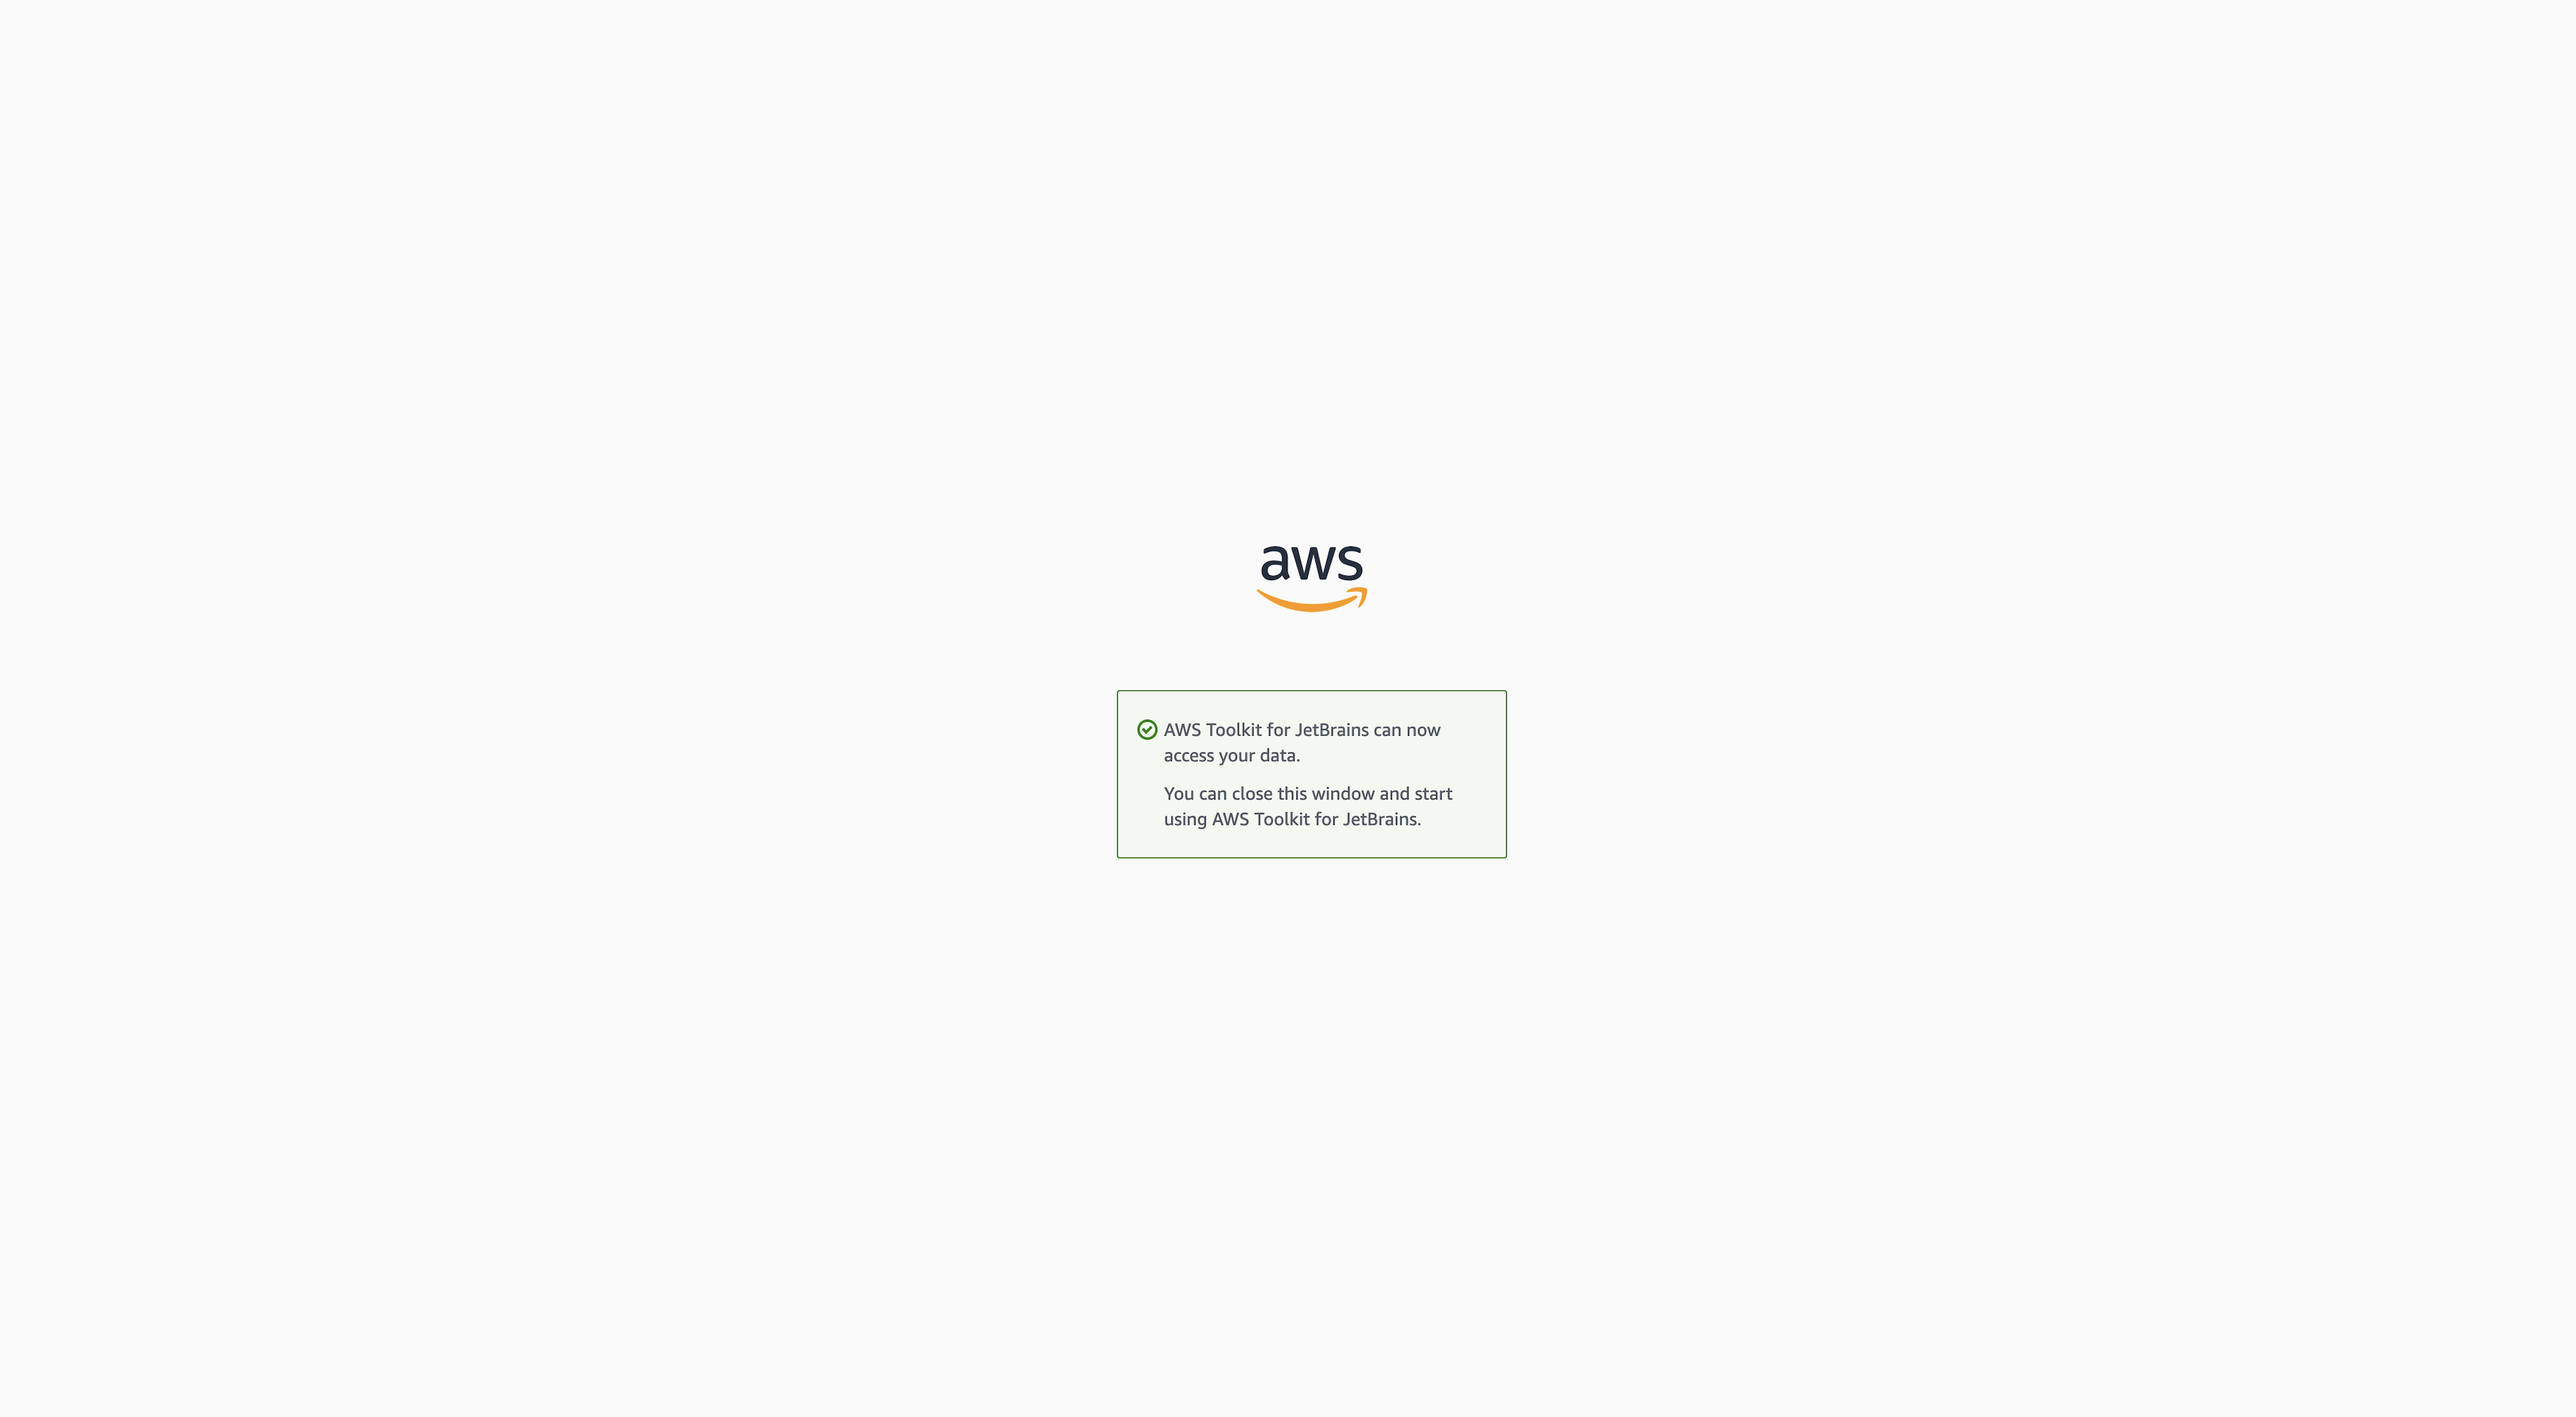
Now you are all set to start and check the magic of code whisperer in your code.
Now, quickly, let’s create a new project in Android Studio to check what can be done.
NOTE : You will need to select Java language for the android studio project.
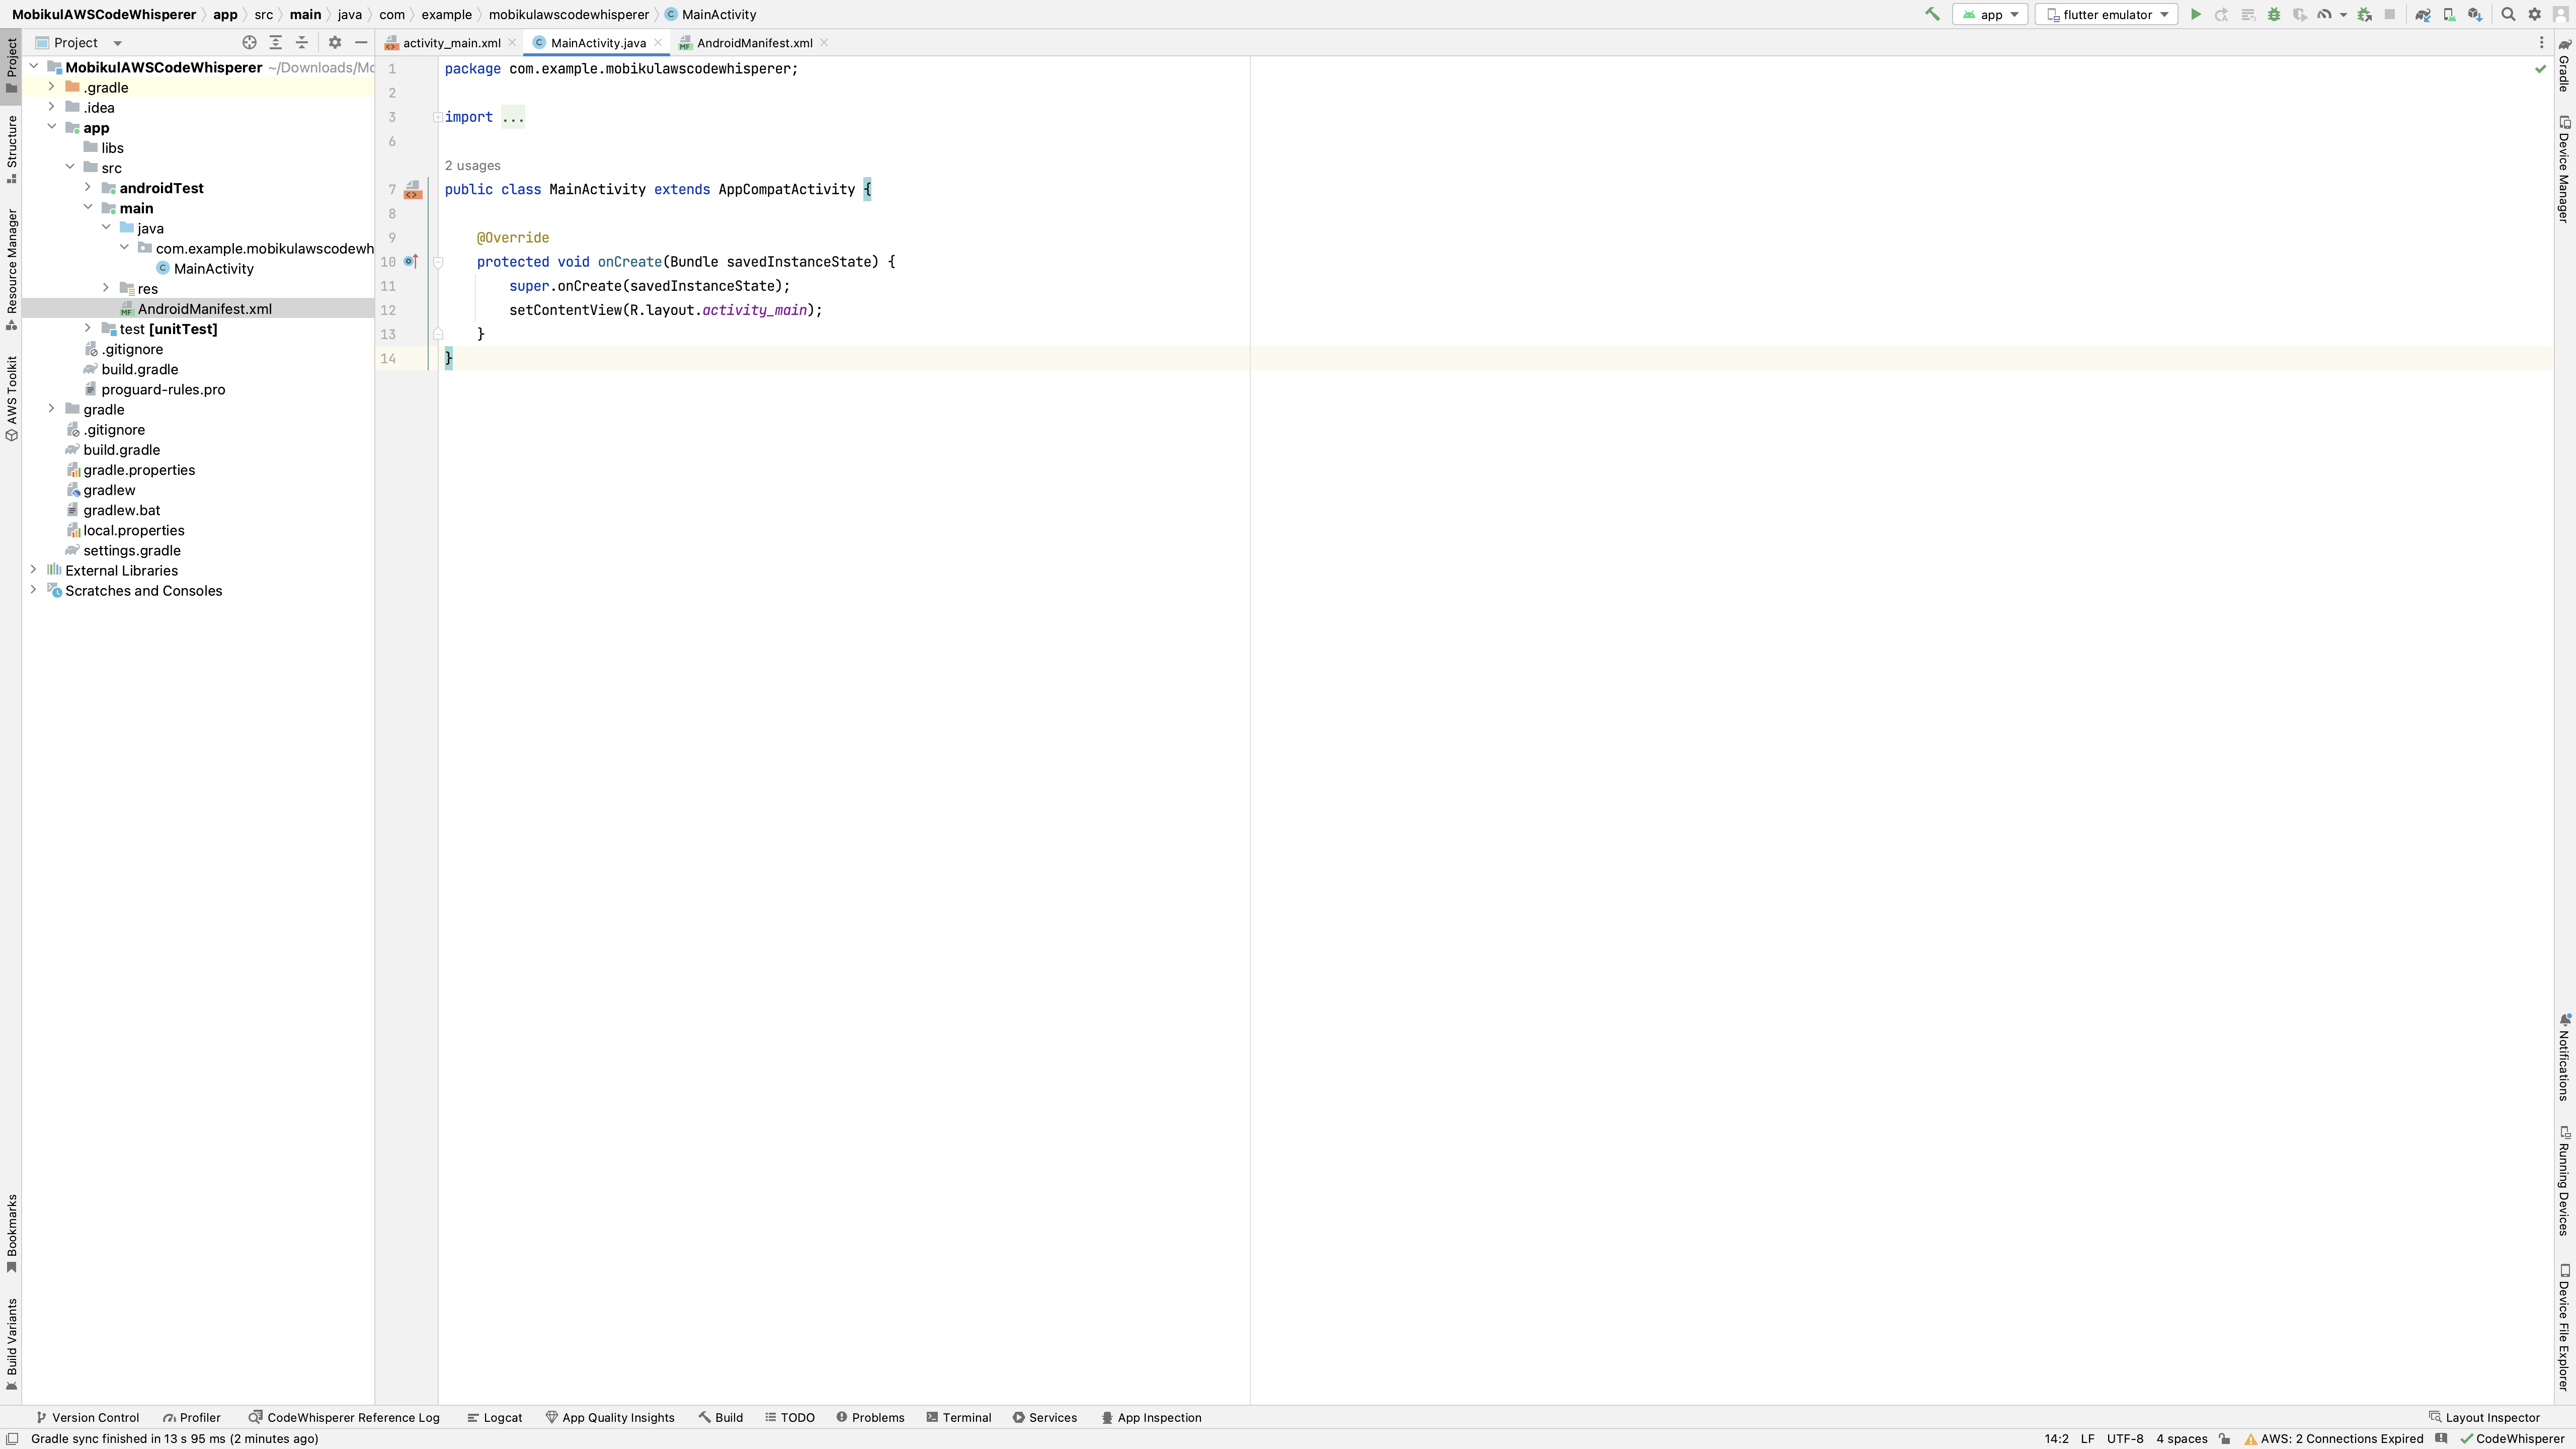
For further reading, i have created a new project named MobikulAWSCodeWhisperer with just MainActivity file (with layout) for now.
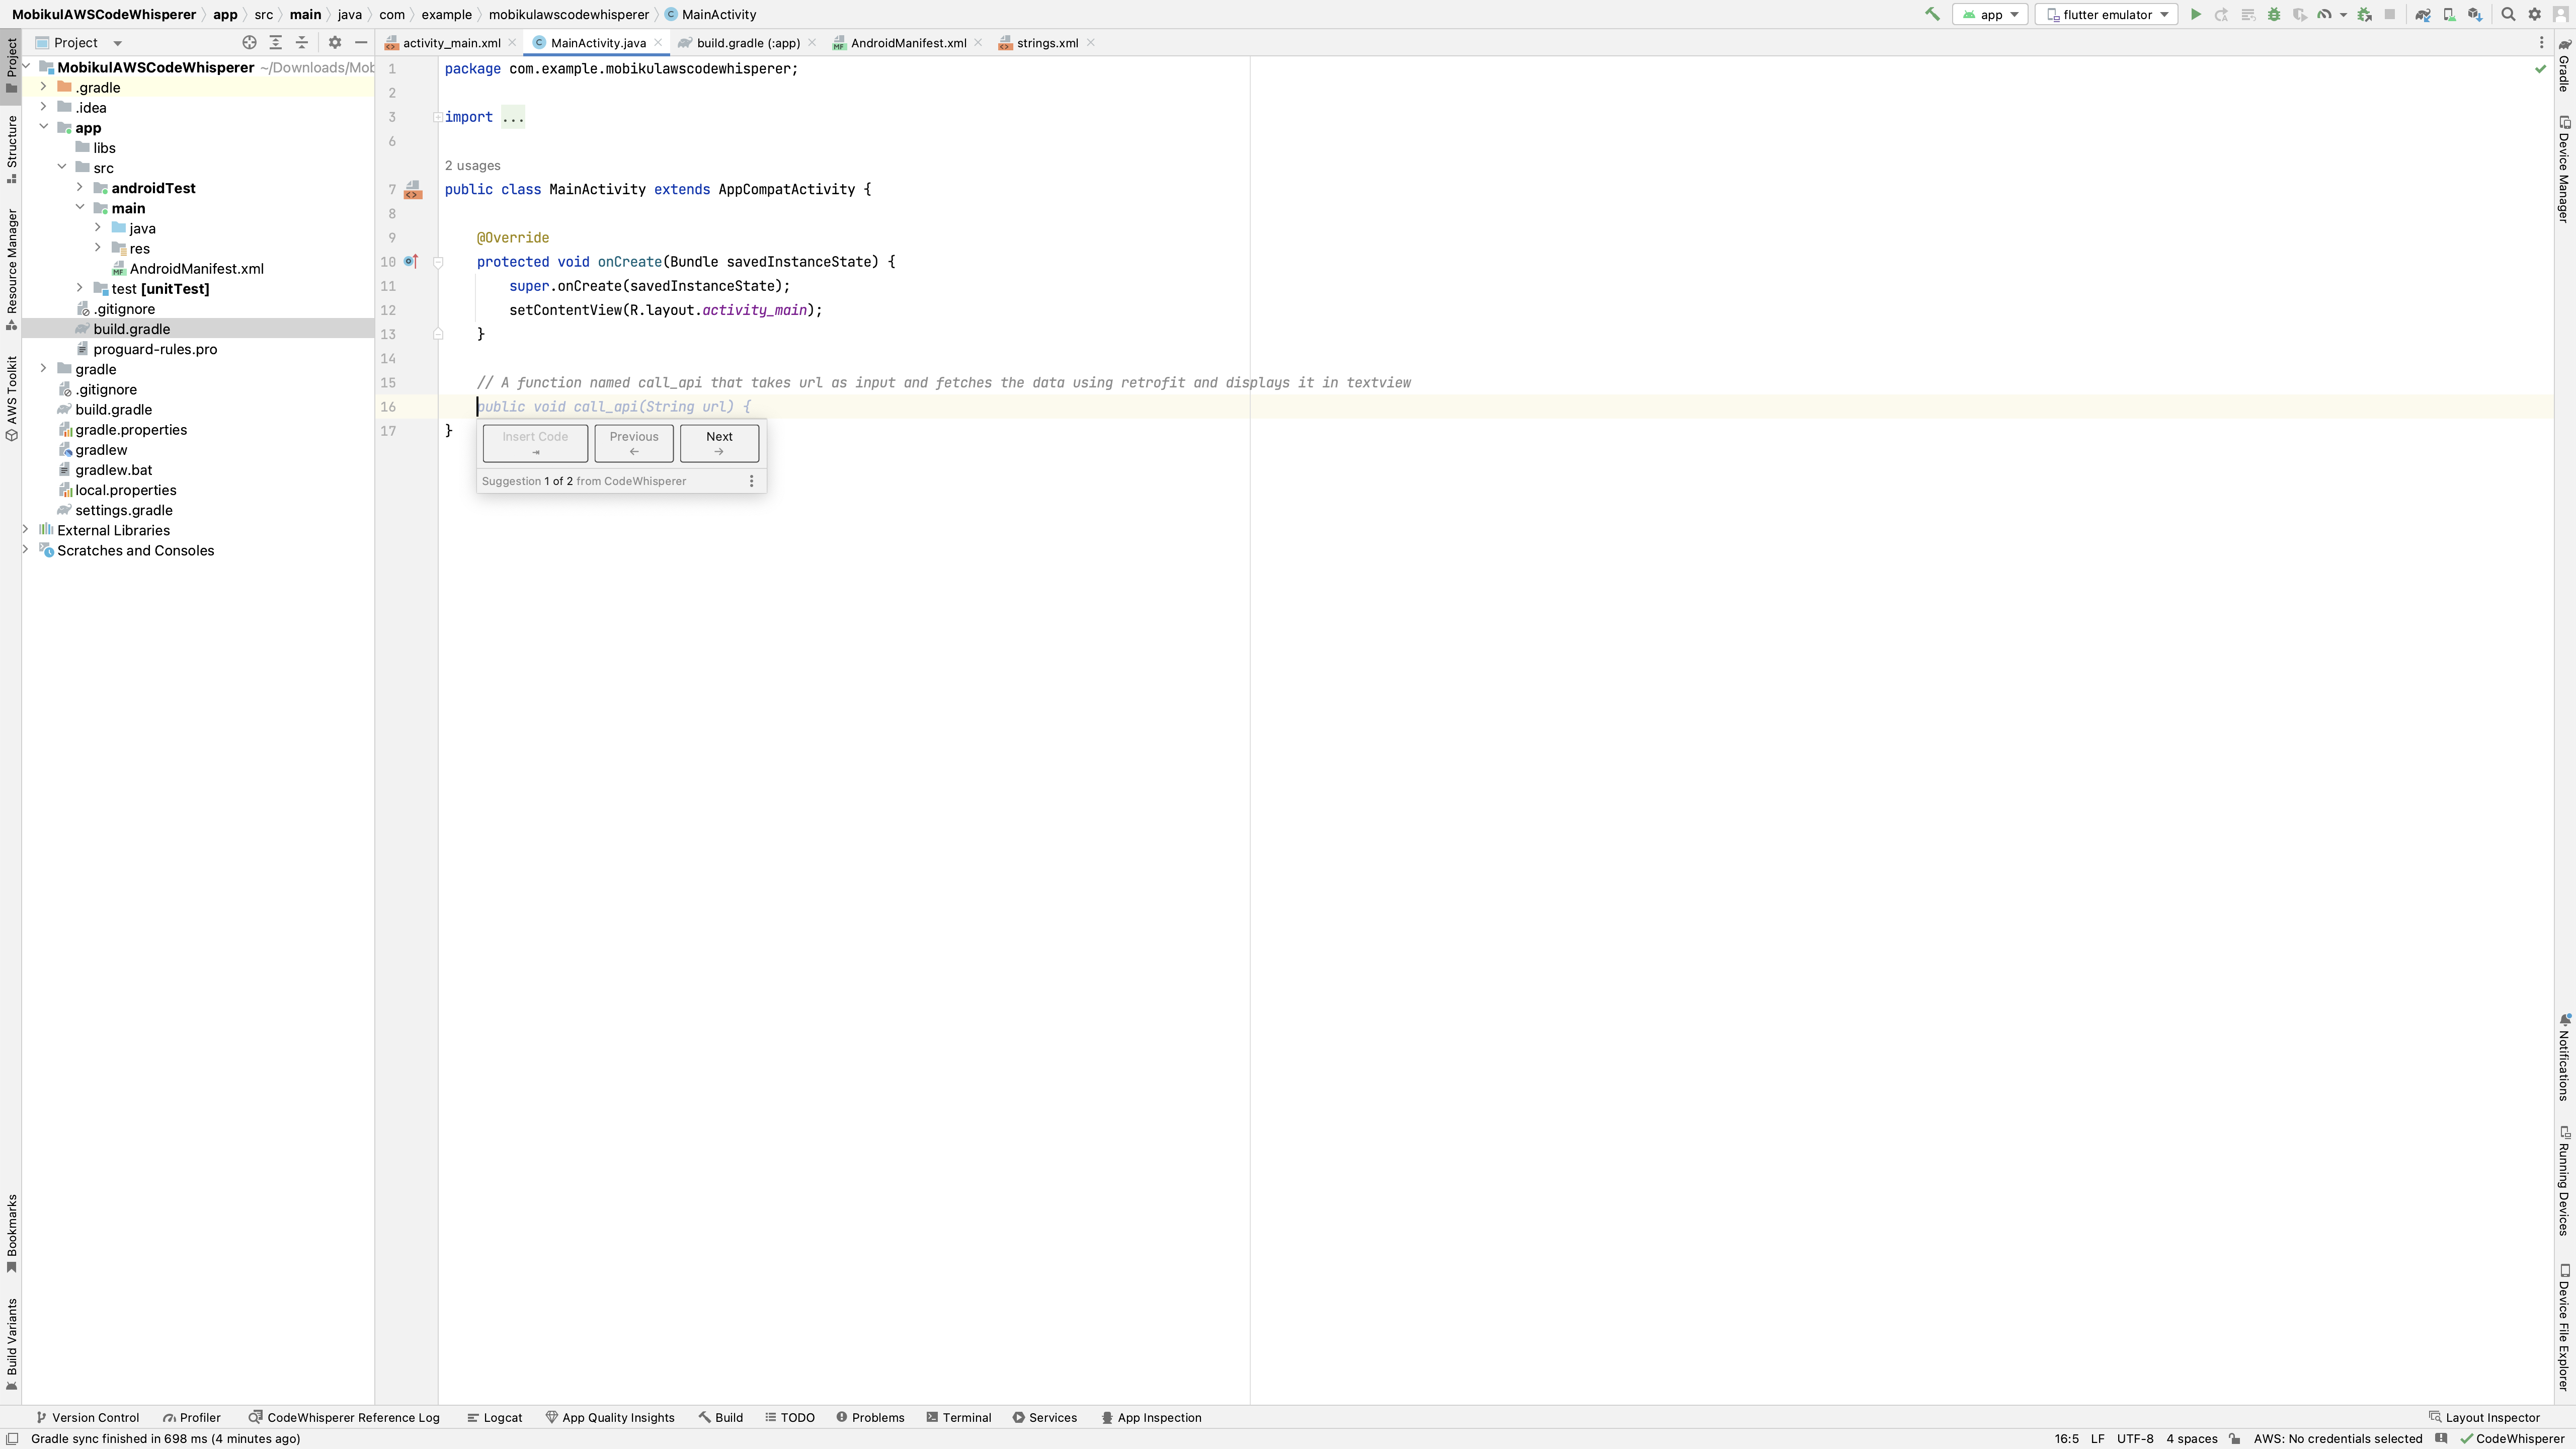
Let’s assume that we need to create a get request using Retrofit and display the data in Textview.
So, what we do is simply write a comment
// A function named call_api that takes url as input and fetches the data using retrofit and displays it in textview
and with this the code whisperer comes into action and starts prompting the next lines of what your code should be.

That’s how Amazon Code Whisperer can make all your development a lot easier.
Hope this helps you.
Keep Coding and Keep Sharing 🙂

Be the first to comment.