In this article we will learn about Add Gradient in iOS.
Introduction
A Gradient view is a UIView in which that display smooth and transition of colours. Gradient is a gradual transition between two or more colors, A gradient is a smooth blend of two or more colors that can make your app’s design look more stylish and creative.
Implementation
We are going to implement Gradient view in swift, you need to follow below mention steps to integrate Gradient view.
1. Create New Projects:
First of all we need to create a new project where you will integrate Gradient UIView.
2. Add UIView:
After that you need to add a UIView either programatically or using Storyboard in your project where you want to create Gradient UIView.
@IBOutlet var graidentview: UIView!
UIView is the fundamental building block for constructing user interfaces in iOS applications.
3. Create Gradient UIView:
After that you add code for creation Gradient UIView.
|
1 2 3 4 5 6 7 8 9 10 11 12 13 14 |
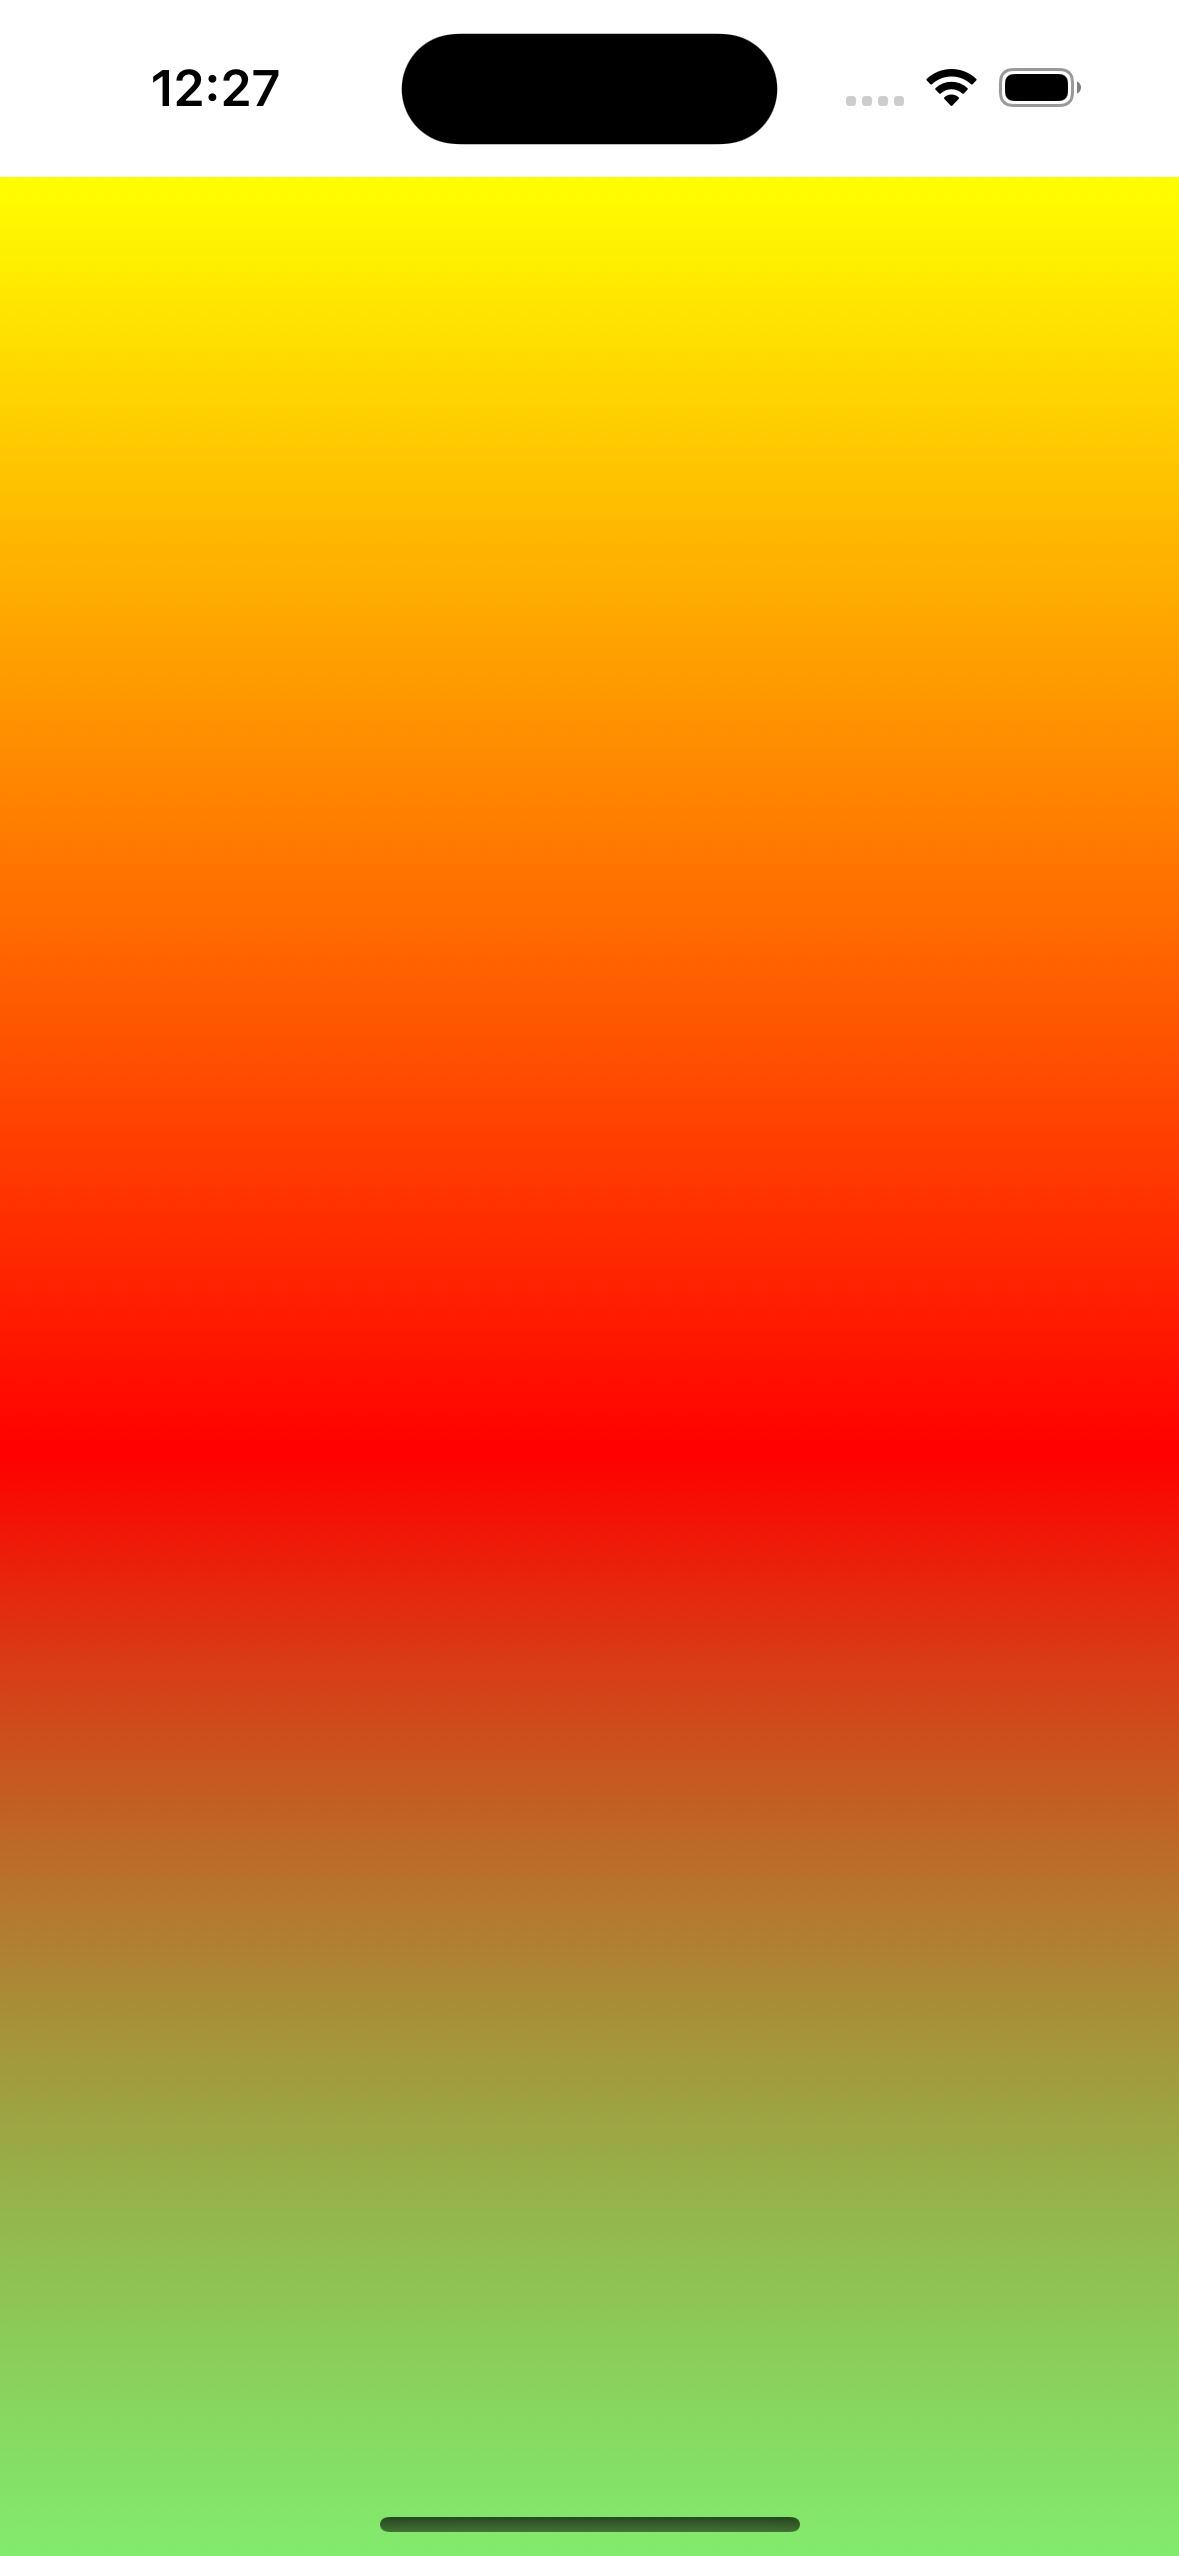
override func viewDidLoad() { super.viewDidLoad() let bounds = UIScreen.main.bounds let height = bounds.size.height let gradient: CAGradientLayer = CAGradientLayer() gradient.frame = CGRect(x: 0, y: 0, width: bounds.size.width, height: height) gradient.colors = [ UIColor.yellow.withAlphaComponent(1.5).cgColor, UIColor.red.withAlphaComponent(2.5).cgColor, UIColor.green.withAlphaComponent(0.5).cgColor ] graidentview.layer.addSublayer(gradient) } |
Above mention code is helpful to create a Gradient UIView in iOS.
let gradient: CAGradientLayer = CAGradientLayer():
Above mention line is helpful to initializes a new CAGradientLayer, which is a Core Animation layer that renders a Gradient.
gradient.frame = CGRect(x: 0, y: 0, width: bounds.size.width, height: height):
Above mention line is to set Gradient layer’s frame is set to cover the entire screen width and the height of the screen.
gradient.colors:
In above mention array you need to define the colors for the Gradient.
graidentview.layer.addSublayer(gradient):
Above mention code is helpful to adds the Gradient layer as a sublayer to graidentview.
Output
Conclusion
In this article we have discussed about Gradient View.
I hope this blog is helpful to understand to create Gradient View in iOS.
For Creating Gradient View Using Extension you can please visit here.
Thanks for reading this blog. You can also check other blogs from here for more knowledge.

Be the first to comment.