Flutter Bloc 8.0 Design Pattern is the new version of the bloc pattern.
This version has some improvements from the previous versions.
Over version 7 flutter bloc pattern became very robust.
Flutter bloc 8.0 design pattern provides a better way to manage the states using events.
This design pattern helps to separate presentation from business logic. Following the BLoC pattern facilitates testability and reusability. This package abstracts reactive aspects of the pattern allowing developers to focus on writing the business logic.
You may also check our flutter app development services
Fluter bloc 8.0 introduces the event handler to manage the states.
Here we are using the counter update project using the bloc 8.0 pattern.
1-> Install the flutter bloc library.
|
1 |
flutter_bloc |
2-> Now create the event class. for performing the increment operation.
|
1 2 3 4 5 6 |
abstract class CounterEvent {} class IncrementEvent extends CounterEvent { } |
3-> Now create the state class for the counter. and on the increment event, we will emit the CounterValueState.
|
1 2 3 4 5 6 7 8 9 |
abstract class CounterState { int counter; } class CounterValueState extends CounterState { final int counter; CounterValueState(this.counter); } |
4-> Now create the bloc class and add the counter-event with the mapEventToState function.
Then emit the state according to the event.
|
1 2 3 4 5 6 7 8 9 10 11 12 13 |
class CounterBloc extends Bloc<CounterEvent, CounterState> { CounterBloc(this.repo) : super(CounterValueState(0)) { on<CounterEvent>(mapEventToState); } @override void mapEventToState( CounterEvent event, Emitter<CounterState> emit) async { if (event is IncrementEvent) { emit(CounterValueState(state.counter + 1)); } } } |
5-> Now use the bloc builder widget for state updates according to the event.
Full code
|
1 2 3 4 5 6 7 8 9 10 11 12 13 14 15 16 17 18 19 20 21 22 23 24 25 26 27 28 29 30 31 32 33 34 35 36 37 38 39 40 41 42 43 44 45 46 47 48 49 50 51 52 53 54 55 56 57 58 59 60 61 62 63 64 65 66 67 68 69 70 71 72 73 74 75 76 77 78 79 80 81 82 83 84 85 86 87 88 89 90 91 92 93 94 |
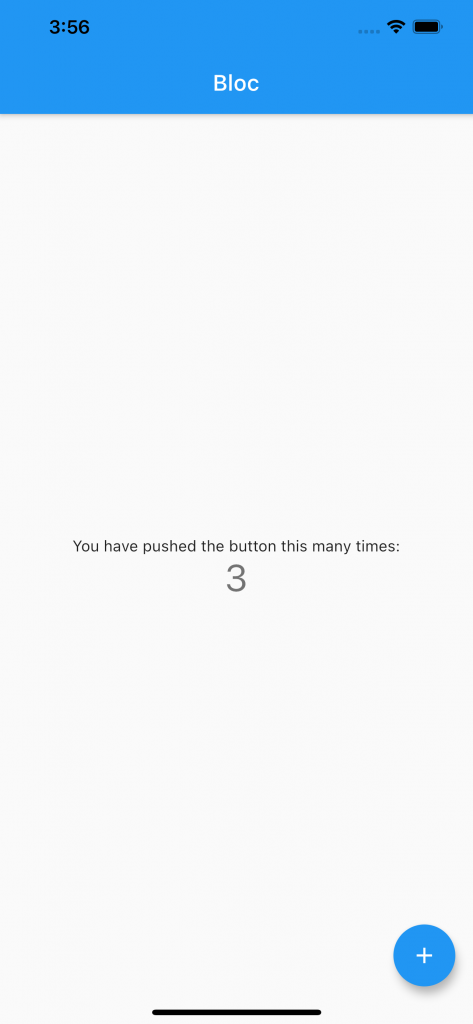
import 'package:flutter/material.dart'; import 'package:flutter_app_blocdemo/Bloc/CounterBloc.dart'; import 'package:flutter_app_blocdemo/Bloc/CounterState.dart'; import 'package:flutter_app_blocdemo/Bloc/Event.dart'; import 'package:flutter_bloc/flutter_bloc.dart'; void main() { runApp(MyApp()); } class MyApp extends StatelessWidget { // This widget is the root of your application. @override Widget build(BuildContext context) { return BlocProvider<CounterBloc>( create: (context) => CounterBloc(), child: MaterialApp( title: 'Flutter Bloc Demo', home: Counter(), debugShowCheckedModeBanner: false, )); } } class Counter extends StatefulWidget { @override _CounterState createState() => _CounterState(); } class _CounterState extends State<Counter> { CounterBloc bloc; List<User> model; @override void initState() { bloc = BlocProvider.of<CounterBloc>(context); super.initState(); } @override Widget build(BuildContext context) { return Scaffold( appBar: AppBar( title: Text("Bloc"), ), body: BlocBuilder<CounterBloc, CounterState>( builder: (context, currentState) { if (currentState is CounterValueState) { return Center( child: Column( mainAxisAlignment: MainAxisAlignment.center, children: <Widget>[ Text( 'You have pushed the button this many times:', ), Text( currentState.counter.toString() , style: Theme.of(context).textTheme.headline4, ), ], ), ); } return Center( child: Column( mainAxisAlignment: MainAxisAlignment.center, children: <Widget>[ Text( 'You have pushed the button this many times:', ), Text( "0" , style: Theme.of(context).textTheme.headline4, ), ], ), );; }, ), floatingActionButton: FloatingActionButton( onPressed: () { bloc.add(IncrementEvent()); }, tooltip: 'Increment', child: Icon(Icons.add), ), ); } } 6 -> Output screen |

And thanks for reading this blog, for more blogs please click here.
And for more info about the flutter bloc pattern read this blog also.
So pls follow the above step and if you have any issues or suggestions you can leave your message in the comment section I will try to solve this.

Be the first to comment.