Flutter Version Manager is a very important and the easiest way to manage multiple Flutter SDK Versions and Channels without going into the complete installation setup every-time, when we need to access some other version for our projects.
You may also check our Flutter app development page.
Here, we will be reading about the basic steps for installation of FVM on our system….
Steps for Installation of Flutter Version Manager
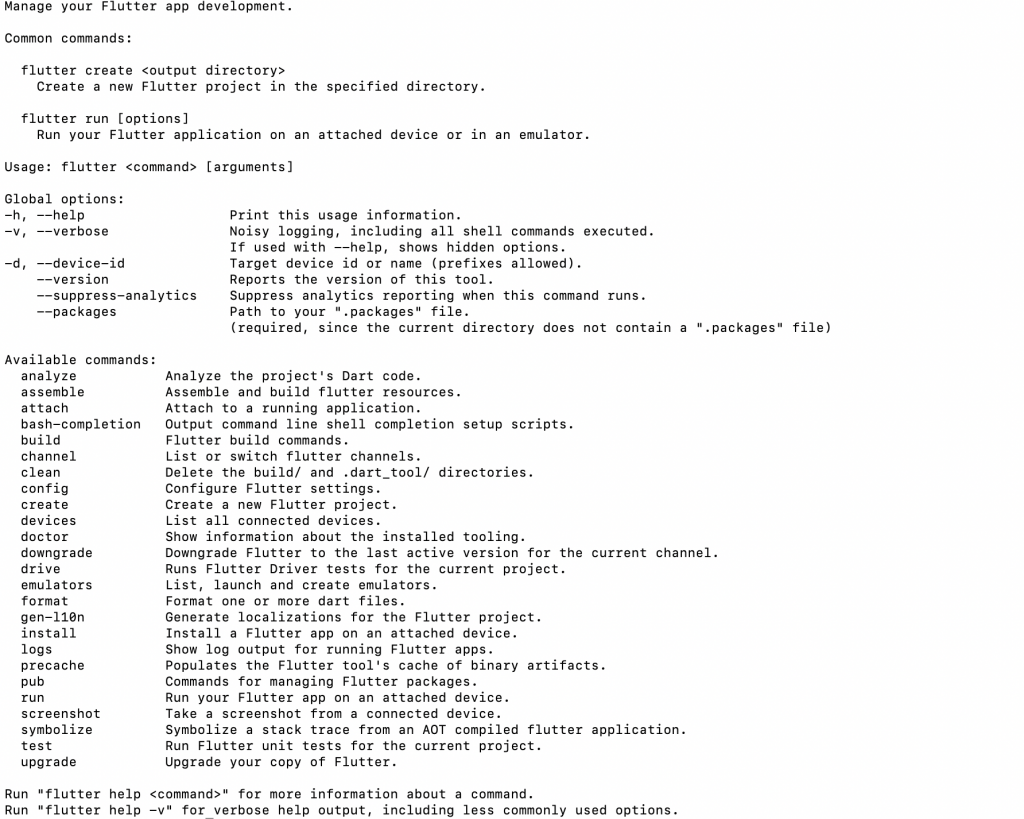
First step is to check that Flutter is installed or not on our system, in order to work on FVM. Run the following command on your terminal-
|
1 |
./flutter/bin/flutter |
If the Flutter is already installed on your system, it will show us some common commands used in flutter.
In addition to this, if you want to know your Flutter version you can run the command
|
1 |
./flutter/bin/flutter --version |
This command will return the exact version of Flutter and Dart installed on our system.
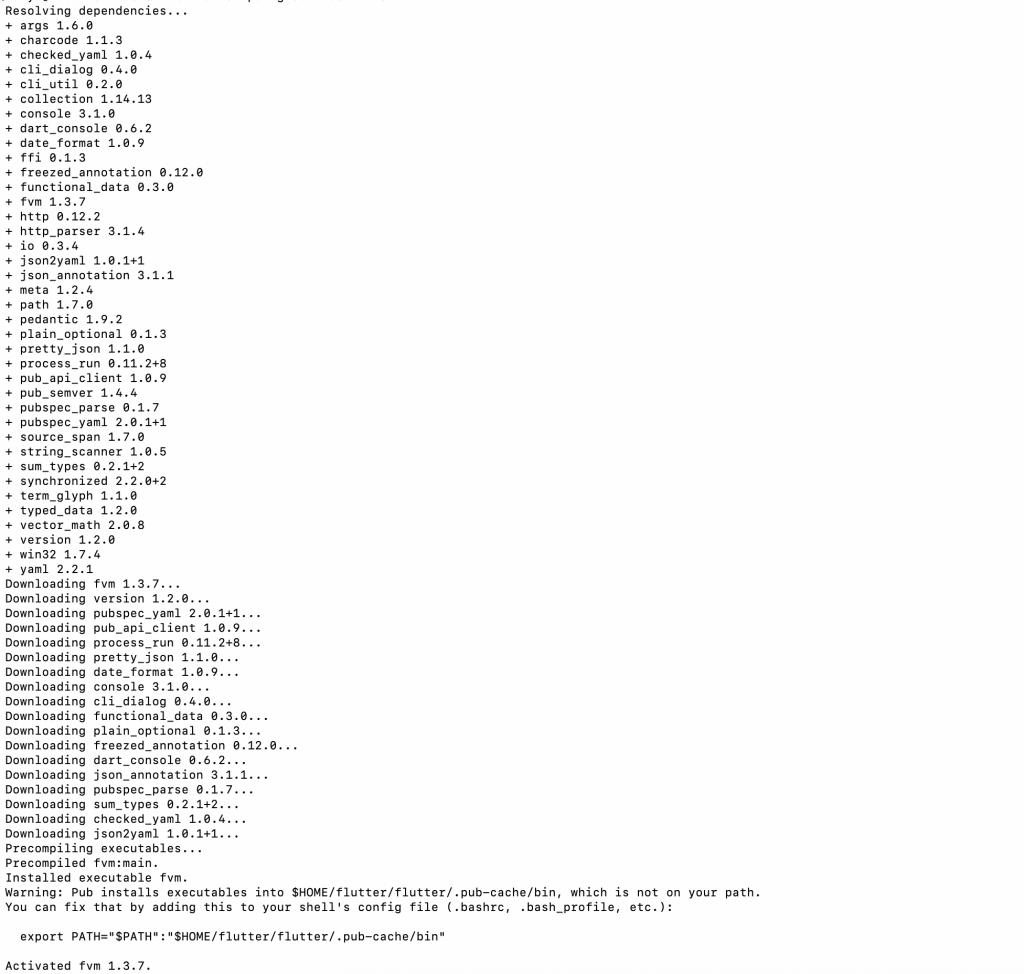
Now, in the next step we will have to activate FVM on our system, for that we will have to run the command
|
1 |
flutter pub global activate fvm |
After running this command, it shows that FVM is activated but it still shows the warning …
“Pub installs executables into $HOME/flutter/flutter/.pub-cache/bin, which is not on your path.
You can fix that by adding this to your shell’s config file (.bashrc, .bash_profile, etc.):
export PATH=”$PATH”:”$HOME/flutter/flutter/.pub-cache/bin” .
In order to remove this warning, we have to run some more CLI Commands
|
1 2 3 |
export PATH="$PATH:`pwd`/flutter/bin" export PATH=”$PATH:`pwd`/bin/cache/dart-sdk/bin” export PATH=”$PATH:`pwd`/.pub-cache/bin” |
Now, the warning will be removed, for verifying that FVM is now completely activated we will run the $echo PATH command which will give us the path for the same.
For installing the particular Flutter SDK Channel i.e. stable, master etc, you can run the command – fvm install ‘stable’
You can install the particular version of flutter SDK fvm install <version>
Now, you can create a New project in Flutter and can specify the Flutter SDK Version you want to use for that particular project.
Conclusion
In this blog, we have discussed about the basic steps for activating FVM on your system.
I hope it will help you in understanding the basic steps of FVM installation.
You can check out our other blogs in Flutter – https://mobikul.com/category/flutter/
Thank you for reading!!


Be the first to comment.