Hello, In this blog we are going to learn about the Voice-overlay in Swift
By using voice overlay you can easily search the data, place, etc from your ios application.
1. Create a view controller then you can proceed.
2. In your controller you need to add speech library.
this is the swift library Please follow the step below
|
1 |
import Speech |
3. Then you need to use this library from your controller please use below code
by using below code you can initialize the speech recognizer, then you need to use over the controller to search the data
|
1 2 3 4 |
private let speechRecognizer = SFSpeechRecognizer(locale: Locale.init(identifier: Defaults.language ?? "en")) private var recognitionRequest: SFSpeechAudioBufferRecognitionRequest? private var recognitionTask: SFSpeechRecognitionTask? private let audioEngine = AVAudioEngine() |
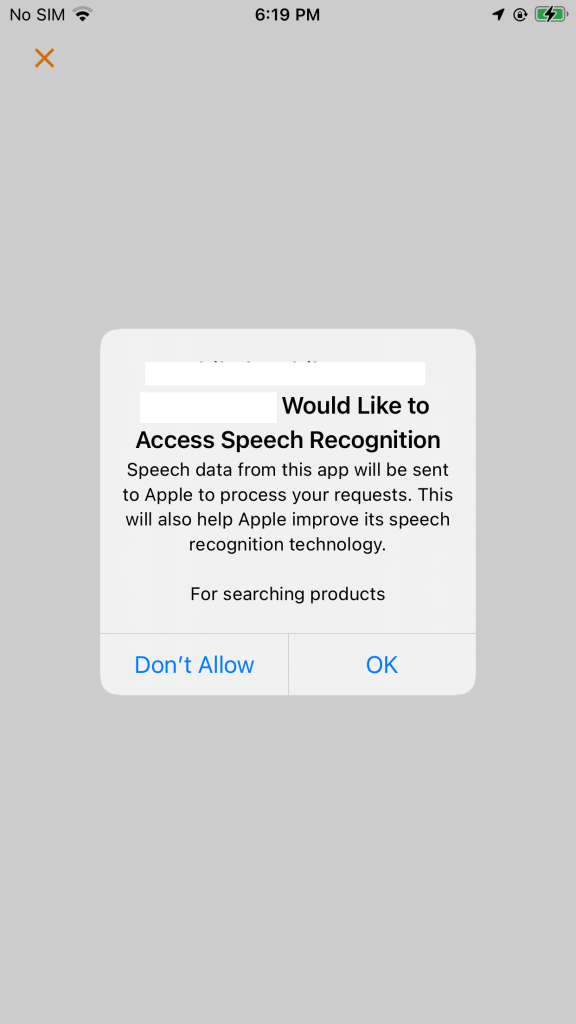
4. Please ask the user for permission if the user not allow the permission then it will not accessable from the application then you have to allow from the device setting
|
1 2 3 4 5 6 7 8 9 10 11 12 13 14 15 16 17 18 19 20 21 22 23 24 25 26 27 28 29 30 31 32 33 34 35 36 37 38 39 |
SFSpeechRecognizer.requestAuthorization { (authStatus) in var isButtonEnabled = false switch authStatus { case .authorized: isButtonEnabled = true case .denied: isButtonEnabled = false print("User denied access to speech recognition") let alertController = UIAlertController (title: "", message: "Ask again to recognise audio".localized, preferredStyle: .alert) let settingsAction = UIAlertAction(title: "Settings".localized, style: .default) { (_) -> Void in guard let settingsUrl = URL(string: UIApplication.openSettingsURLString) else { return } if UIApplication.shared.canOpenURL(settingsUrl) { UIApplication.shared.open(settingsUrl, completionHandler: { (success) in print("Settings opened: \(success)") // Prints true }) } } alertController.addAction(settingsAction) let cancelAction = UIAlertAction(title: "Cancel".localized, style: .default) { (_) -> Void in self.dismiss(animated: true, completion: nil) } alertController.addAction(cancelAction) self.present(alertController, animated: true, completion: nil) case .restricted: isButtonEnabled = false print("Speech recognition restricted on this device") case .notDetermined: isButtonEnabled = false print("Speech recognition not yet authorized") } OperationQueue.main.addOperation() { self.startRecording() } else { self.navigationController?.popViewController(animated: true) } } } |

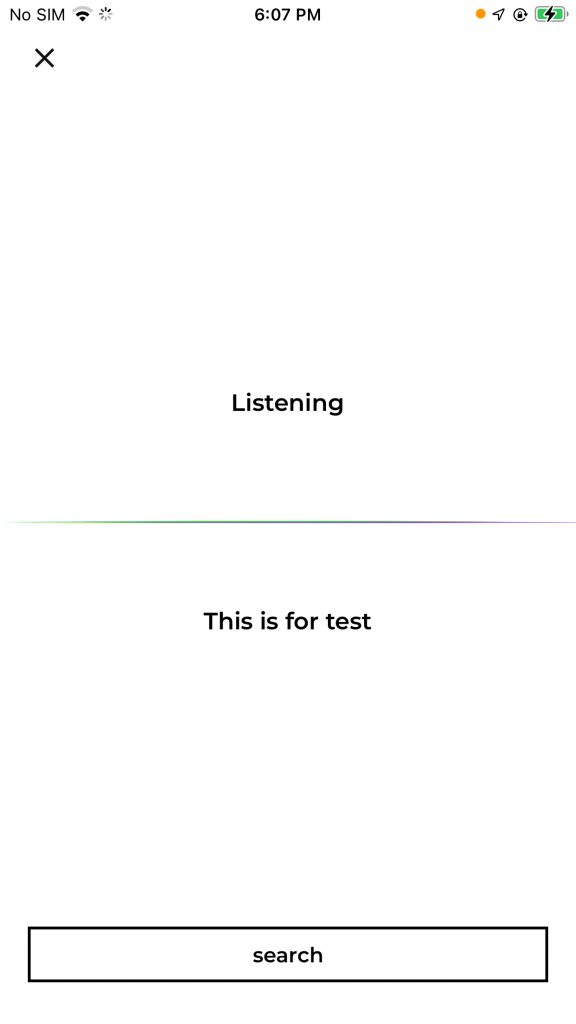
5. If the user provided the permission then it will start the recording
|
1 2 3 4 5 6 7 8 9 10 11 12 13 14 15 16 17 18 19 20 21 22 23 24 25 26 27 28 29 30 31 32 33 34 35 36 37 38 39 40 41 42 |
let audioSession = AVAudioSession.sharedInstance() do { try audioSession.setCategory(AVAudioSession.Category.record, mode: AVAudioSession.Mode.default, options: []) try audioSession.setMode(AVAudioSession.Mode.measurement) try audioSession.setActive(true, options: .notifyOthersOnDeactivation) } catch { print("audioSession properties weren't set because of an error.") } recognitionRequest = SFSpeechAudioBufferRecognitionRequest() let inputNode = audioEngine.inputNode guard let recognitionRequest = recognitionRequest else { fatalError("Unable to create an SFSpeechAudioBufferRecognitionRequest object") } recognitionRequest.shouldReportPartialResults = true recognitionTask = speechRecognizer?.recognitionTask(with: recognitionRequest, resultHandler: { (result, error) in var isFinal = false if result != nil { print(result?.bestTranscription.formattedString as Any) self.detectedText.text = result?.bestTranscription.formattedString if self.detectedText.text != "" { self.searchBtn.isHidden = false } isFinal = (result?.isFinal)! } if error != nil || isFinal { self.audioEngine.stop() inputNode.removeTap(onBus: 0) self.recognitionRequest = nil self.recognitionTask = nil } }) let recordingFormat = inputNode.outputFormat(forBus: 0) inputNode.installTap(onBus: 0, bufferSize: 1, format: recordingFormat) { (buffer, when) in self.recognitionRequest?.append(buffer) } audioEngine.prepare() do { try audioEngine.start() } catch { print("audioEngine couldn't start because of an error.") } listeningLbl.text = "Listening".localized |

Please manage the text as per you
Thank you for reading this article. I hope this article helped you to implement Advanced usage of Voice-overlay in Swift,
After that, if you want to read more articles regarding iOS Development click here or if you want to read more about Voice-overlay click here.
For other technical blogs, please click here.

Be the first to comment.