ValueNotifier is a class that extends ChangeNotifier, which can hold a value and notify the widgets to any listener whenever the holding value gets changed.

You can find out more about the Flutter app development services page.
To implement the ValueNotifier follow the steps mentioned below.
1.) Create a Scaffold.
2.) Create a Value Notifier.
3.) Change ValueNotifier values and use ValueListenableBuilder.
1.) Create a Scaffold. :
Inside Scaffold widgets, it Implements the basic material design visual layout structure. First, initialize the main app as a stateless widget.
This class provides APIs for showing drawers and bottom sheets. We can add the background color inside the scaffold widget.
It also supports special Material Design components, such as Drawers, AppBars, and SnackBars.
|
1 2 3 4 5 6 7 8 9 10 11 12 13 14 15 16 17 18 19 20 |
void main() { runApp(const MyApp()); } class MyApp extends StatelessWidget { const MyApp({Key? key}) : super(key: key); // This widget is the root of your application. @override Widget build(BuildContext context) { return MaterialApp( debugShowCheckedModeBanner: false, title: 'Value Notifier Demo', theme: ThemeData( primarySwatch: Colors.blue, ), home: _valueNotifierDemo(), ); } } |
2.) Create a Value Notifier.
Value Notifier is used to create a new file value_notifiers.dart, that will hold all the valueNotifiers in one file. For this, we need to import value_notifiers.dart otherwise it will give an error.
|
1 2 3 |
final ValueNotifier<int> _counter = ValueNotifier<int>(0); final Widget buttonPress = const Text('Button Press!', style: TextStyle(fontWeight: FontWeight.bold, fontSize: 18),); |
3.) Change ValueNotifier Values and use ValueListenableBuilder.
However, We can use ValueListenableBuilder which returns only a Listenable and no ValueListenable and ValueListenableBuilder expects a Value Changenotifier. We can use AnimatedBuilder instead which despite its name is just a ListenableBuilder.
The full code is mentioned below.
|
1 2 3 4 5 6 7 8 9 10 11 12 13 14 15 16 17 18 19 20 21 22 23 24 25 26 27 28 29 30 31 32 33 34 35 36 37 38 39 40 41 42 43 44 45 46 47 48 49 50 51 52 53 54 55 56 57 58 59 60 61 62 63 64 65 66 67 68 69 |
import 'package:flutter/material.dart'; void main() { runApp(const MyApp()); } void main() { runApp(const MyApp()); } class MyApp extends StatelessWidget { const MyApp({Key? key}) : super(key: key); // This widget is the root of your application. @override Widget build(BuildContext context) { return MaterialApp( debugShowCheckedModeBanner: false, title: 'Value Notifier Demo', theme: ThemeData( primarySwatch: Colors.blue, ), home: _valueNotifierDemo(), ); } } class _valueNotifierDemo extends StatelessWidget { final ValueNotifier<int> _counter = ValueNotifier<int>(0); final Widget buttonPress = const Text('Button Press!', style: TextStyle(fontWeight: FontWeight.bold, fontSize: 18),); @override Widget build(BuildContext context) { return Scaffold( appBar: AppBar( title: const Text("Value Notifier Demo") ), body: Center( child: Column( mainAxisAlignment: MainAxisAlignment.center, children: <Widget>[ const Text('The Button Pressed Counts:\n\n'), ValueListenableBuilder<int>( builder: (BuildContext context, int value, Widget? child) { // This builder will only get called when the _counter // is updated. return Column( mainAxisAlignment: MainAxisAlignment.center, children: <Widget>[ Text('$value', style: const TextStyle(fontWeight: FontWeight.bold,fontSize: 20), ), child!, ], ); }, valueListenable: _counter, child: buttonPress, ) ], ), ), floatingActionButton: FloatingActionButton( child: const Icon(Icons.add_card), onPressed: () => _counter.value += 1, ) ); } } |
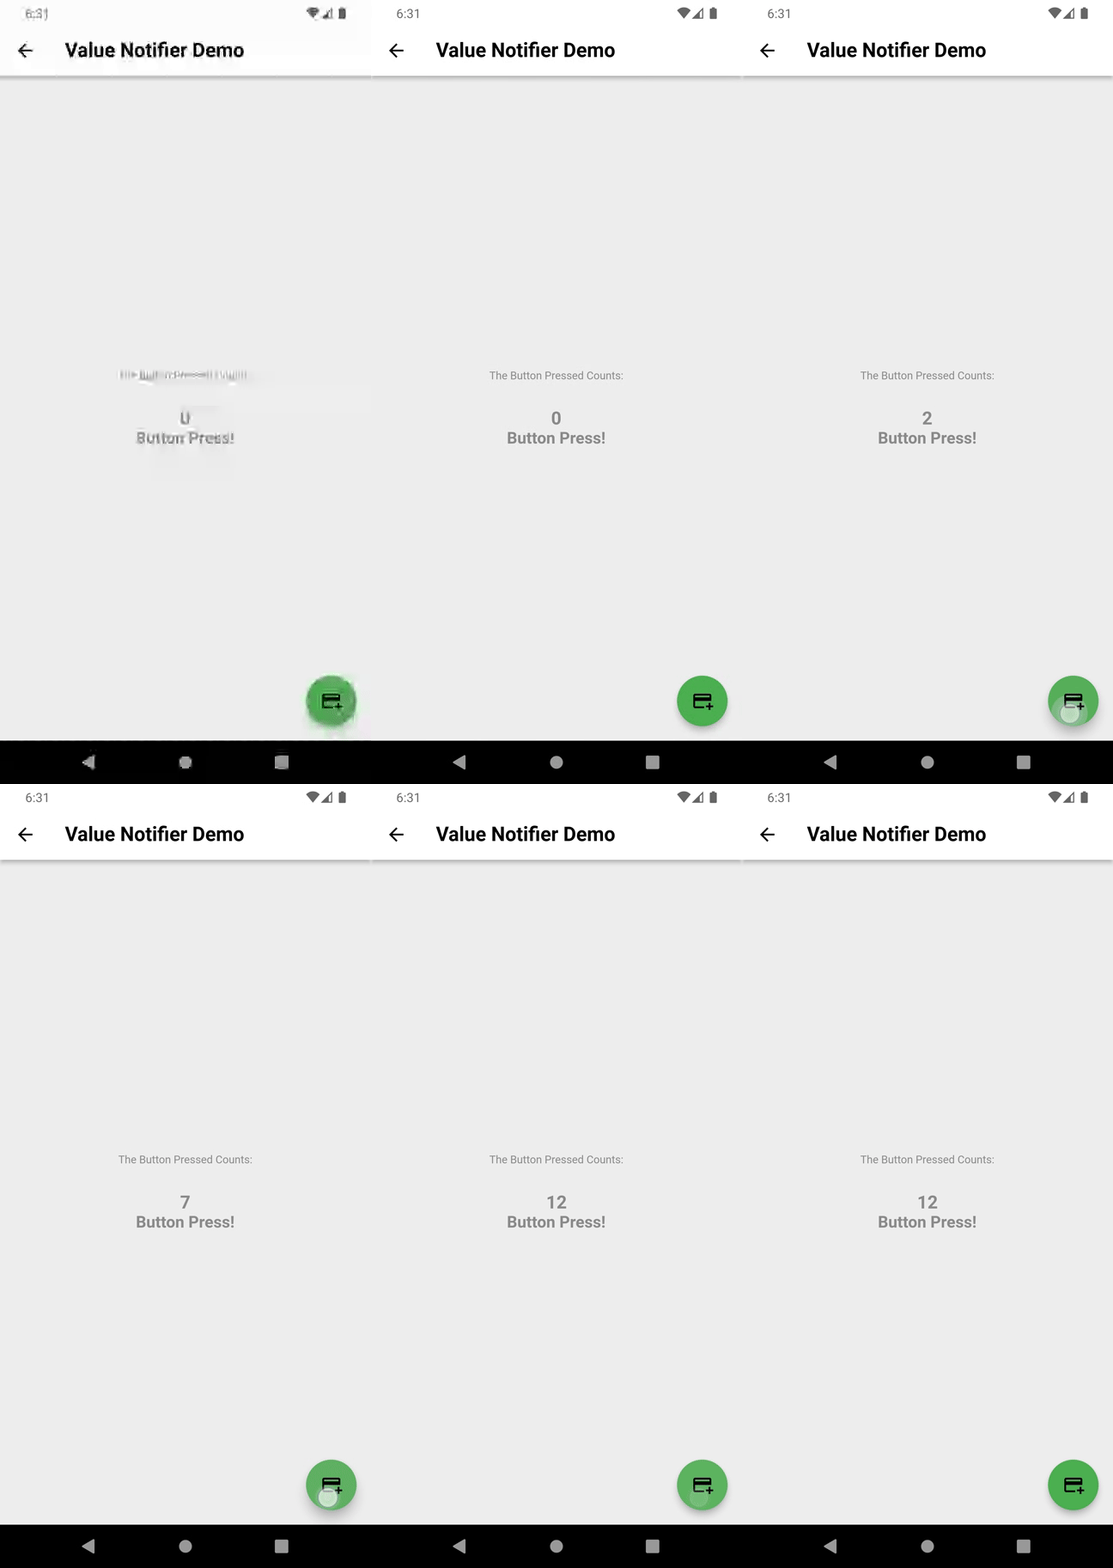
ValueNotifier in Flutter

We can now run the app on how to create ValueNotifier in a flutter.
Finally, we have implemented the flow of creating ValueNotifier in a flutter.
Hope this blog helps you to create ValueNotifier in a flutter.
So, I hope it will help you understand and get a brief idea about it.
You can also check these links.
Another mentioned URL.
For more understanding please go through this Link :
That’s all.
Thank you very much.

Be the first to comment.