RealTime Database in Flutter App, basically Database refers to the storage of data in a particular manner that could be accessed in multiple ways.
Similarly, while developing the apps Database plays a major role in synchronizing the data, offline storage, etc.
Nowadays, Firebase provides us with various modules such as Authentication, Performance Analysis.
Read more about the Flutter app development services we offer.
Steps for Integration-
Step – 1 -> Firstly, add the firebase_database dependency in pubspec.yaml file. To check the updated version for the dependency check here.
|
1 |
firebase_database: ^10.1.0 |
Step -2 -> After adding the dependency, we will need to add the instance of our Firebase Database into the project.
|
1 |
final databaseInstance = FirebaseDatabase.instance.ref(); |
Here inside the FirebaseDatabase.instance.ref(), we will need to add the path of the Database URL.
Now, we will have to create the methods for the CRUD operations within our app.
We have created a database within the Firebase Console, here it is
Code
|
1 2 3 4 5 6 7 8 9 10 11 12 13 14 15 16 17 18 19 20 21 22 23 24 25 26 27 28 29 30 31 32 33 34 35 36 37 38 39 40 41 42 43 44 45 46 47 48 49 50 51 52 53 54 55 56 57 58 59 60 61 62 63 64 65 66 67 68 69 70 71 72 73 74 75 76 77 78 79 |
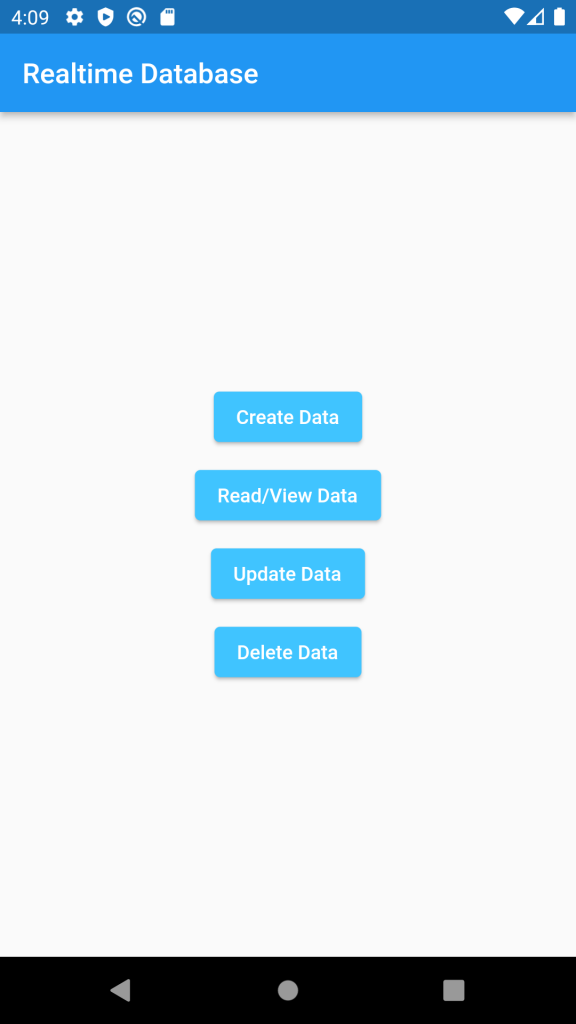
import 'package:flutter/cupertino.dart'; import 'package:flutter/material.dart'; import 'package:firebase_database/firebase_database.dart'; class FirebaseRealtimeDemoScreen extends StatelessWidget { final databaseInstance = FirebaseDatabase.instance.ref( '$DATABASEURL'); @override Widget build(BuildContext context) { return Scaffold( appBar: AppBar( title: Text('Realtime Database'), ), body: Center( child: Padding( padding: const EdgeInsets.all(16.0), child: Column( mainAxisAlignment: MainAxisAlignment.center, children: <Widget>[ ElevatedButton( style: ElevatedButton.styleFrom( backgroundColor: Colors.lightBlueAccent, ), child: Text('Create Data'), onPressed: () { createData(); }, ), SizedBox( height: 8, ), ElevatedButton( child: Text('Update Data'), style: ElevatedButton.styleFrom( backgroundColor: Colors.lightBlueAccent, ), onPressed: () { updateData(); }, ), SizedBox( height: 8, ), ElevatedButton( child: Text('Delete Data'), style: ElevatedButton.styleFrom( backgroundColor: Colors.lightBlueAccent, ), onPressed: () { deleteData(); }, ), ], ), )), //center ); } void createData() { databaseInstance .child("Student1") .set({'rollno': '1', 'name': 'Akash', 'marks': 80}); databaseInstance .child("Student2") .set({'rollno': '2', 'name': 'Devashish', 'marks': 60}); databaseInstance .child("Student3") .set({'rollno': '1', 'name': 'Sakshi', 'marks': 76}); } void updateData() { databaseInstance.child('Student2').update({'marks': 62}); } void deleteData() { databaseInstance.child('Student1').remove(); } } |
Conclusion
In this blog, we have discussed how we can integrate the RealTime Database into Flutter App.
I hope it will help you understand and get a brief idea about it.
You can also check our other Firebase modules integration with Flutter apps – https://mobikul.com/admob-in-flutter/
Here are some more blogs – https://mobikul.com/blog/
References
https://medium.flutterdevs.com/explore-realtime-database-in-flutter-c5870c2b231f


Be the first to comment.