React-Native Navigation-Drawer
We are going to create a navigation drawer in the react-native app which supports both iOS and Android apps.
Will cover this blog in simple terms with a minimal example. The navigation drawer is playing an important role when you have a menu list to show the app user.
Users can easily navigate menu items and take action on them.
If you have not created a project then please create a project by run this command –
|
1 |
react-native init "Project Name" |
if using existing then please make sure all updated javascript files downloaded in the node_module folder, If not then update by –
|
1 |
npm install |
Before starting the Navigation drawer we have to install these dependencies.
|
1 2 3 4 5 6 7 8 9 |
//Mainly use this dep for nav drawer. npm install @react-navigation/drawer //These are the support dep which required in nav drawer other will throw errors npm install @react-navigation/native npm install react-native-reanimated npm install react-native-screens npm install react-native-safe-area-context npm install react-native-gesture-handler |
After installing these dependencies run –
|
1 |
react-native link --all |
Check the below example code in App.js
|
1 2 3 4 5 6 7 8 9 10 11 12 13 14 15 16 17 18 19 20 21 22 23 24 25 26 27 28 29 30 31 32 33 34 35 36 37 38 39 40 |
import * as React from 'react'; import { Button, View, Text } from 'react-native'; import { NavigationContainer } from '@react-navigation/native' import { createDrawerNavigator } from '@react-navigation/drawer'; const Drawer = createDrawerNavigator(); function WebkulECommerce({ navigation }) { return ( <View style={{ flex: 1, alignItems: 'center', justifyContent: 'center' }}> <Text style={{padding:12}}>{"Welcome to Webkul E-Commerce"}</Text> <Button onPress={() => navigation.navigate('MobikulMobile-Apps')} title="Go to Mobikul Mobile App" /> </View> ); } function MobikulMobileApps({ navigation }) { return ( <View style={{ flex: 1, alignItems: 'center', justifyContent: 'center' }}> <Text style={{padding:12}}>{"Welcome to Mobikul App Section"}</Text> <Button onPress={() => navigation.goBack()} title="Go back" /> </View> ); } export default class App extends React.Component { render() { return ( <NavigationContainer> <Drawer.Navigator initialRouteName="WebkulE-Commerce"> <Drawer.Screen name="WebkulE-Commerce" component={WebkulECommerce} /> <Drawer.Screen name="MobikulMobile-Apps" component={MobikulMobileApps} /> </Drawer.Navigator> </NavigationContainer> ); }; } |
Explanation -:
- We have created two-screens function names WebkulE-Commerce and MobikulMobile-Apps and set them in the Drawer Navigator screen.
- We have set the default first screen by setting initialRouteName to WebkulE-Commerce because our first screen should be shown WebkulE-Commerce.
You can set it by home page or dashboard page which you want. - React-native navigation is also syncing with the Drawer navigator, You can check by a click the button and navigate to another screen and check out in Nav-Drawer menu current screen is automatically in the selected state.
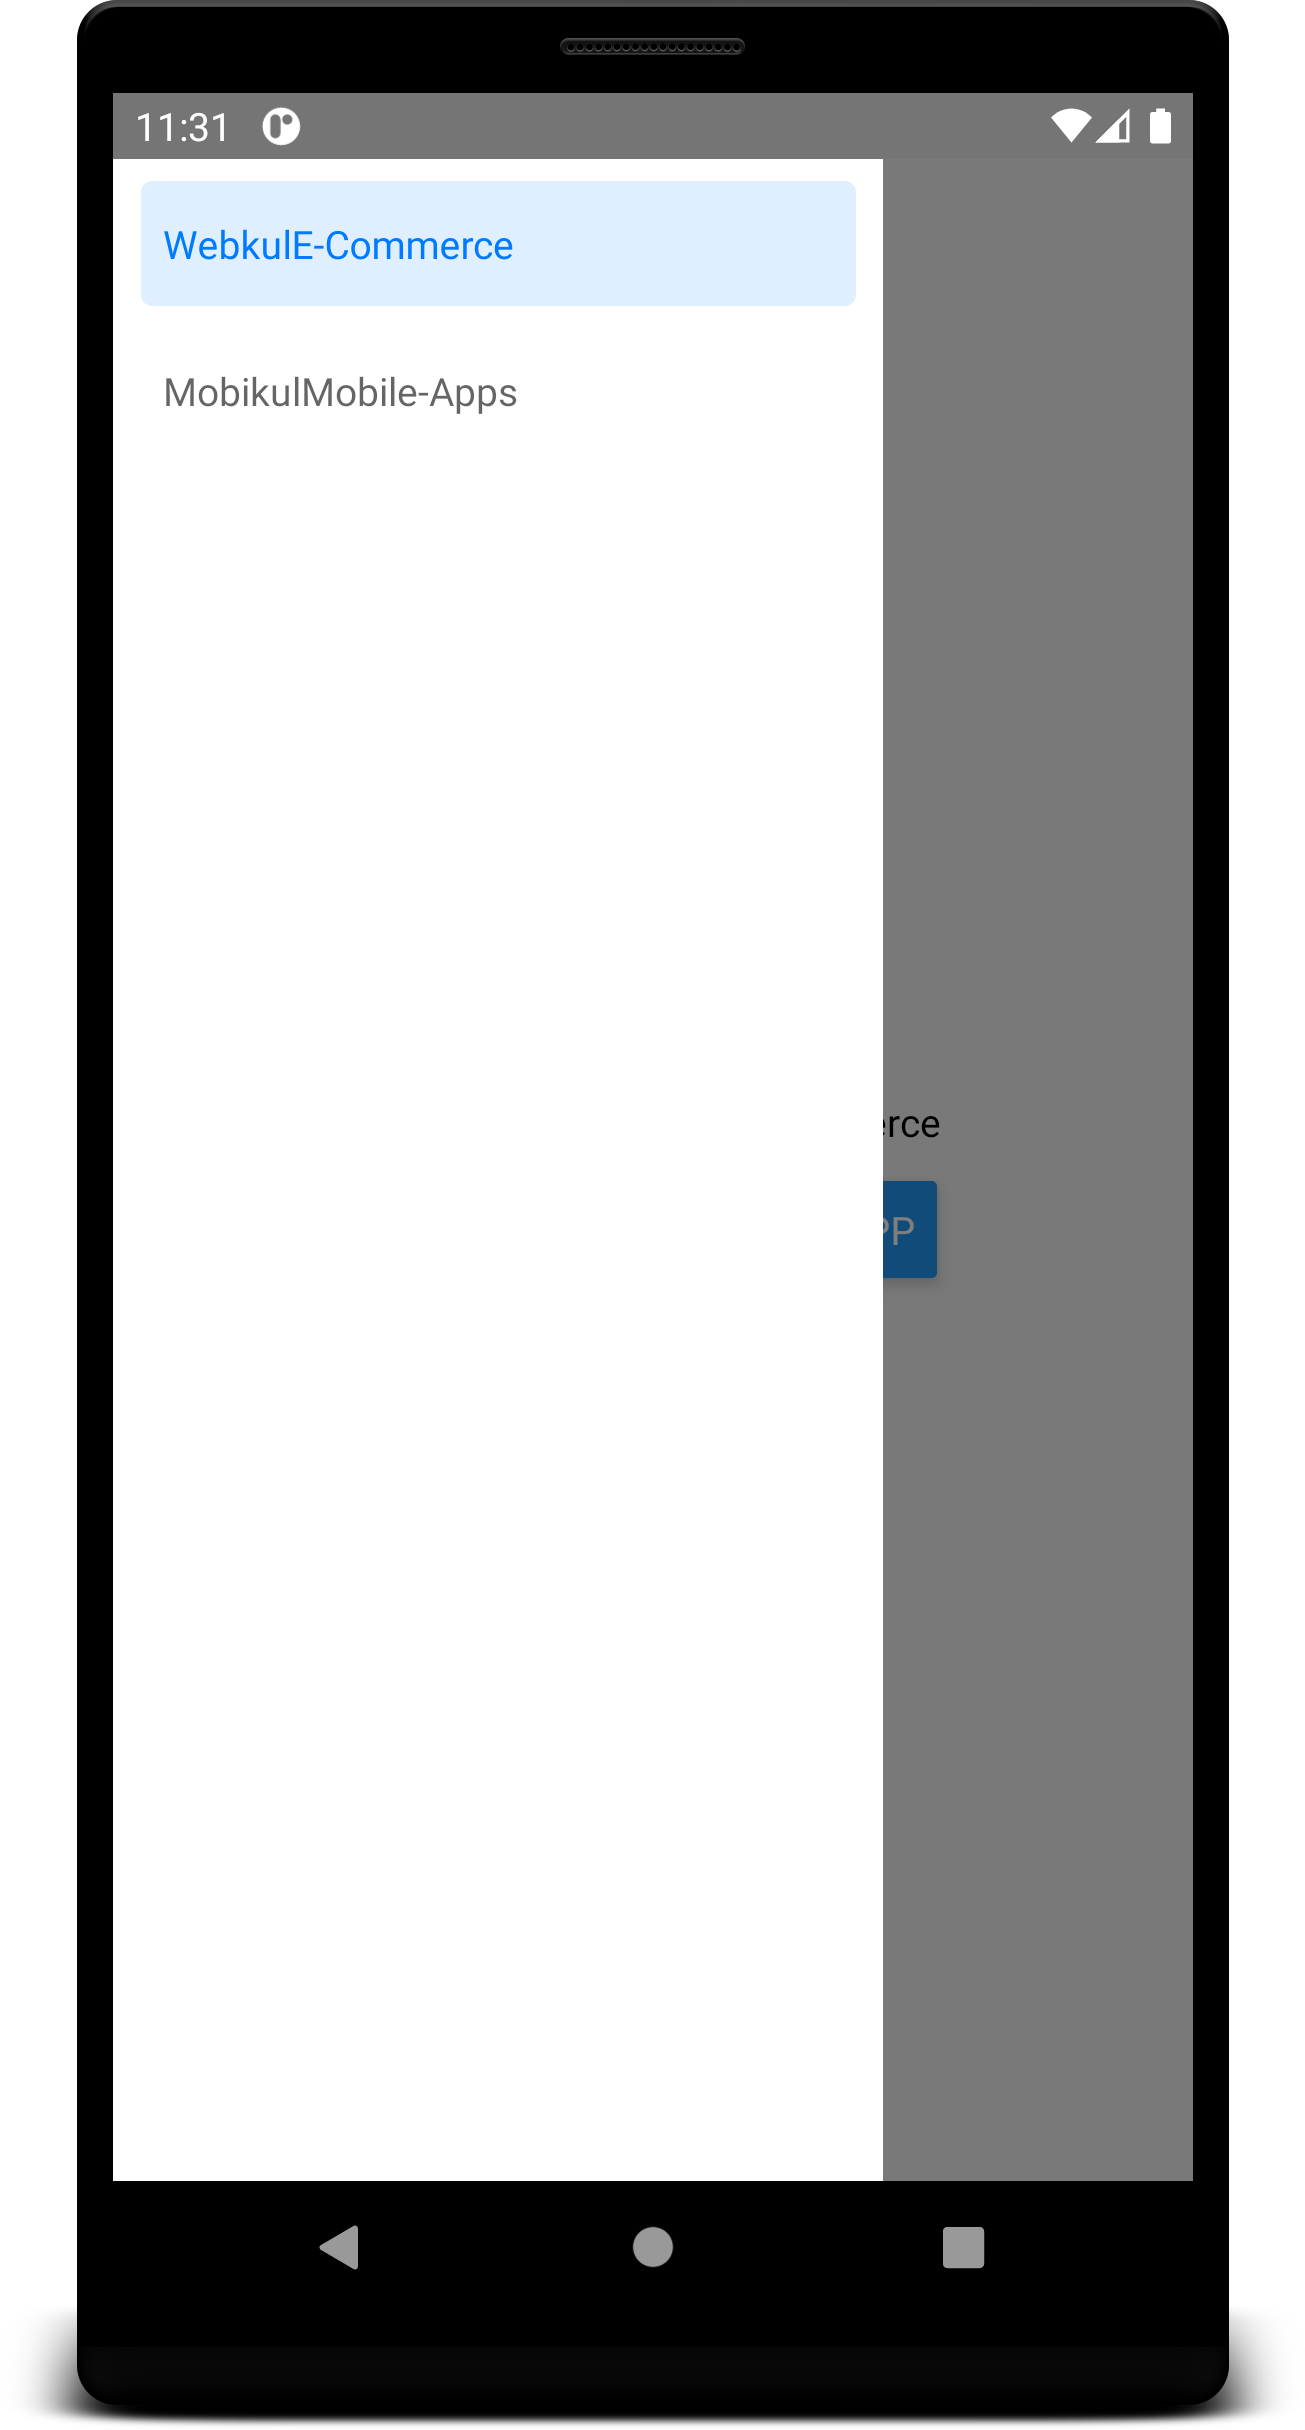
Run the app and check out the result.
For Android –
|
1 2 3 |
react-native run-android //or, open the android folder in Android-studio and run by play button. |
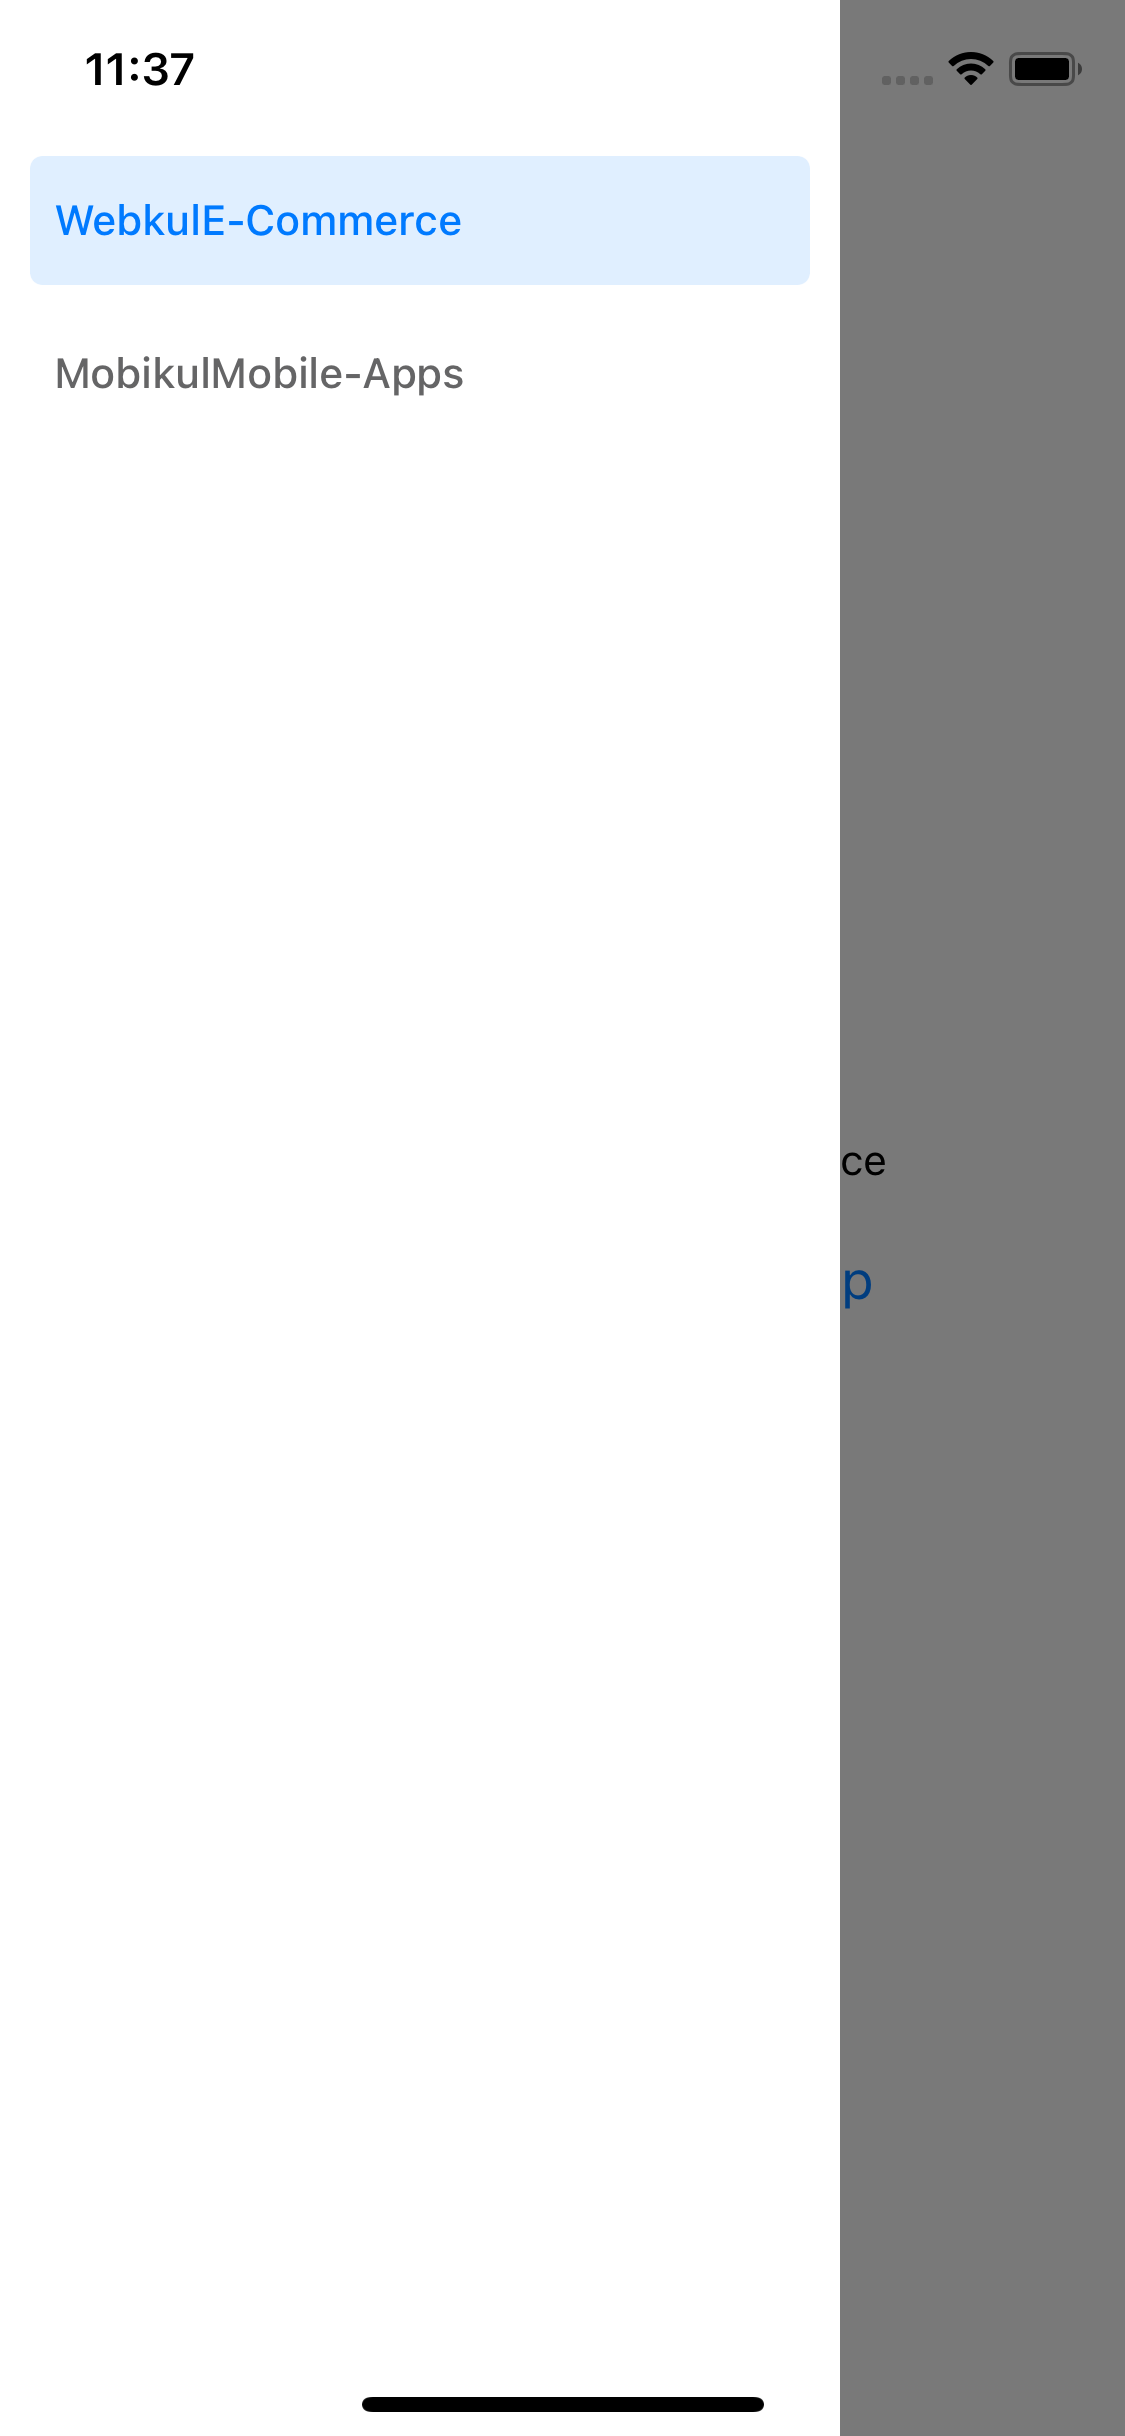
For iOS –
|
1 2 3 4 5 6 |
//Go to ios folder by terminal cd ios //install pod files by the command pod install |
After success pod installed open ios folder in File Explorer and start workspace file which will be open in X-Code studio.
Output screens –
Do you want to open a navigation drawer from the Right side?
Add this key – drawerPosition in Navigator.
|
1 2 3 4 5 6 |
<NavigationContainer> <Drawer.Navigator initialRouteName="WebkulE-Commerce" drawerPosition="right"> <Drawer.Screen name="WebkulE-Commerce" component={WebkulECommerce} /> <Drawer.Screen name="MobikulMobile-Apps" component={MobikulMobileApps} /> </Drawer.Navigator> </NavigationContainer> |
See more of our exciting blogs – https://mobikul.com/blog/
Reference – https://reactnavigation.org/docs/drawer-based-navigation/
Happy coding … </ :)>

Be the first to comment.