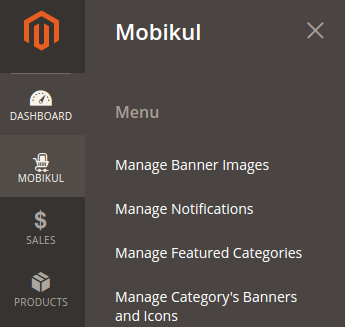
You can simply add push notifications for displaying it on your Mobikul application. All your application’s users can get the notification which you will push from the admin panel. For this, you need to do simple push notification configuration by navigating through the following path of your Magento admin panel.
Mobikul Tab > Manage Notifications
The notification pushed by the admin from this menu will be displayed on the application users’ device apart from the automated push notifications of sale.
Note: For using the above menu the FCM Push Notification Parameter has to be set first. To learn more about FCM Push Notification Parameter, please read the Basic Configuration Blog.
Add Notification
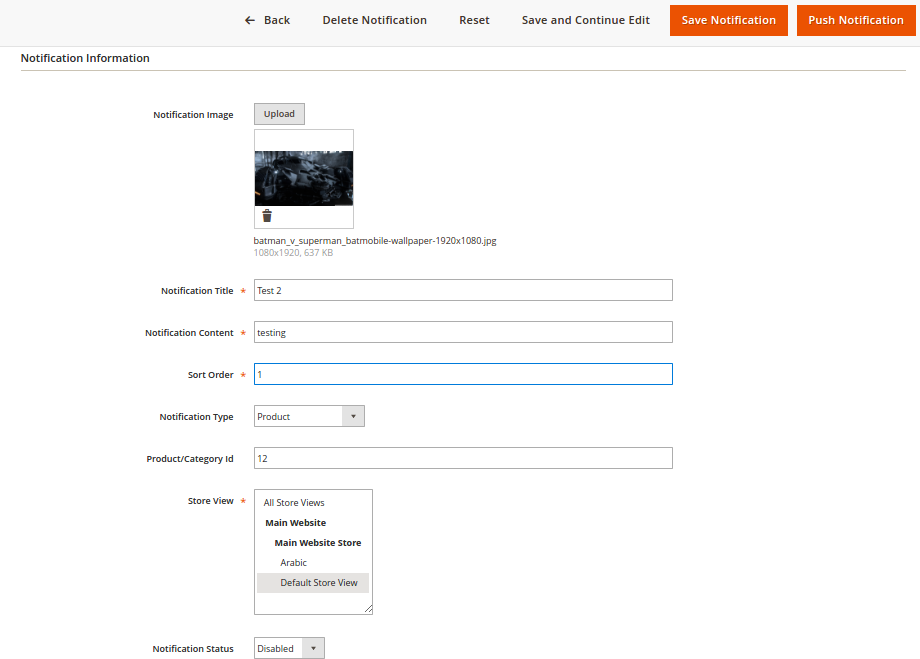
Click on the Add Notification button for adding a new notification. You can configure the notification as per your requirement by setting up the notification information.

- Notification Image: Upload the notification image from this field.
- Notification Title: Set the title of the notification.
- Notification Content: Provide the content that will be displayed with the notification.
- Sort Order: This is the sort order of the image among other notification.
- Notification Type: Notification type can be as Product or Category or Custom Collection or Others.
- Product/Category Id: If the notification is product then provide the Product Id of the product which you want to be redirected when the notification is clicked.
If the notification type is category then provide the Category Id of the product which you want to be redirected when the notification is clicked.
- Store View: Notification can be shown store view wise. “All Store Views” can be selected for pushing the notification in all the store views.
- Notification Status: The notification can be enabled or disabled as per the requirement.
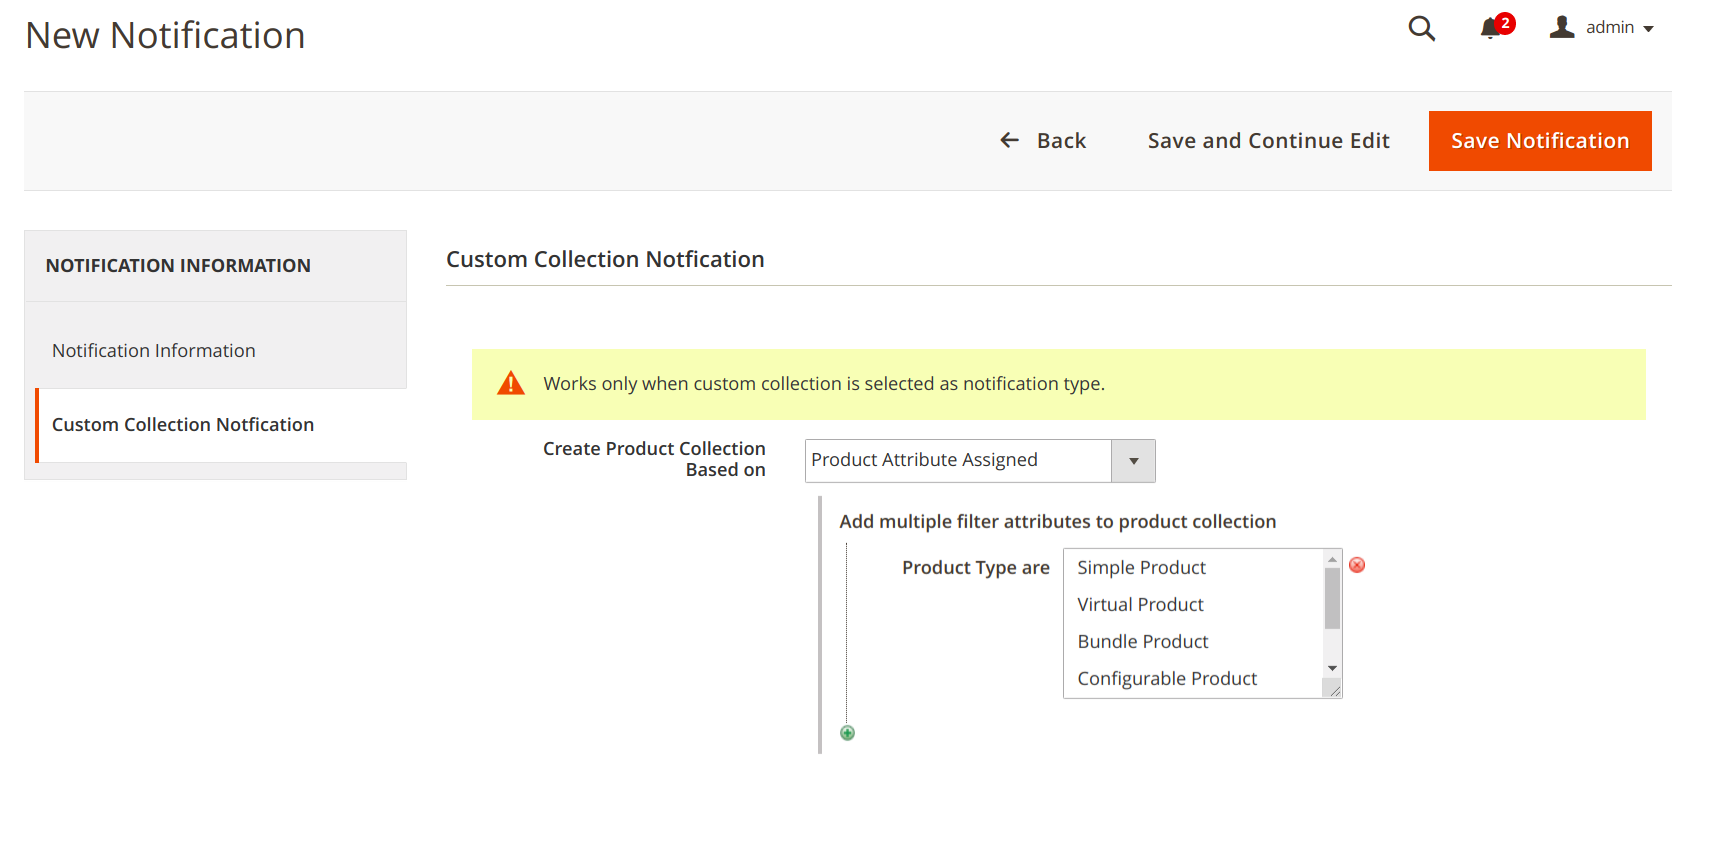
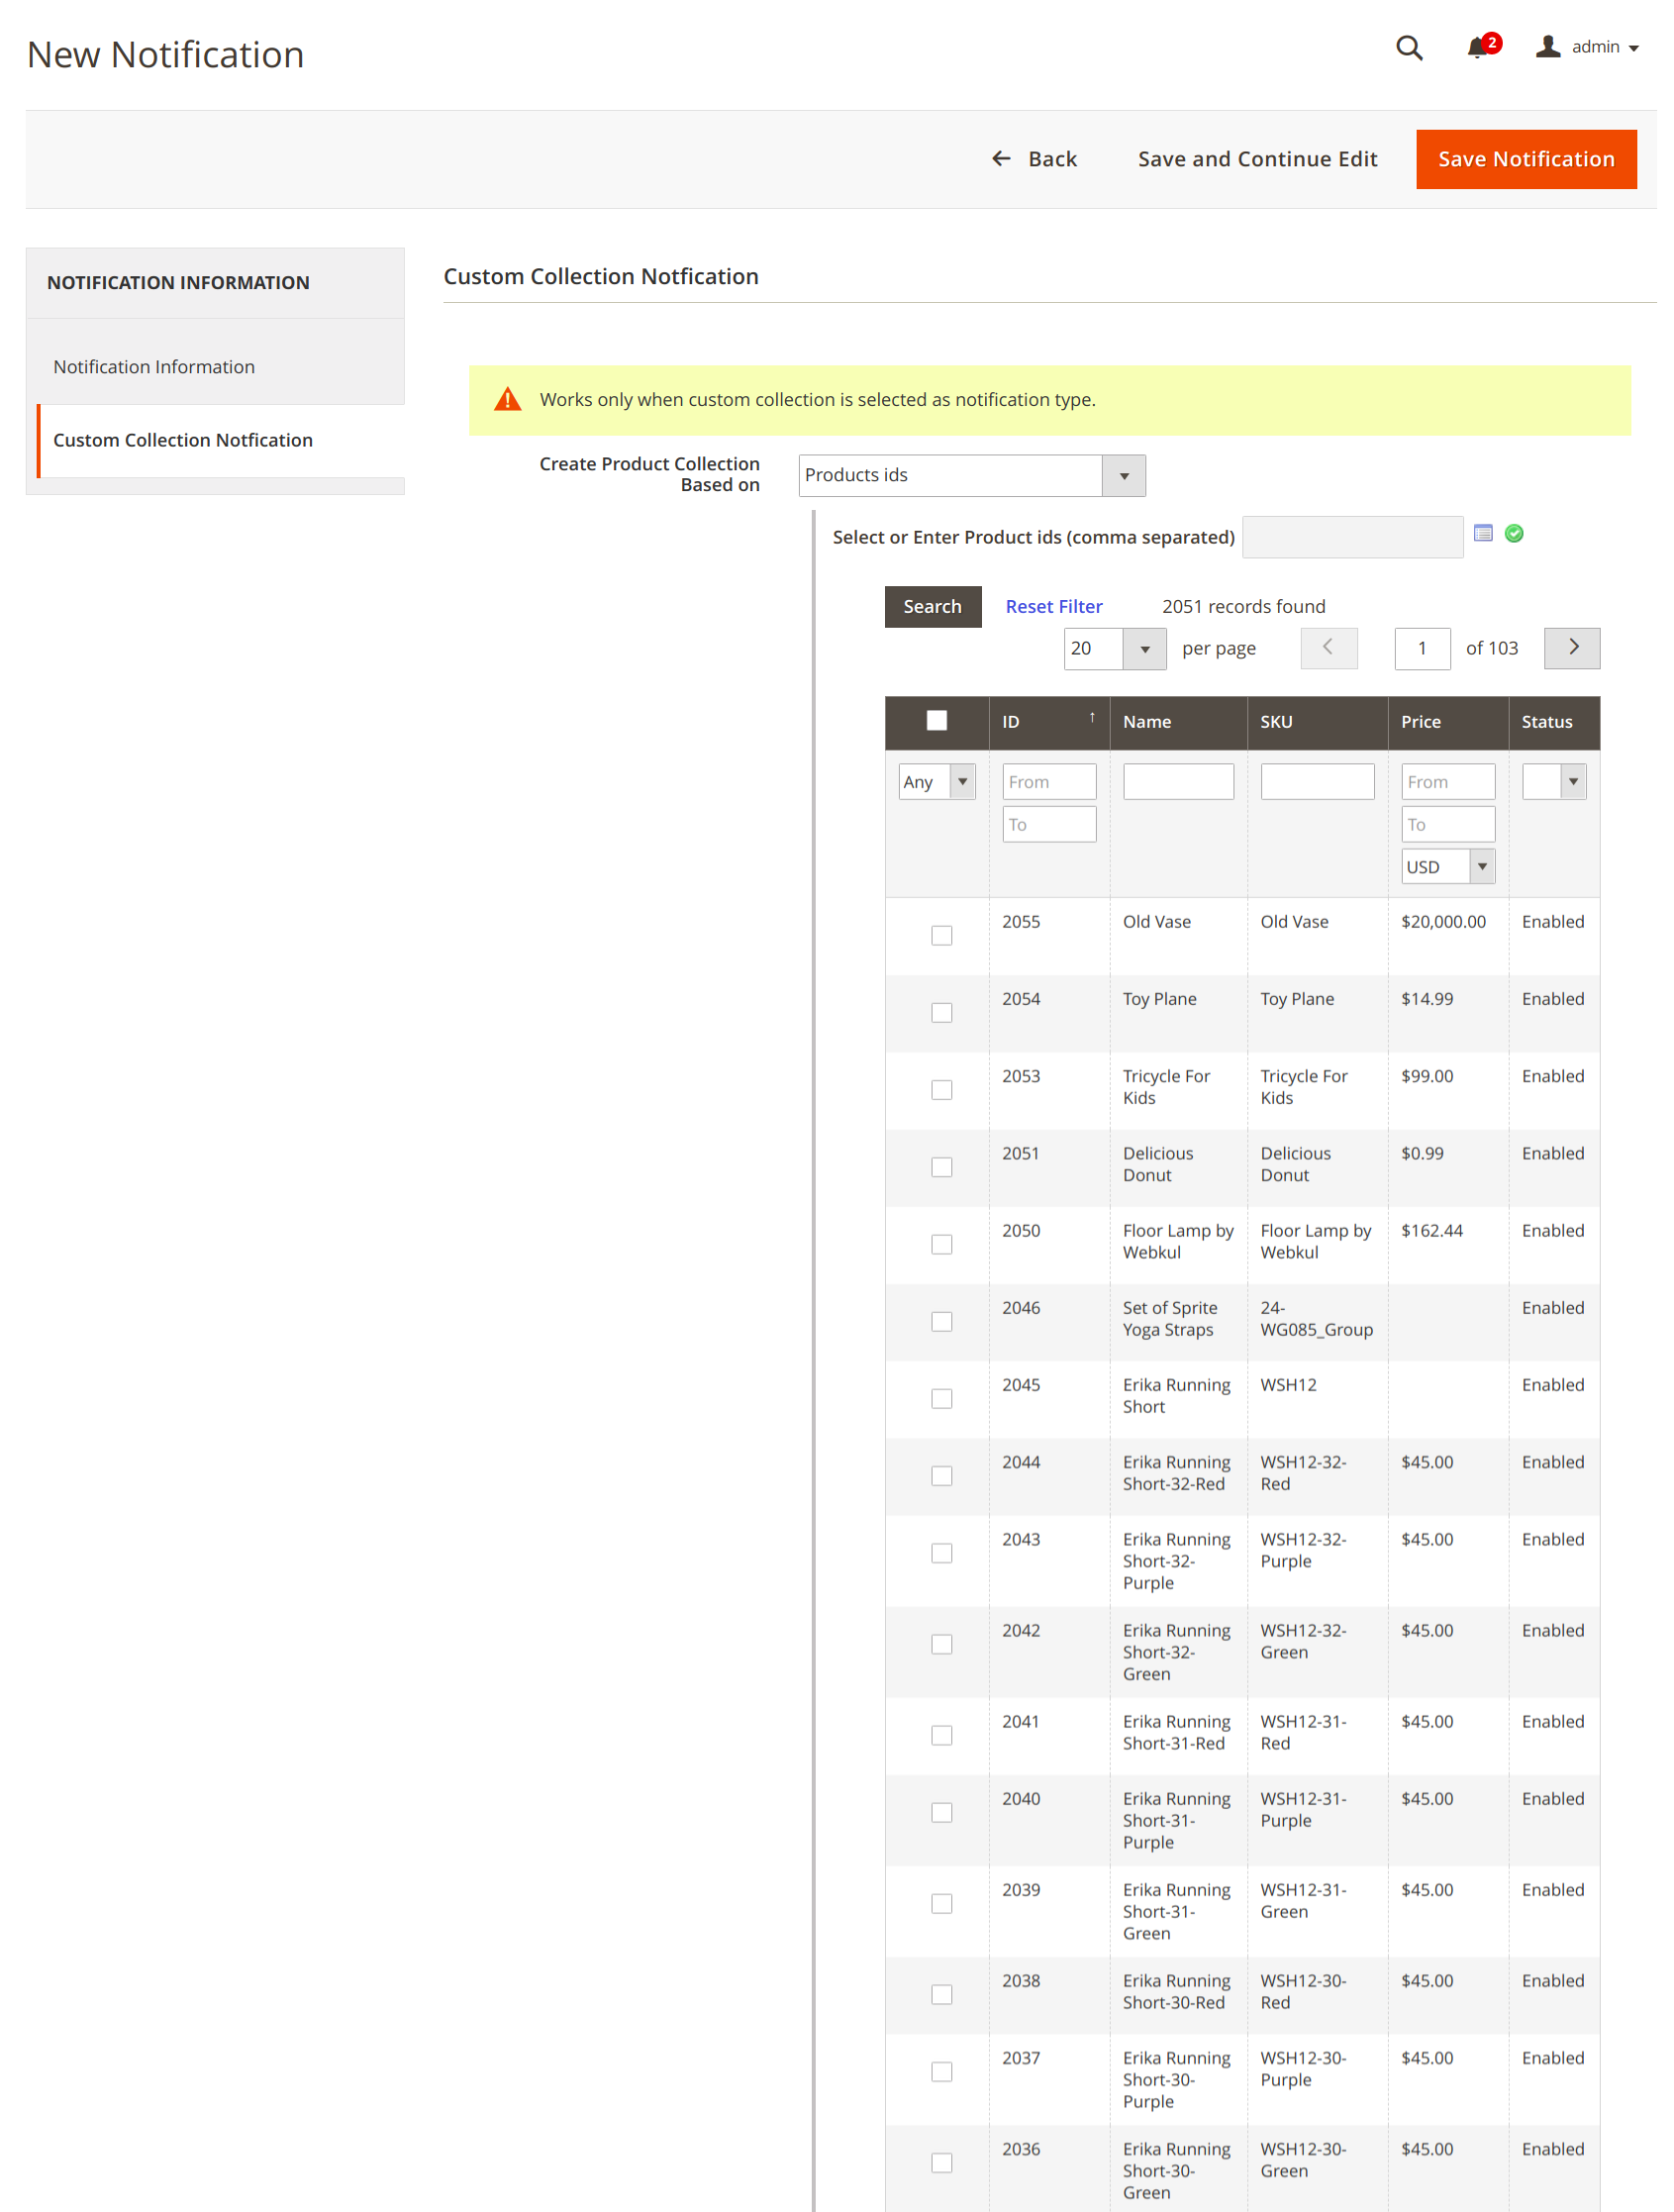
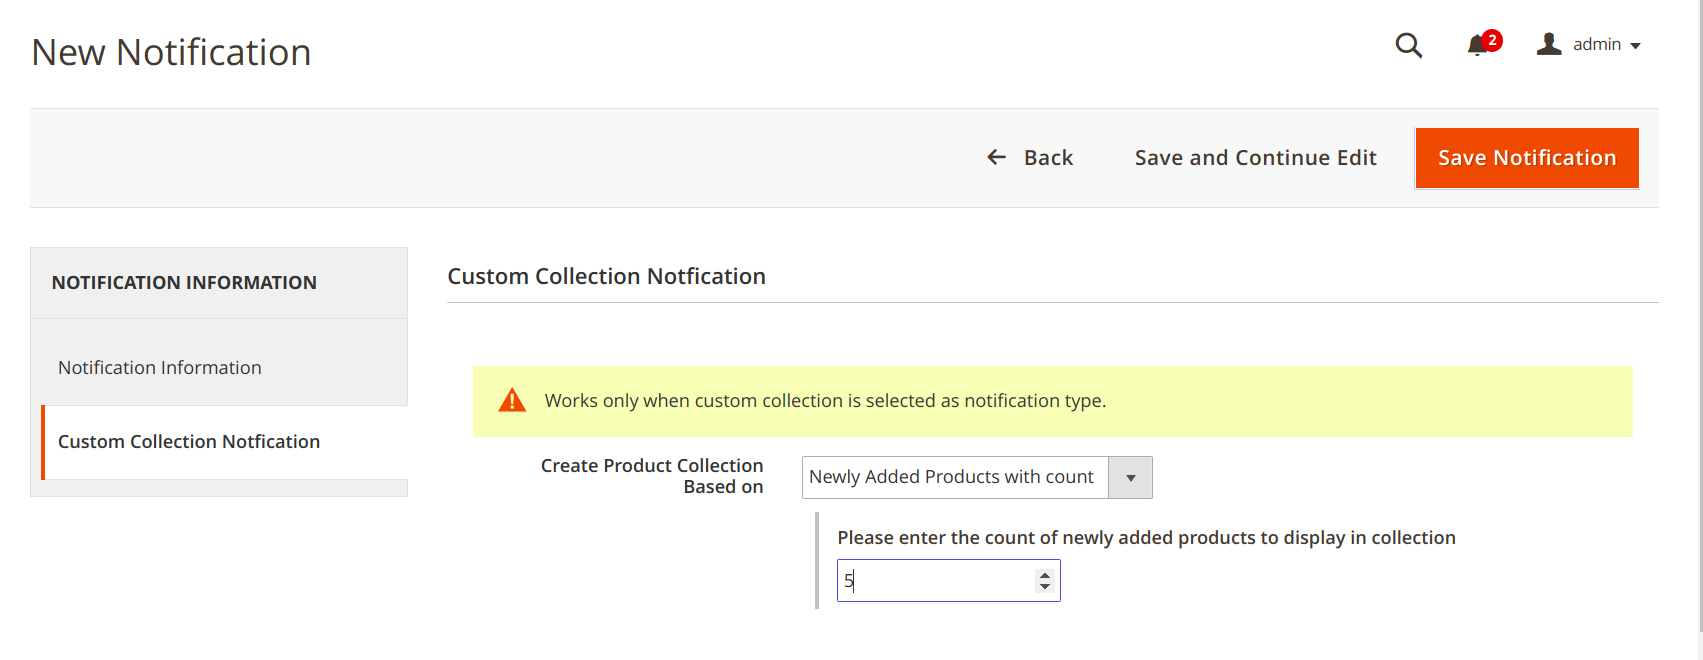
If the notification type is custom collection then, in that case, we need to enter ‘Create Product Collection Based on‘ of the Product Attribute Assigned or Product ids or Newly Added Products with Counts.
Here, when the customer selects Product Attribute Assigned then, they need to enter the corresponding Product Type which one wishes to see in the custom collection notification.
However, if the product ids option is selected then the one needs to select the desired product from the collection of products.
Custom Collection Notification type is having one more additional option of Newly Added Products with Count. Here, the admin needs to enter the number of new products to be displayed in the collection.
Edit Notification
Editing a notification has no difference from adding a notification. The difference is, here you are updating the notification with new updated information. The notification can be edited by simply clicking on the related Edit button present in the Action column of the notification.

After clicking the Edit, the notification information can be updated. In the edit section, you can push the notification by clicking on the Push Notification button.
Push Notification
For pushing the notifications first select the notifications via notification checkbox. All the notifications can be selected at once by mass selection checkbox present in the checkbox column heading section.

After selecting the notifications click on the Actions drop-down. In the Actions drop-down, there will be an option for pushing the notifications.
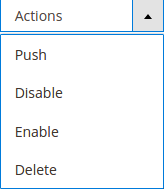
Click on the Push option. A pop-up for Push confirmation will appear. Click on Ok to push the selected notifications.

Enable / Disable Notification
For enabling/disabling the notifications first select the notifications via notifications checkbox. All the notifications can be selected at once by mass selection checkbox present in the checkbox column heading section.
After selecting the notifications click on the Actions drop-down. In the Actions drop-down, there will be an option for enabling/disabling the notifications.
Click on the Enable or Disable option. A pop-up for confirming enabling will appear if the notification is selected for enabling. Click on Ok to enable the selected notifications.

A pop-up for confirming disabling will appear if the notification is selected for disabling. Click on Ok to disable the selected notifications.

Delete Notification
For deleting the notifications first select the notifications via notifications checkbox. All the notifications can be selected at once by mass selection checkbox present in the checkbox column heading section.
After selecting the notifications click on the Actions drop-down. In the Actions drop-down, there will be an option for deleting the notifications.
Click on the Delete option. A pop-up for confirming delete will appear. Click on Ok to delete the selected notifications.

If you have any issue then please let us know anytime. You can raise a ticket for any query at webkul.uvdesk.com.

Be the first to comment.