Mobikul Mobile App Builder of Odoo is built-in with several options. You’ll set up your Mobikul mobile application as per your needs. There are several main elements and options that square measure lined within Mobikul’s mobile app configuration.
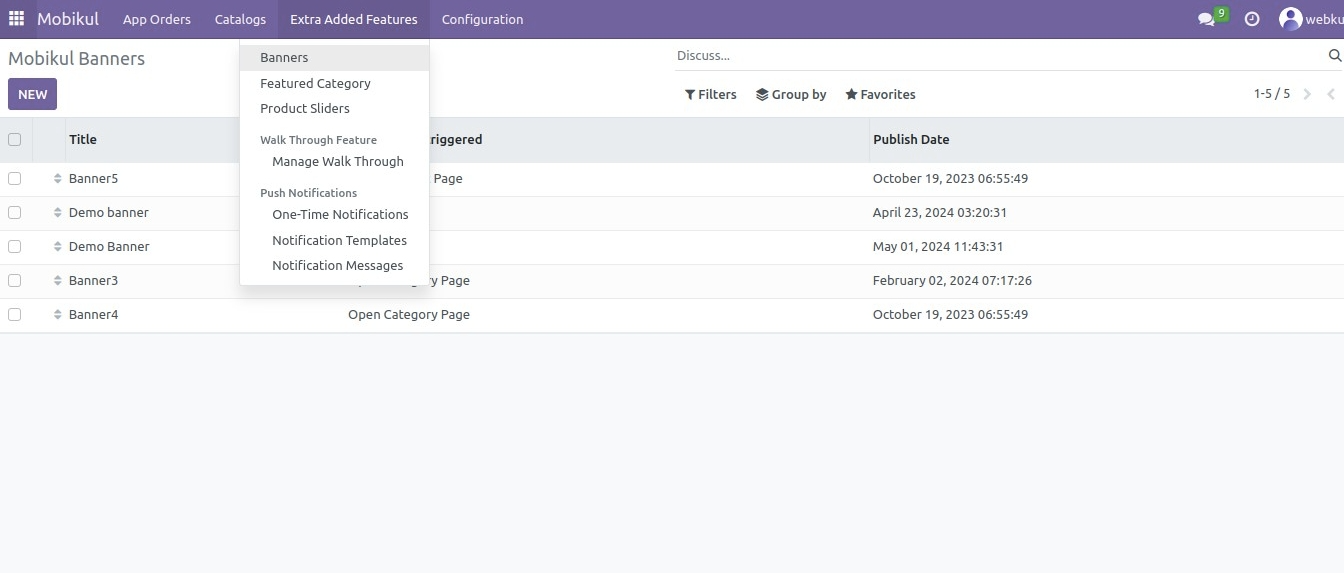
Banners
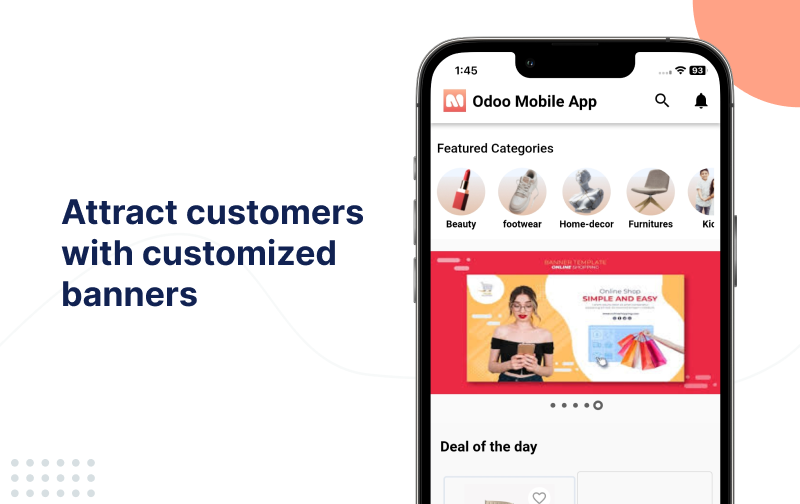
Banners are used to display various information that the admin wishes to showcase in the front end. The banners of a Mobikul app can be configured from the backend. Banners can be assigned Product, Category or Custom Collection Pages.
Admin can even manage the Banner image and title of the Banner, Delete the Banner, make a duplicate copy of the Banner, set a URL for the banner, and even Set Publish and Expiration date.
Frontend
Admin Configuration
From here the admin can either Create a new Banner or edit an existing one.
From here, the admin can enter.
Title–
A name can be given to the banner.
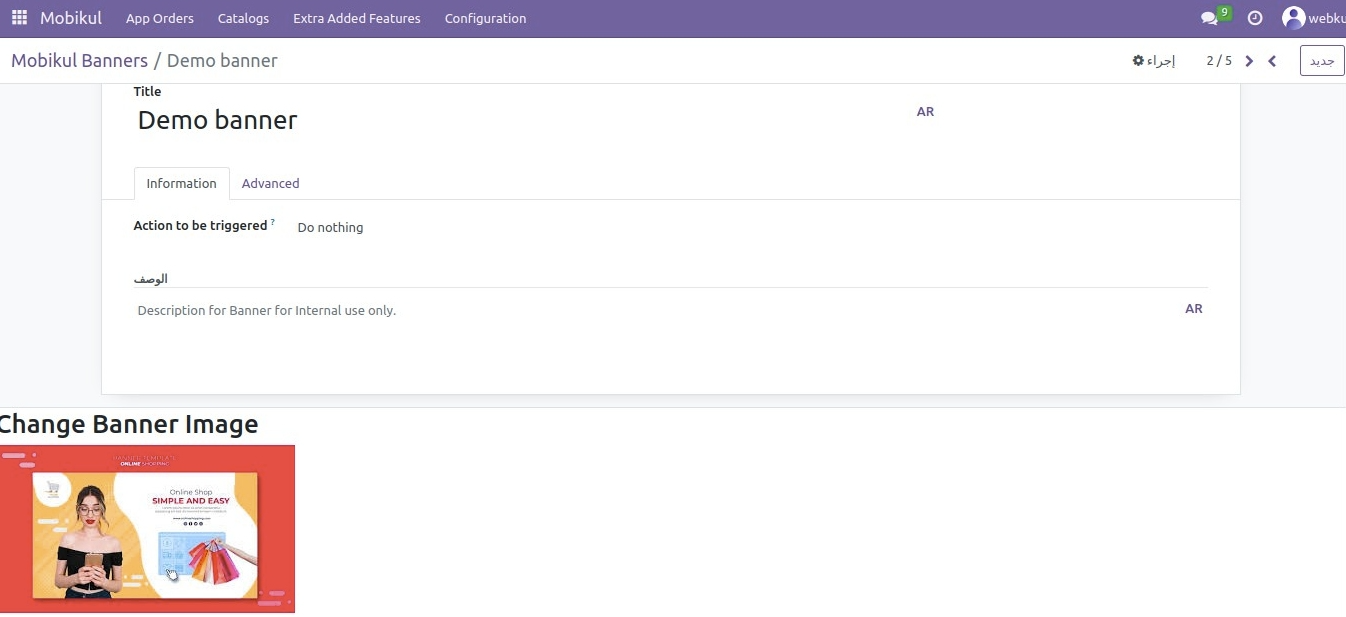
Information
- Active/Archive– The banner could be in any state active/archive, that is if the admin wishes to show the banner it can be active state whereas if the admin wishes to hide the banner it can be in an archive state.
- Action to be triggered – This means the admin can set the activity when a customer clicks on the banner. They can be-
- Open product page product may be assigned to the banner which opens up when we click on the banner.
- Open Category page- A category may be assigned to the banner which opens up when one clicks on the banner.
- Open Custom Collection page banner may be assigned a set of customizable products.
- Description– This section is for the admin to add any detailed information related to the banner.
Advanced
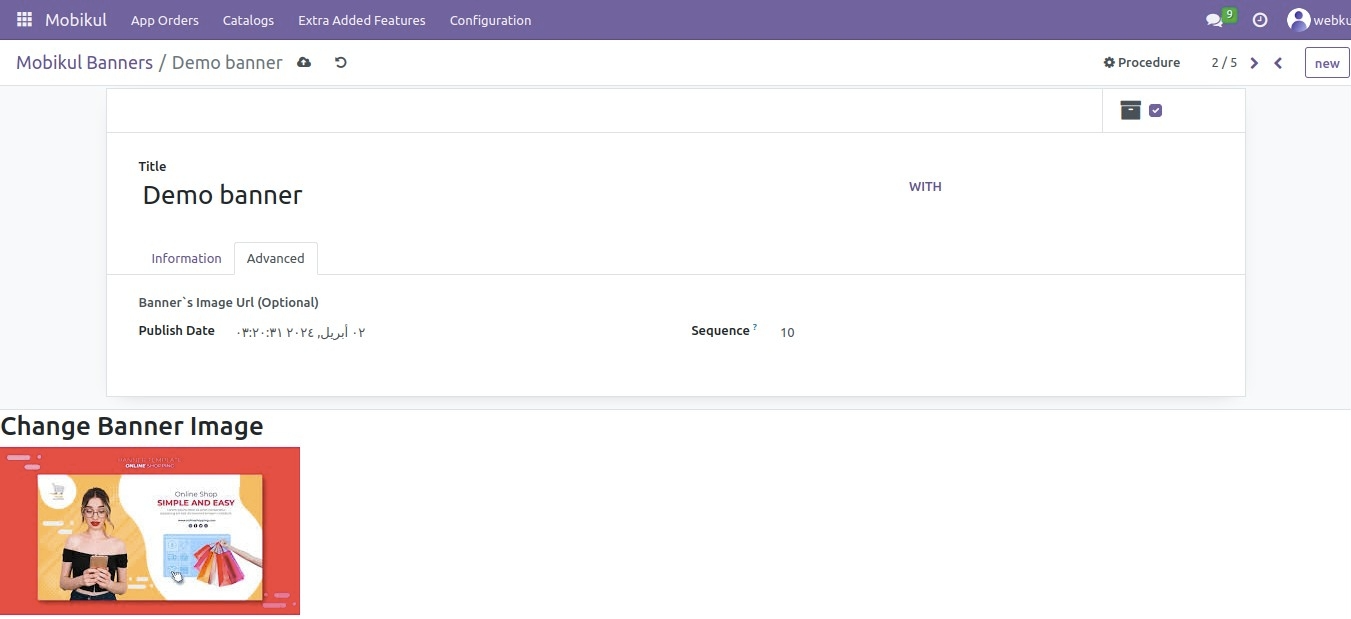
- Banner’s Image URL– The admin if wishes can give an URL here and the same banner image will be displayed in the frontend.
- Publish Date- The date on which the banner was published.
- Expiration Date –The date by which the banner will remain active on the frontend.
- Sequence -The order in which the banner will appear in the frontend.
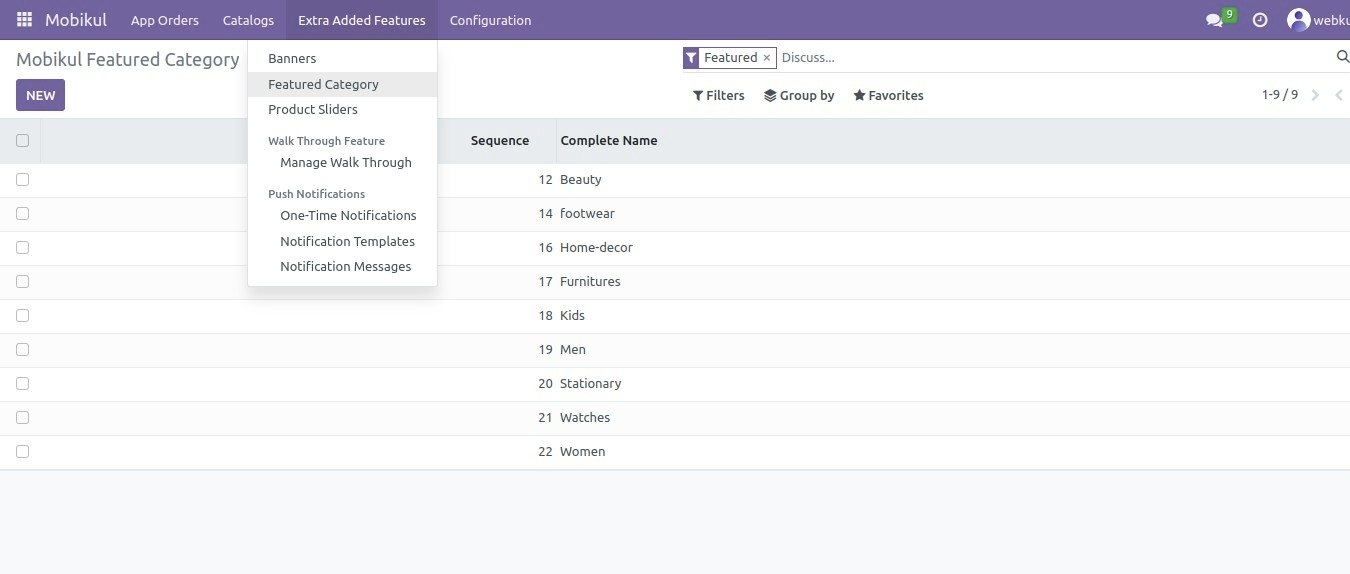
Featured Category
The featured category is visible on the topmost side of the homepage. In the admin panel, the admin can create a featured category by entering the name of the featured category, the Parent category of the featured category, and selecting the type category as ‘featured category’.
Frontend

Admin Panel
From the admin panel, the admin can create the Featured Category by navigating to Mobikul> Catalogs> Products> Extra Added features> Featured Category.
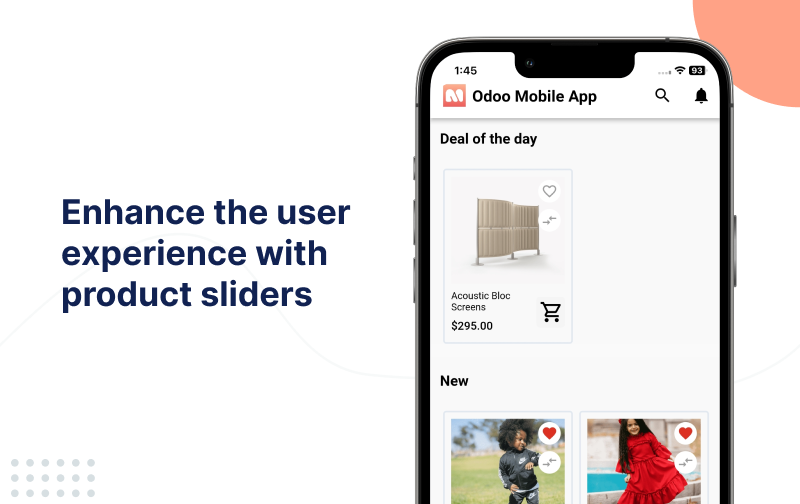
Product Sliders
The admin creates a slider from the backend and can associate the product with those sliders.
Frontend
Admin Panel
From here, the admin can either create a new slider or edit the existing one.

The admin needs to enter the following details on the slider page-
- Name- The admin needs to enter the name of the Slider.
- Product Selection-
- Selection Criteria- The selection can be of two types-
- Automatic
- Manual
- Selection Criteria- The selection can be of two types-
- General Settings-
- Sequence- Order in which admin wishes the slider to be visible in the frontend.
- Slider Mode- Here admin can either choose the slider to be in the form of a sliding carousel or fixed in one place.
- Maximum no. of products in a Slider- The number of product the admin wishes to see in the slider.
- Description- If the admin wishes to add any sort of comment to the slider.
Automatic-
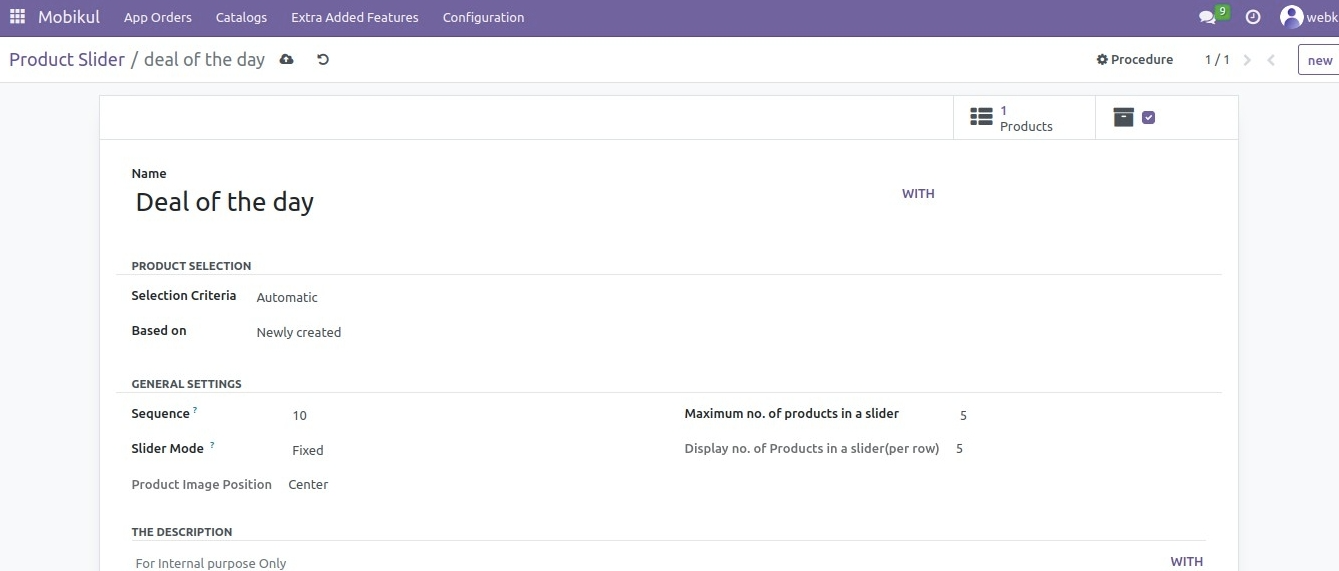
In automatic selection criteria, the admin can select the category and the products appear randomly.
Manual-
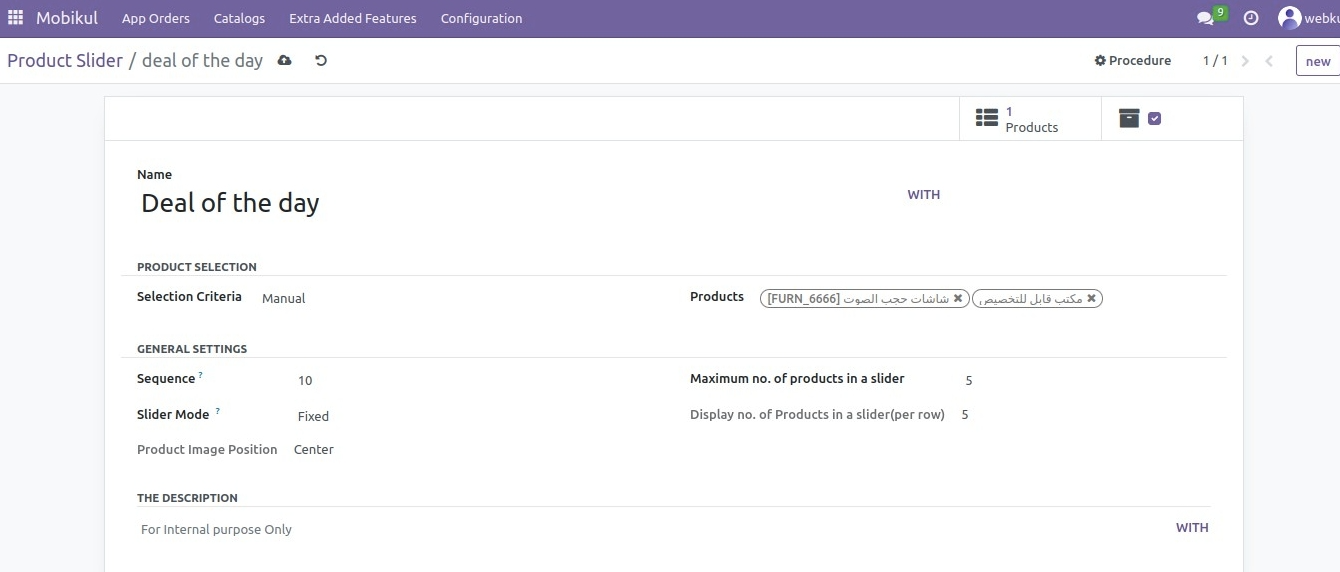
In the Manual Selection criteria, the admin needs to choose among various products which he/she wishes to show in the slider.
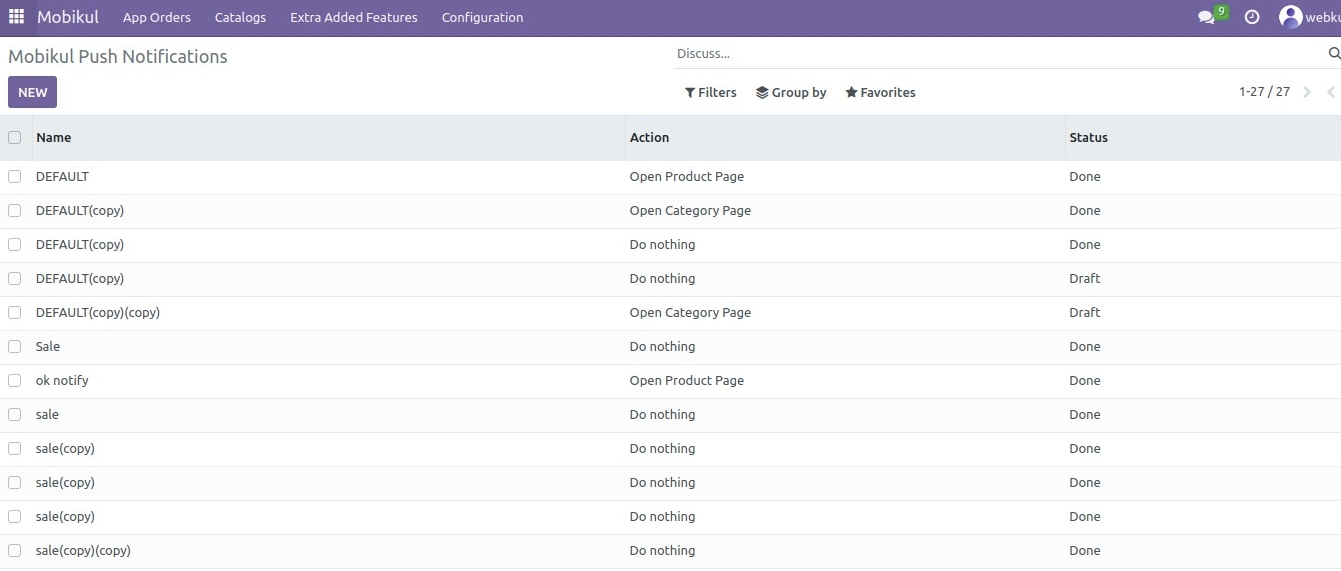
Push Notifications
Push Notifications are the most important feature of any mobile application. It provides benefits to both the admin and his/her customers. The Push notifications can be of three types-
- One-Time Push Notification
- Notifications Templates
- Notification Message
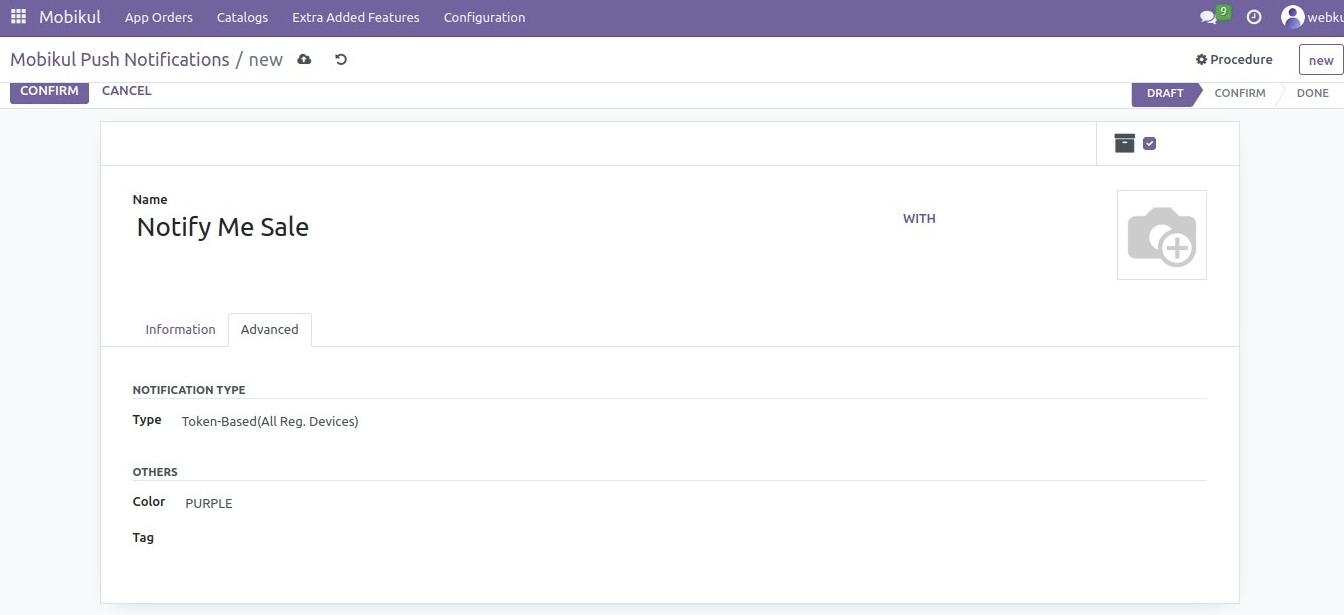
- One-time Push Notification– They appear only for one time as the admin hits on ‘Push Now’. The admin needs to enter the content to be displayed in the notification and assign a product, category, custom collection page, or nothing to the notification.
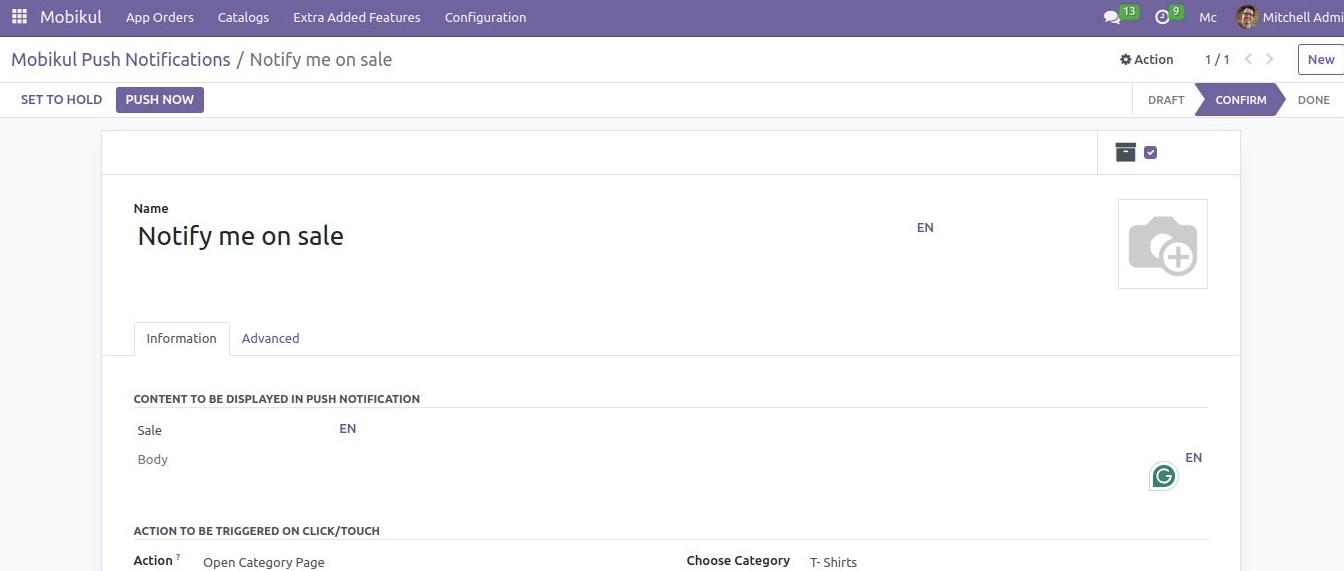
In advance setting, the admin can set the notification type-
- Token-Based(All Reg. Devices)– In this case, the notifications will be sent to all the registered devices.
- Token-Based(Selected Devices)-In this case, the notifications will be sent to selected devices.
- Topic-Based- Here, the notifications will be sent according to FCM topics.
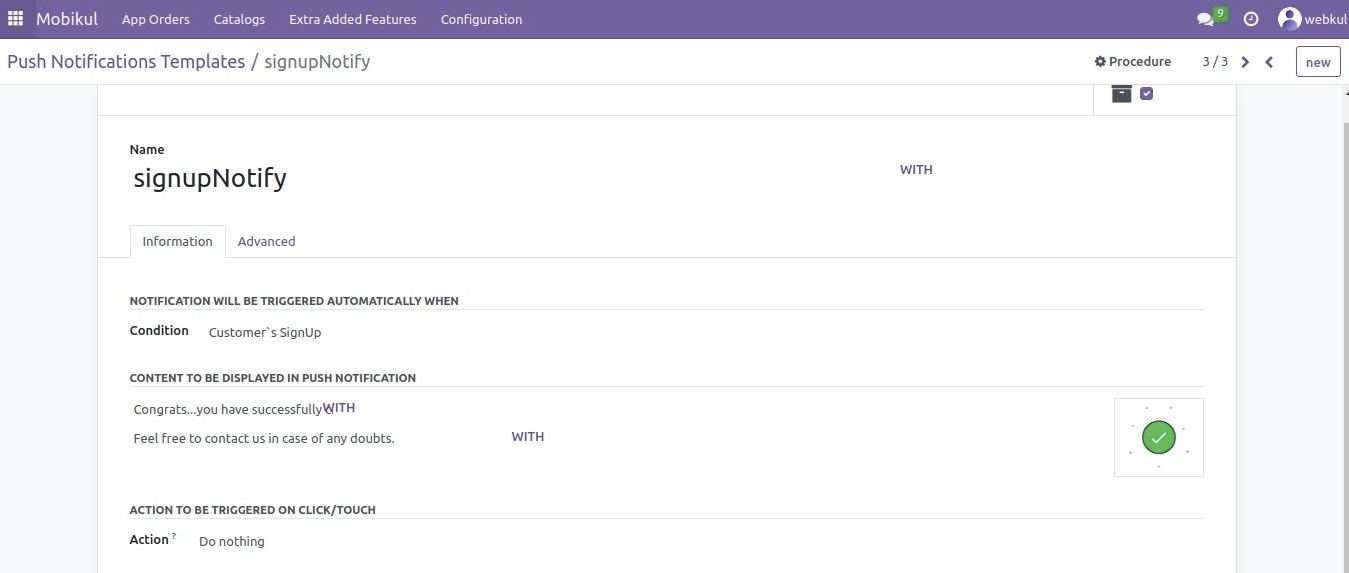
- Notifications Templates- This is a condition-based Notification sent to the customer on the accomplishment of a particular condition. The admin can here enter conditions as per which the notifications get triggered on the front-end. The admin can associate a product, category, custom collection page or do nothing to the notification. The admin can even edit the image of the Notification.
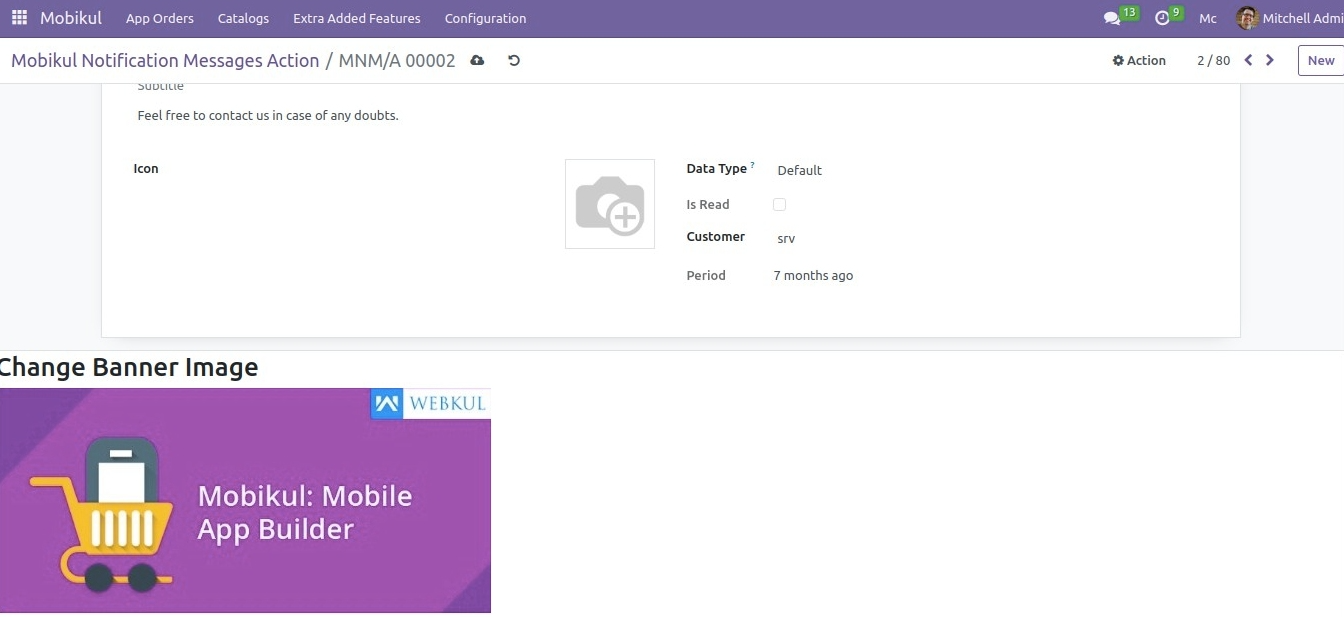
- Notification Message- These are customer-centric notifications that are assigned to a particular customer. Here, along with the customer name admin can enter the display message, banner image, icon image for notification, and Banner-related to the notification.
Categories In Mobikul-
The product categories of your website can be exported to ‘Mobikul’ and link all the products with their respective categories in ‘Mobikul’.For this, we have an add-on in Odoo- Mobikul Merge Category
In the application, the admin can go to Configuration>Merge Categories. A pop-up appears as shown in the screenshot.
- Create all remaining Website Categories On Mobikul- This will create all the categories on the Mobikul application with a click.
- Link all products with the corresponding Mobikul Category- This will link all the products with their respective categories in Mobikul again with a single click.
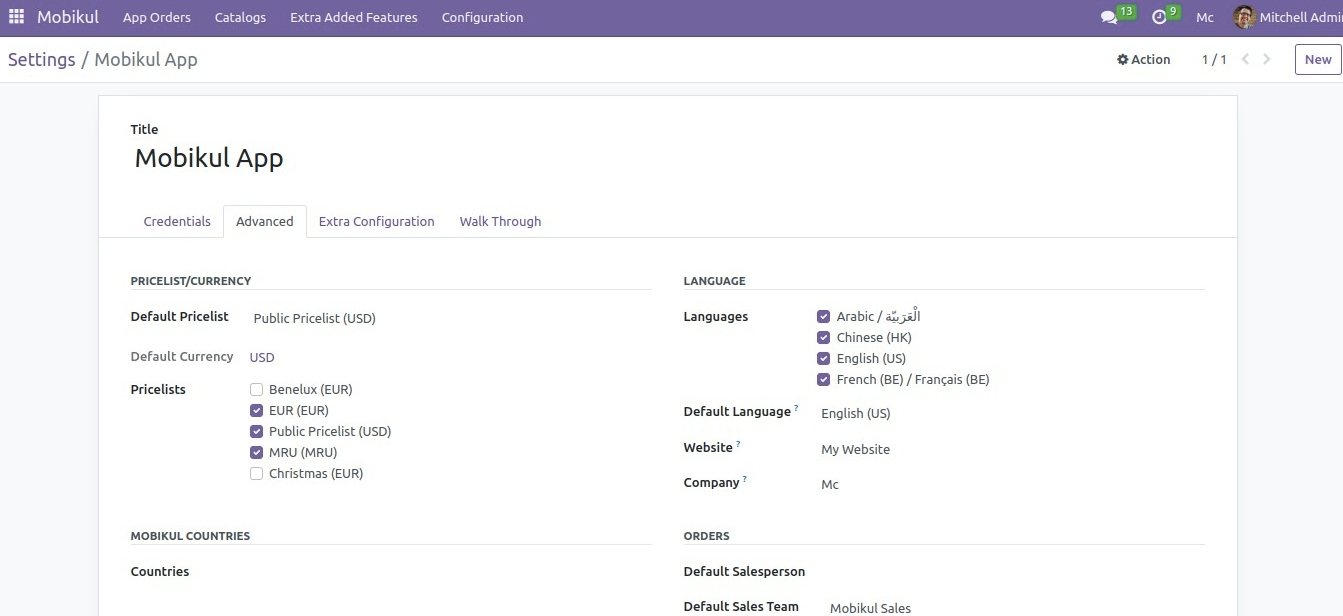
Settings-
The admin can change the setting of the app from the setting> configuration. Here, In the advanced tab, the admin can manage the-
- Pricelist/ Currency
- Language
- Countries
- Orders
- Extra Features
If you have any issues then please let us know anytime. You can raise a ticket for any query at webkul.uvdesk.com.
You can check all the Mobile Apps and select as per your platform and requirements. Please do contact us for any further queries or requirements.
2 comments