In this blog, we will discuss Flutter Android Dynamic Island Implementation.
Introduction
Building persistent live activity indicators on Android requires bridging system overlay windows with Flutter applications.
Apple introduced Dynamic Island to iOS, and Android developers can build a similar notch overlay view.
For enterprise mobile app solutions, explore the Mobikul Mobile App Builder.
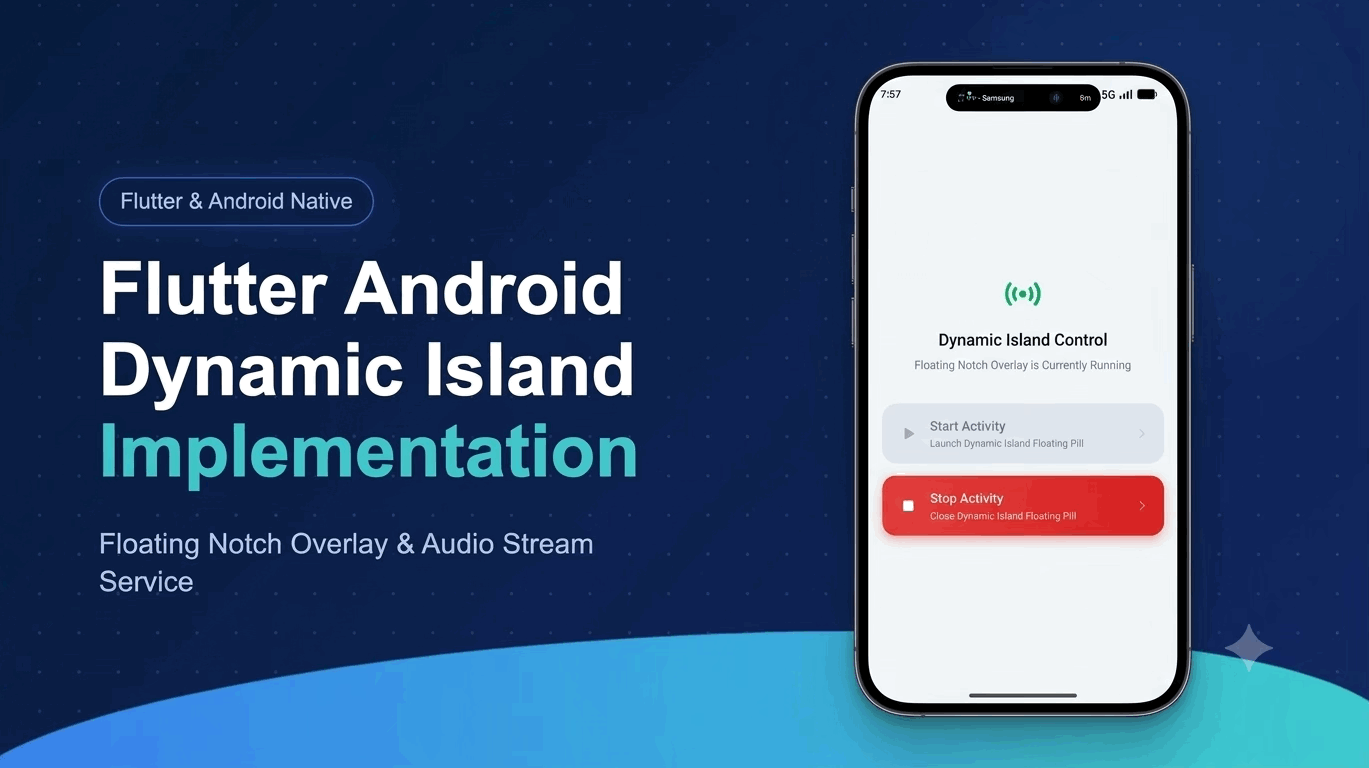
What We Will Build
We will construct a native Android floating window service controlled from a Flutter user interface.
The overlay displays audio status in a notch pill that expands into a music player card.
Prerequisites
Ensure your development machine meets the following software requirements before starting implementation.
- Flutter SDK 3.x or higher
- Android Studio Jellyfish or later
- Kotlin 1.9+ and Android API 26+
Flutter Android Dynamic Island Setup
The overlay requires system window permissions and Kotlin background service definitions for overlay rendering.
Inspect the official Android WindowManager documentation for system overlay guidelines.
File path: android/app/src/main/kotlin/com/example/live_activities_example/DynamicIslandService.kt
|
1 2 3 4 5 6 7 8 9 10 11 12 13 14 15 16 17 18 19 20 21 22 23 24 25 26 27 28 29 30 31 32 33 34 35 36 37 |
package com.example.live_activities_example import android.app.Service import android.content.Intent import android.graphics.PixelFormat import android.os.Build import android.os.IBinder import android.view.Gravity import android.view.WindowManager class DynamicIslandService : Service() { private var windowManager: WindowManager? = null private var dynamicIslandView: DynamicIslandView? = null override fun onBind(intent: Intent?): IBinder? = null override fun onCreate() { super.onCreate() windowManager = getSystemService(WINDOW_SERVICE) as WindowManager dynamicIslandView = DynamicIslandView(this) val layoutParams = WindowManager.LayoutParams( WindowManager.LayoutParams.WRAP_CONTENT, WindowManager.LayoutParams.WRAP_CONTENT, if (Build.VERSION.SDK_INT >= Build.VERSION_CODES.O) WindowManager.LayoutParams.TYPE_APPLICATION_OVERLAY else WindowManager.LayoutParams.TYPE_PHONE, WindowManager.LayoutParams.FLAG_NOT_FOCUSABLE, PixelFormat.TRANSLUCENT ).apply { gravity = Gravity.TOP or Gravity.CENTER_HORIZONTAL y = 38 } windowManager?.addView(dynamicIslandView, layoutParams) } override fun onDestroy() { super.onDestroy() dynamicIslandView?.let { windowManager?.removeView(it) } } } |
Dynamic Island Notch Pill View
Displays a compact persistent floating notch pill overlay on top of the Android status bar with audio metadata.
Connecting Flutter Method Channel
We invoke the native service from Flutter using a platform method channel invocation.
File path: lib/main.dart
|
1 2 3 4 5 6 7 8 9 10 11 12 13 14 15 16 17 18 19 20 21 22 23 24 25 26 27 28 29 30 31 32 33 34 35 36 37 38 39 40 41 42 43 44 45 46 |
import 'package:flutter/material.dart'; import 'package:flutter/services.dart'; void main() { runApp(const MyApp()); } class MyApp extends StatelessWidget { const MyApp({super.key}); static const platform = MethodChannel('com.example.live_activities/overlay'); Future<void> startDynamicIsland() async { try { await platform.invokeMethod('startActivity'); } on PlatformException catch (e) { debugPrint("Failed to start overlay: '${e.message}'."); } } Future<void> stopDynamicIsland() async { try { await platform.invokeMethod('stopActivity'); } on PlatformException catch (e) { debugPrint("Failed to stop overlay: '${e.message}'."); } } @override Widget build(BuildContext context) { return MaterialApp( home: Scaffold( appBar: AppBar(title: const Text('Dynamic Island Control')), body: Center( child: Column( mainAxisAlignment: MainAxisAlignment.center, children: [ ElevatedButton( onPressed: startDynamicIsland, child: const Text('Start Activity'), ), ElevatedButton( onPressed: stopDynamicIsland, child: const Text('Stop Activity'), ), ], ), ), ), ); } } |
Expanded Music Player Card View
Tapping the notch pill expands into a detailed audio playback control card with smooth top-down morphing animations.
Here is the Output of the project
Dynamic Island Live Overlay Demo
Watch the live floating notch overlay launch, expand into the media player card, and collapse seamlessly on Android.
Conclusion
Implementing a Dynamic Island floating overlay in Flutter bridges Android system window services with cross-platform apps.
For custom mobile app development or further technical assistance, reach out to our team at Mobikul Contact or email us at [email protected].
Thanks for reading this blog.
Please check my other blogs here.


Be the first to comment.