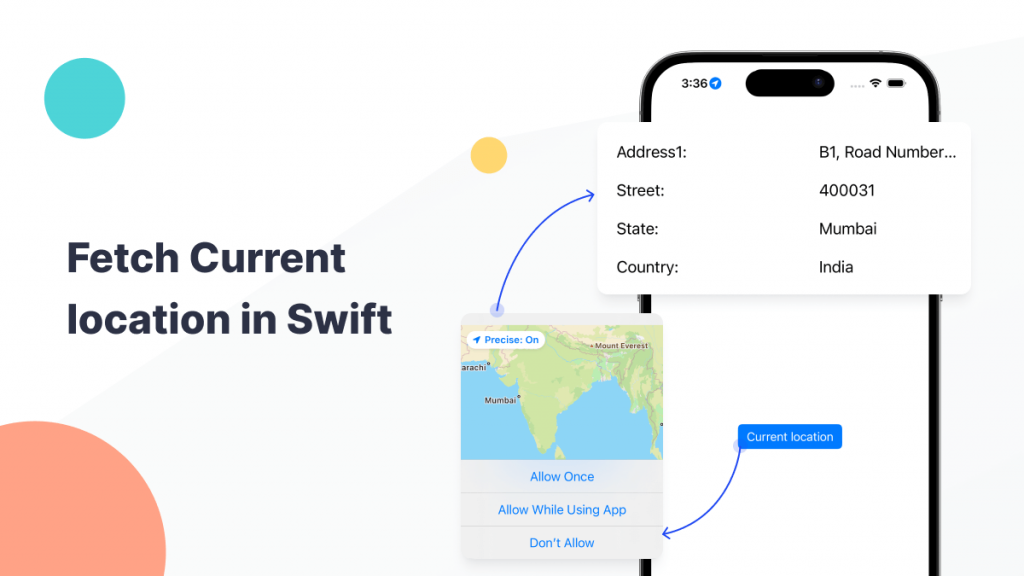
In this article you will learn about Fetch Location in Swift.
Fetching the current location in Swift involves using the Core Location framework, which provides the necessary classes and methods for working with location services on iOS device.

Implementation of Fetch Current Location
Here’s the basic introduction to fetching the current location in Swift.
Before working on fetch current location, you need to follow below steps.
1. Create New Project:
First of all we need to create a new project where you will integrated Fetch Current Location.
|
1 2 3 4 5 6 7 8 |
@IBOutlet weak var country: UILabel! @IBOutlet weak var state: UILabel! @IBOutlet weak var address: UILabel! @IBOutlet weak var localty: UILabel! @IBOutlet weak var addressData: UILabel! @IBOutlet weak var localityData: UILabel! @IBOutlet weak var stateData: UILabel! @IBOutlet weak var countryData: UILabel! |
2. Import CoreLocation:
In second steps you need to make sure to import the CoreLocation framework in your Swift file where you plan to use location services.
|
1 |
import CoreLocation |
3. Request Location Authorisation:
Before you can access the user’s location, you need to request permission. Add the necessary key value pairs to your Info.plist file to describe why your app needs location access.
|
1 2 |
<key>NSLocationAlwaysAndWhenInUseUsageDescription</key> <string>This allows us to use your location to provide you certain features like, getting your current location to display it </string> |
After that you need to create reference of CLLocationManager class and add label name.
|
1 2 3 4 5 6 7 8 9 10 11 12 13 14 |
override func viewDidLoad() { super.viewDidLoad() locationManager = CLLocationManager() locationManager.delegate = self country.text = "Address1:" status.text = "Street:" address.text = "State:" localty.text = "Country:" addressData.text = "" localityData.text = "" stateData.text = "" countryData.text = "" } |
4. Create a Button:
After that you need to create a button on the click of which you can get the current location.
|
1 |
@IBOutlet weak var currentlocationaction: UIButton! |
Above code is helpful to create a button in Swift.
5. Create Button Action:
After creating button you need to perform action on it so please follow below code.
|
1 2 3 4 5 6 7 8 9 10 11 12 13 |
var longitude:String = "" var latitude:String = "" @IBAction func currentlocationaction(_ sender: Any) { if CLLocationManager.locationServicesEnabled(){ locationManager.requestWhenInUseAuthorization() print("==-\(locationManager)") let currentLocation = locationManager.location latitude = "\(currentLocation?.coordinate.latitude)" longitude = "\(currentLocation?.coordinate.longitude)" } } |
Using the above code to request location authorisation in your Swift project.
If you want to fetch your address in string form like street, city, state, country etc. You can use the CLGeocoder and CLPlacemark classes for fetch your location address.
|
1 2 3 4 5 6 7 8 9 10 11 12 13 14 15 16 |
func locationManager(_ manager: CLLocationManager, didUpdateLocations locations: [CLLocation]) { let latestLocation = locations.last let g = CLGeocoder() var p:CLPlacemark? g.reverseGeocodeLocation(latestLocation!, completionHandler: { (placemarks, error) in let pm = placemarks if ((pm != nil) && (pm?.count)! > 0){ p = CLPlacemark(placemark: (pm?[0])!) self.localityData.text = p?.postalCode ?? "" self.addressData.text = p?.name ?? "" self.stateData.text = p?.subAdministrativeArea ?? "" self.country.text = p?.country ?? "" } }) } |
6. Implement CLLocationManagerDelegate:
In this step you need to implement CLLocationManagerDelegate protocol in your view controller.
|
1 2 3 4 5 6 7 8 9 10 11 |
extension ViewController: CLLocationManagerDelegate { func locationManager(_ manager: CLLocationManager, didChangeAuthorization status: CLAuthorizationStatus) { switch CLLocationManager.authorizationStatus() { case .notDetermined,.authorizedWhenInUse, .authorizedAlways: locationManager.startUpdatingLocation() guard let currentLocation = locationManager.location else { return } default: return } } } |
Output

Conclusion
In this article we have discussed about Fetch Current Location in Swift.
You may also check our Flutter App development services.
I hope this blog is helpful to understand this topic.
Thanks for reading this blog. You can also check other blogs from here for more knowledge.

Be the first to comment.