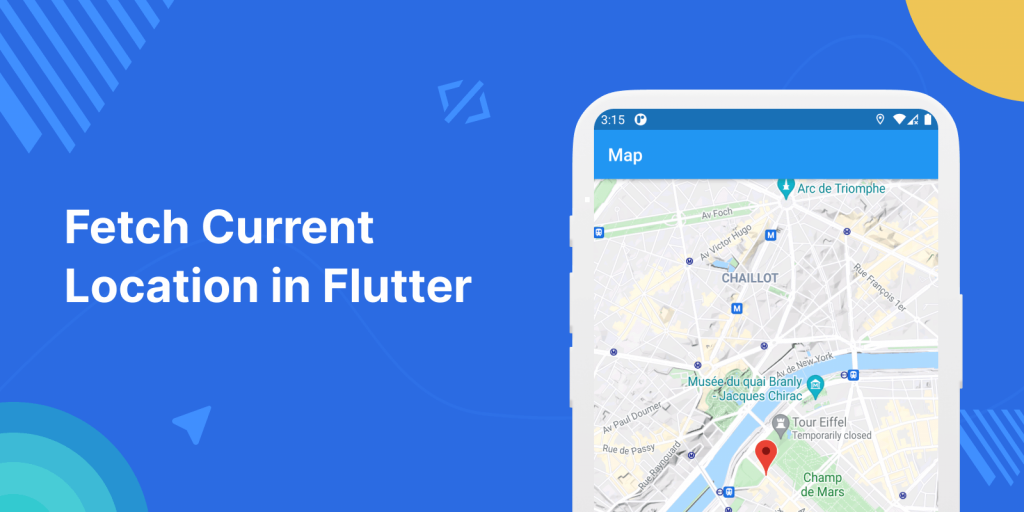
Nowadays, working with Maps and locations is very common. In today’s blog will learn how to fetch current location in Flutter.
Using the Flutter Location plugin is very easy to fetch the current location of the user on Android and iOS devices.
Read about the variety of Flutter App Development Services offered by Mobikul.
In this blog, we will show the map and display the current location using a marker.
Please follow below Steps to fetch current location in Flutter:
Step 1: Add dependencies.
To fetch the current location we use location plugin
But in our project, we have also displayed the map so we are using google_maps_flutter to display the map.
Add below code in pubspec.yaml file
|
1 2 |
location: ^4.3.0 google_maps_flutter: ^2.0.6 |
Step 2: Providing permissions in iOS and Android app to fetch location.
In Android, all dependencies and permissions are automatically added to your project with Flutter 1.12.
But if you are using Flutter before 1.12 please follow this.
For iOS please add below permissions in your info.plist file.
|
1 2 3 |
NSLocationWhenInUseUsageDescription NSLocationAlwaysUsageDescription NSLocationAlwaysAndWhenInUseUsageDescription |
Step 3: Implement Code
We have created a MapScreen class to show our Map and fetch the location.
Please check below function to fetch the location.
|
1 2 3 4 5 6 7 8 9 10 11 12 13 14 15 16 17 |
void getLocation() async{ var location = await currentLocation.getLocation(); currentLocation.onLocationChanged.listen((LocationData loc){ _controller?.animateCamera(CameraUpdate.newCameraPosition(new CameraPosition( target: LatLng(loc.latitude ?? 0.0,loc.longitude?? 0.0), zoom: 12.0, ))); print(loc.latitude); print(loc.longitude); setState(() { _markers.add(Marker(markerId: MarkerId('Home'), position: LatLng(loc.latitude ?? 0.0, loc.longitude ?? 0.0) )); }); }); } |
Please check the complete MapScreen file code below.
|
1 2 3 4 5 6 7 8 9 10 11 12 13 14 15 16 17 18 19 20 21 22 23 24 25 26 27 28 29 30 31 32 33 34 35 36 37 38 39 40 41 42 43 44 45 46 47 48 49 50 51 52 53 54 55 56 57 58 59 60 61 62 63 64 65 66 67 68 69 70 71 72 73 |
import 'package:flutter/material.dart'; import 'package:google_maps_flutter/google_maps_flutter.dart'; import 'package:location/location.dart'; class MapScreen extends StatefulWidget { @override _MapScreenState createState() => _MapScreenState(); } class _MapScreenState extends State<MapScreen> { GoogleMapController? _controller; Location currentLocation = Location(); Set<Marker> _markers={}; void getLocation() async{ var location = await currentLocation.getLocation(); currentLocation.onLocationChanged.listen((LocationData loc){ _controller?.animateCamera(CameraUpdate.newCameraPosition(new CameraPosition( target: LatLng(loc.latitude ?? 0.0,loc.longitude?? 0.0), zoom: 12.0, ))); print(loc.latitude); print(loc.longitude); setState(() { _markers.add(Marker(markerId: MarkerId('Home'), position: LatLng(loc.latitude ?? 0.0, loc.longitude ?? 0.0) )); }); }); } @override void initState(){ super.initState(); setState(() { getLocation(); }); } @override Widget build(BuildContext context) { return Scaffold( appBar: AppBar( title: Text("Map"), ), body: Container( height: MediaQuery.of(context).size.height, width: MediaQuery.of(context).size.width, child:GoogleMap( zoomControlsEnabled: false, initialCameraPosition:CameraPosition( target: LatLng(48.8561, 2.2930), zoom: 12.0, ), onMapCreated: (GoogleMapController controller){ _controller = controller; }, markers: _markers, ) , ), floatingActionButton: FloatingActionButton( child: Icon(Icons.location_searching,color: Colors.white,), onPressed: (){ getLocation(); }, ), ); } } |
Now, check below main.dart file code.
|
1 2 3 4 5 6 7 8 9 10 11 12 13 14 15 16 17 18 19 |
import 'package:flutter/material.dart'; import 'MapScreen.dart'; void main() { runApp(const MyApp()); } class MyApp extends StatelessWidget { const MyApp({Key? key}) : super(key: key); @override Widget build(BuildContext context) { return MaterialApp( debugShowCheckedModeBanner: false, home: MapScreen(), ); } } |
Finally, you can run the code, and see the below results.

For more interesting blogs check out here – https://mobikul.com/blog/
Hope this blog helped you for a better understanding of Locations and Maps in Flutter.
Thanks for reading


2 comments